Get started  
Login  

Help Center

Community / Forum Ask Zappter Support We build your app Marketplace

Documentation

English

General

Videos

Mastering the content editor Pixel perfect design Setup your E-Commerce Store Configure your booking engine Event-System / Drop-In

Popular

App Store Submission Creating Push Notifications Typography Changing template Changing Rules

Business Modules

New

More Tutorials

Documentation

Setting Up Live Chat

Setting up live chat

Below steps guide you through adding live chat feature on your app content.
1. Admin > Customize > Content.  Click to edit your app. 
2. In the app customization, expand the group, Chat under Content. Click on the 'New Chat.'
3. Set up your chat:

  • Give a text for the chat button caption
  • Enter a welcome message. You can also add more than a single message separated with a comma so the plugin will randomly choose one
  • Use #GUEST_NAME as a placeholder to replace your user's name in the message 
Customize the button using the rest of the tabs:

  1. Icon: Set an icon.
  2. Color: Choose the colors.
  3. Size: The size of the button on your content.
4. Create it.
5. 'Put online' to publish your new chat so that it will appear on your users' devices. The button's caption changes from 'Put online' to 'Published'  once the changes have been applied successfully. 

Example user chats

Below demonstrates live customer support on user mobile devices.

Chat on workstations

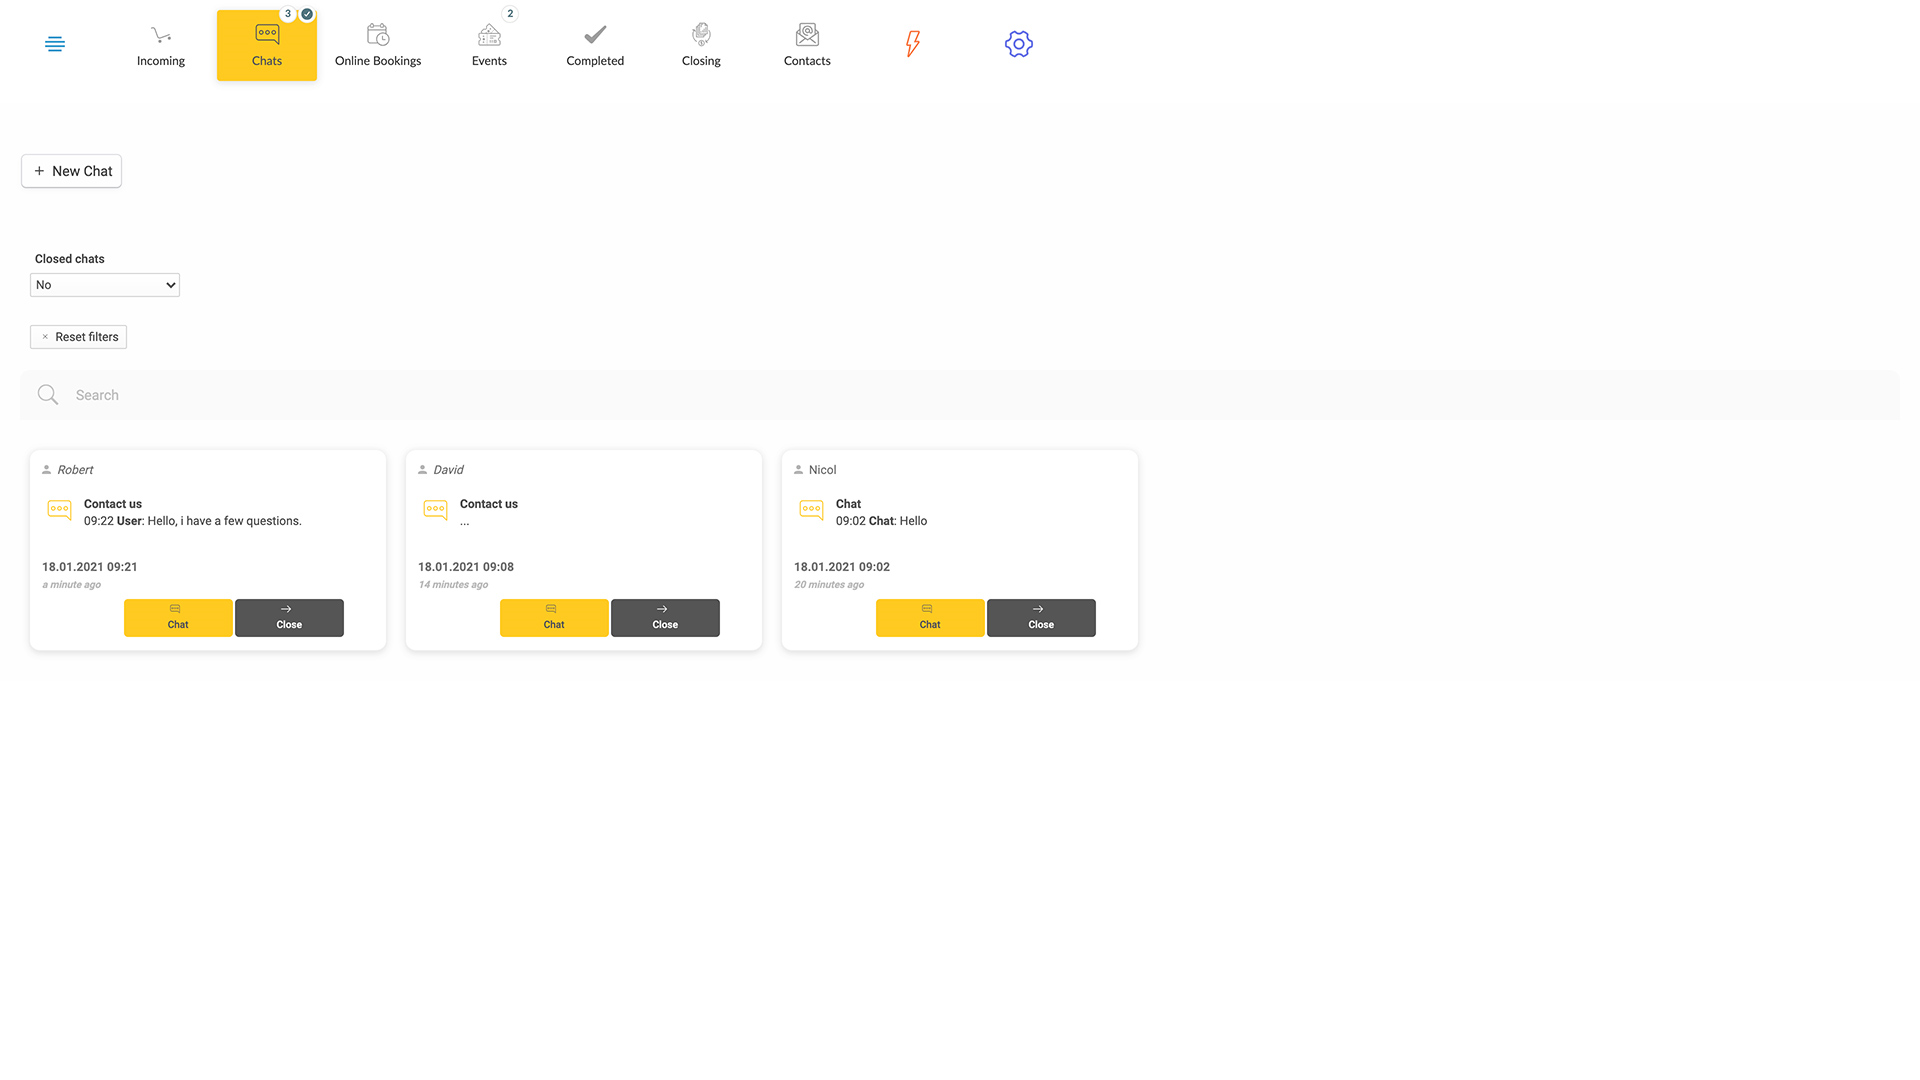
Below shows live chats from your agent / worker workstations. For example, in a hospital, there might be several workstations with designated chat agents such as at channeling counter, inquiry counter, OPD counter, etc. Say when you have an app page for channeling and add live chat on it, a workstation dedicated to receive channeling orders and chats will be used by channeling counter staff.
image.png 126.1 KB
image.png 285.64 KB
Real-time Chat