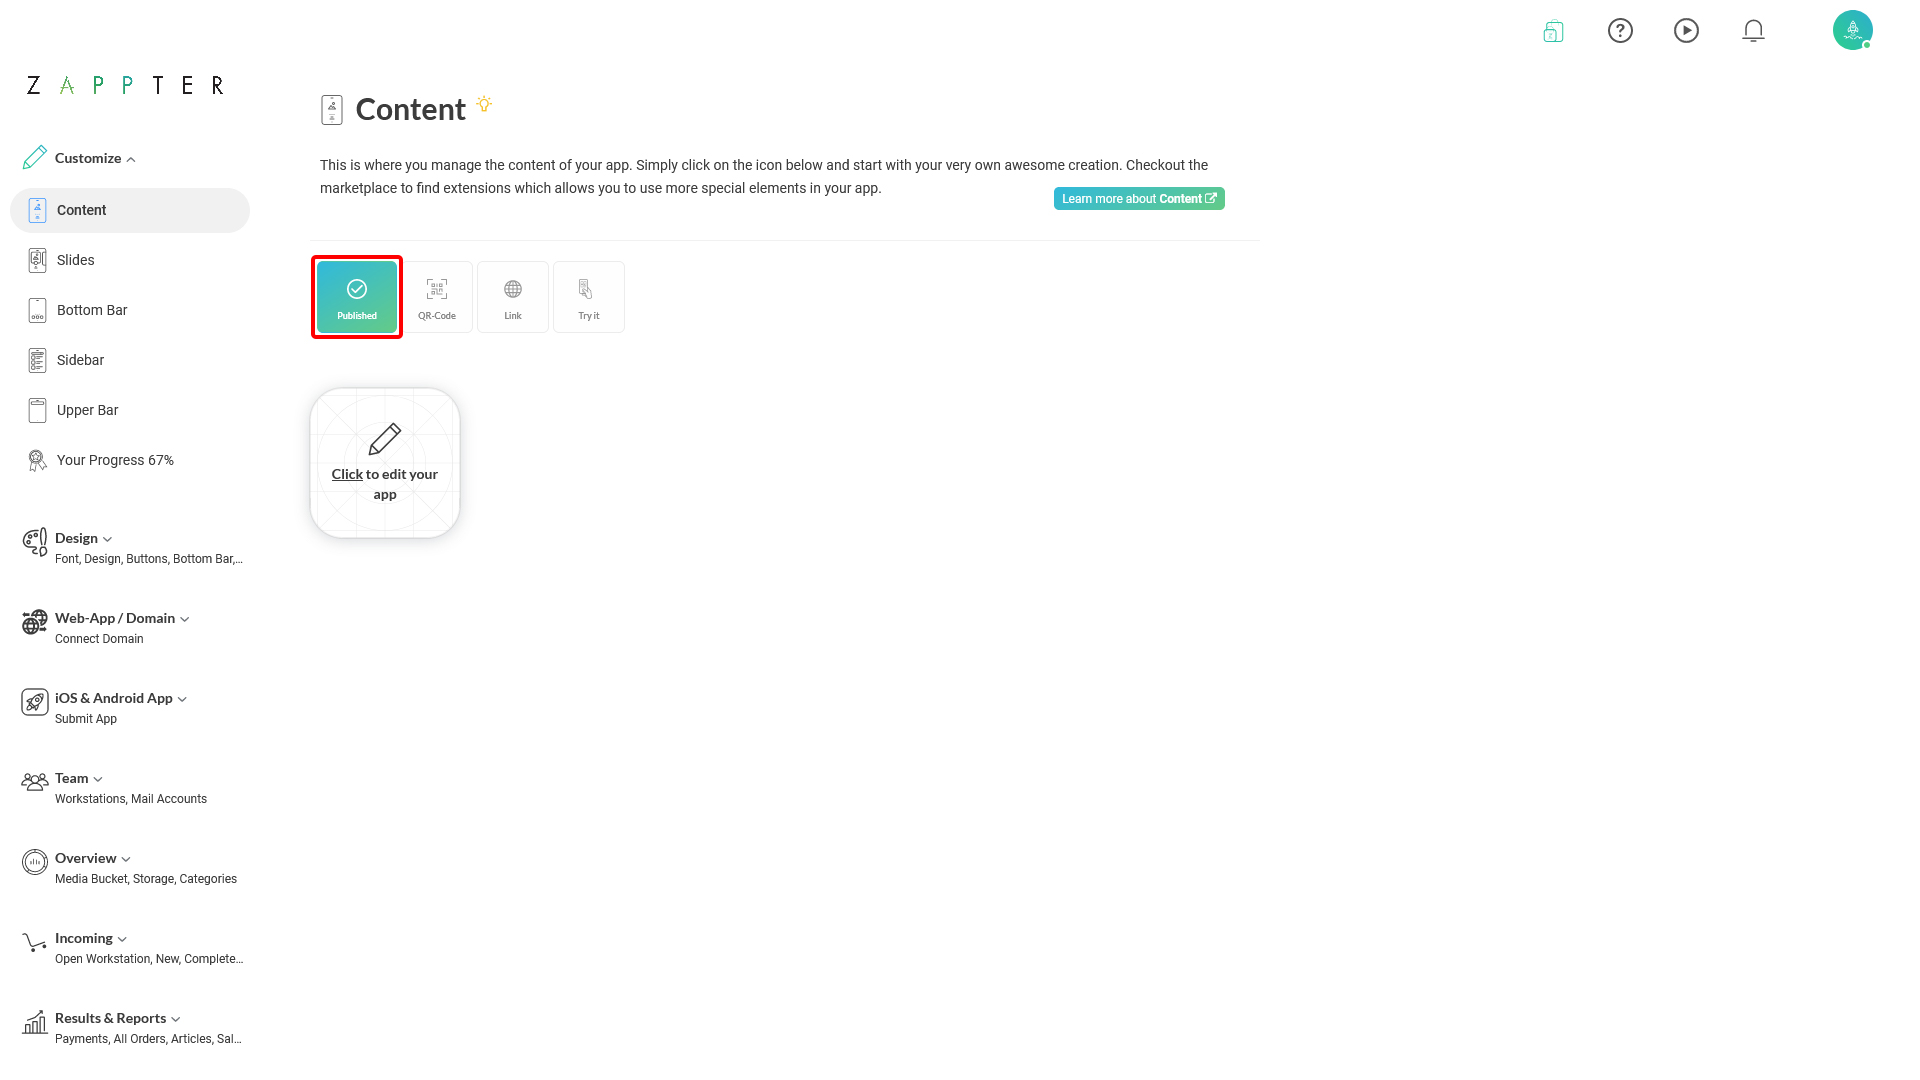
1. Admin > Customize > Content. Click to edit your app.
image.png168.53 KB
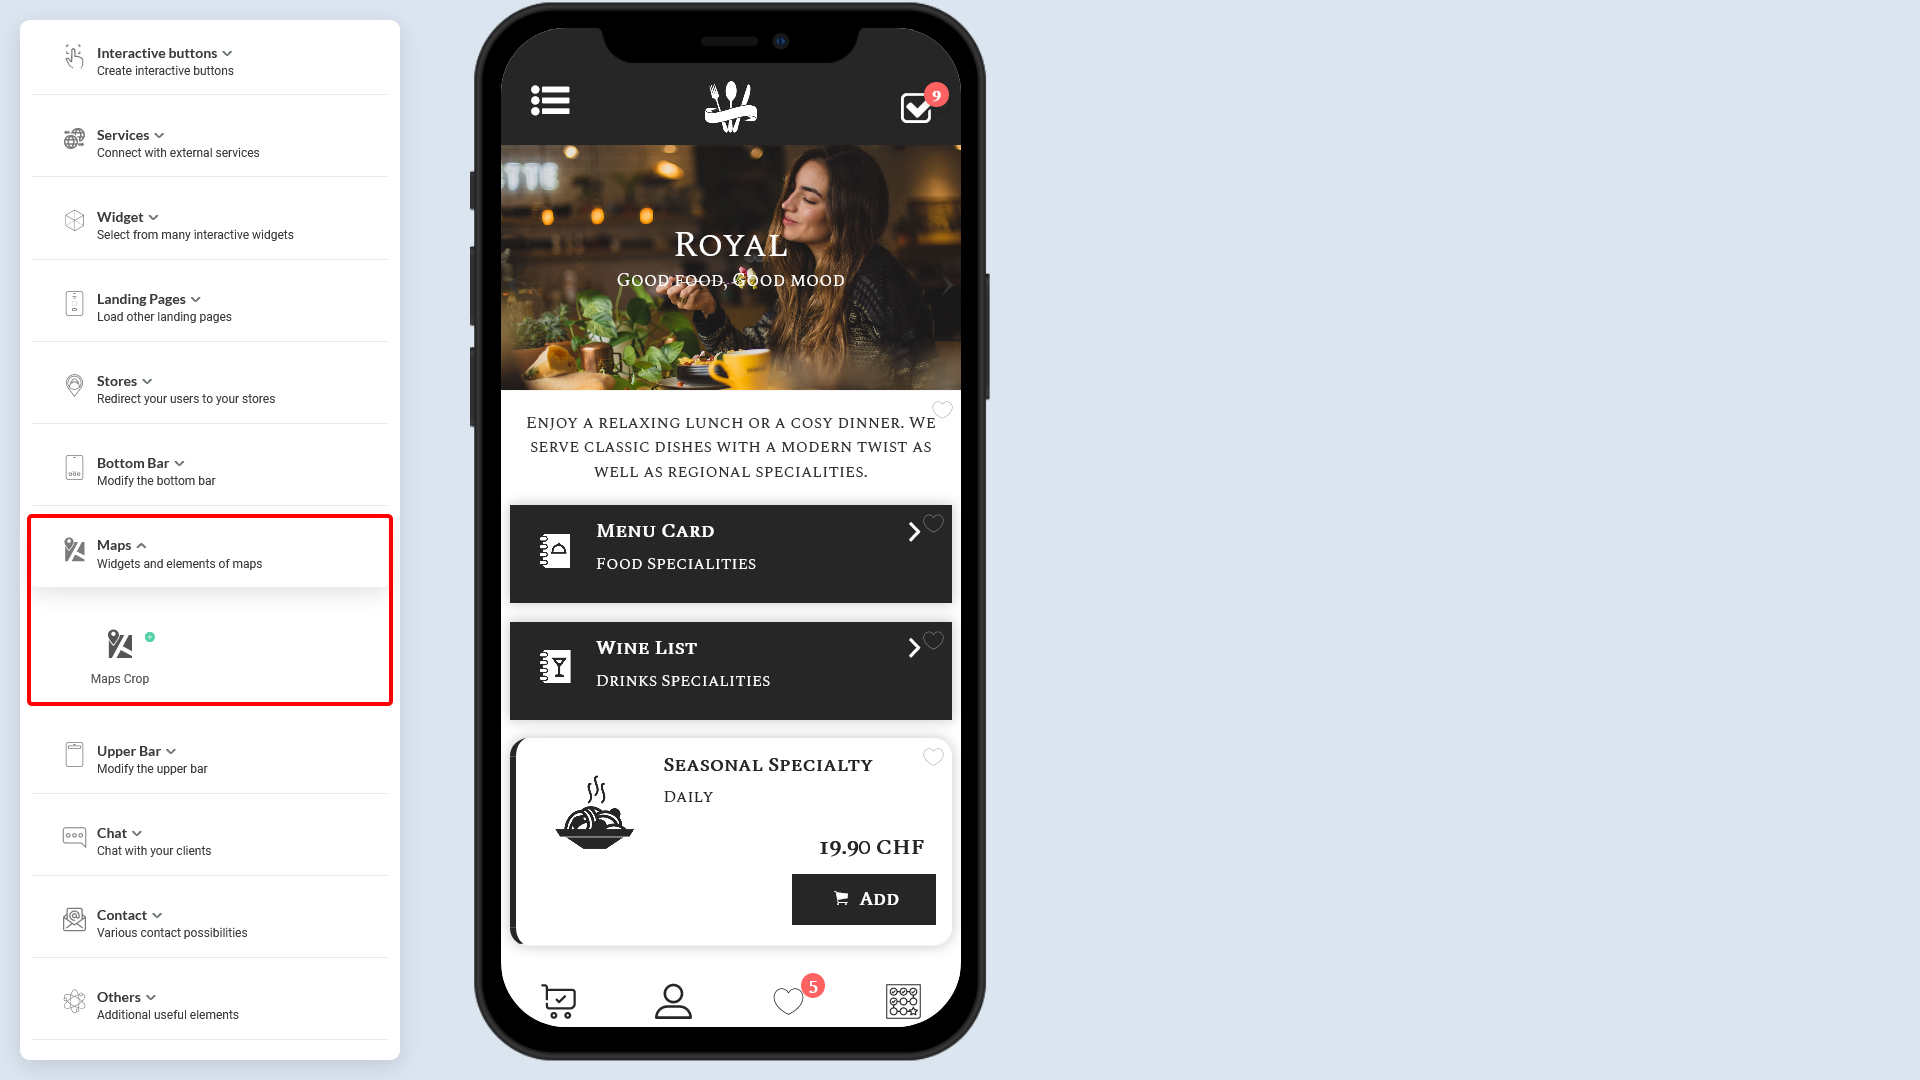
2. In the app customization, expand the group, Maps under Content. Click on the 'Maps Crop.'
image.png496.9 KB
3. Under the 'Google Maps' tab, enter the address and pick it in the matching list of addresses. Add any additional text that shows up with the map.
Google Maps Address Tab.jpg228.25 KB
Address: It is the primary map address
Map Zoom: Map areas visibility. Example, 1 displays from far, 18 is closer.
Additional text: More information about the location or additional details like driving assistance, etc.
You can also enable/disable the google map here.
Map Markers tab is skipped intentionally on this page as it has been explained under section, 'Markers and Categories' in detail.
4. Move on to the 'Favorites' tab. Here, you can enable/disable users adding map to their 'Favorite list.' It's ideal for someone who wants to often check information about a location or driving details.
Google Maps Favorites.jpg291.32 KB
5. Click on the 'Create' button to complete adding the Google Map on your content.
6. 'Put online' to publish your google map so that it will appear on your users' devices. The button's caption changes from 'Put online' to 'Published' once the changes have been applied successfully.