Get started  
Login  

Help Center

Community / Forum Ask Zappter Support We build your app Marketplace

Documentation

English

General

Videos

Mastering the content editor Pixel perfect design Setup your E-Commerce Store Configure your booking engine Event-System / Drop-In

Popular

App Store Submission Creating Push Notifications Typography Changing template Changing Rules

Business Modules

New

More Tutorials

Documentation

Creating Order Exports

Creating exports

Creating your order/transactions exports involve:

  • Creating export jobs
  • Choosing your export columns
  • Setting export parameters
Create your export job:
1. Admin > Order Export / Fulfillment Tool > Configure jobs. All existing export jobs display. Click on the '+ New Job' button.
image.png 144.66 KB
2. New job setup screen comes up. Give your new export job a name, and click on 'Create' to complete adding an export header.
image.png 262.45 KB
Choose your export columns:
1. Now your newly create export job is listed. Click on the 'Configure' button in its row to start choosing your export columns.
image.png 154.74 KB
2. Select '+ Add column' in the configure screen. A screen pops up showing all available columns for export.
image.png 140.42 KB
3. In the list, tick the columns that you want to include in your export. As you tick, you can see them appear in your work area behind.
image.png 309.17 KB
4. Once you have picked all the columns from the available list, you can click on the 'Cancel' to close the available column list screen.
image.png 155.97 KB
Add a custom column when needed:
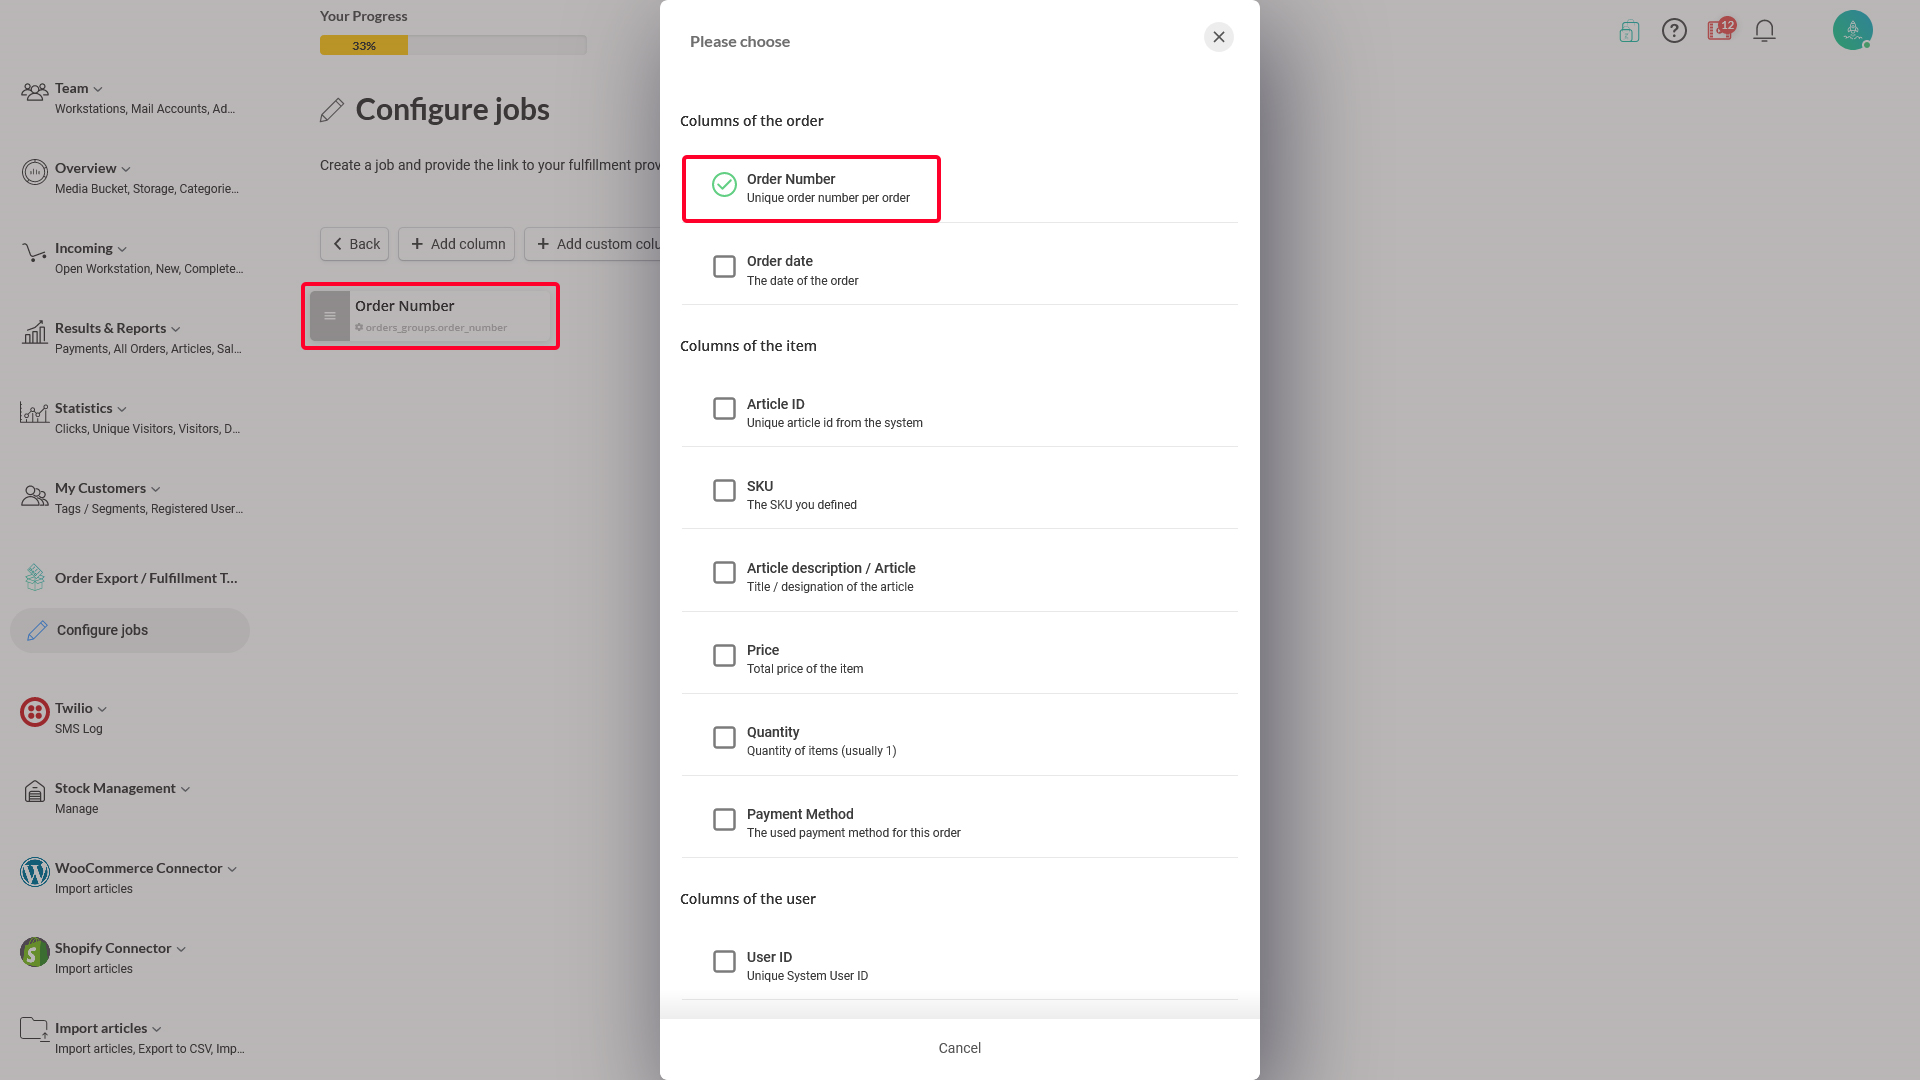
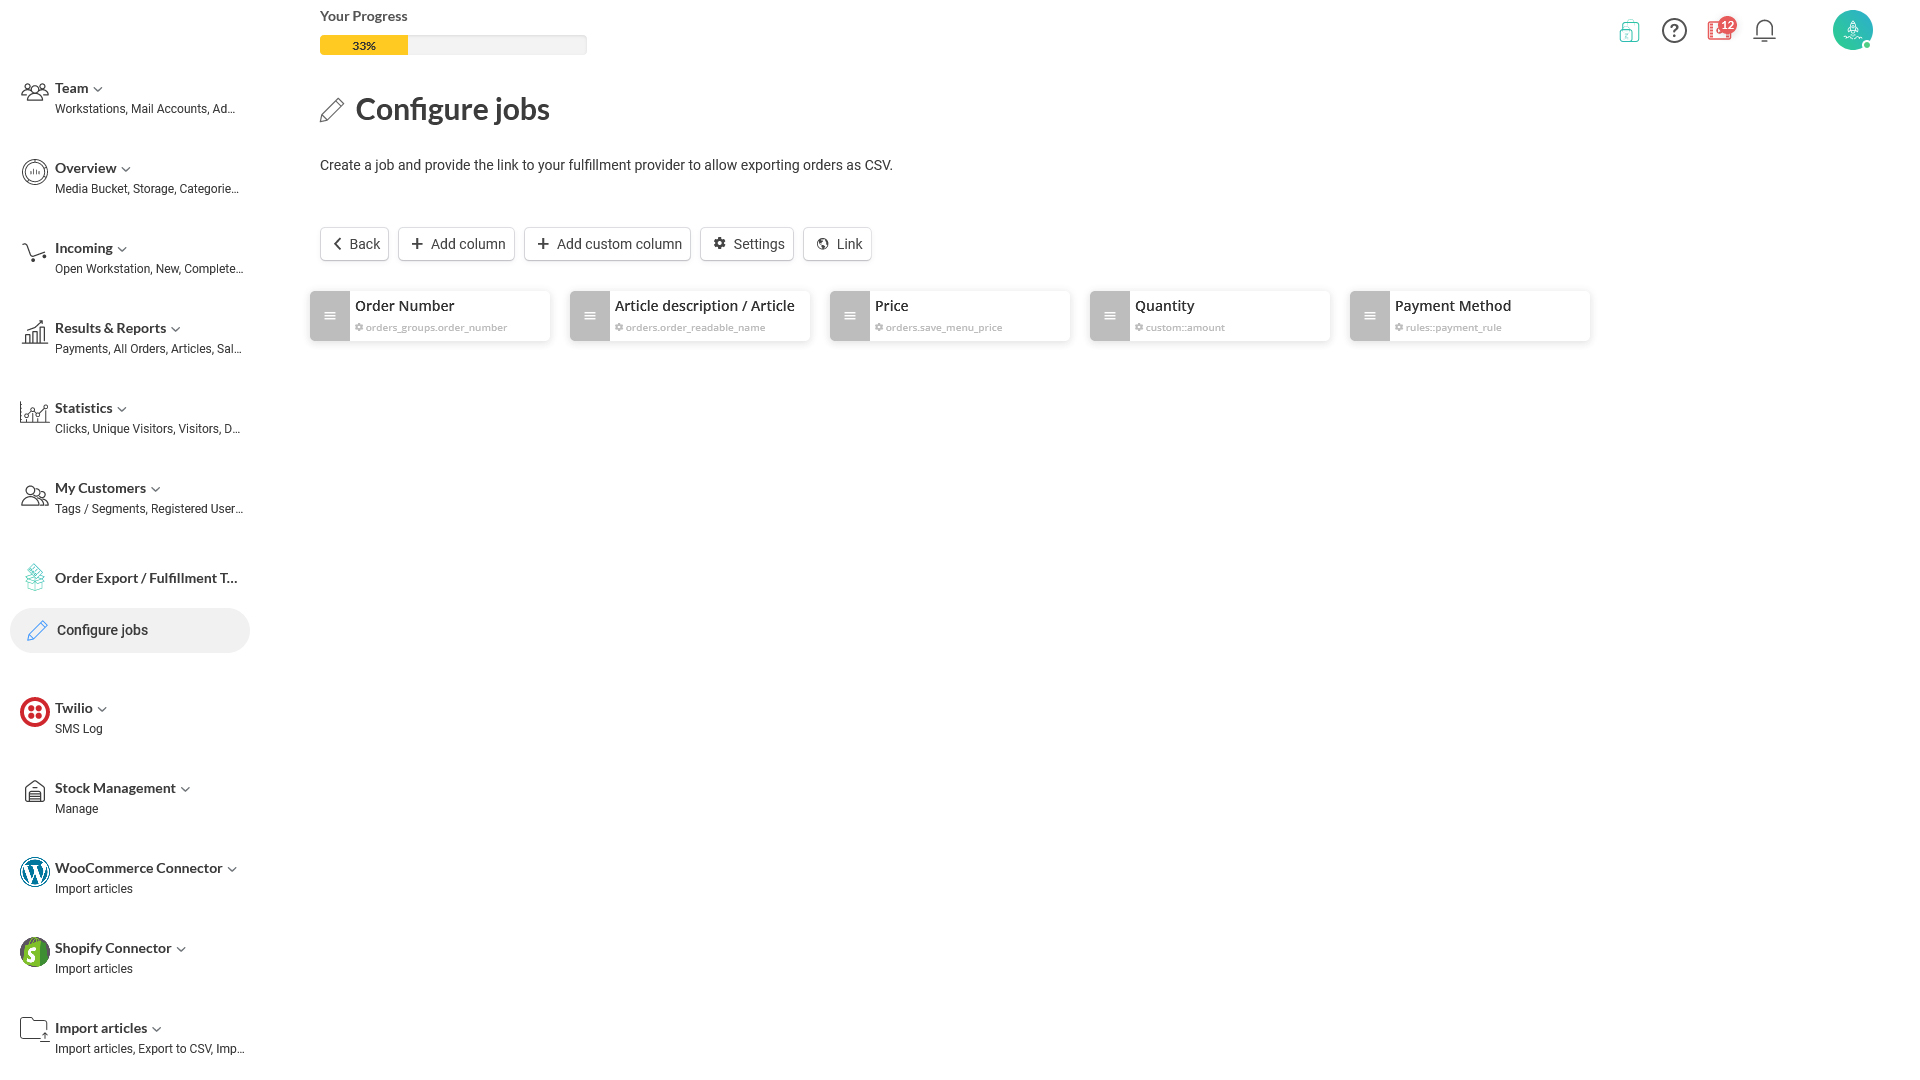
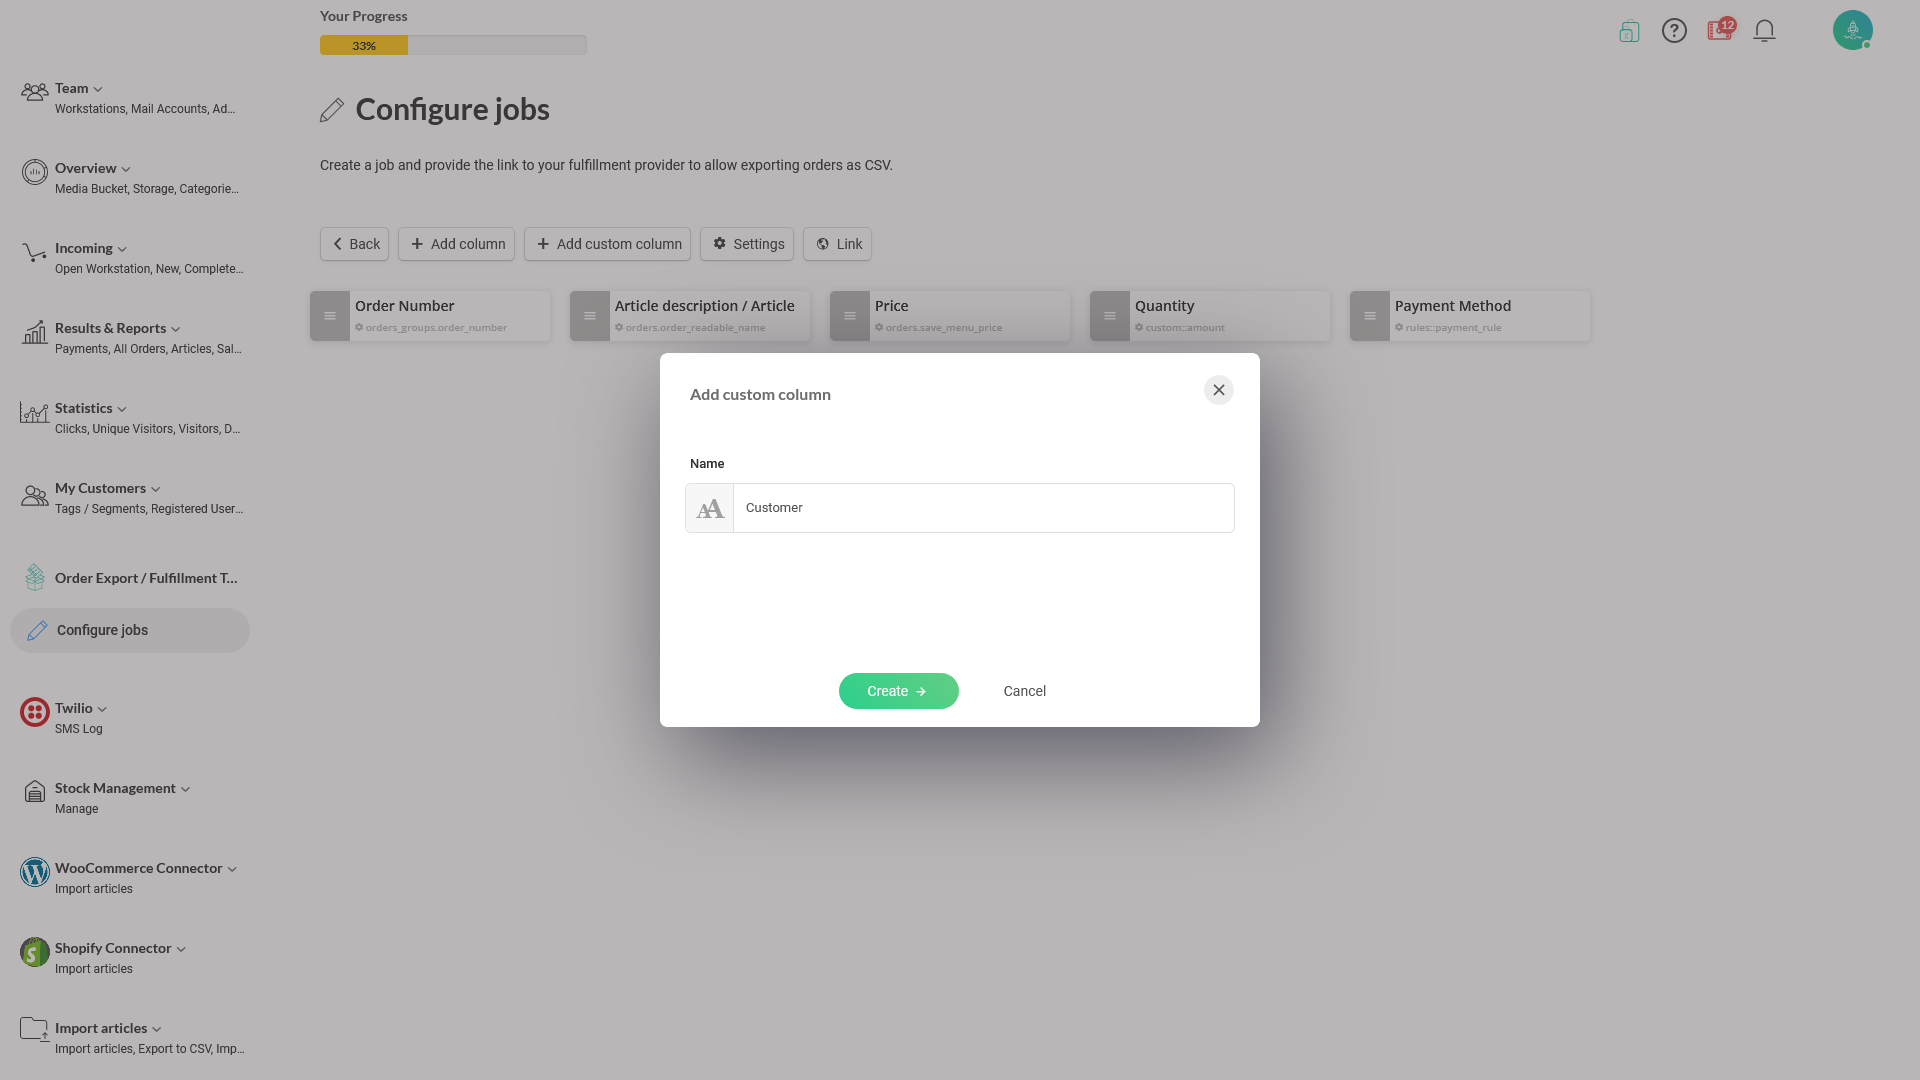
Previously, you added data columns that output the transaction data. However, if you need to add a column that should display a statistic text always on your exports, you can use this feature. For example, when you need to have a column that identifies your 'shop code' or simply you want to add a customer, you can use this feature. 
1. Select '+ Add custom column.' The 'Add custom column' screen comes up, and you can enter the text in there. This is the text that will be displayed on each row on your export. 
image.png 285.24 KB
2. Click on the 'Create' to complete adding your custom column.
image.png 159.11 KB
Set export parameters:
This option allows you to alter default export parameters, 1. Filter condition 2. Column separator 3. Currency decimal point.
1. Select 'Settings' and parameter customization screen comes up. 
image.png 159.13 KB
2.  Customize the parameters to your need.
image.png 319.19 KB
  • Filter: It is your export criteria. Your export data will be filtered by this rule. Default: "Order was completed in the workstation"
  • CSV Separator: It is your delimiter or column separator. Default: semi-colon ";"
  • Decimal point: It is your decimal separator. A "dot" or a "comma" is widely used. Example: $100.56 or EU 100,56. Default: dot "."
3. Click on 'Create' to save the changes. 

Filter conditions

Currently, supported conditions are:

  • Order was completed in the workstation: Filters all orders that have been completed in workstations without being paid
  • Order has been paid and is not completed: Orders that have been paid but the status is still open since they were not completed in the workstations using 'complete' procedure
  • Order has been paid and is completed or new: Fully completed orders, were paid and completed in the workstations, if not, new orders

To learn more about workstations and handling orders, click here.
In regular operations, orders received at the workstations once paid. Workstation employees process the order and arrange to deliver the products and change the status to 'Complete' in the workstations. 

However, Zappter offers special 'payment rules' to address businesses' preorder processing requirements. For example, items that are not stocked usually needs preorder placements with payments in advance. These orders will be 'Completed' once the item has been delivered.