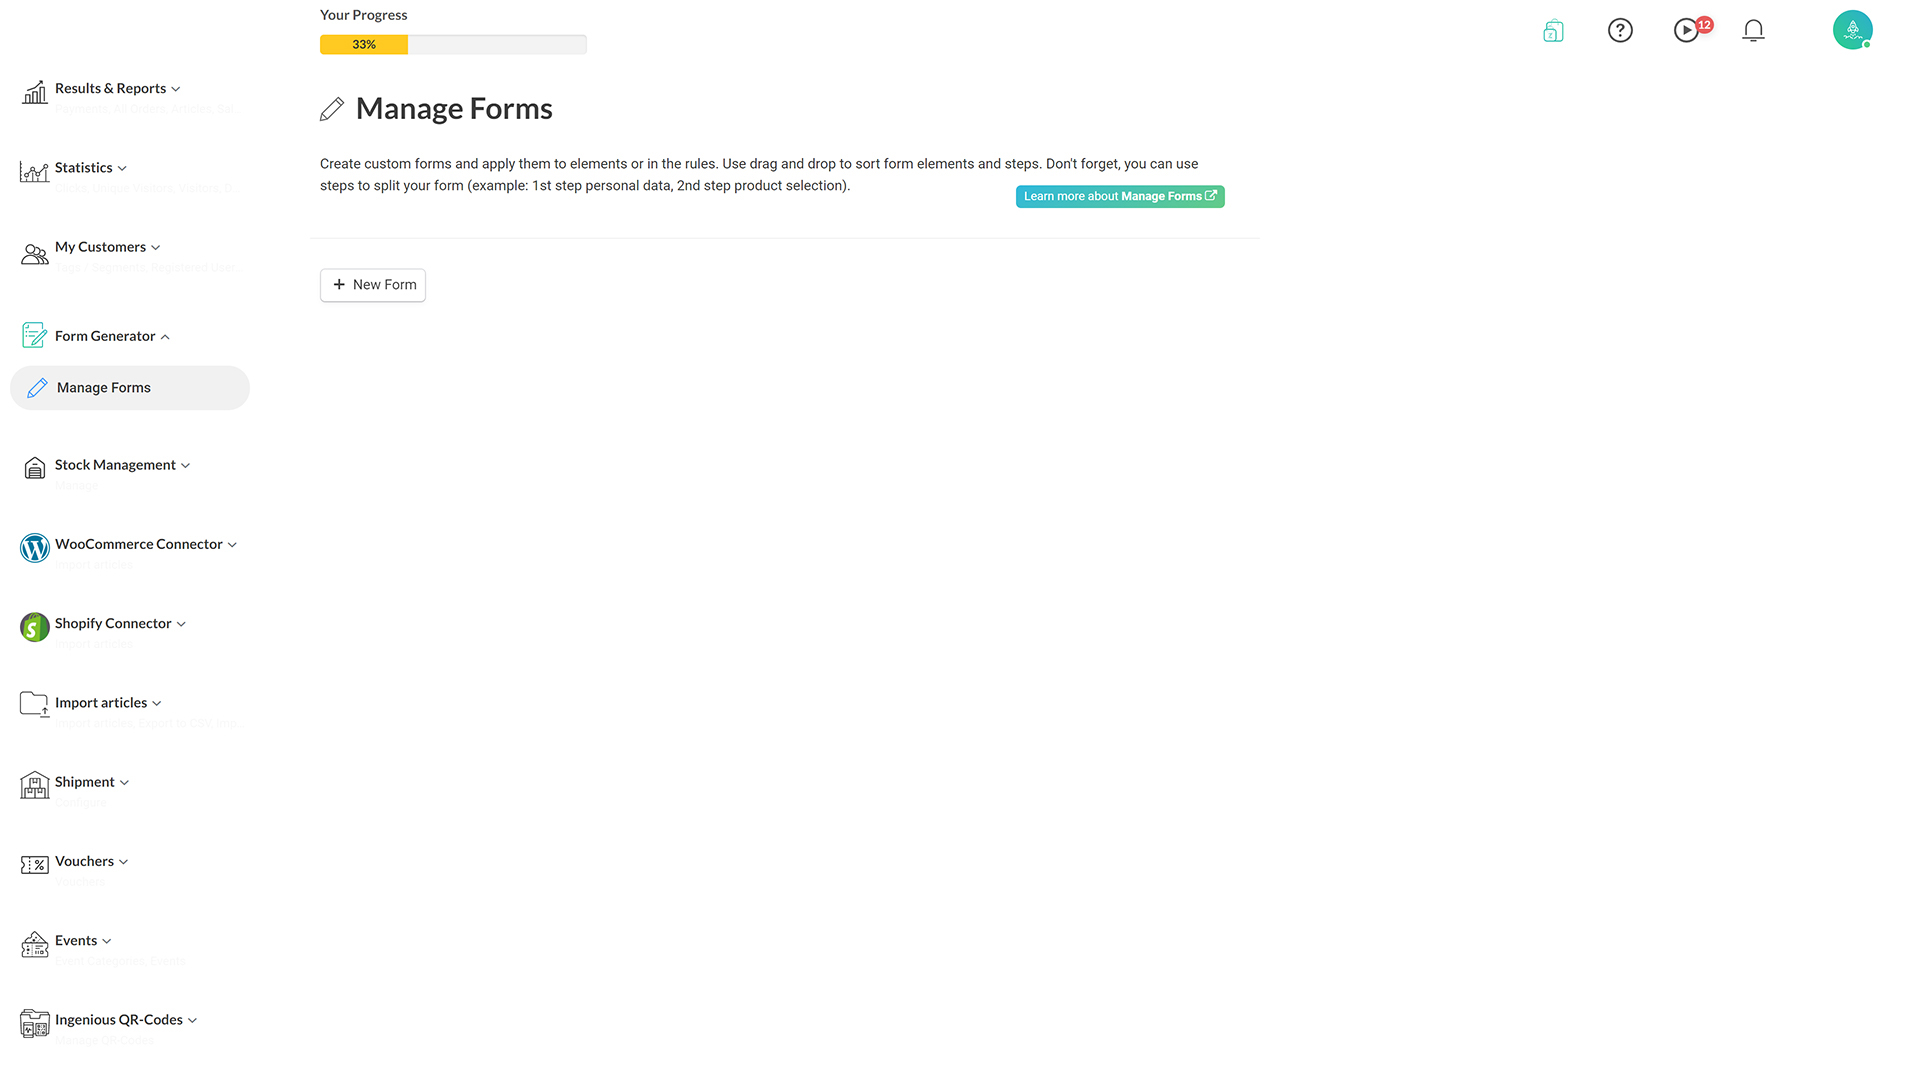
1. Admin > Form-Generator > Manage Forms, and click on the '+ New Form' button.
image.png232.16 KB
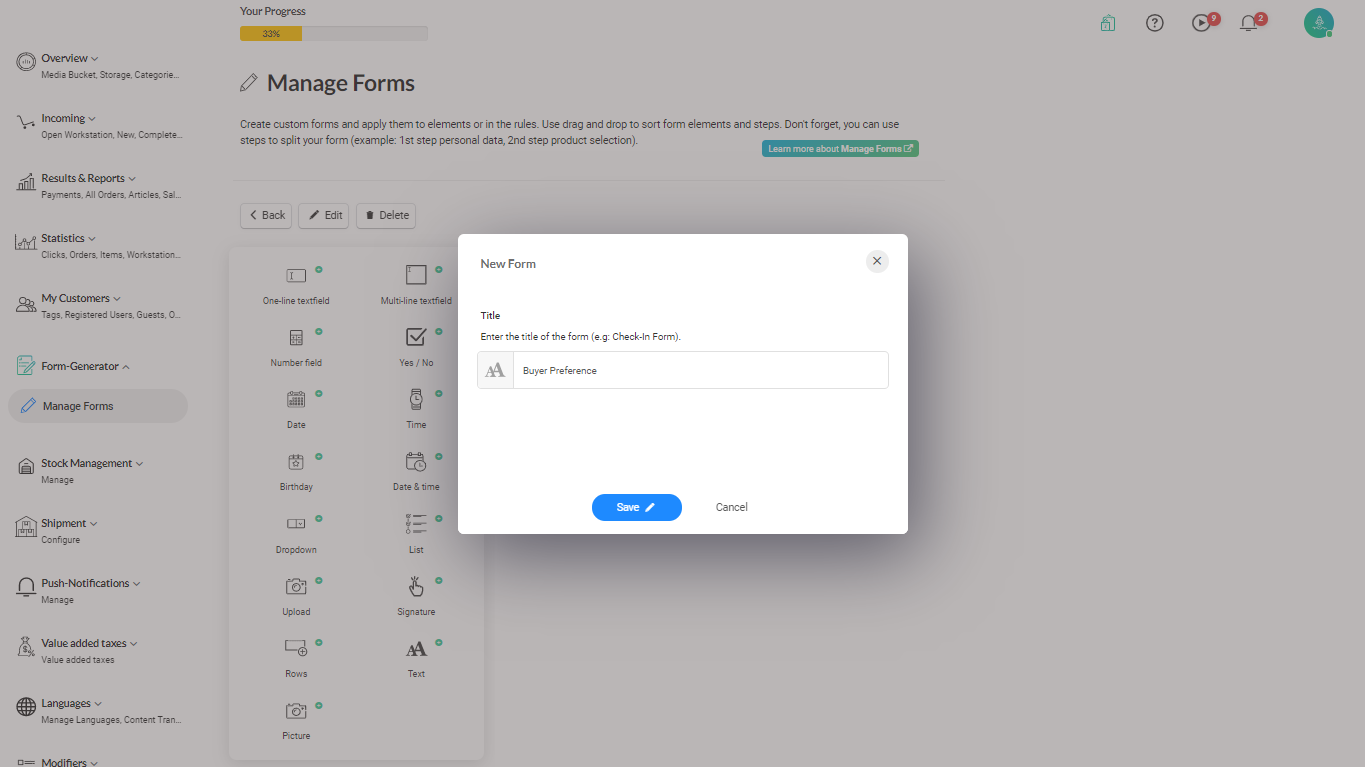
2. Fill in the title for your form. Save your form.
image.png139.88 KB
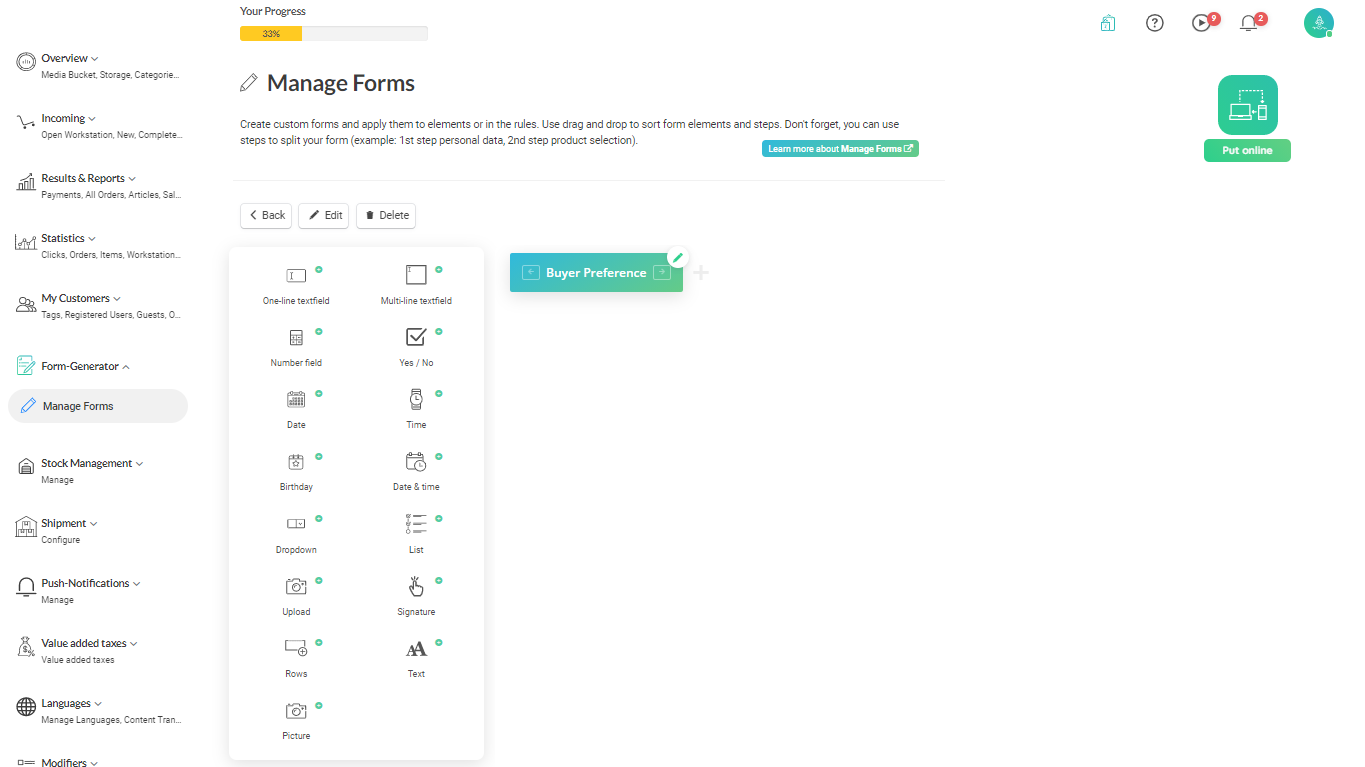
Your new form has been created and shown in the designer layout. Click on the 'Put Online' to publish the changes.
image.png110.04 KB
Adding languages
Adding and managing multiple languages is easy with the app creator; follow the below steps.
1. Click on the edit icon.
image.png103.22 KB
2. In the following screen, the user can edit the 'Title' or 'Allow Sharing' which enables a user to share a form with someone who will fill the form on behalf or assist the user.
image.png143.09 KB
Adding fields on the forms
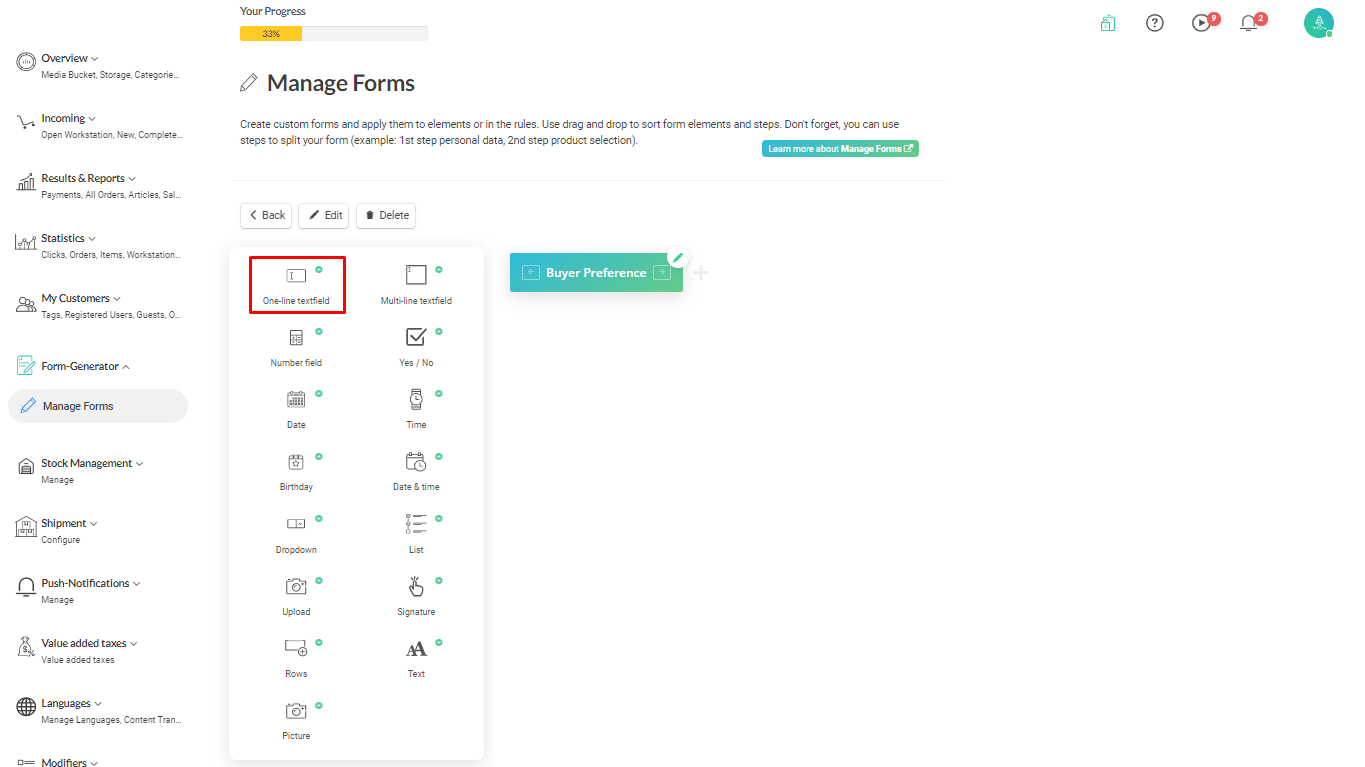
1. In the form layout, click on any field.
image.png103.49 KB
A 'one-line textfield' is added for this exercise.
2. Add the one-line textfield.
image.png135.88 KB
Tabs:
General: This is the name of the field in your form. Do the translations. Required indicates if you want to make the entry mandatory on this field
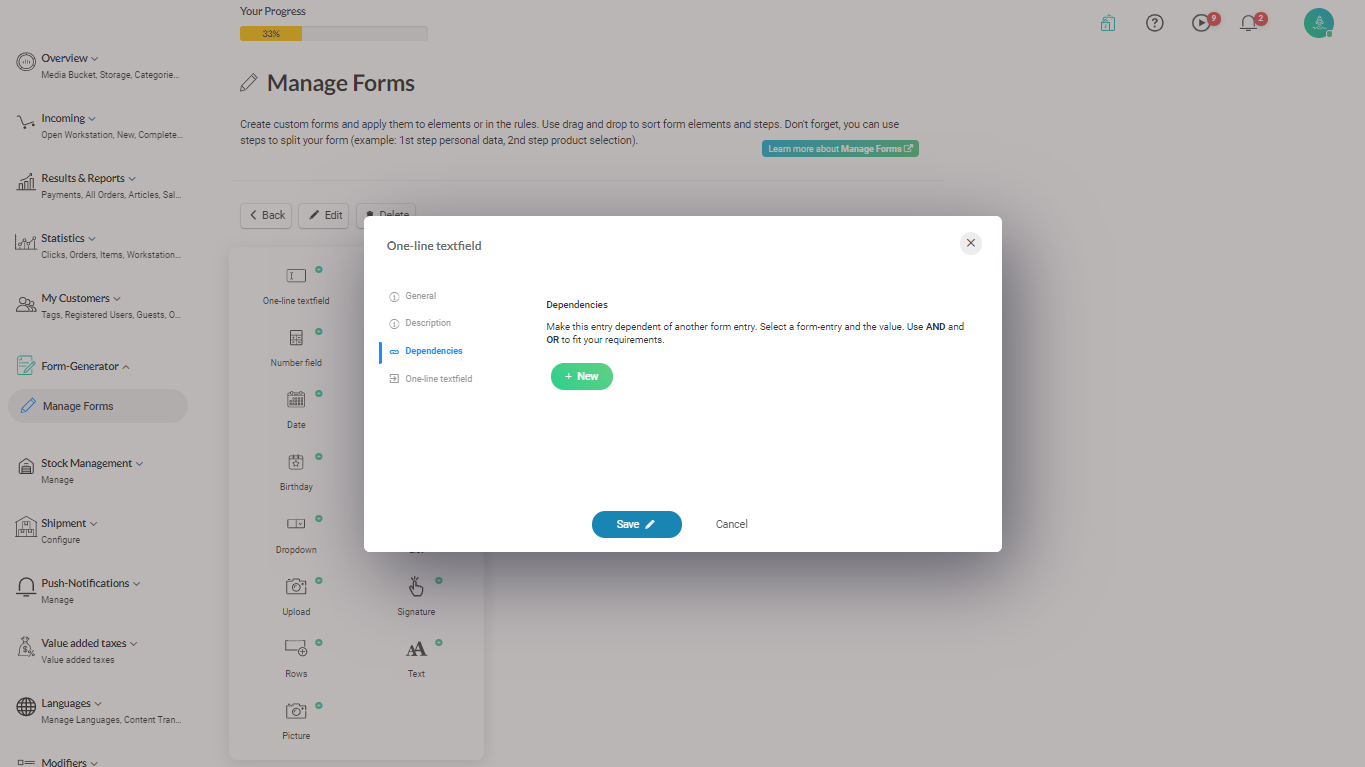
Description: A description for this field
Dependencies: Here, you check the value of another field to show this textfield. For instance, if the weekly orders field exceeds 3, we will display 'Preferred Pay Method", like the sample setup screen below
image.png141.68 KB
One-line textfield: This tab changes its name depending on the field type you have selected. Regardless of the field type, it has two important controls: Predefined Value&Placeholderwhere you set a default value for the field and a placeholder text
3. Save the changes and click on the 'Put Online' to publish the changes.
Adding steps to the forms
Steps in the forms are like tabs. You group logically related info into sets and put them into a single step to simplify user entry. Follow the steps.
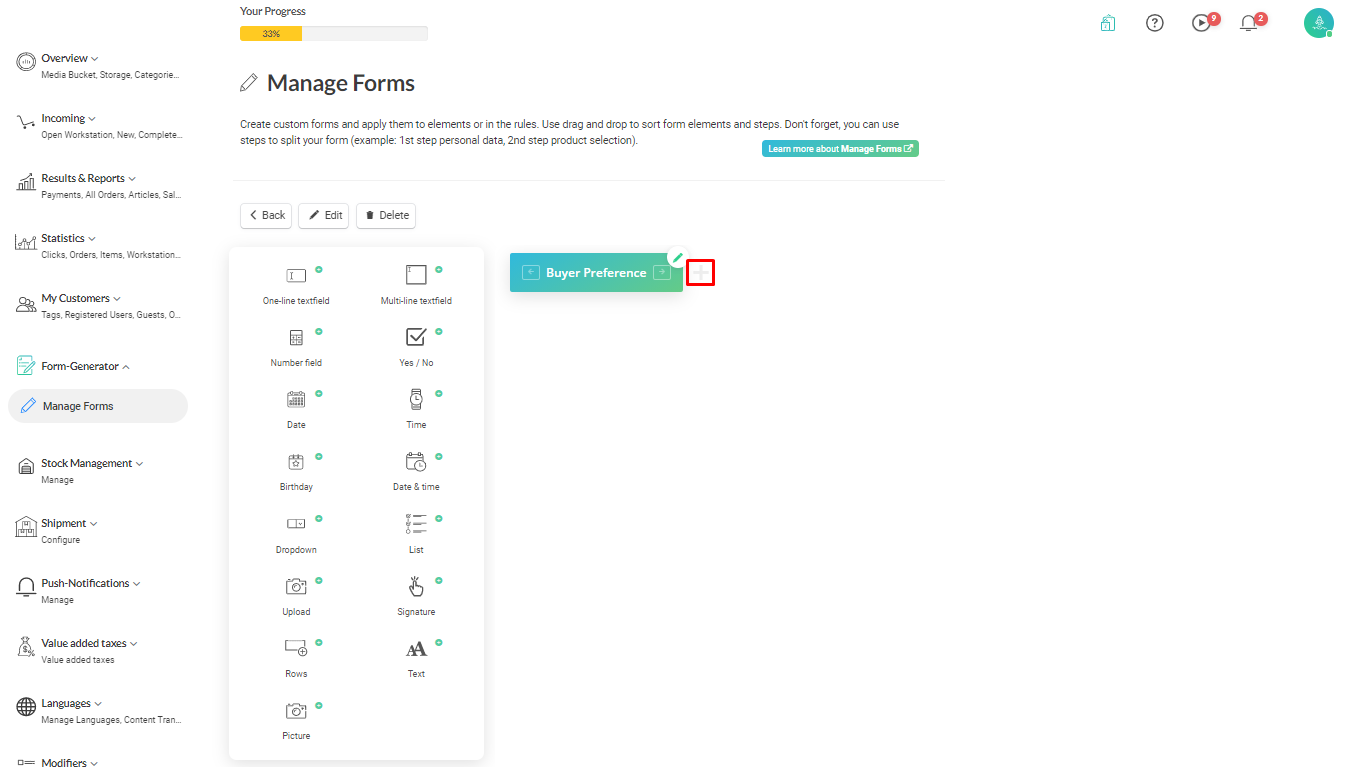
1. Click on the faded + icon by the pencil icon.
image.png103.14 KB
2. Give a name for your next step and allow form sharing for this step of the form.
image.png145.57 KB
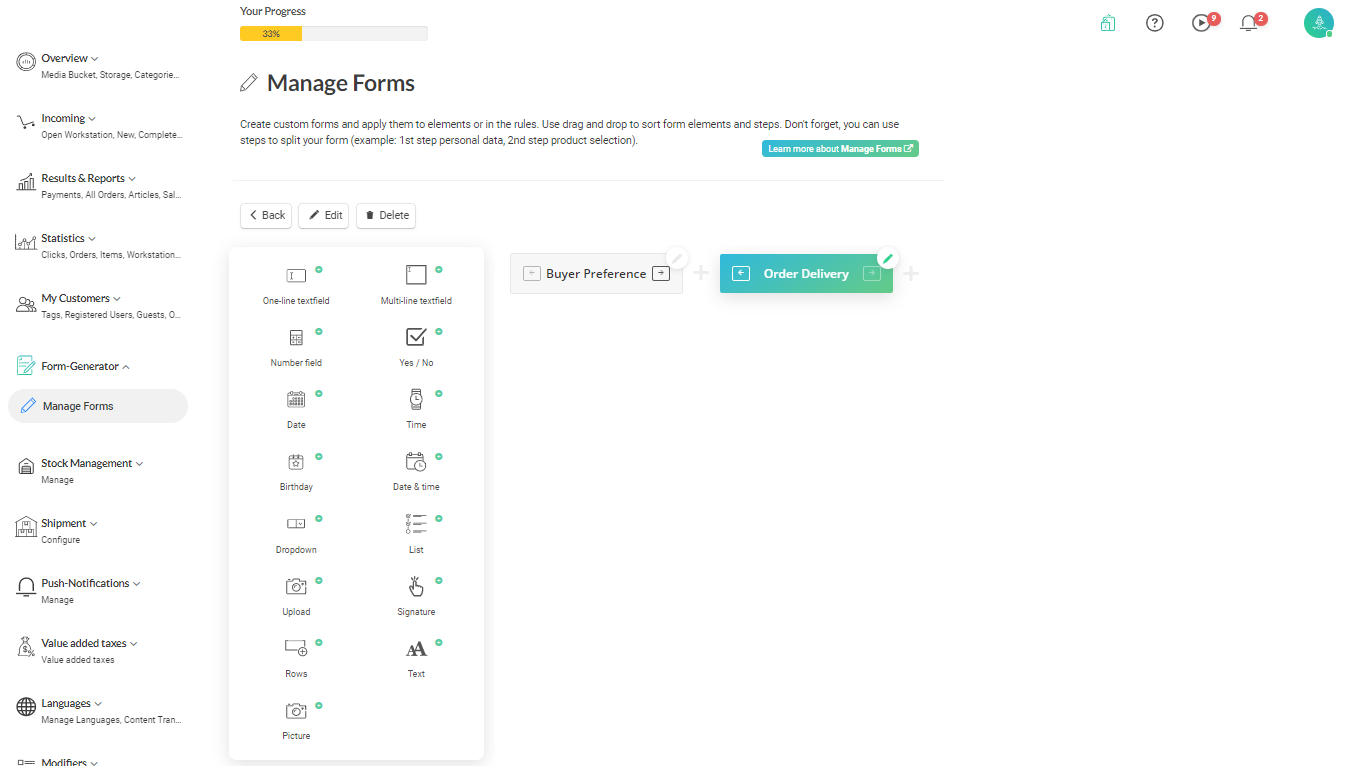
3. Create the step, and your form layout now looks like below. And, the new step is now ready to be painted with fields. Click on the 'Put Online' to publish the changes.
image.png105.97 KB
Use the same way populate fields on the new step as discussed in the section Adding Fields to the Form.