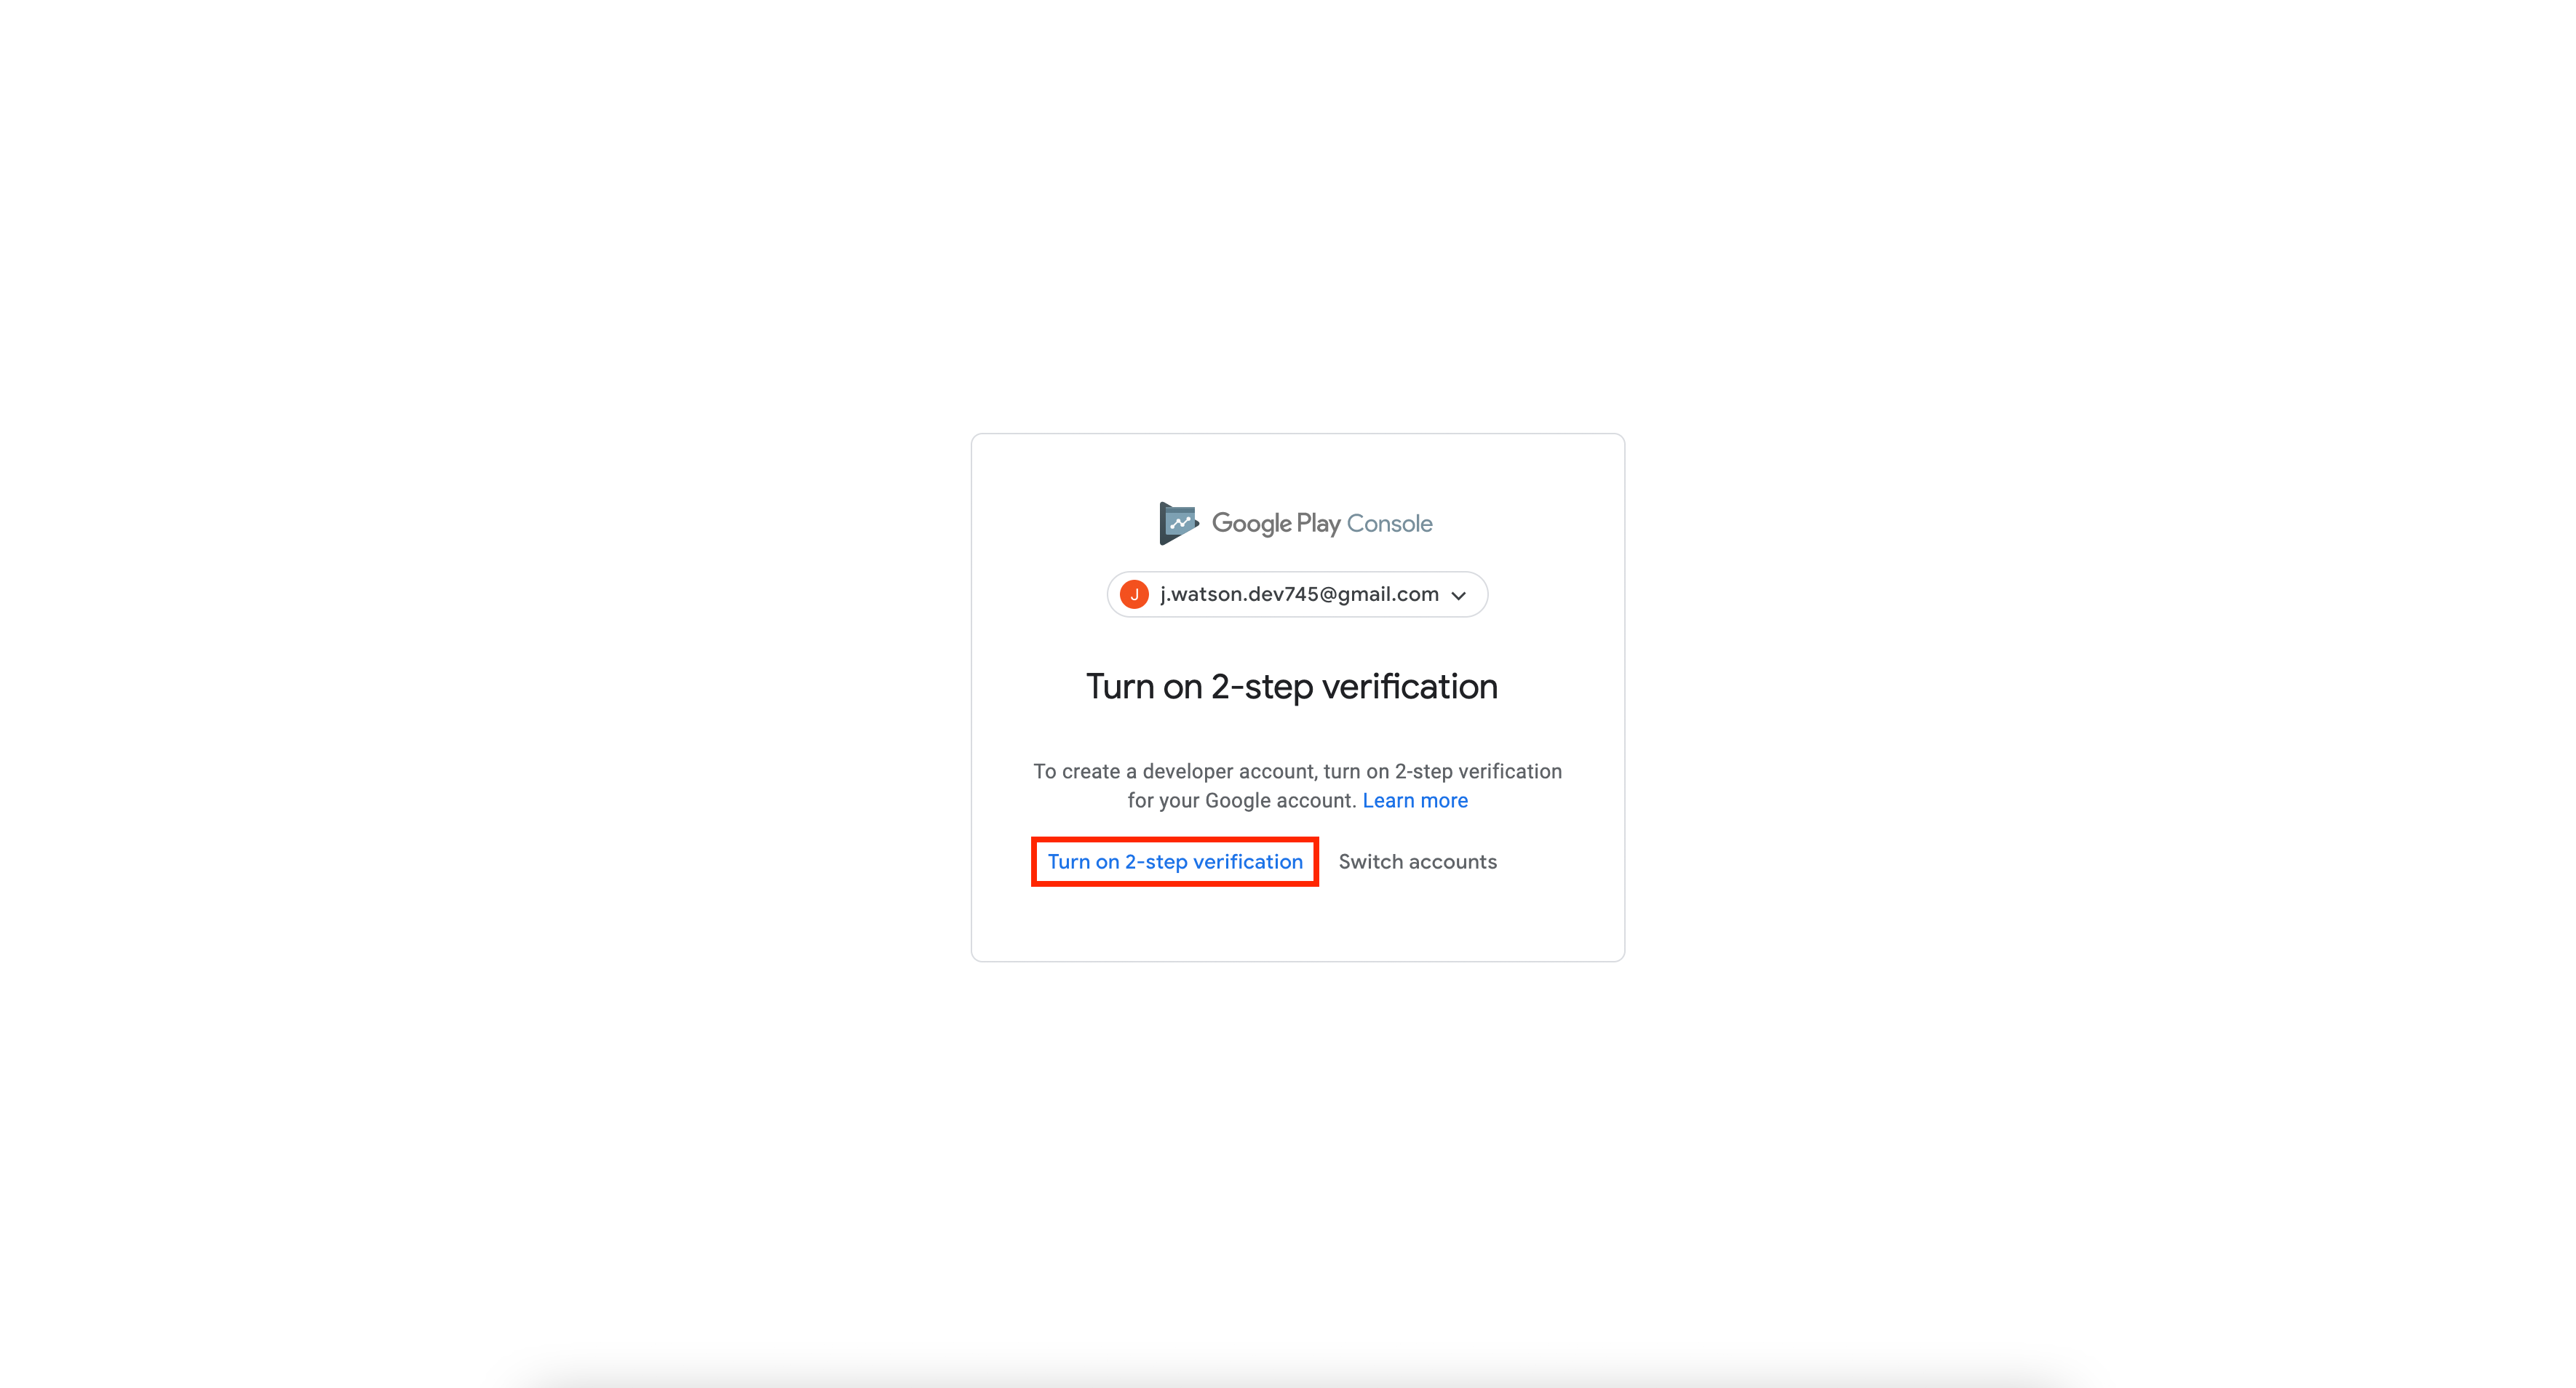
2. Login with your previously created Google Account if necessary. You will be asked to turn on the 2-step verification. Click on "Turn on 2-step verification".
image.png236.42 KB
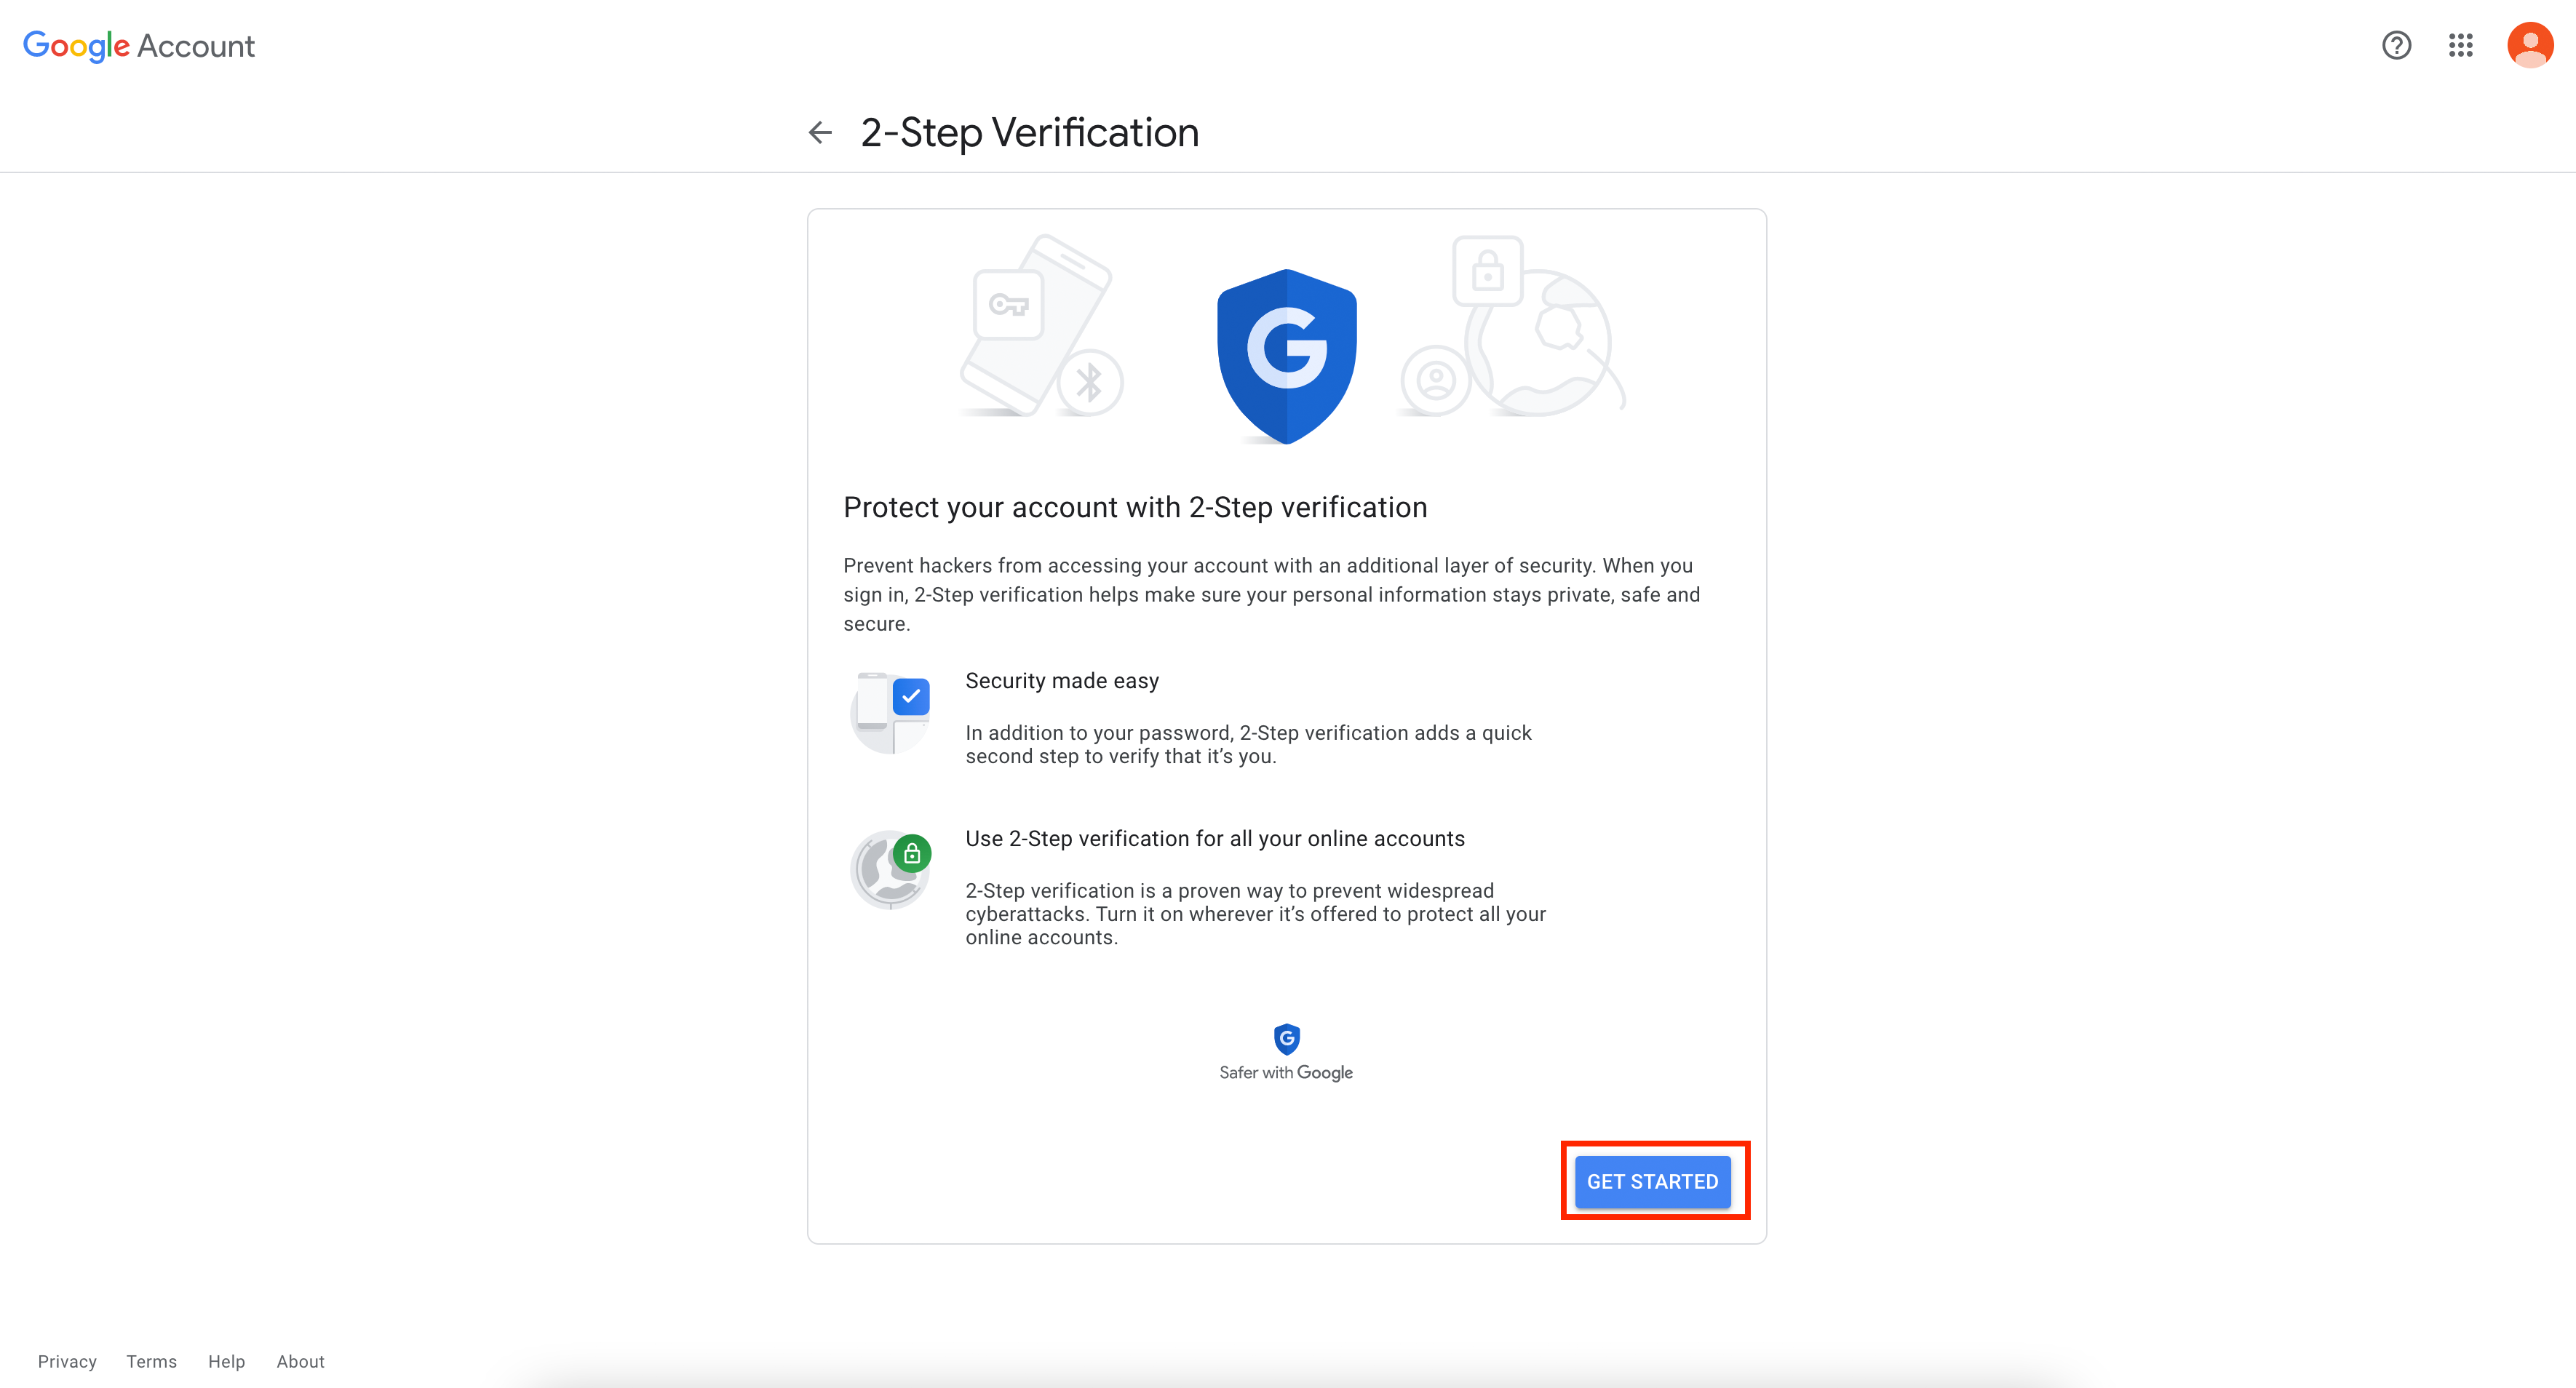
3. Click on "Get started" and enter your password if required.
image.png573.54 KB
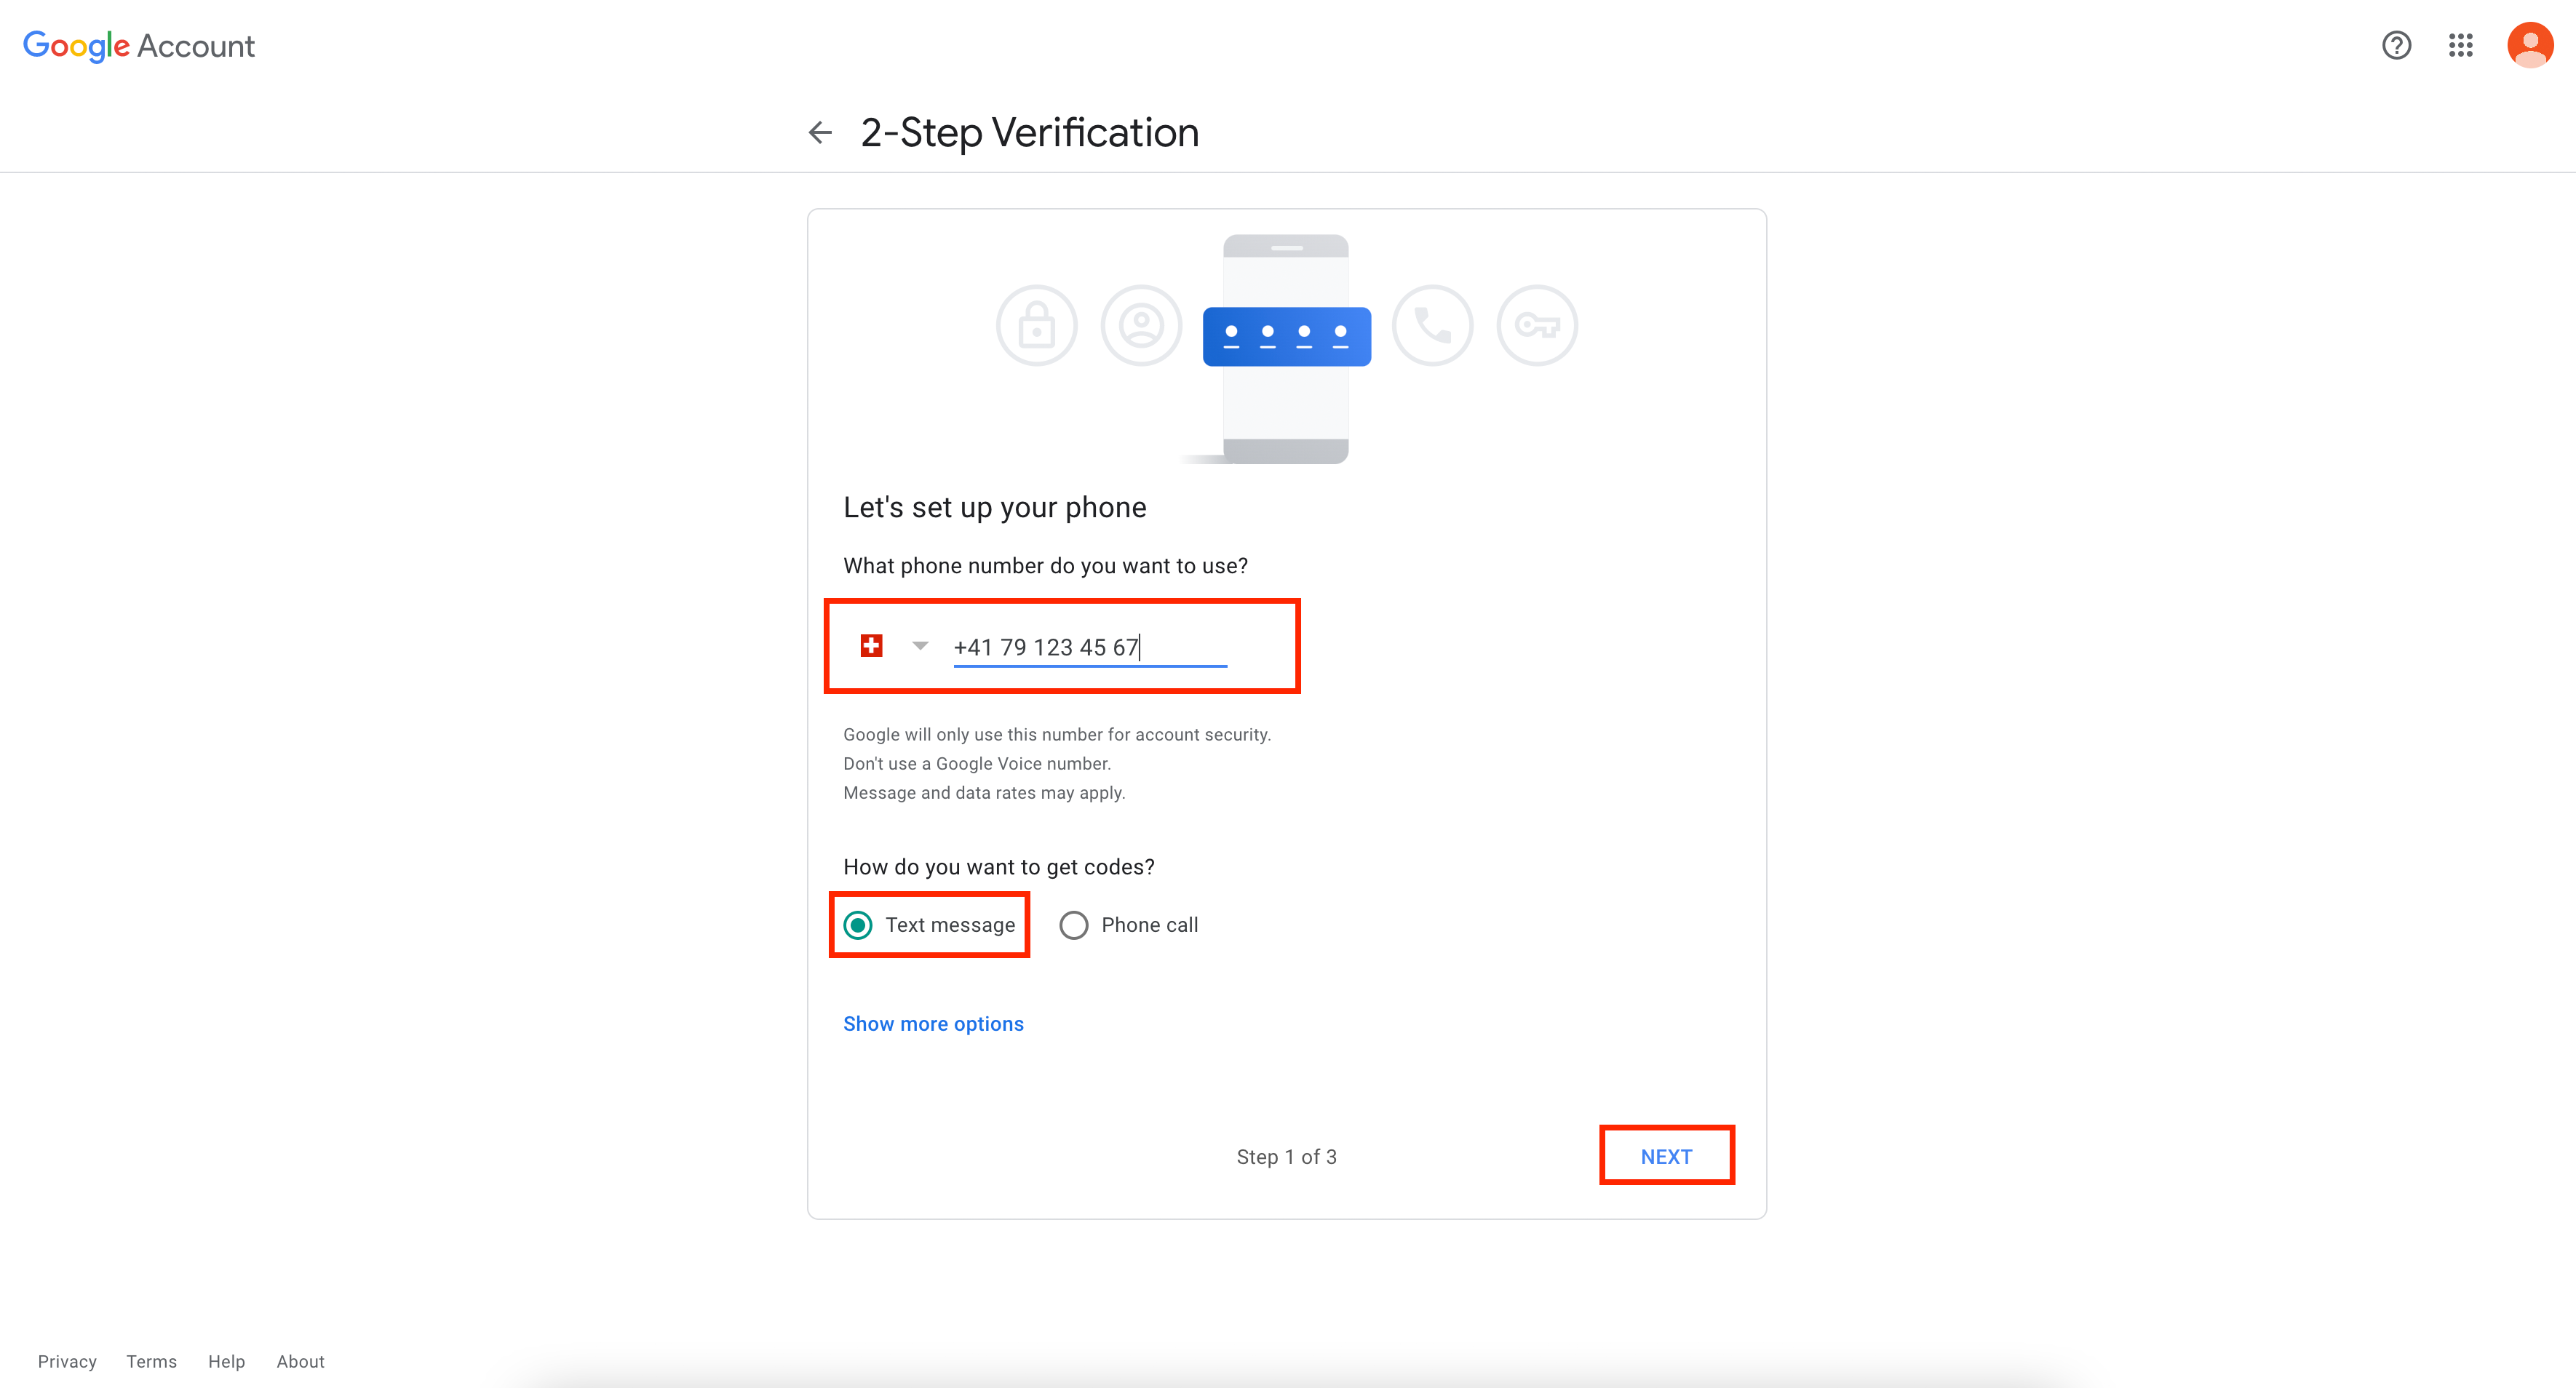
4. Verify that your phone number is correct and select "Text message". Continue by pressing on "Next".
image.png420.49 KB
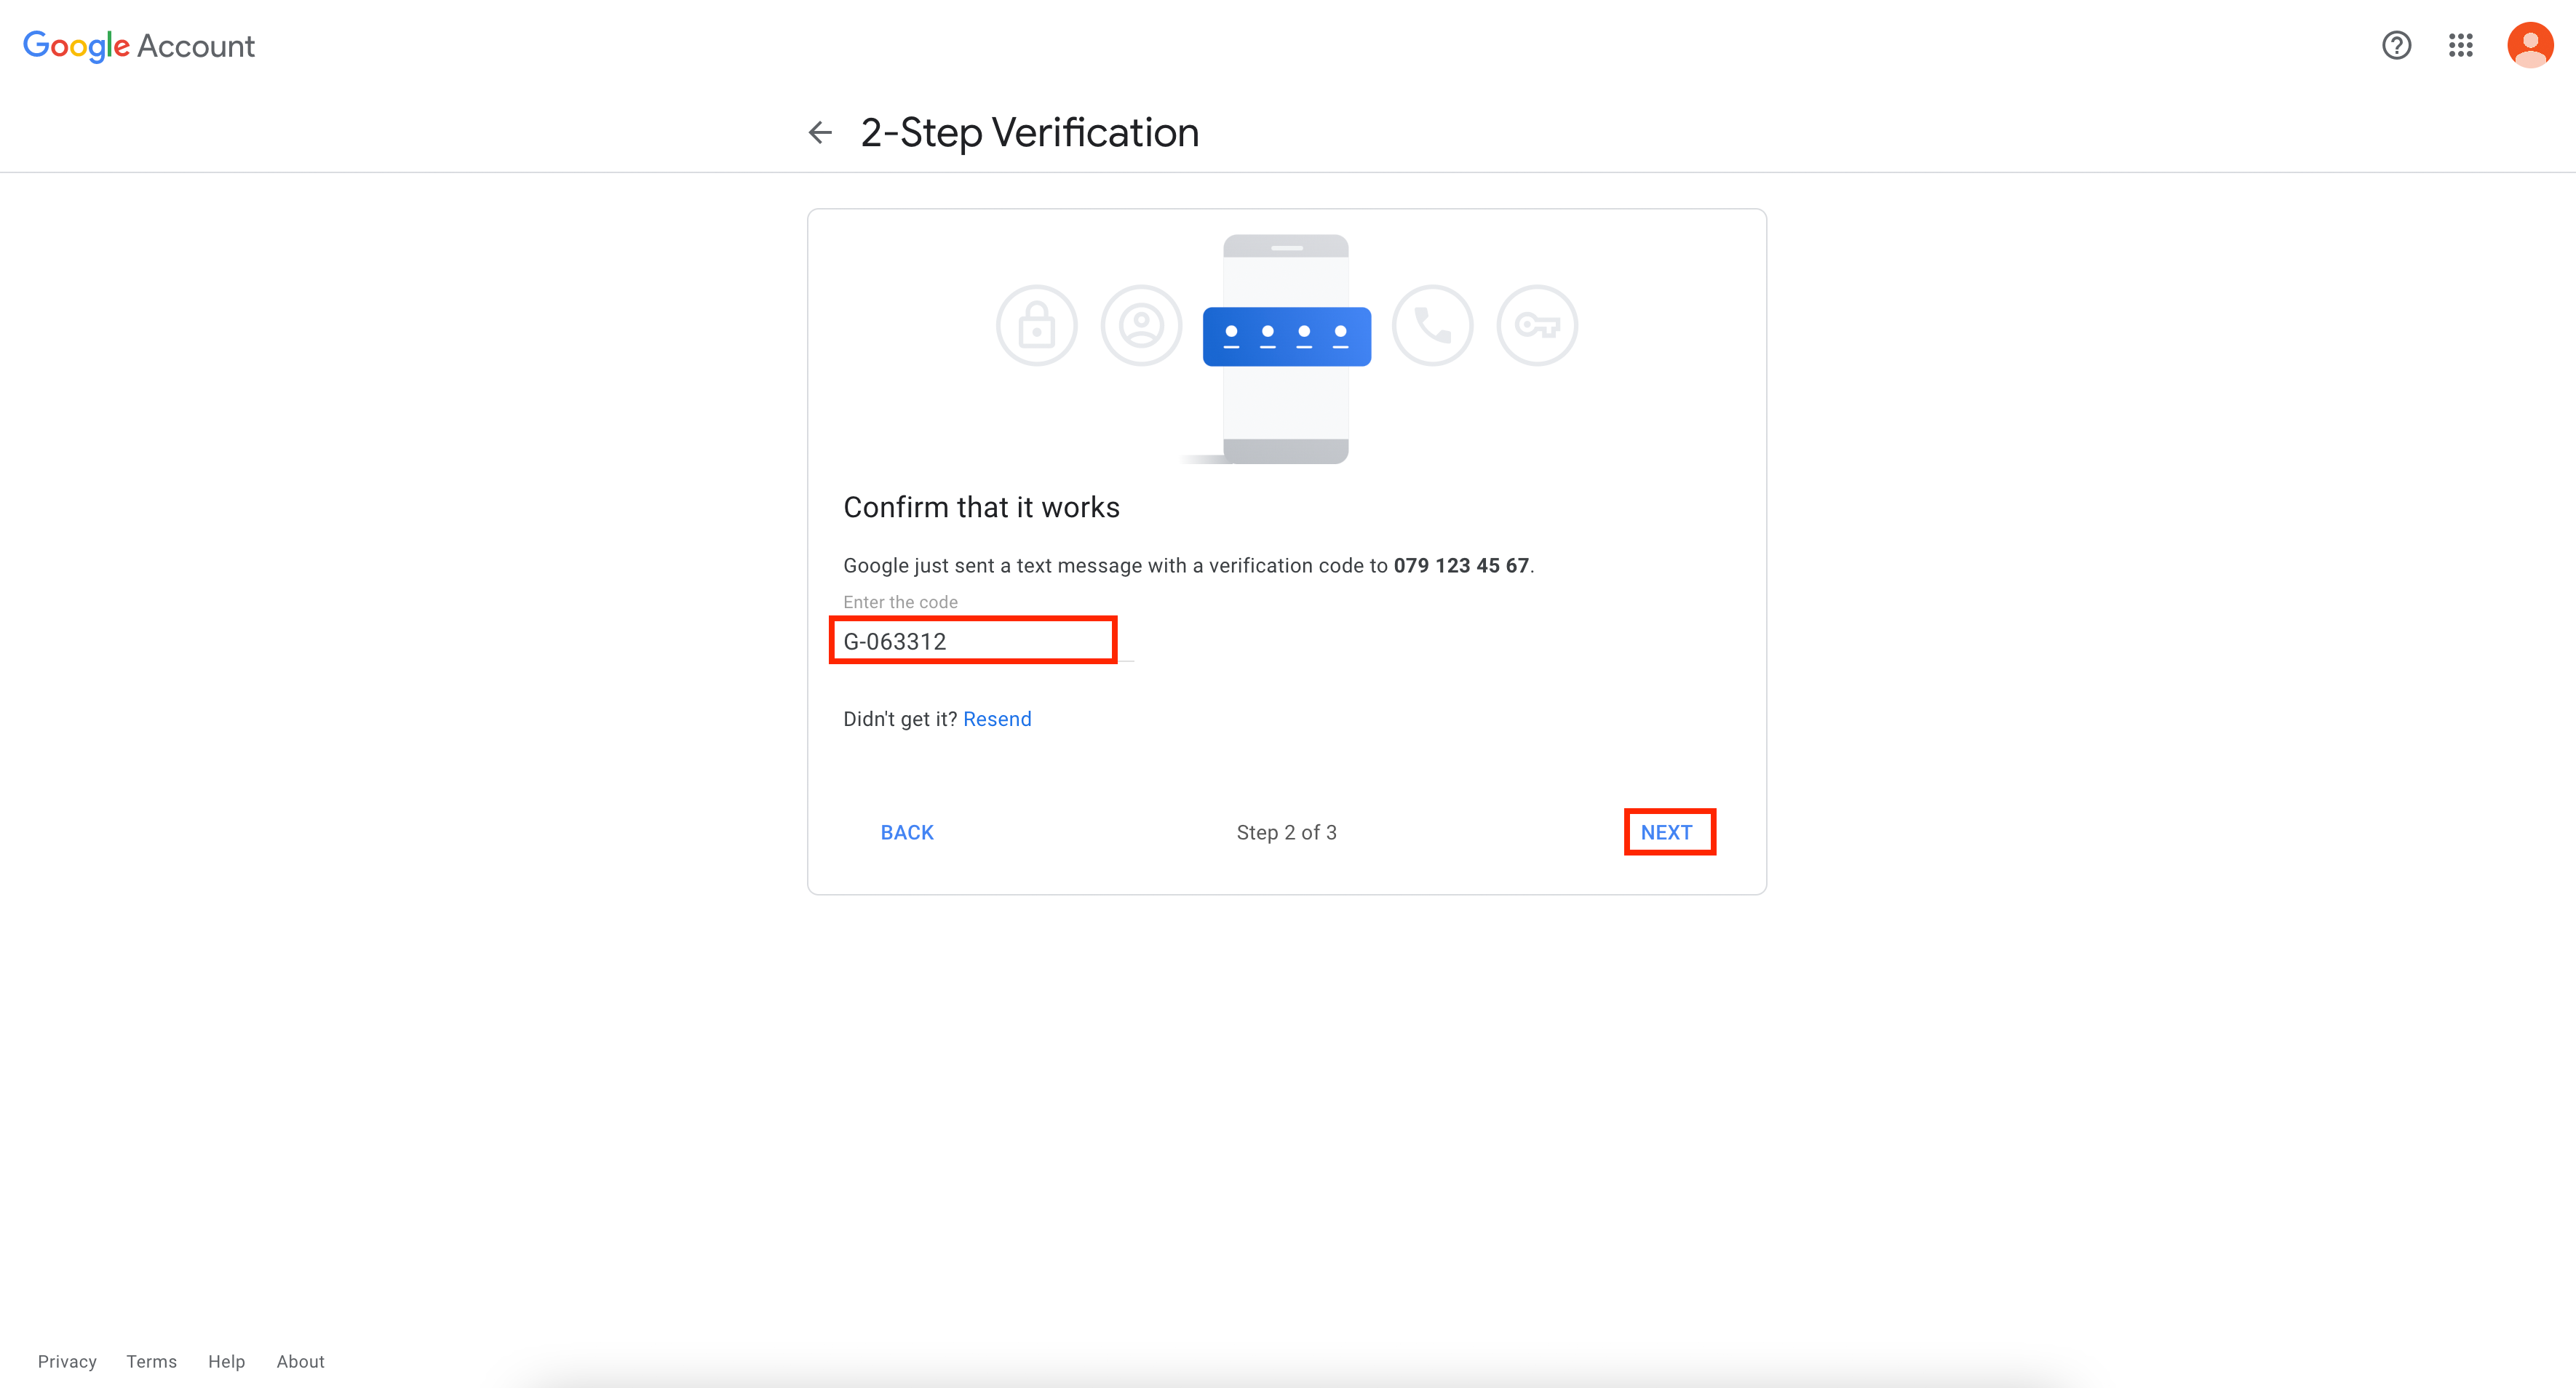
5. Enter the code that you have received on your phone number
image.png367.13 KB
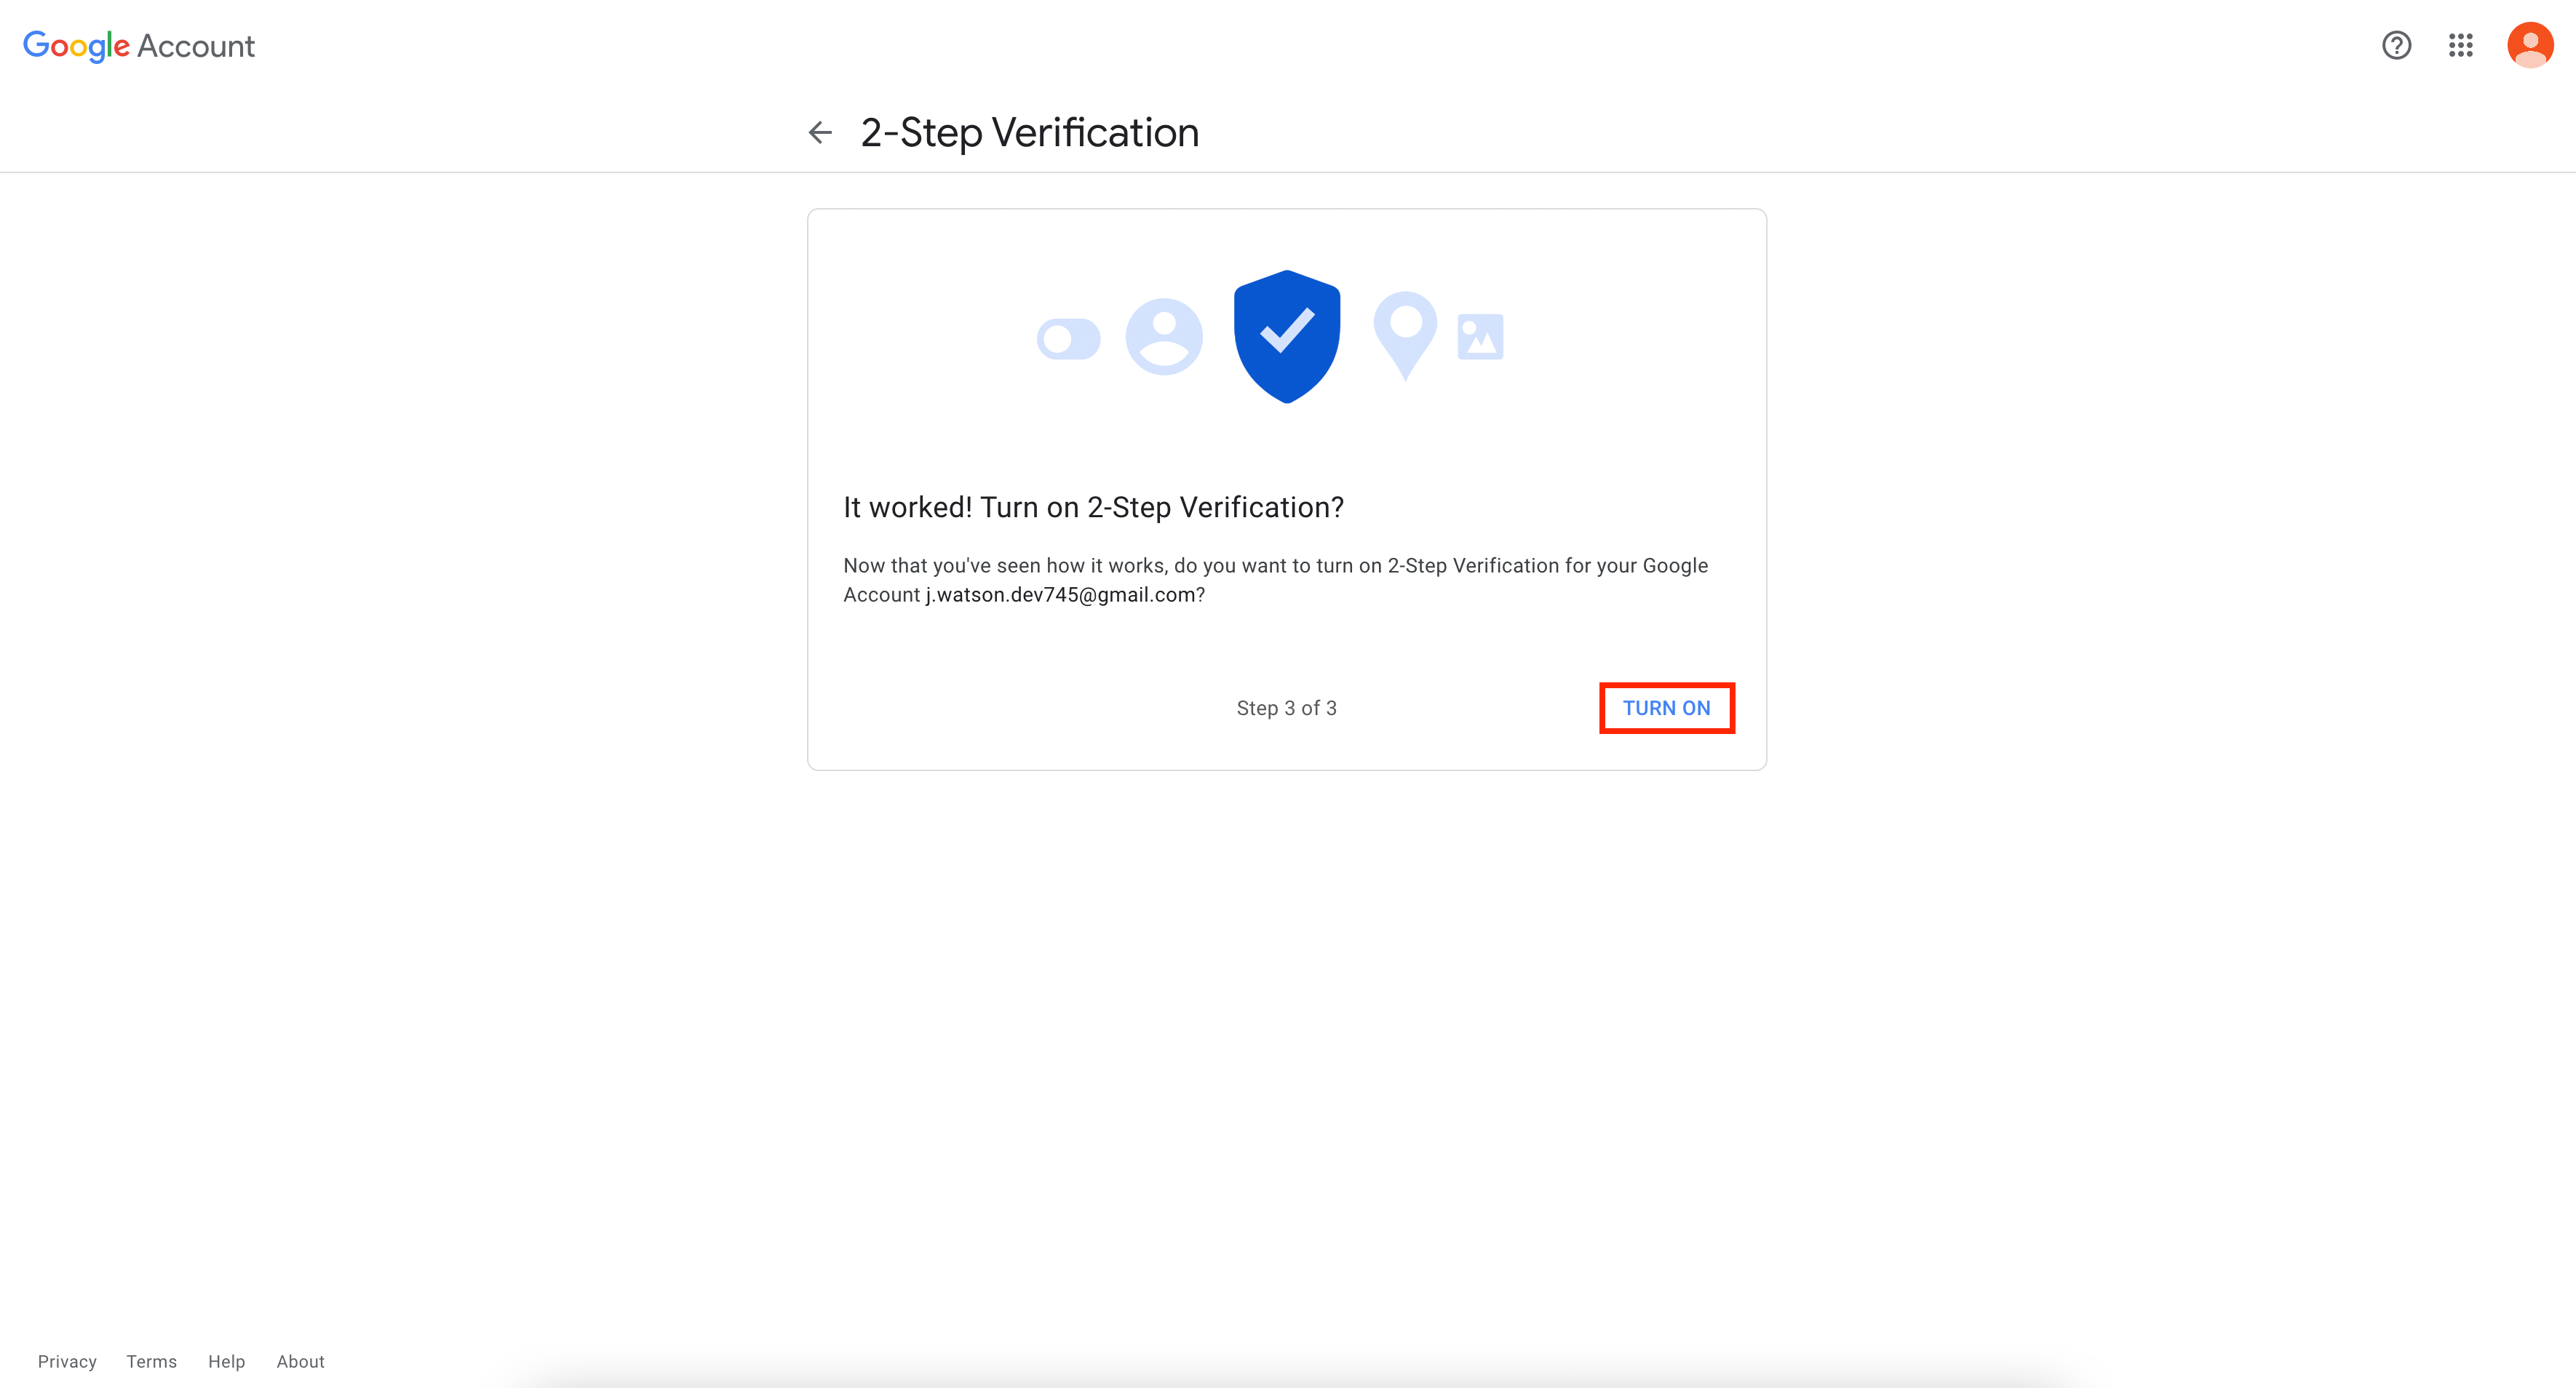
6. Press now on "Turn on" to finally enable the Two-Factor Authentication.
image.png327.62 KB
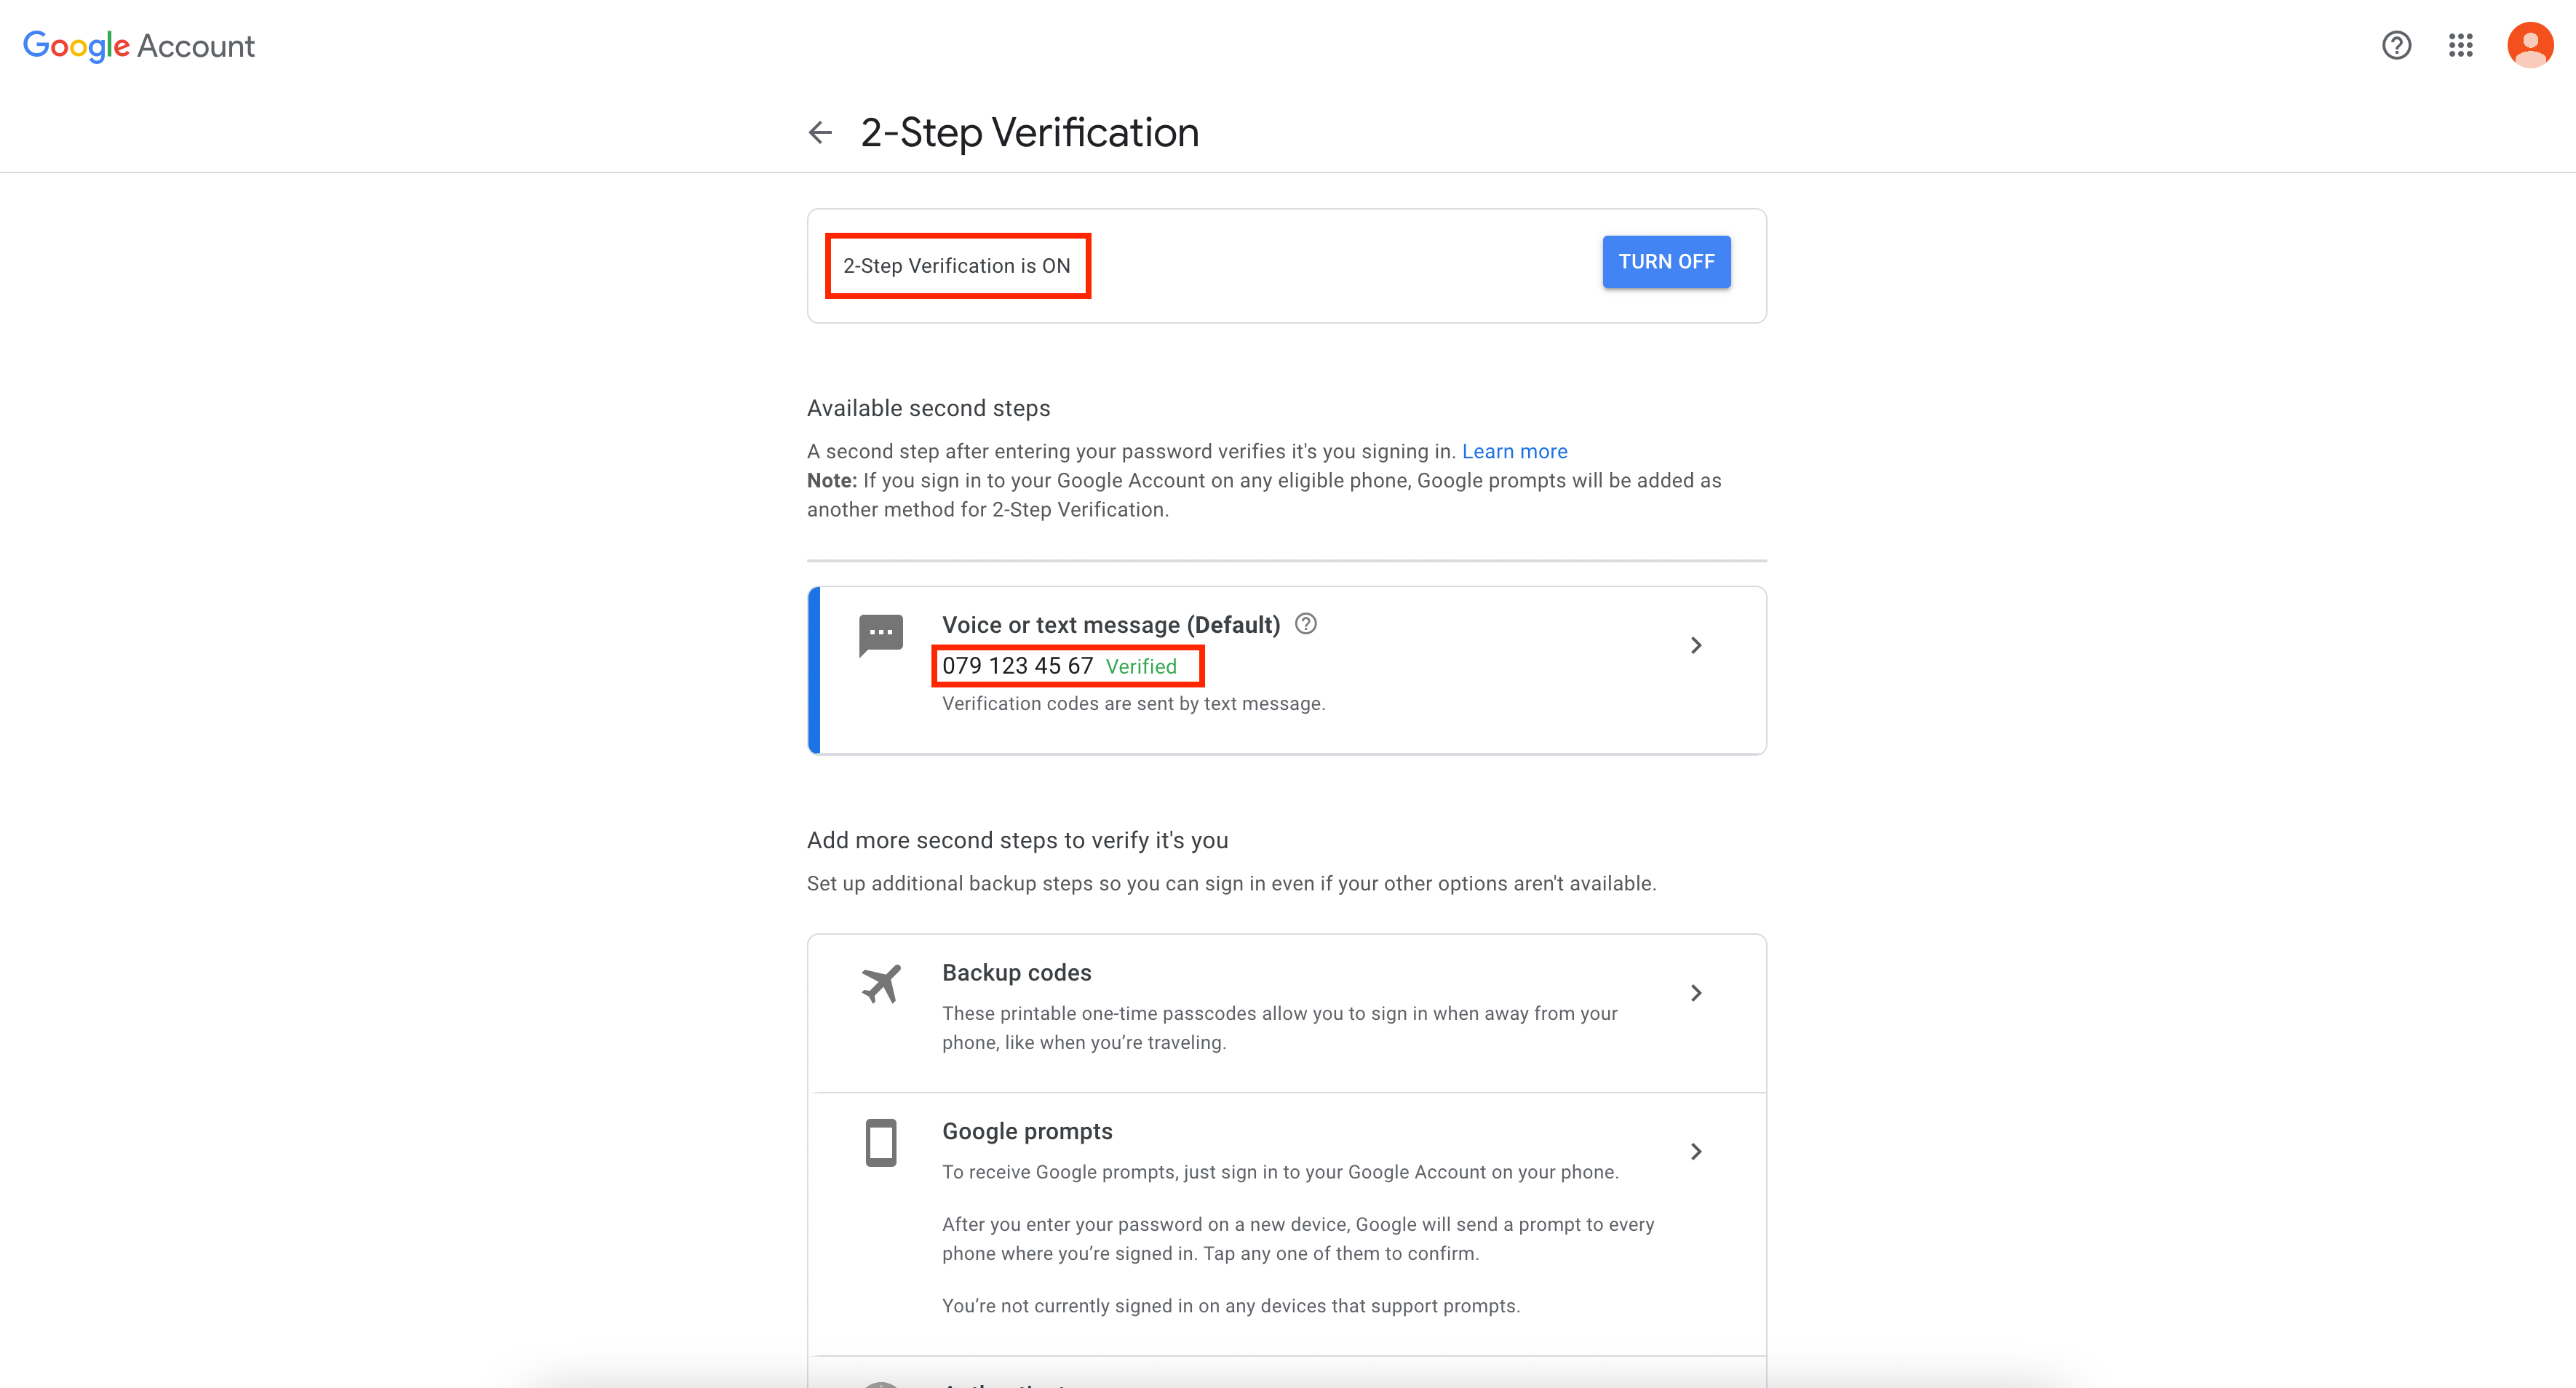
7. You will now land on the following page. You must see that "2-Step Verification is ON" and your phone number is verified. You can close this window and go back to the following link: https://play.google.com/console/u/0/signup/playSignup
image.png503.2 KB
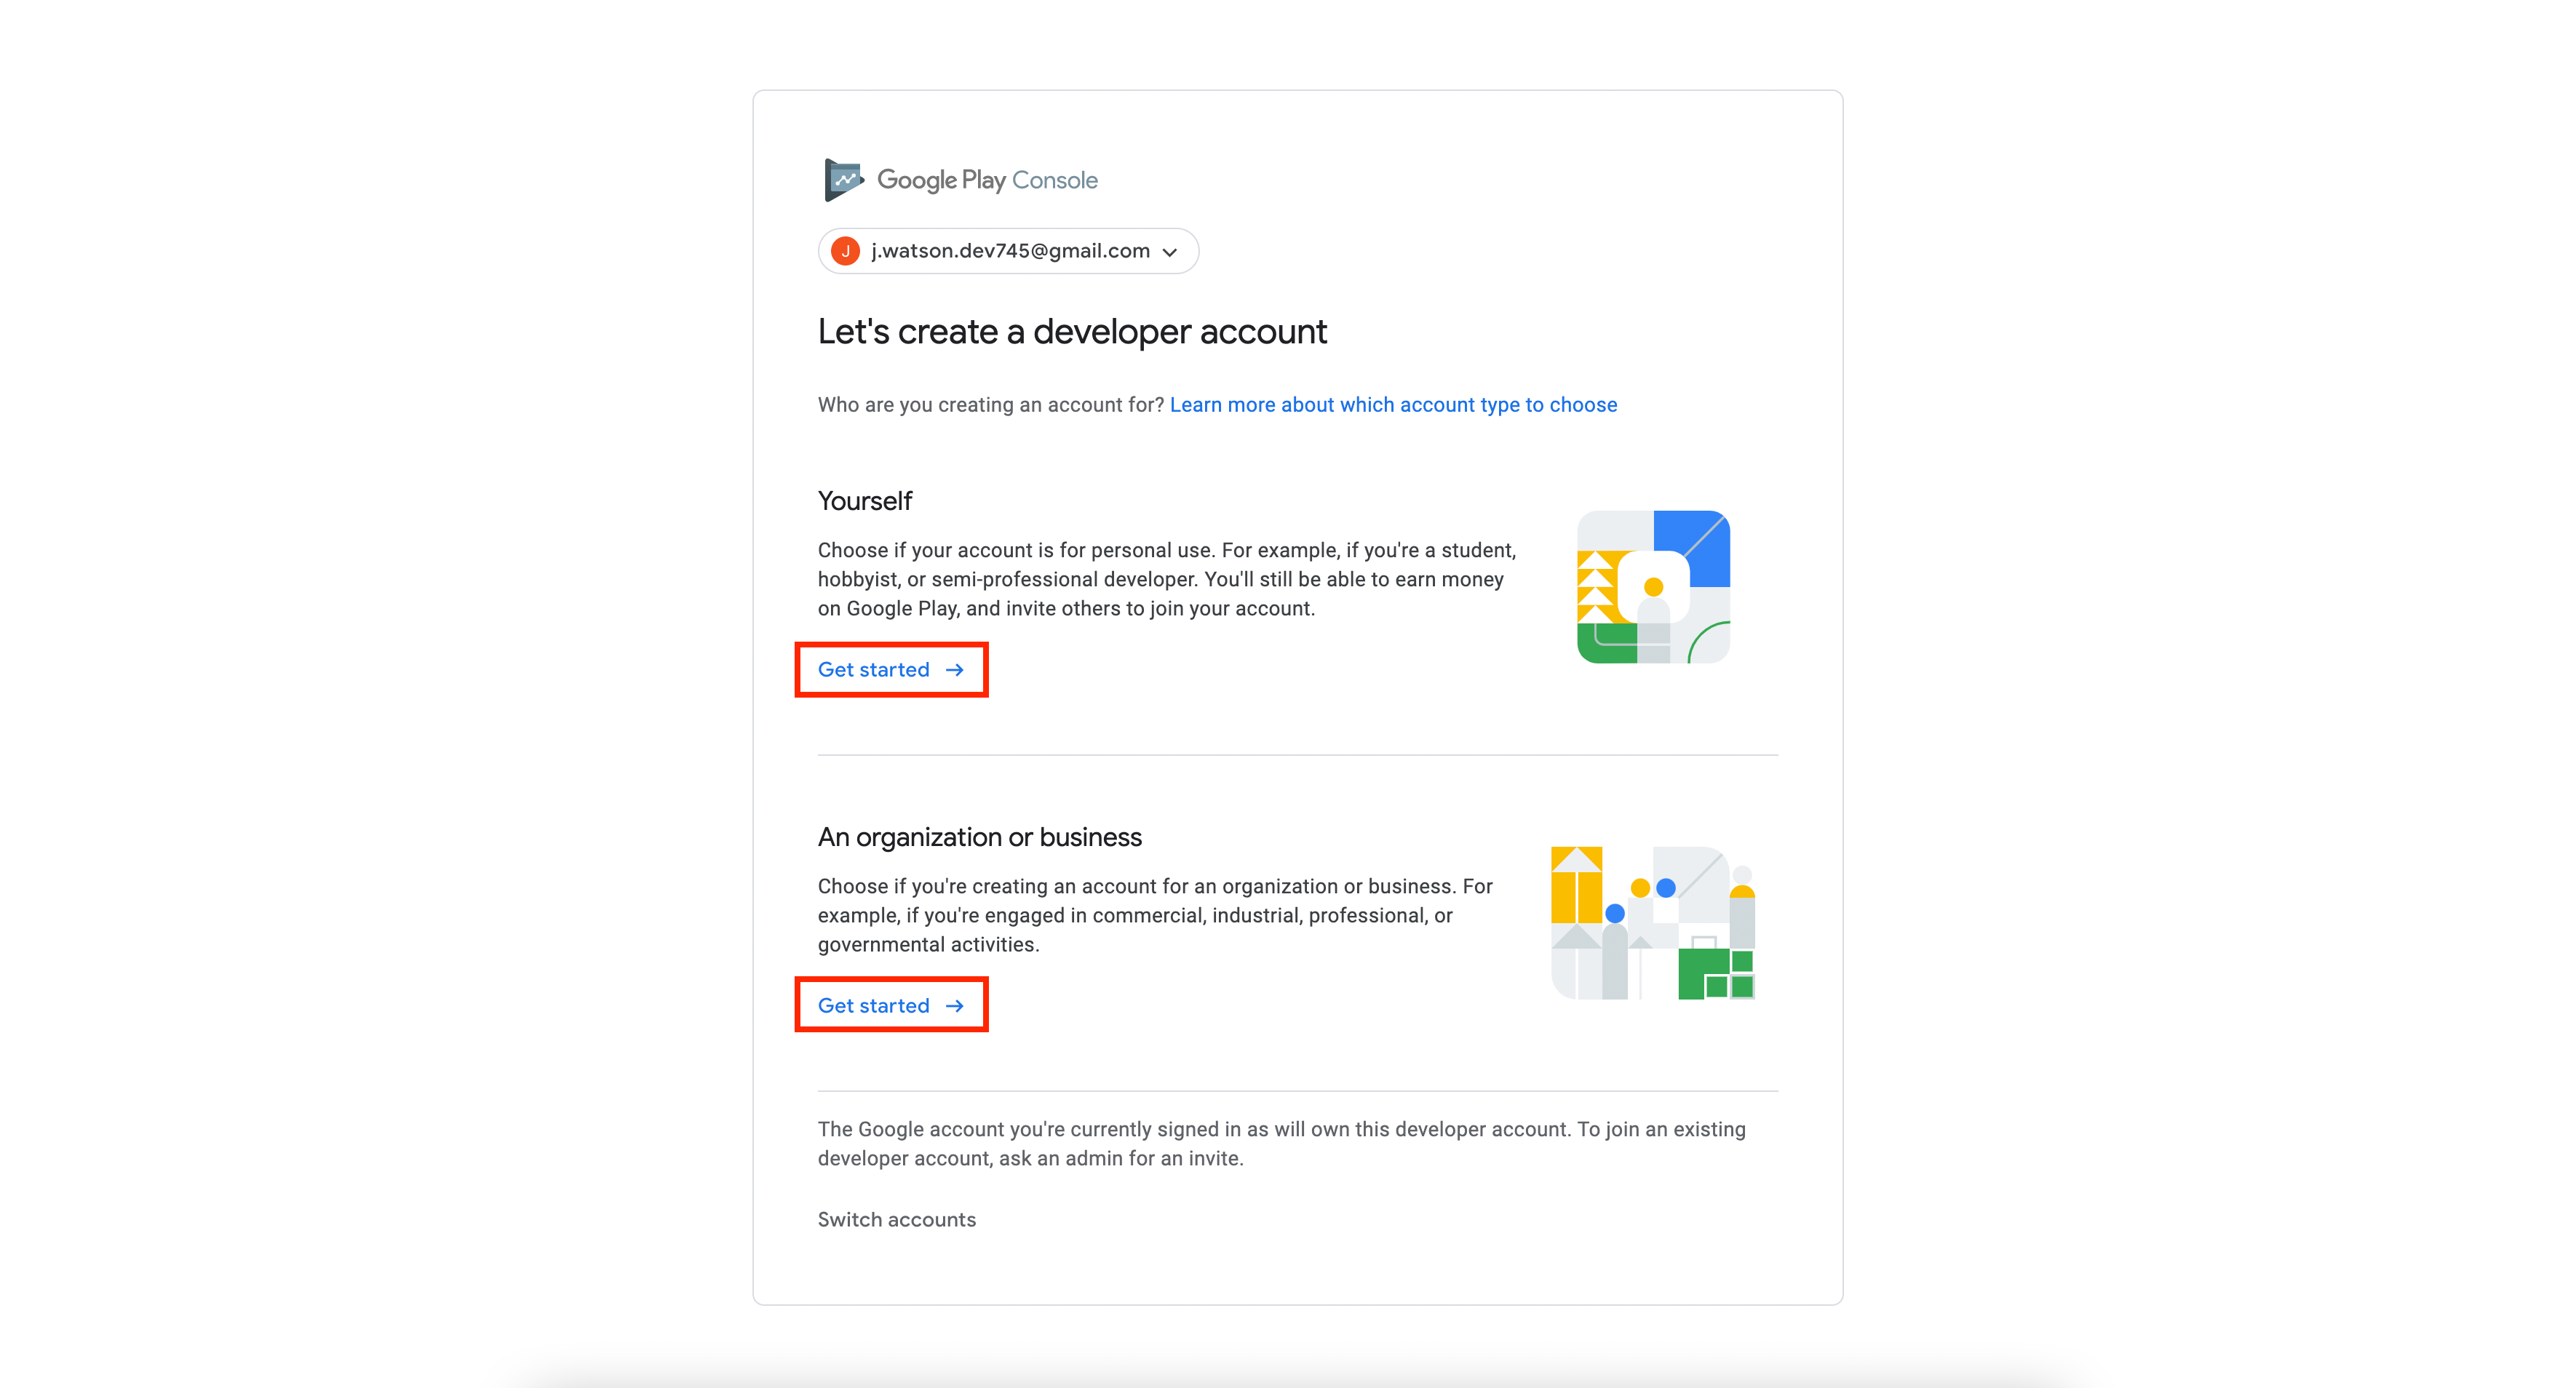
8. Select if you want to continue for personal use or as an organization
image.png537.5 KB
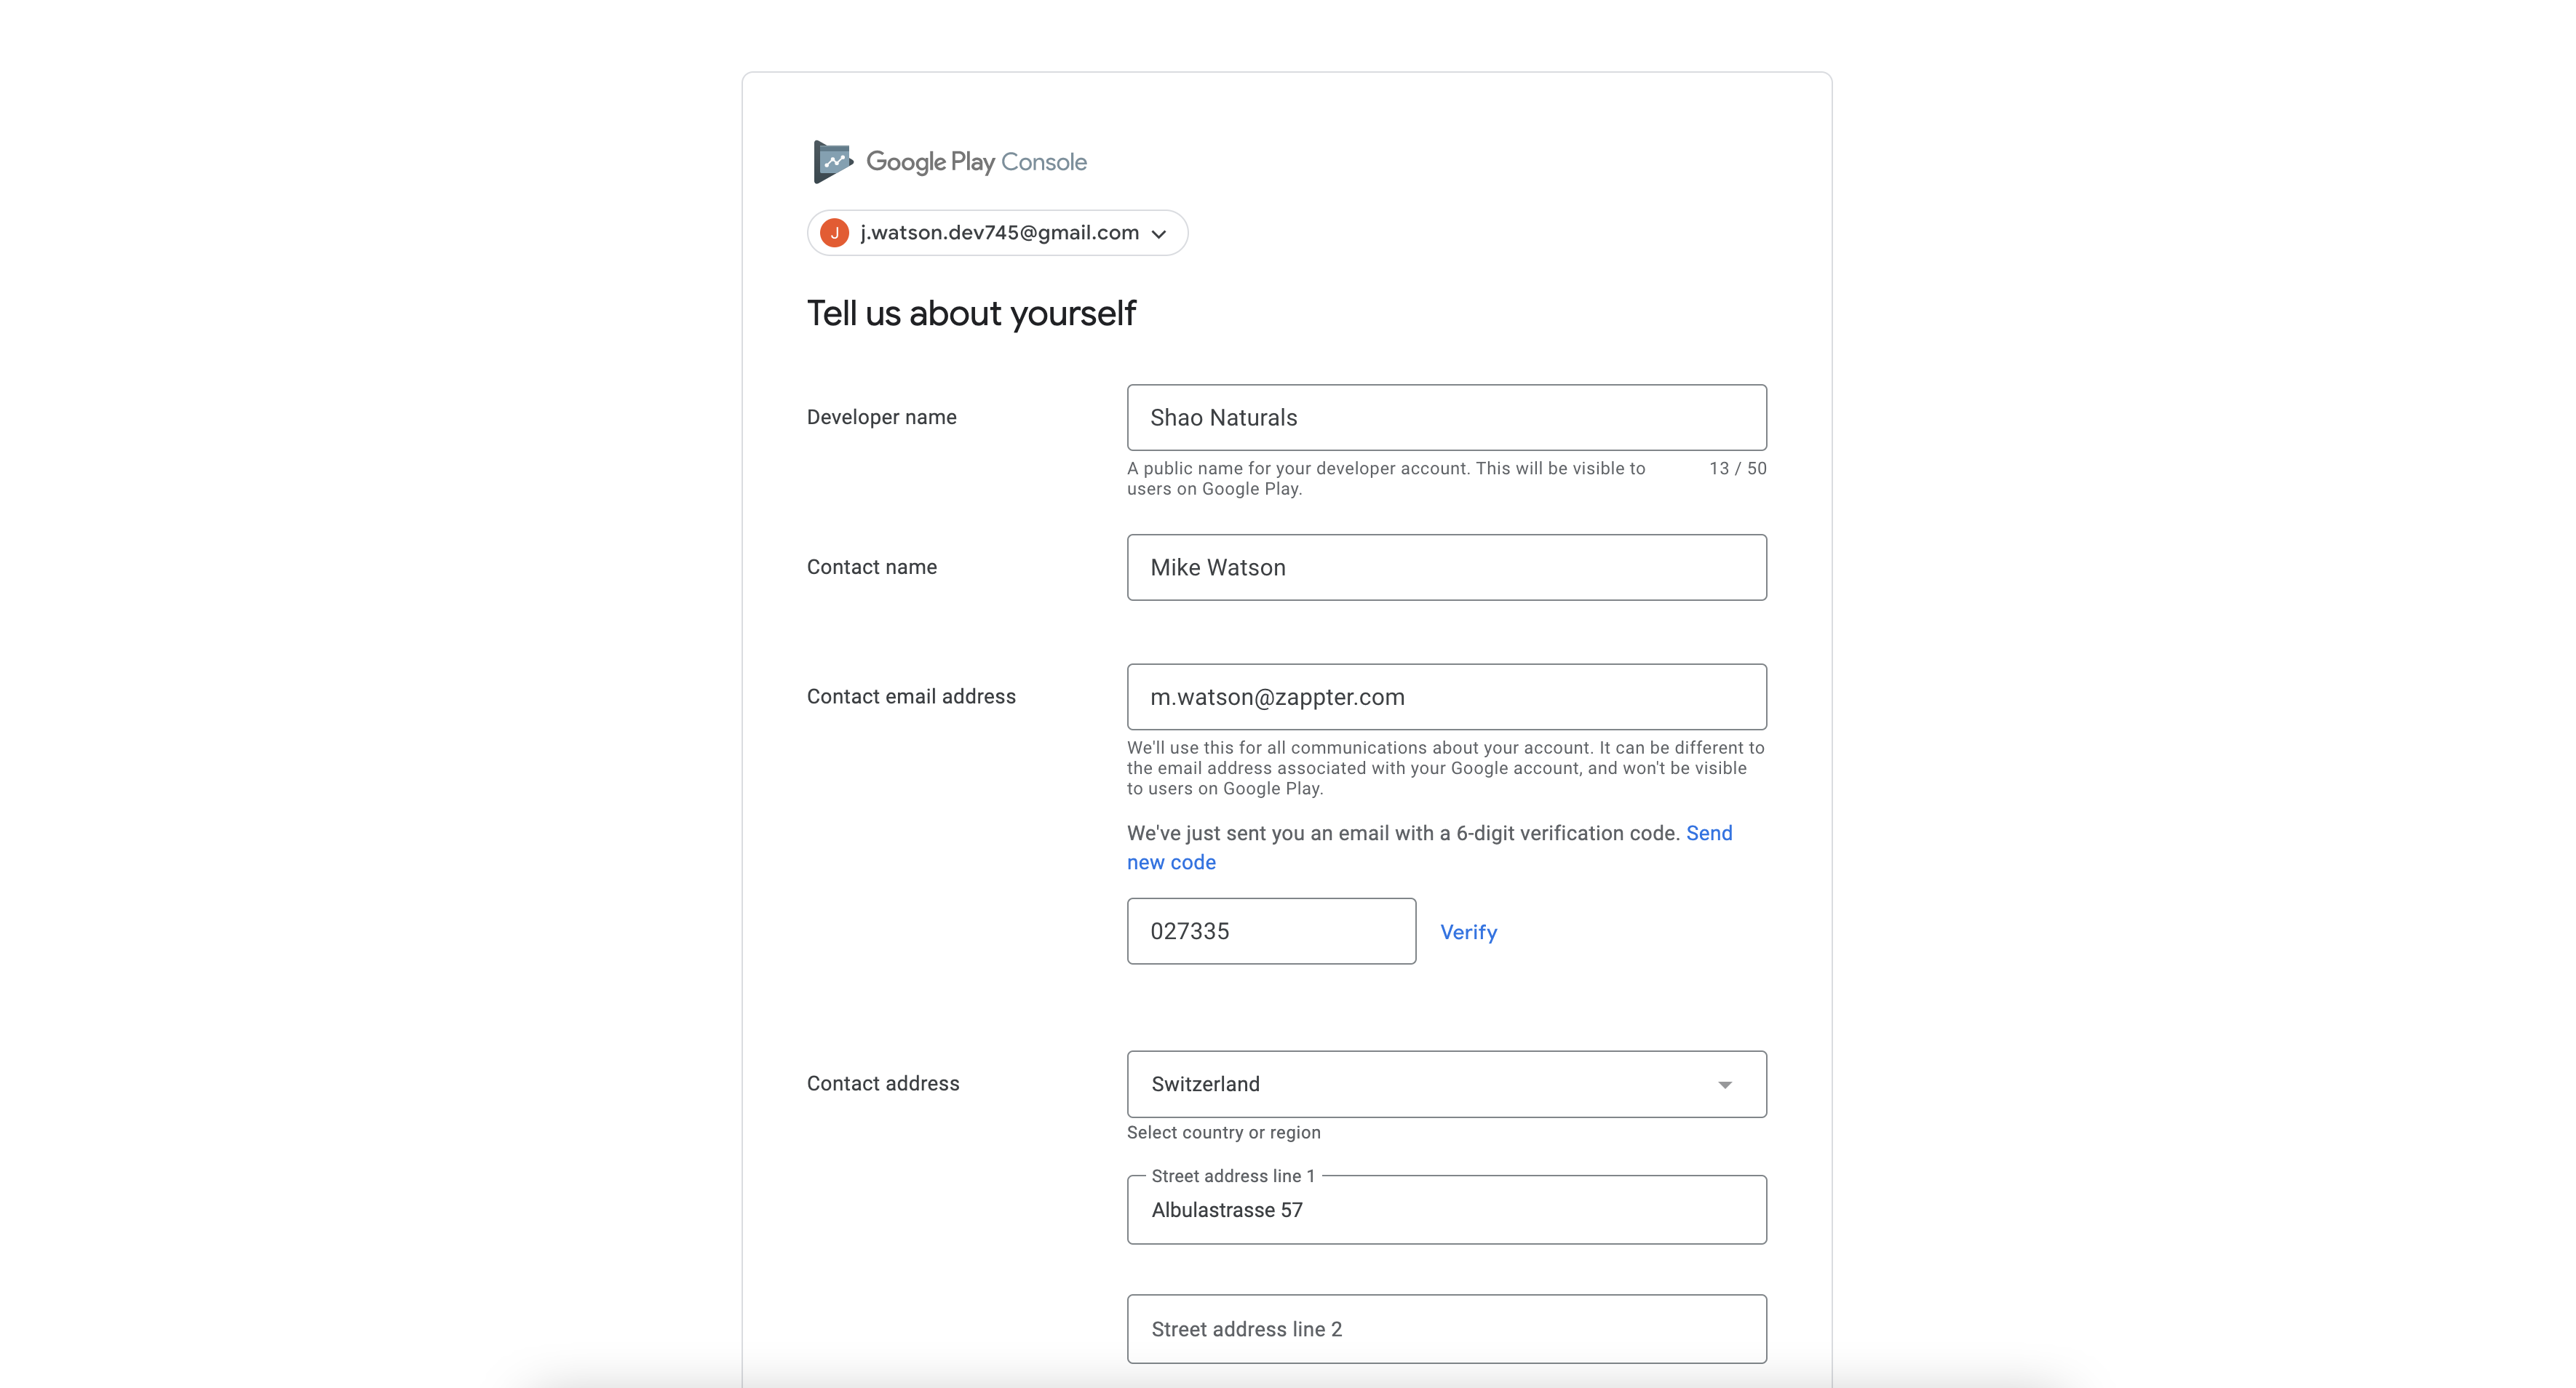
9. Enter the details in the next form. Note: The "Developer name" will be visible in the Google Play Store. Once you are finished click on the button on very bottom "Create account and pay". image.png339.72 KB
10. Finish the payment by adding a credit card. Once you have paid, click on the button "Go to Play Console".
image.png228.95 KB
Congratulations, you have successfully created your developer account. Proceed now to the ID Verification Step.