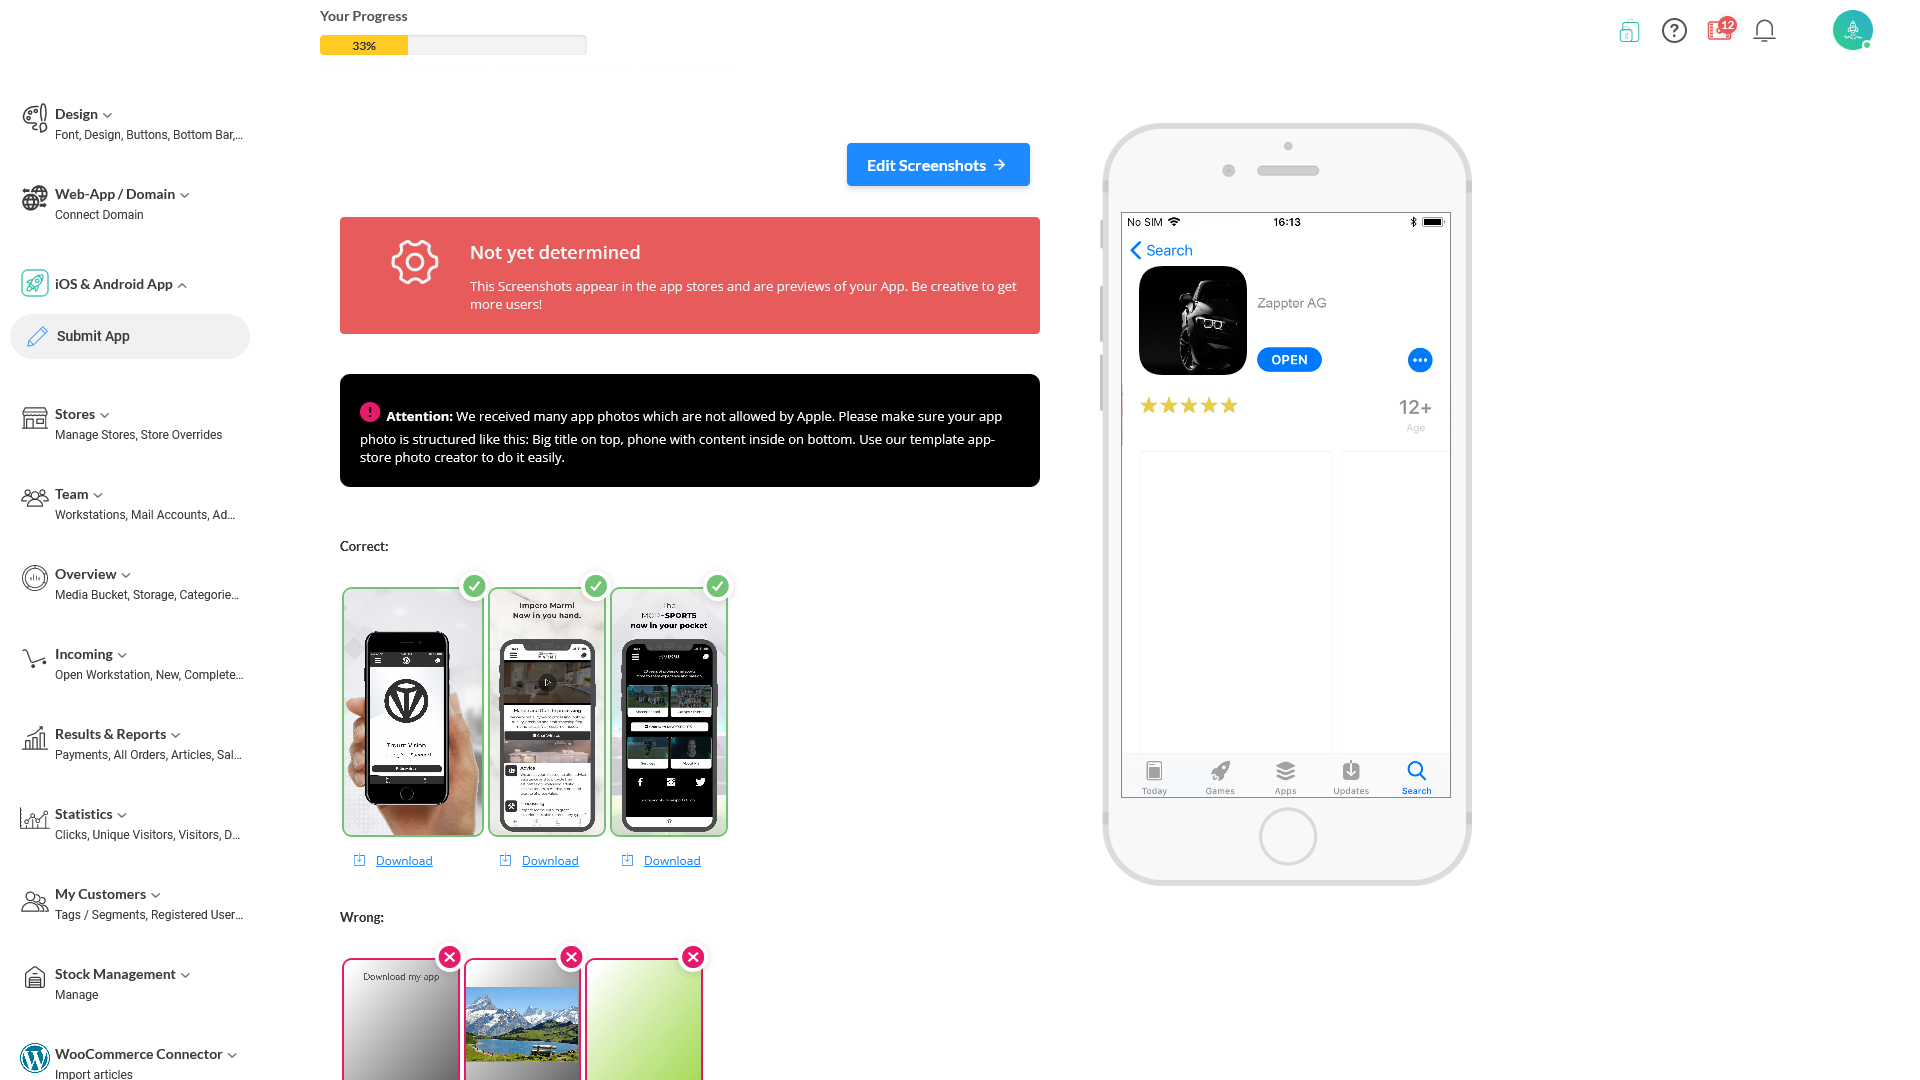
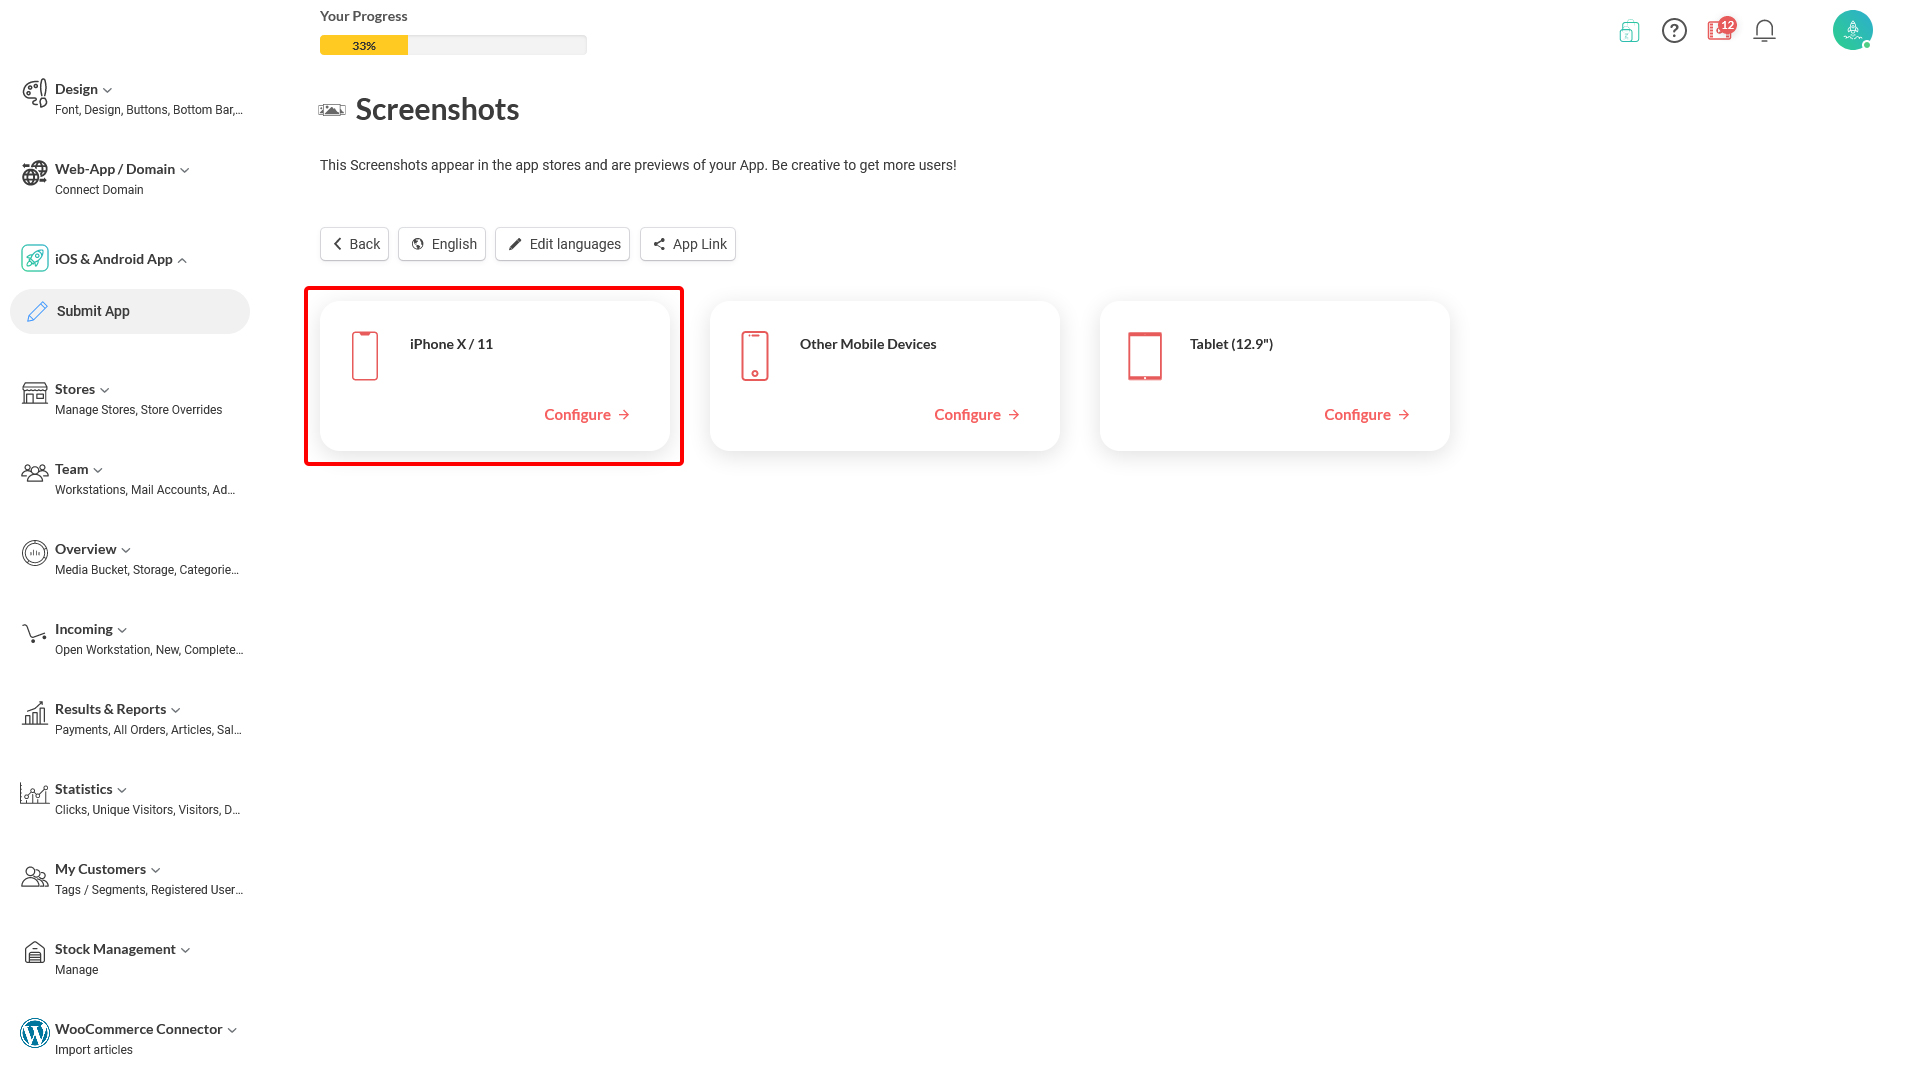
3. Select iPhone X/11 on the below screen. For instance, for users with iPhone X/11 will see this image in the app store.
When done with iPhone X/11, you need to complete for 'Other Mobile Devices' & Tablet(12.9")
image.png166.17 KB
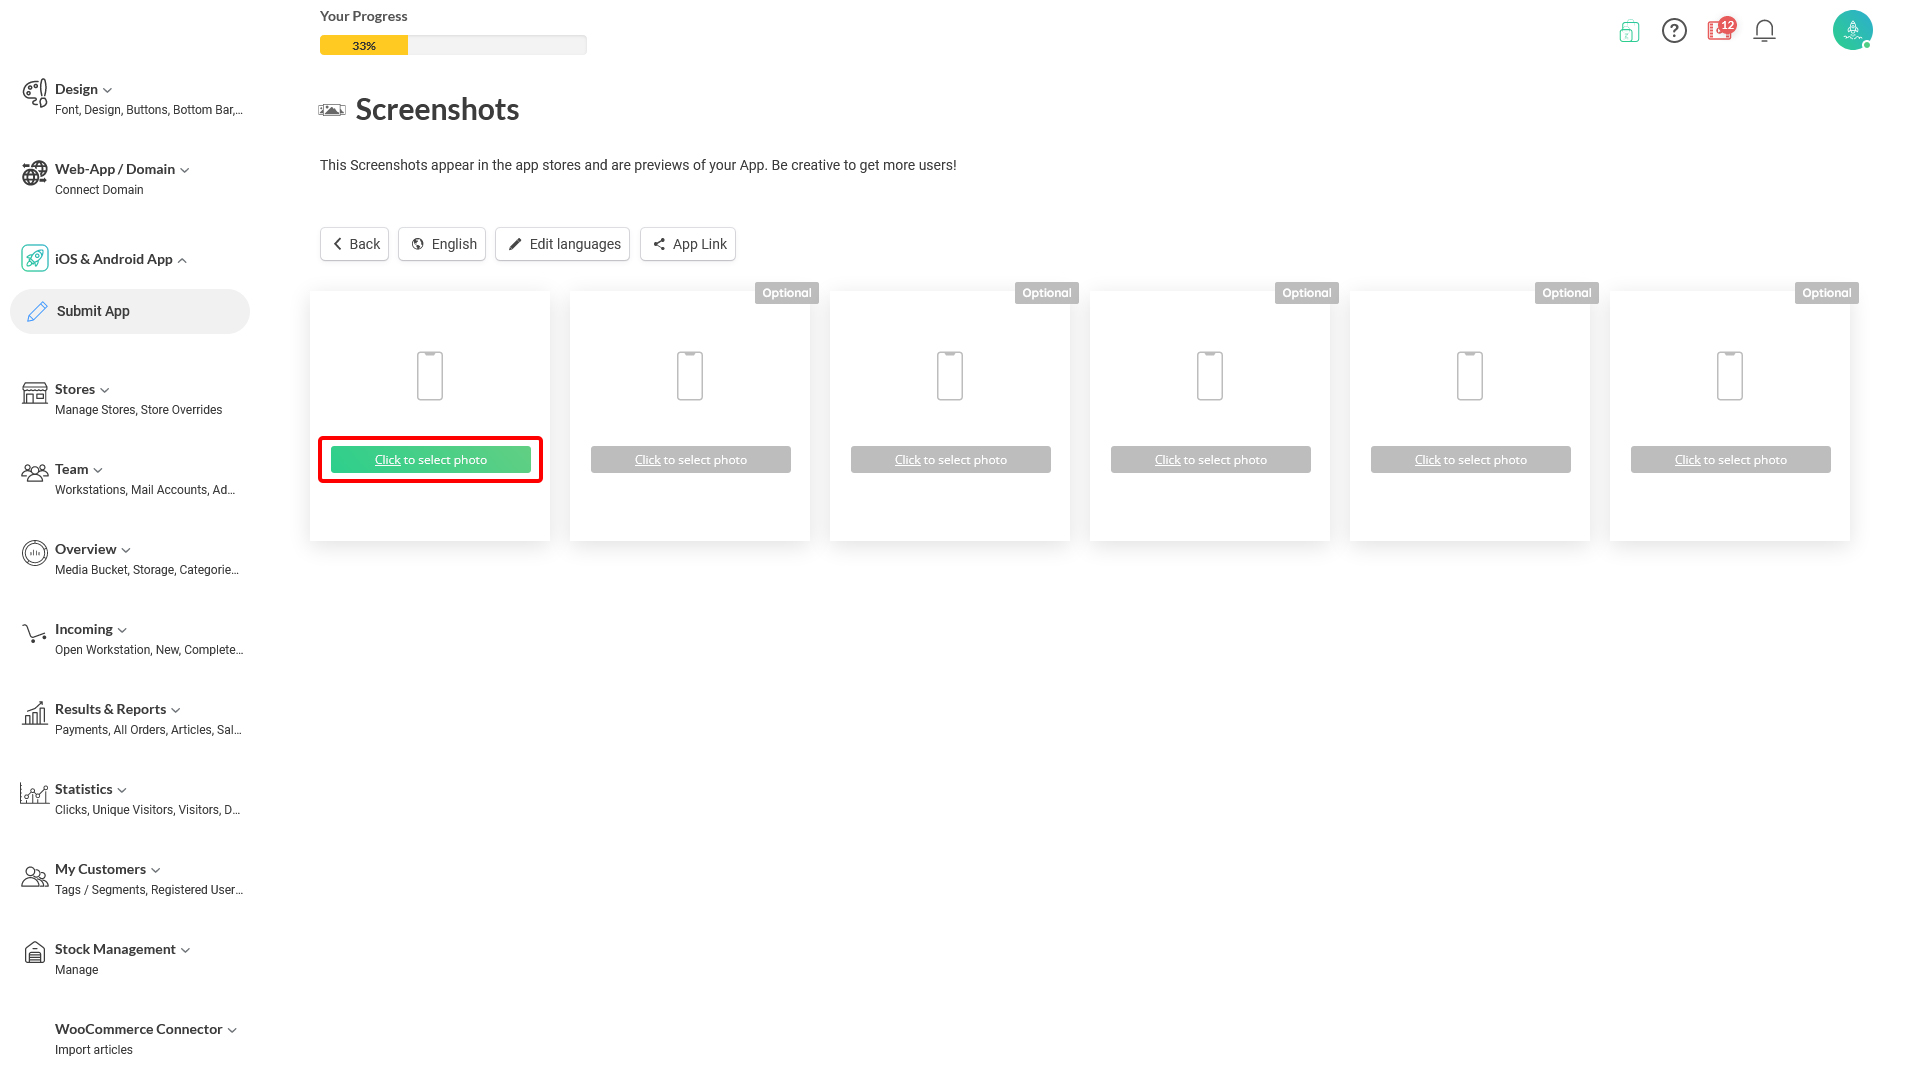
4. Click on the mandatory image.
image.png169.45 KB
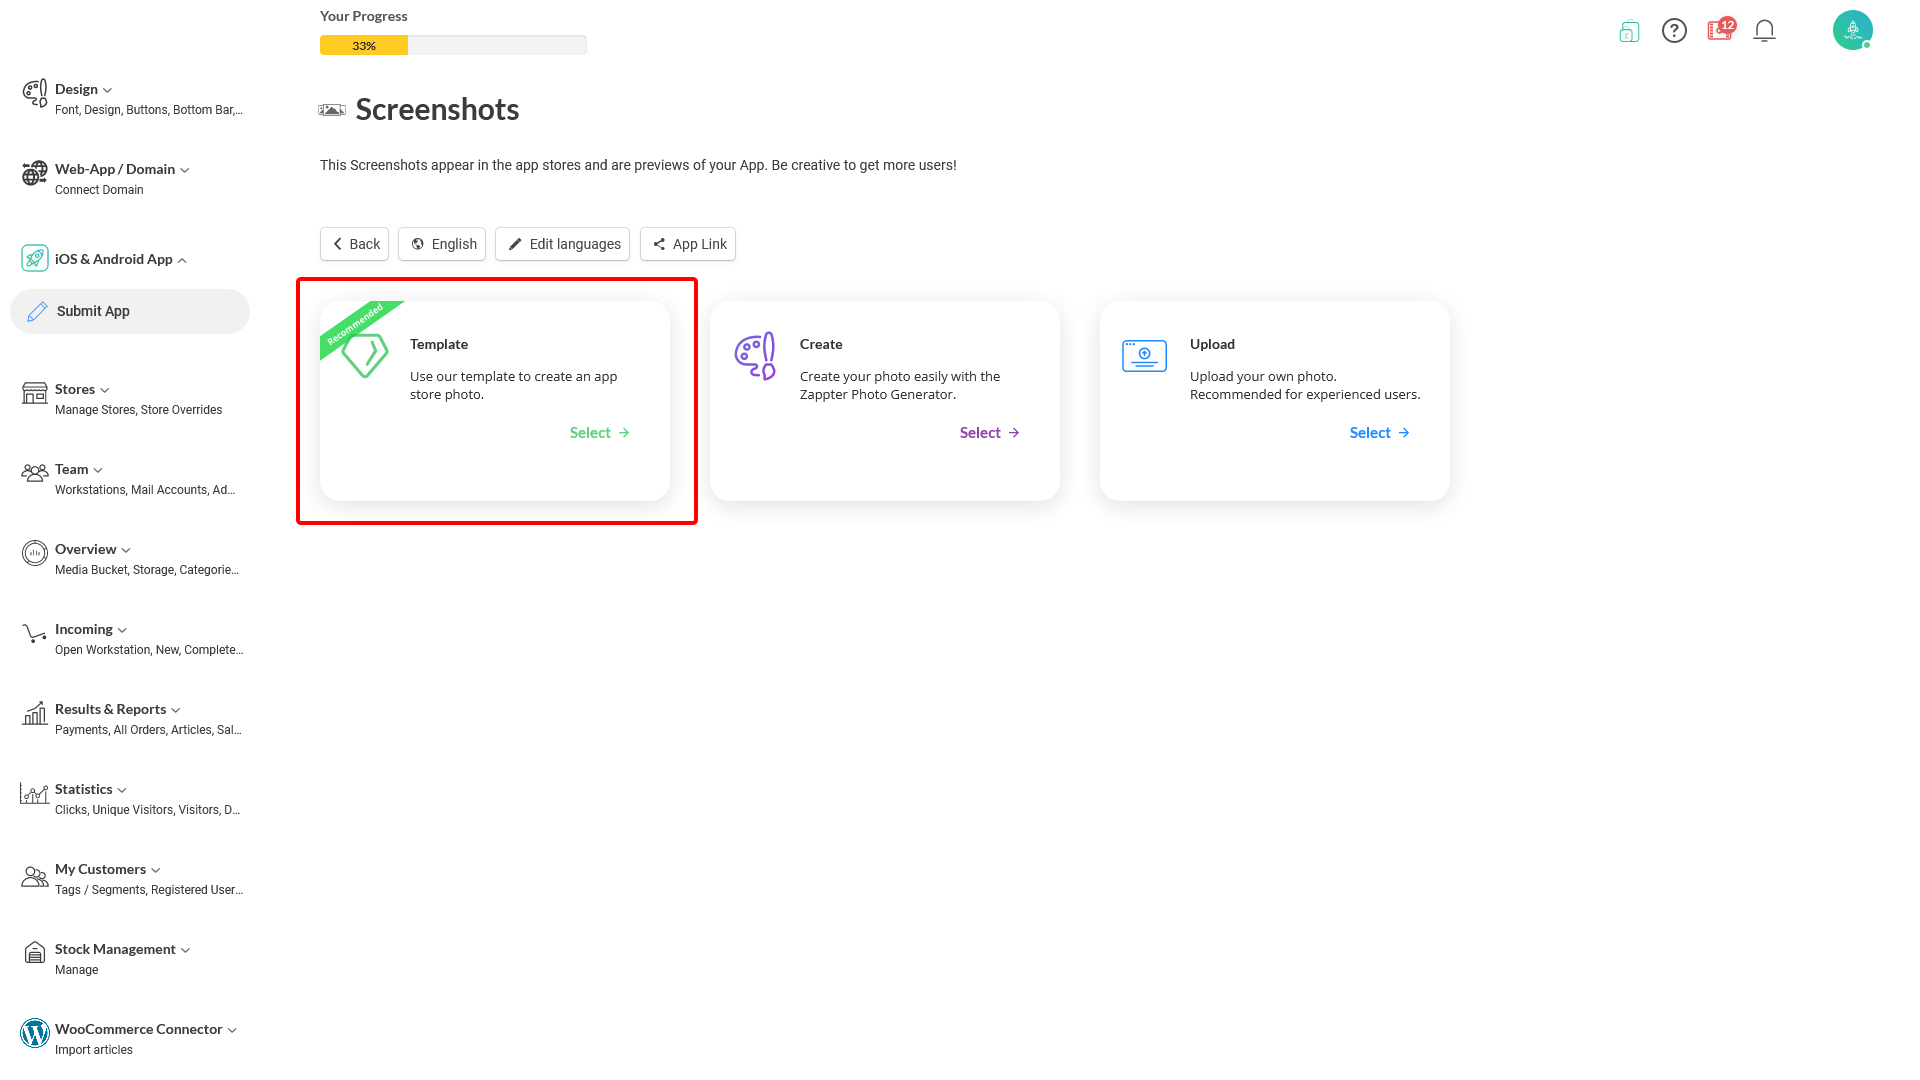
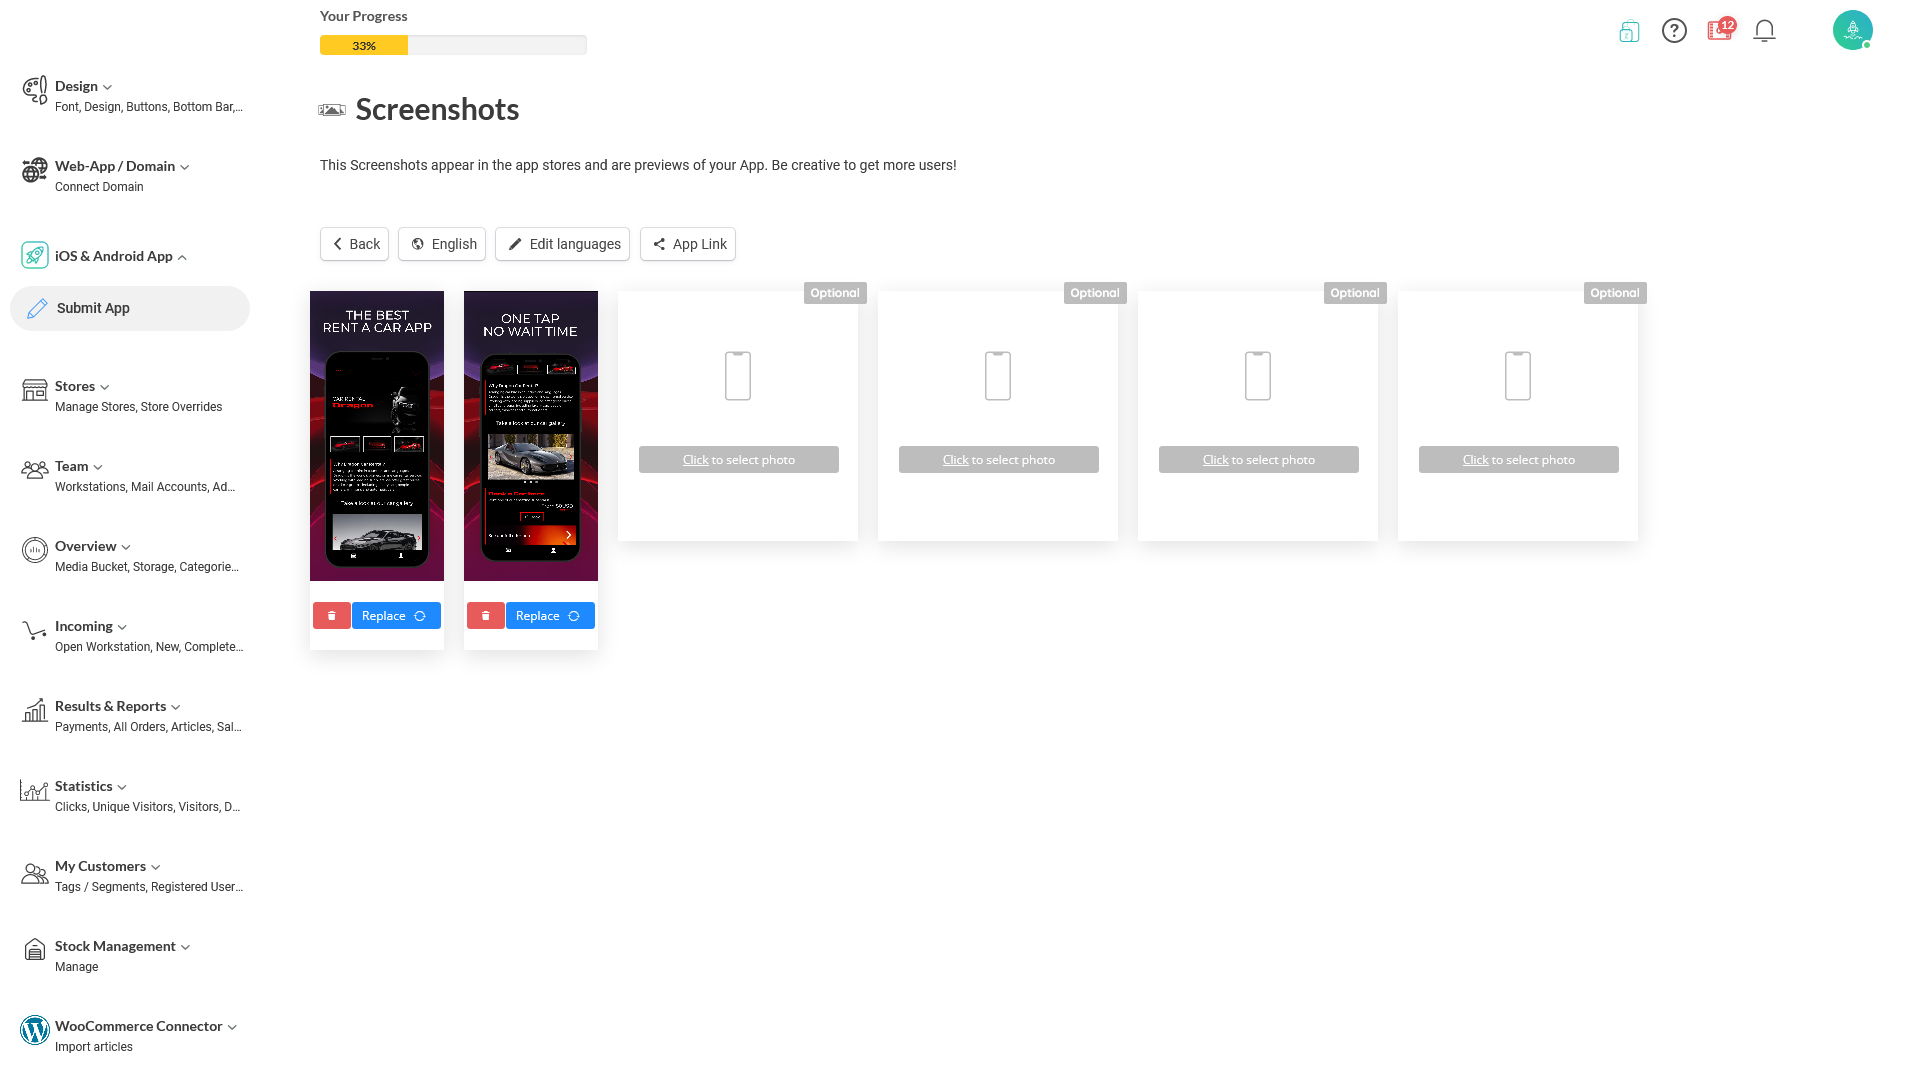
5. You get three options to attach the screenshots.
image.png183.95 KB
You can prepare the image and attach through one of these options:
Using Zappter template to create app store image
Using Zappter image generator
Uploading image
The following sections discuss each of these options in detail.
Using templates
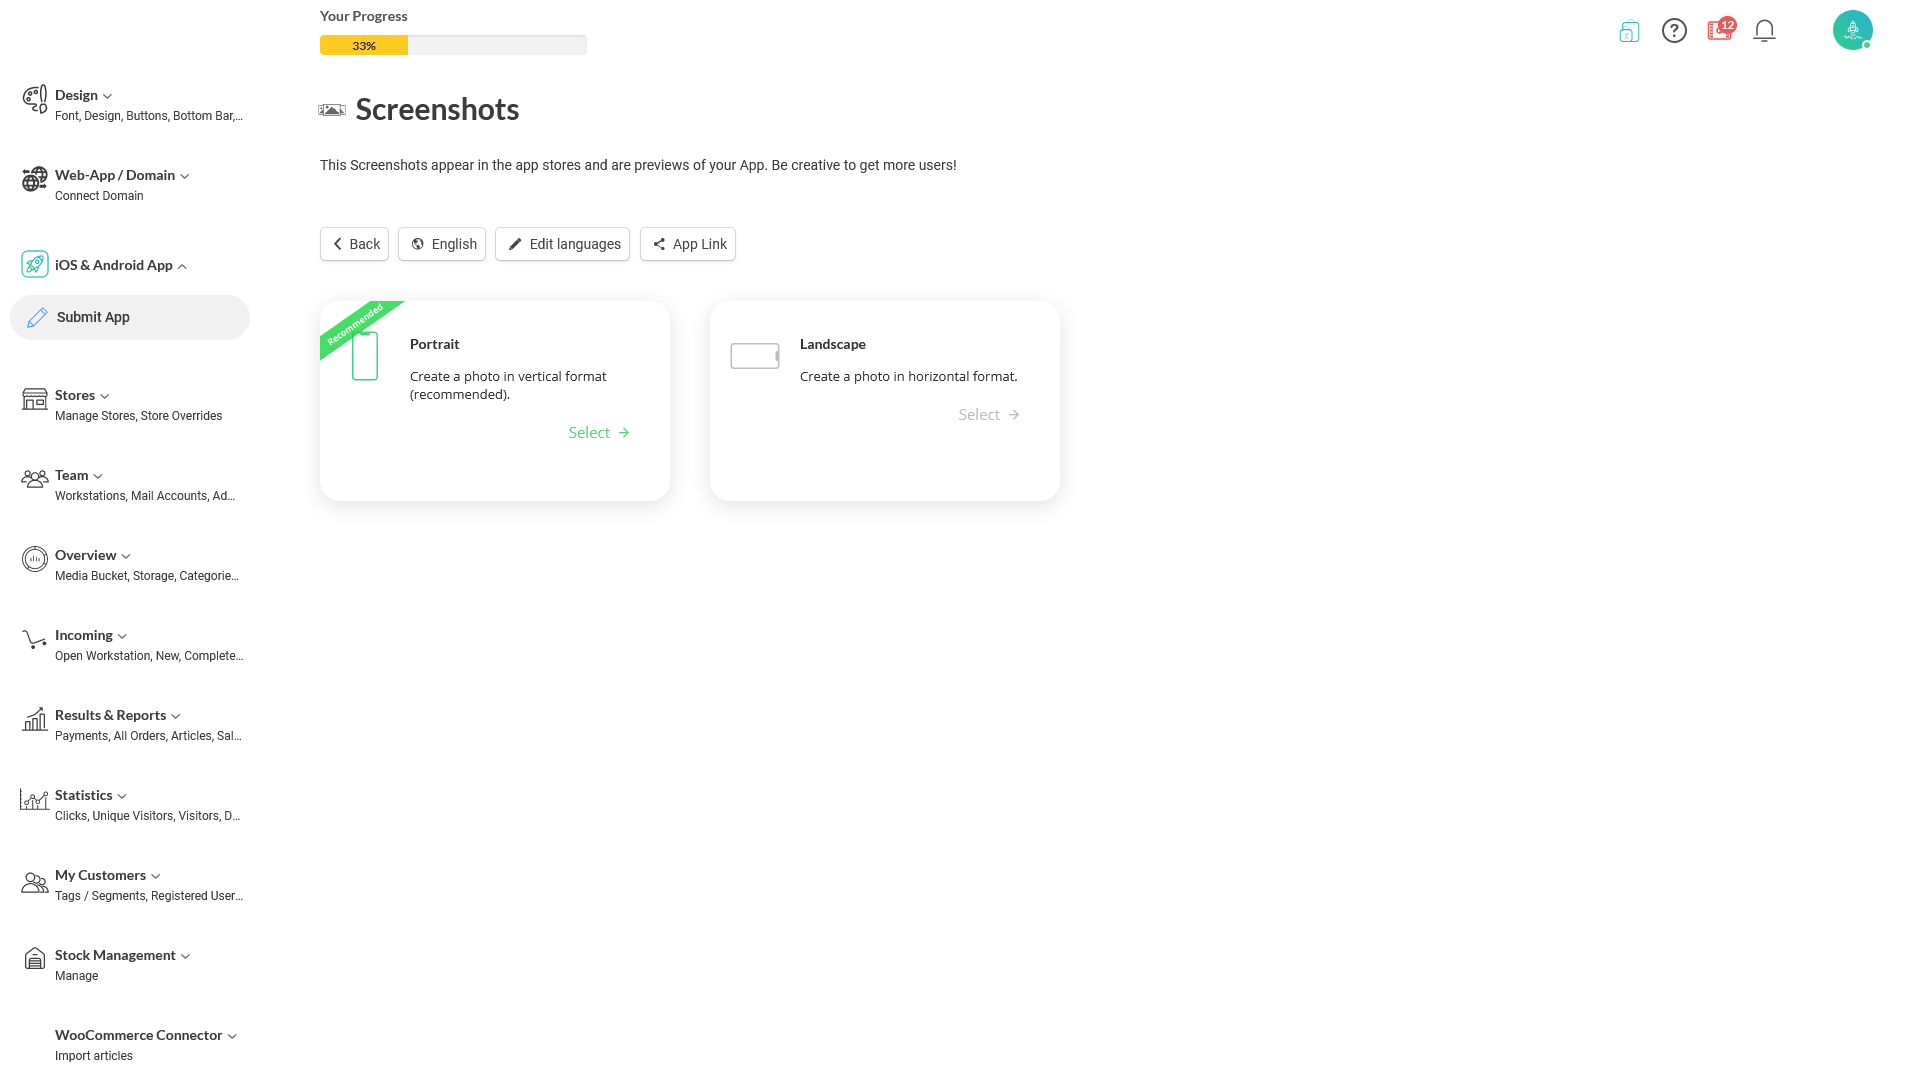
1. Select 'Template.'
image.png186.74 KB
2. Select 'Portrait,' for instance.
image.png159.63 KB
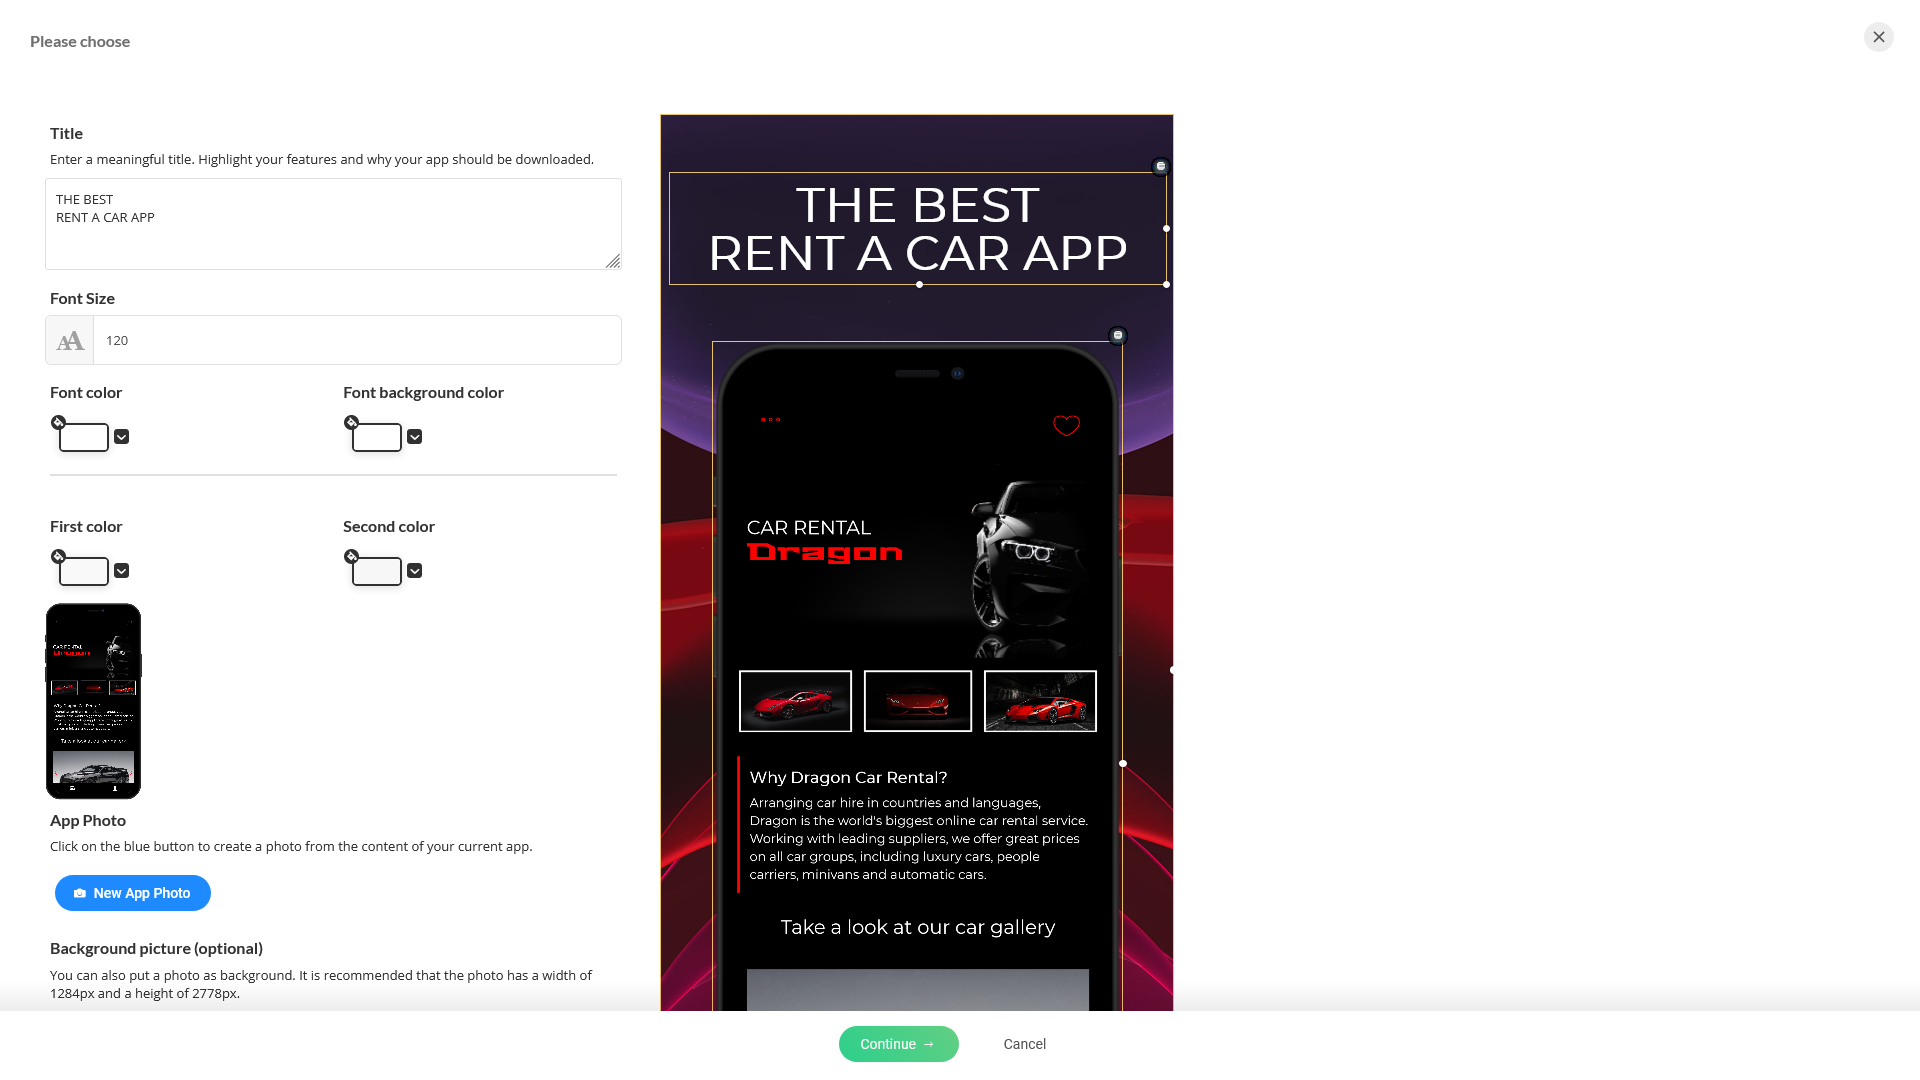
3. Zappter opens the template screen where you can adjust a few settings to create your screenshot (Click on the '+ Create new photo' button if you get the prompt).
image.png410.79 KB
Title: Enter a title text for the screenshot. The title is placed in the screenshot.
First color: This is the first color of the gradient background of the image
Second color: This is the second color of the gradient background of the image
Font color: Color of the font - title
New App Photo: Add an image from within your app. It adds capture of the app within iPhone like frame. And it open a screen where you can add/remove bit of design to that app capture and the phone like frame. Check below for a sample of the screen
Background picture (optional): Import an image, width of 1284px and a height of 2778px. This image sits on top of your background and but behind the 'New app photo' you added.
Rotate App Photo: You can set negative/positive degrees here to rotate your app photo with the iPhone like frame to look a bit fancy
Rotate Text: You can set negative/positive degrees here to rotate your title text to look a bit fancy
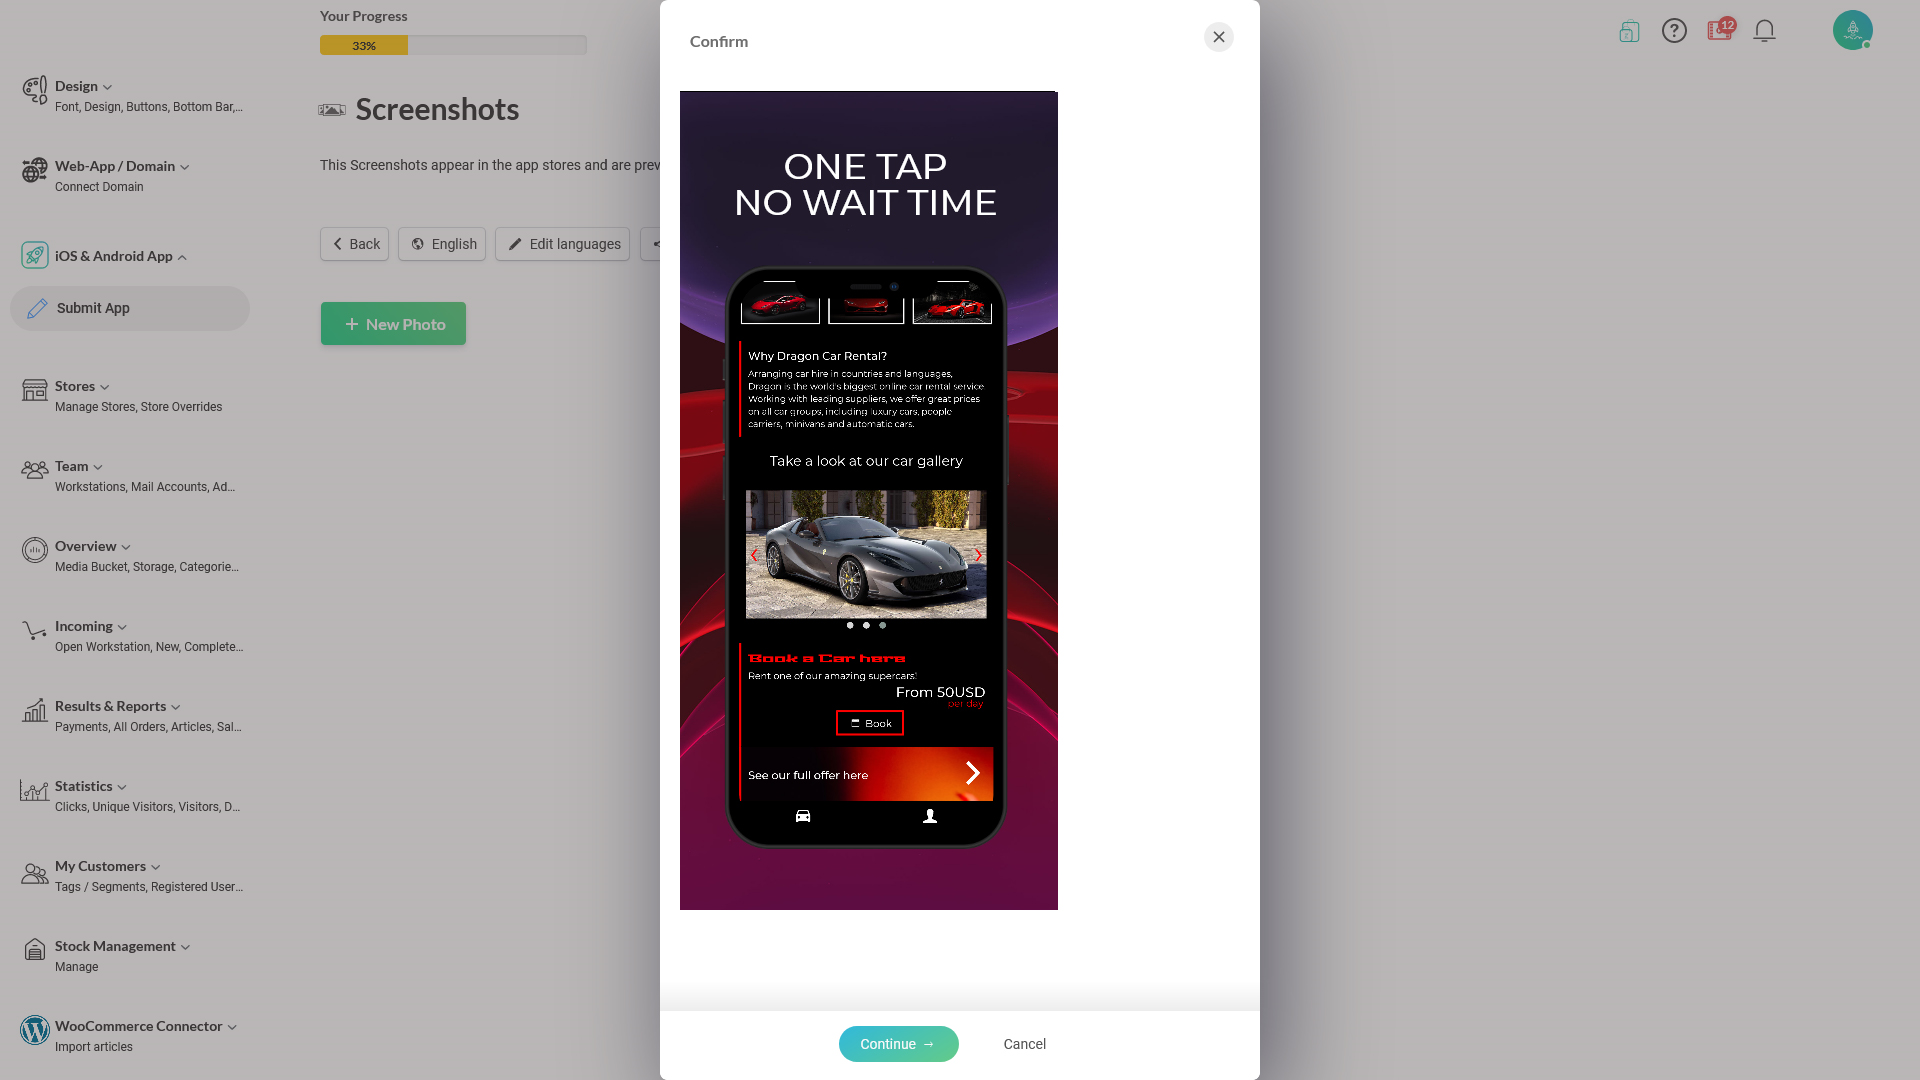
4. Select 'Continue'when done. And 'Continue'again in the following confirmation prompt.
image.png496.83 KB
image.png220.82 KB
If you click on 'Cancel' while in the Template screen, you will land on below screen. You can click on '+ Create new photo' to start again creating the screenshot image using the template.
image.png43.15 KB
The primary image has been saved for submission. You can continue the same steps for adding optional images using 'Template' metho, if you wish.
With Zappter photo generator
1. Select 'Create.'
image.png187.37 KB
2. Select 'Portrait', for instance.
image.png159.63 KB
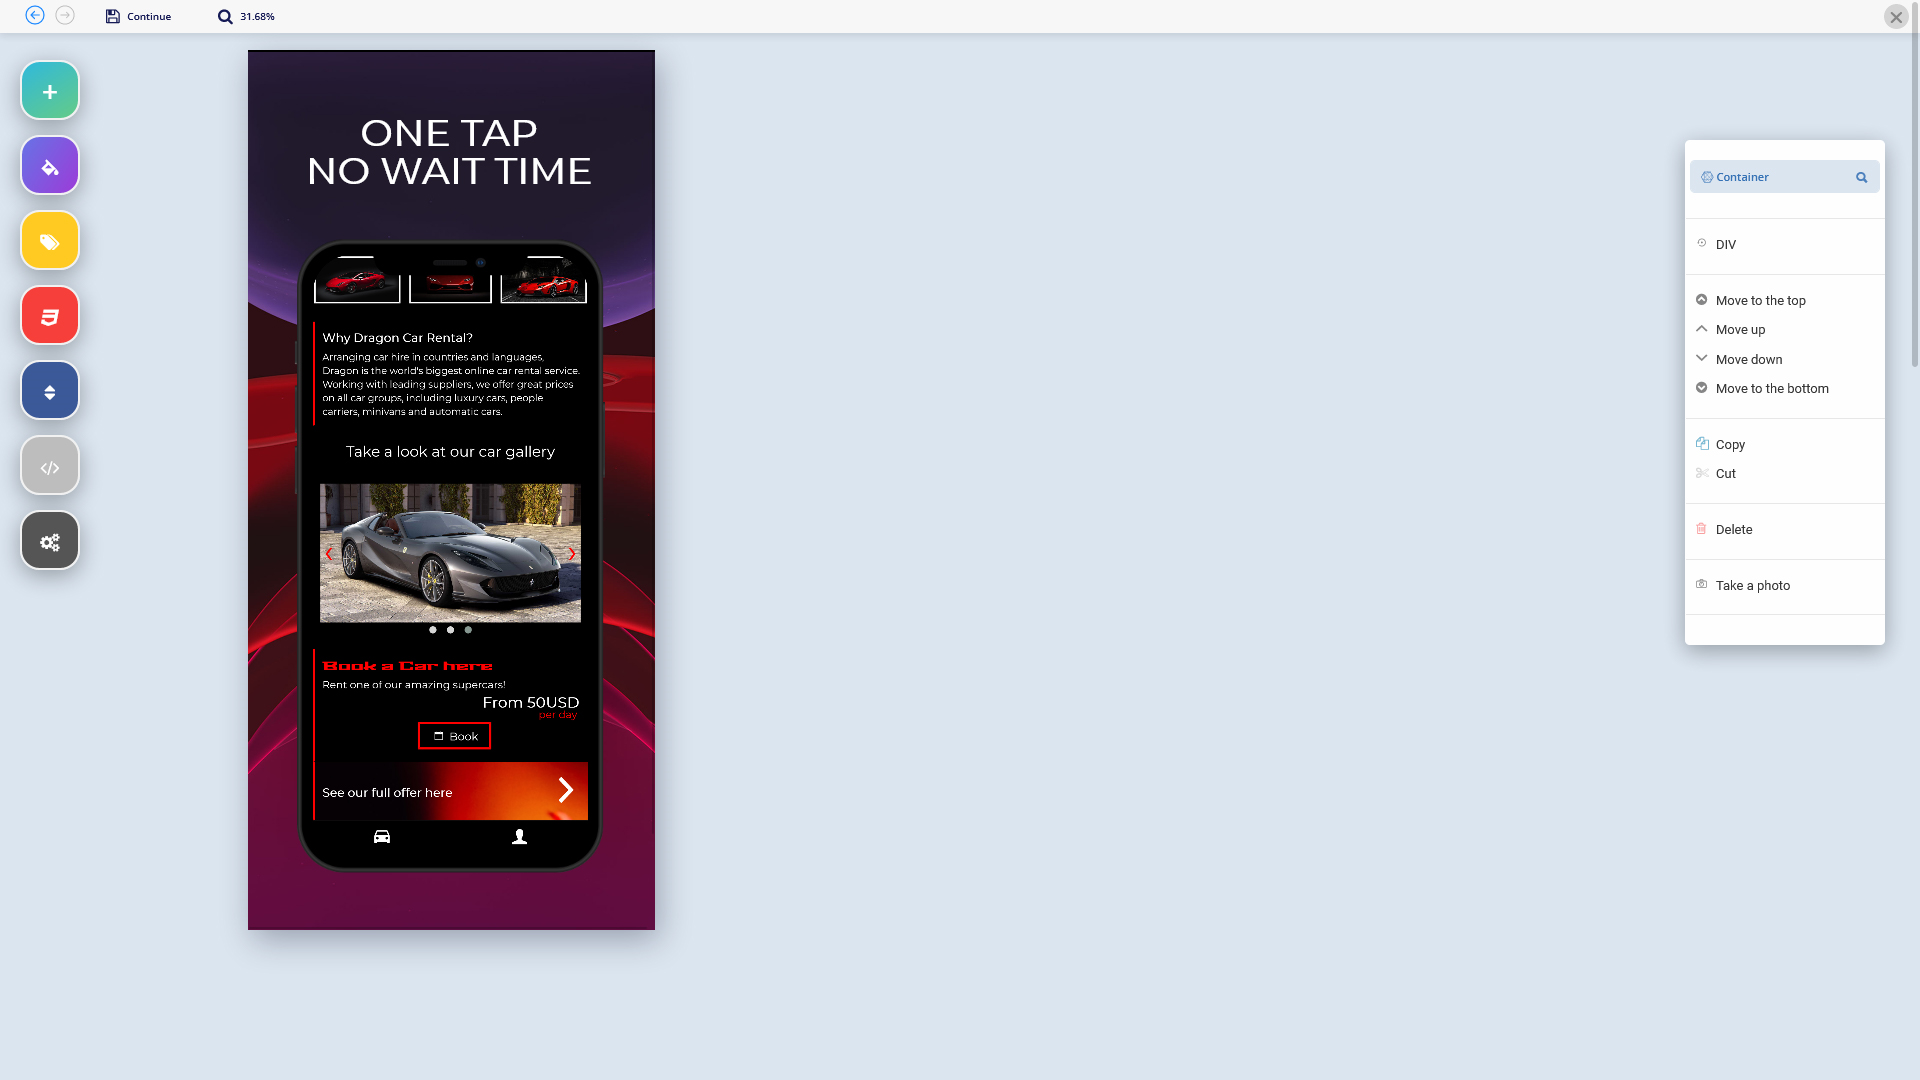
3. Zappter's content editor opens up where you can use the tools to create/edit the image. Click on the green, 'Continue' button when you have completed with the image to save and continue.
image.png538.85 KB
image.png568.16 KB
4. Click on the 'Continue'againat the confirmation screen to proceed using the image.
image.png279.28 KB
If you click on 'Cancel' while in the Template screen, you will land on below screen. You can click on '+ Create new photo' to start again creating the screenshot image using the template.
The primary image has been saved for submission. You can continue the same steps for adding optional images.
Upload existing
1. Select 'Upload.'
image.png190.12 KB
2. Select 'Portrait', for instance.
image.png159.63 KB
3. Upload an image with the specific resolution as shown on the screen, and continue.
image.png403.98 KB
You can try with the sample provided on the screen. Use 'Click here to download' link.