Until your app is published to an app store, you can access the app via its web app URL.
How to Find Your Web App URL?
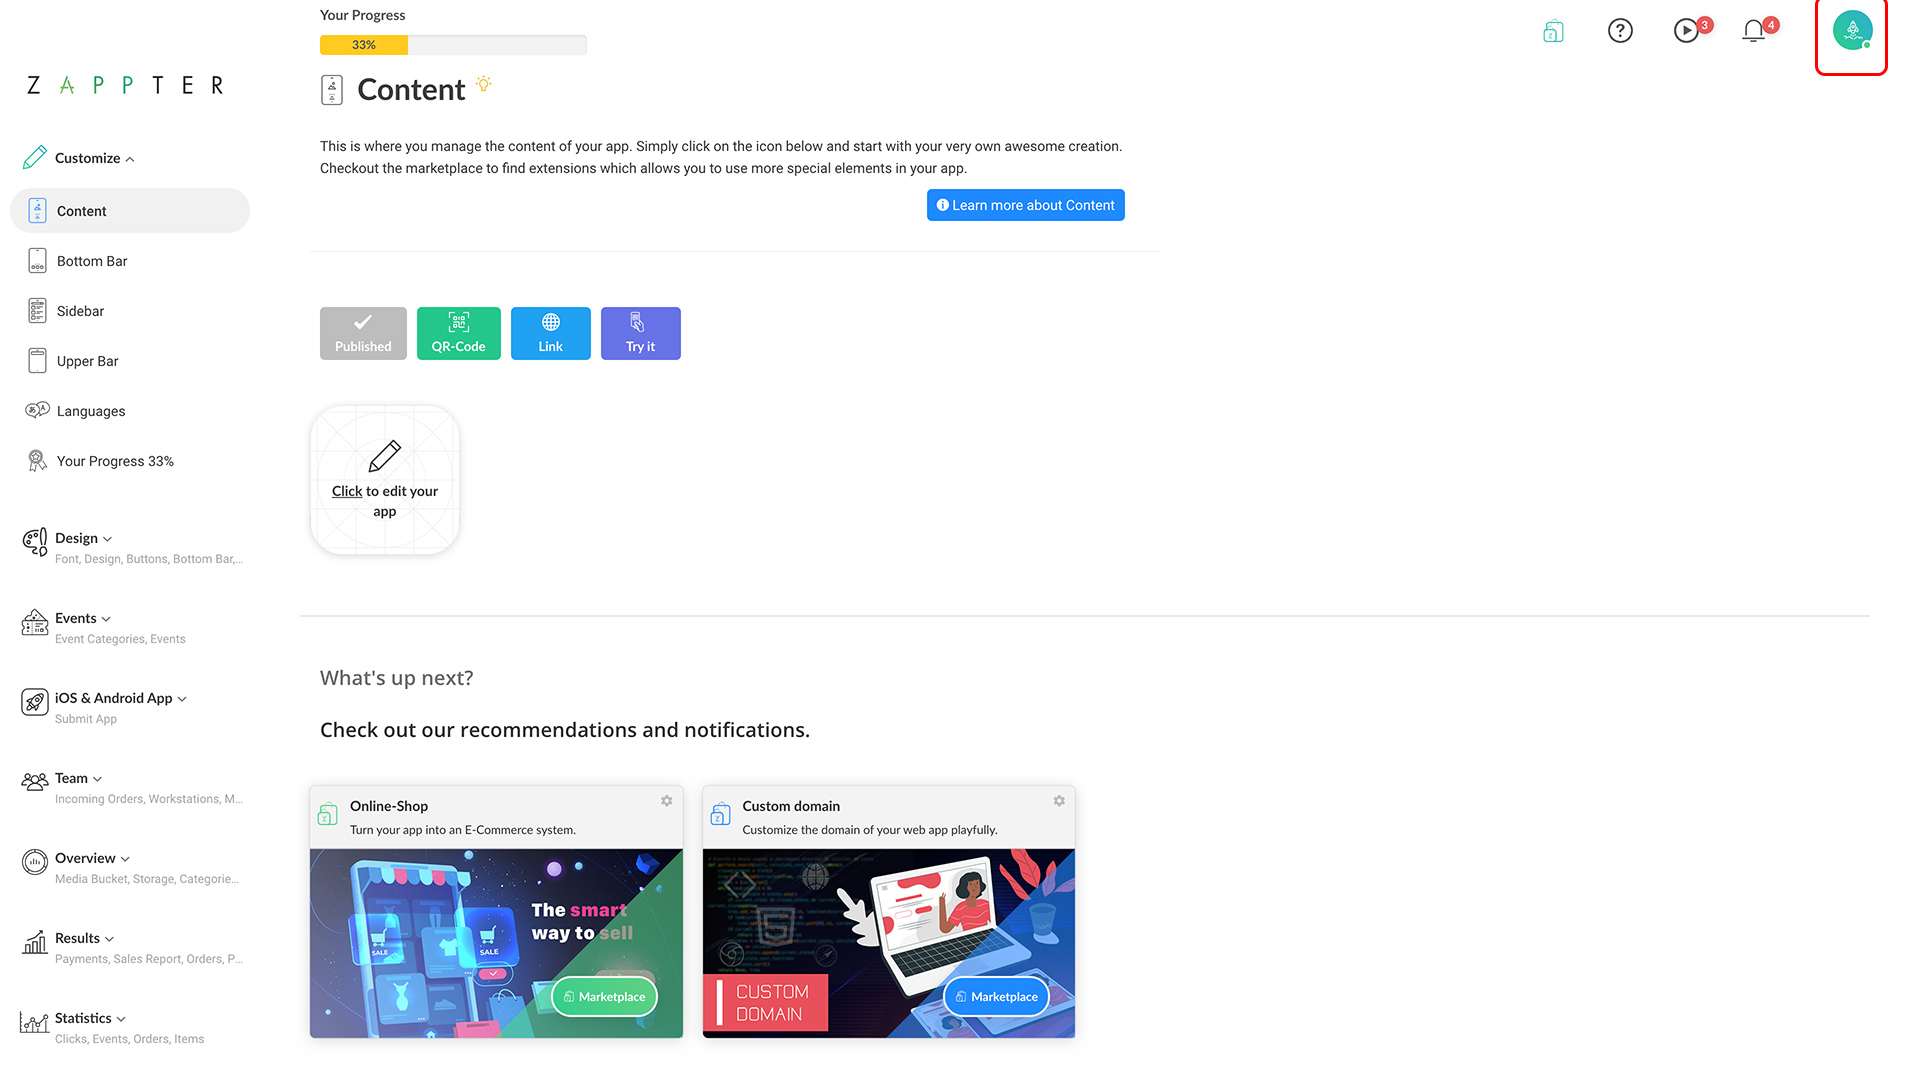
1. Log in to your Zappter admin. Now, click on your profile icon.
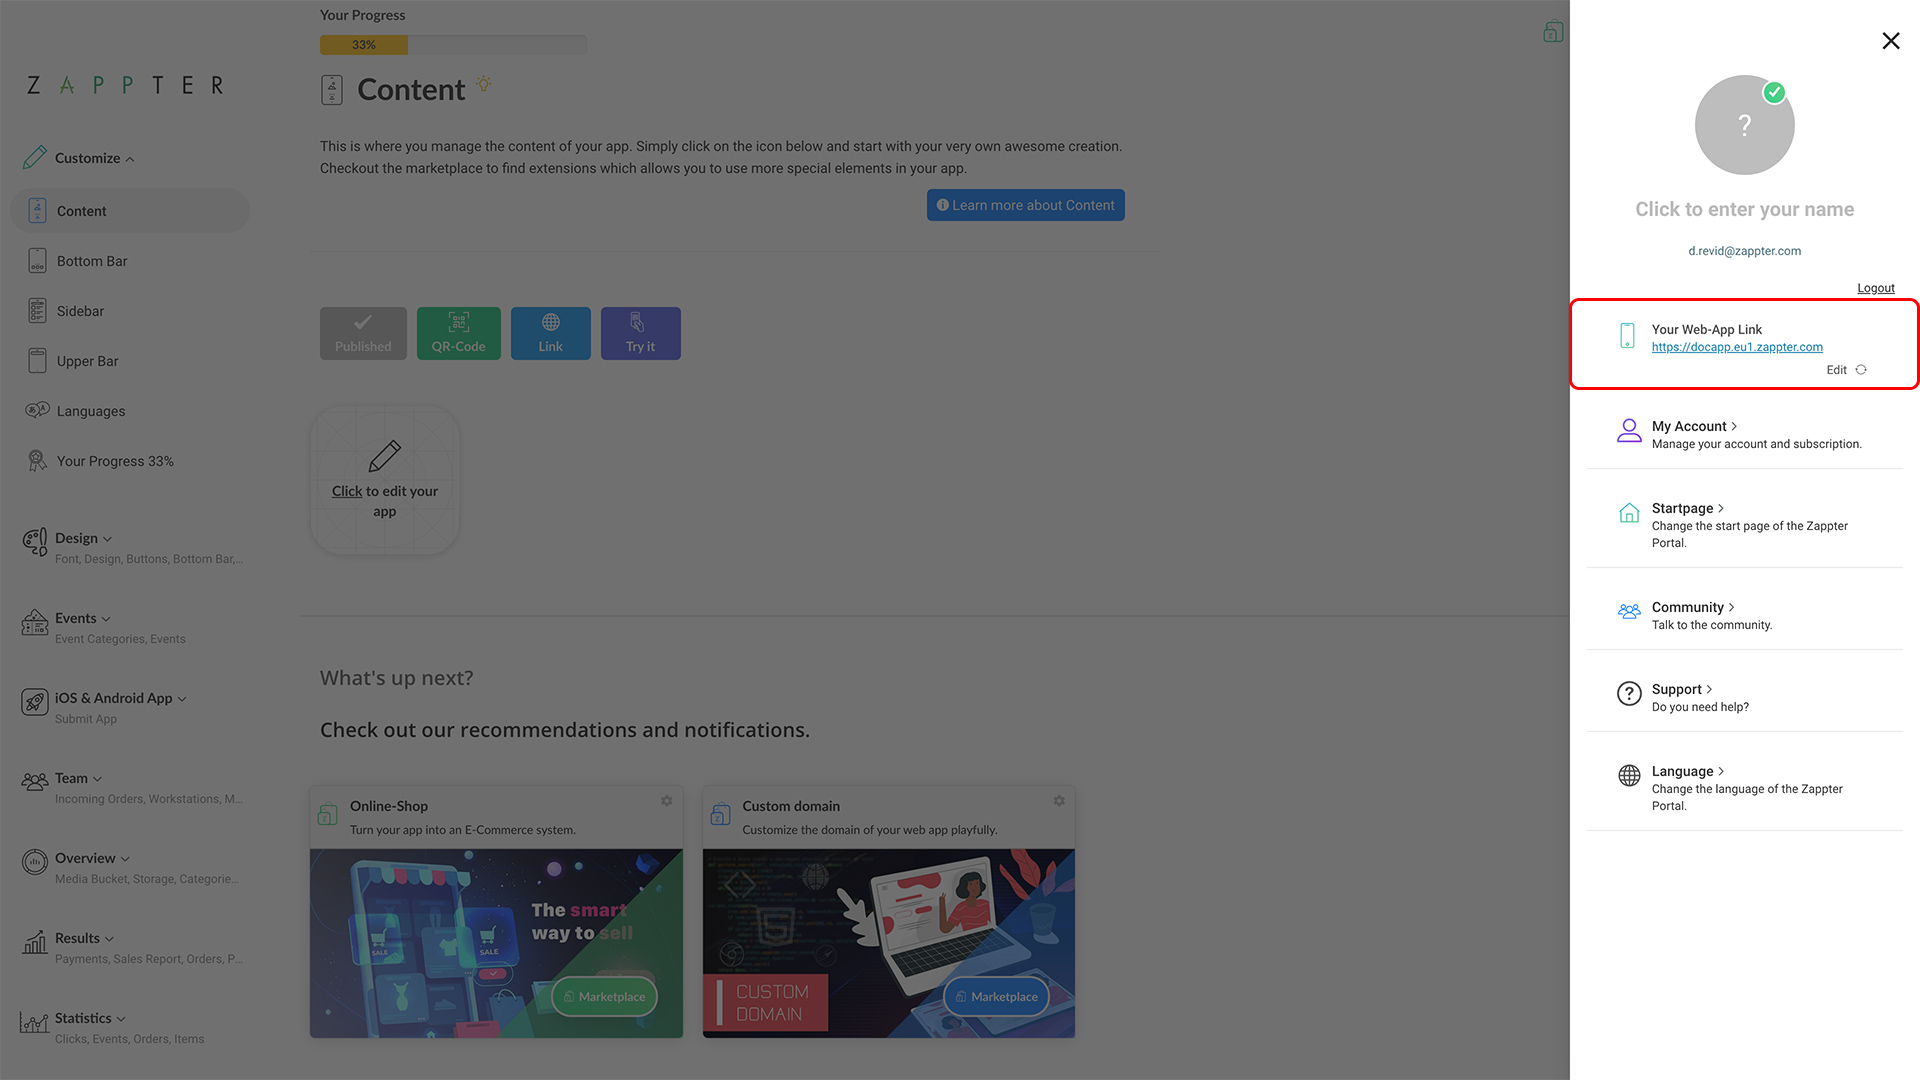
2. Find your web app URL immediately below the profile image.
3. Log in to your web app using the URL.
4. Your app opens. Follow the next section that demonstrates how to make a booking (applies to web app and mobile devices).
Making bookings
Below steps show how a user makes his booking. Note: The timeslot selection is only available on 'Predefined' bookings, not for 'Flexible' bookings. The Getting Started section details the difference, in case you have skipped the section.
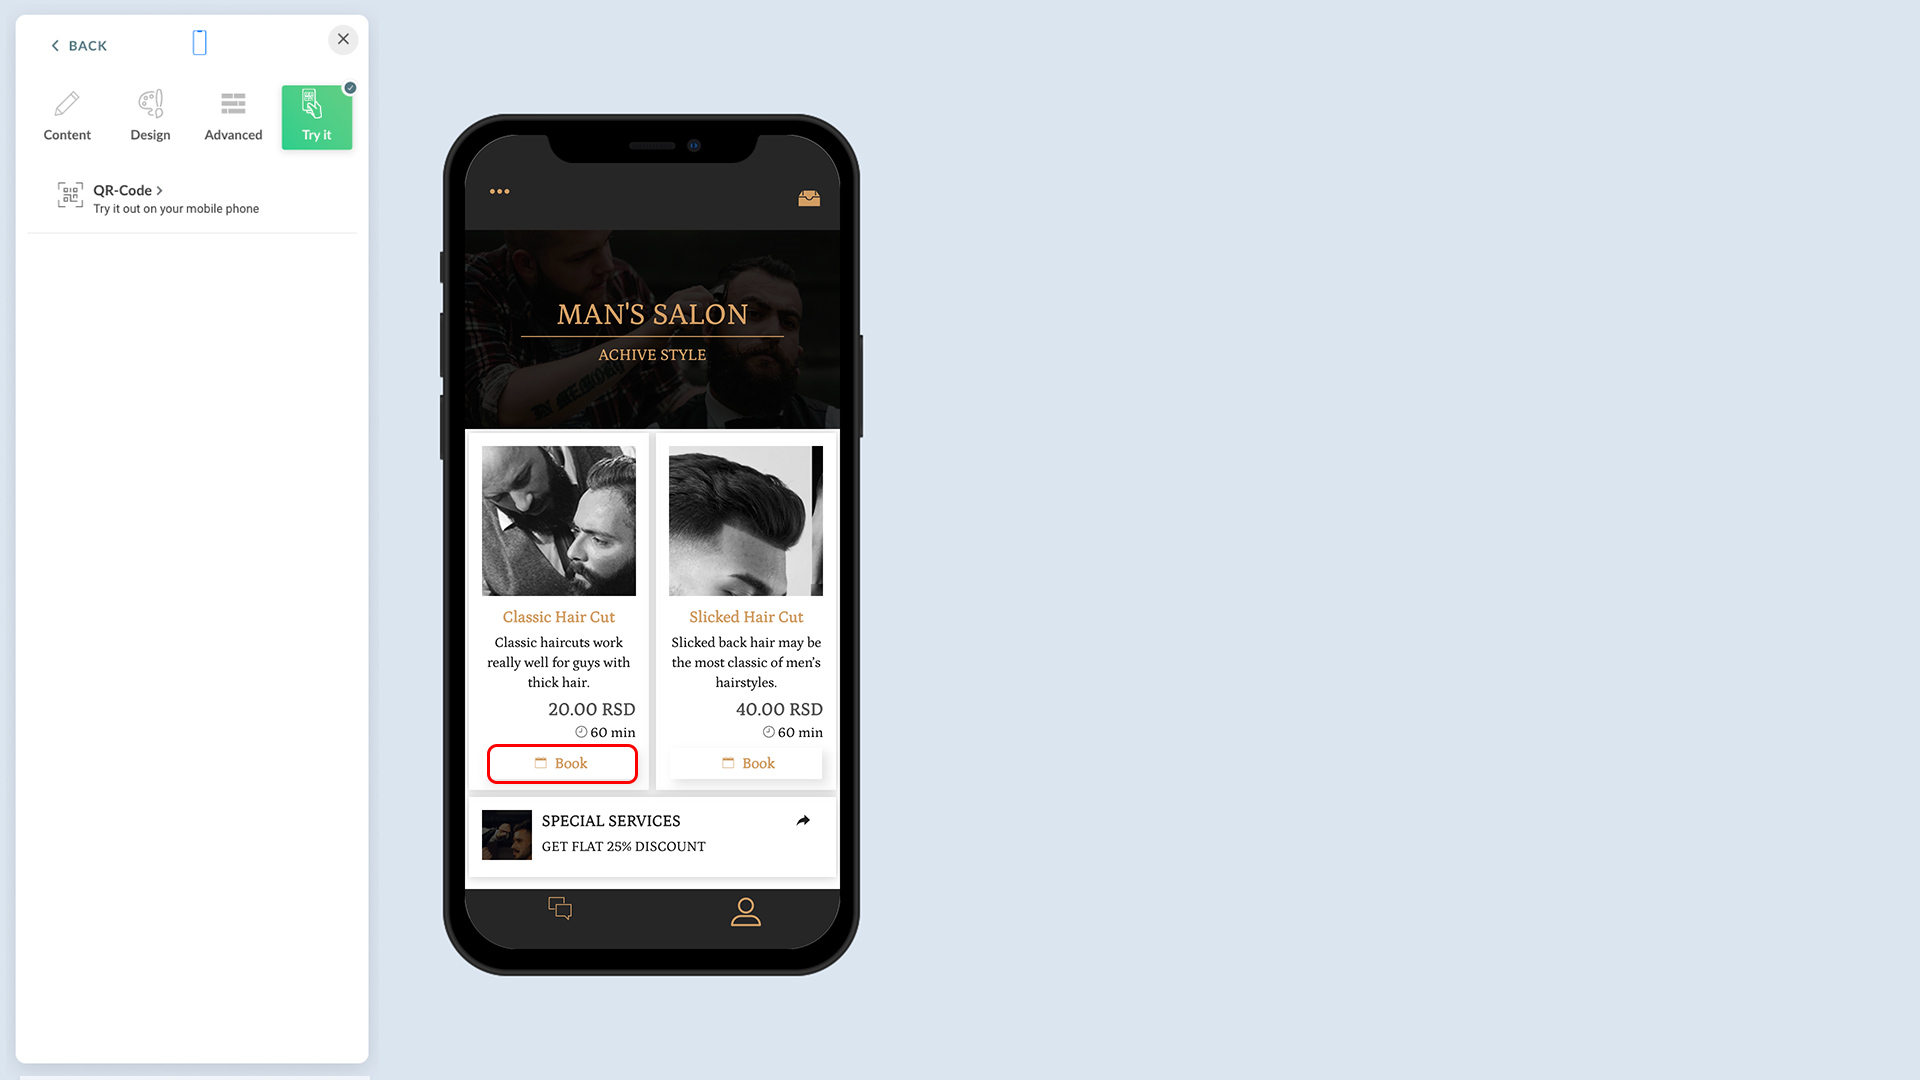
1. In your app, find a bookable item. And, tap on the 'Book' button.
image.png420.73 KB
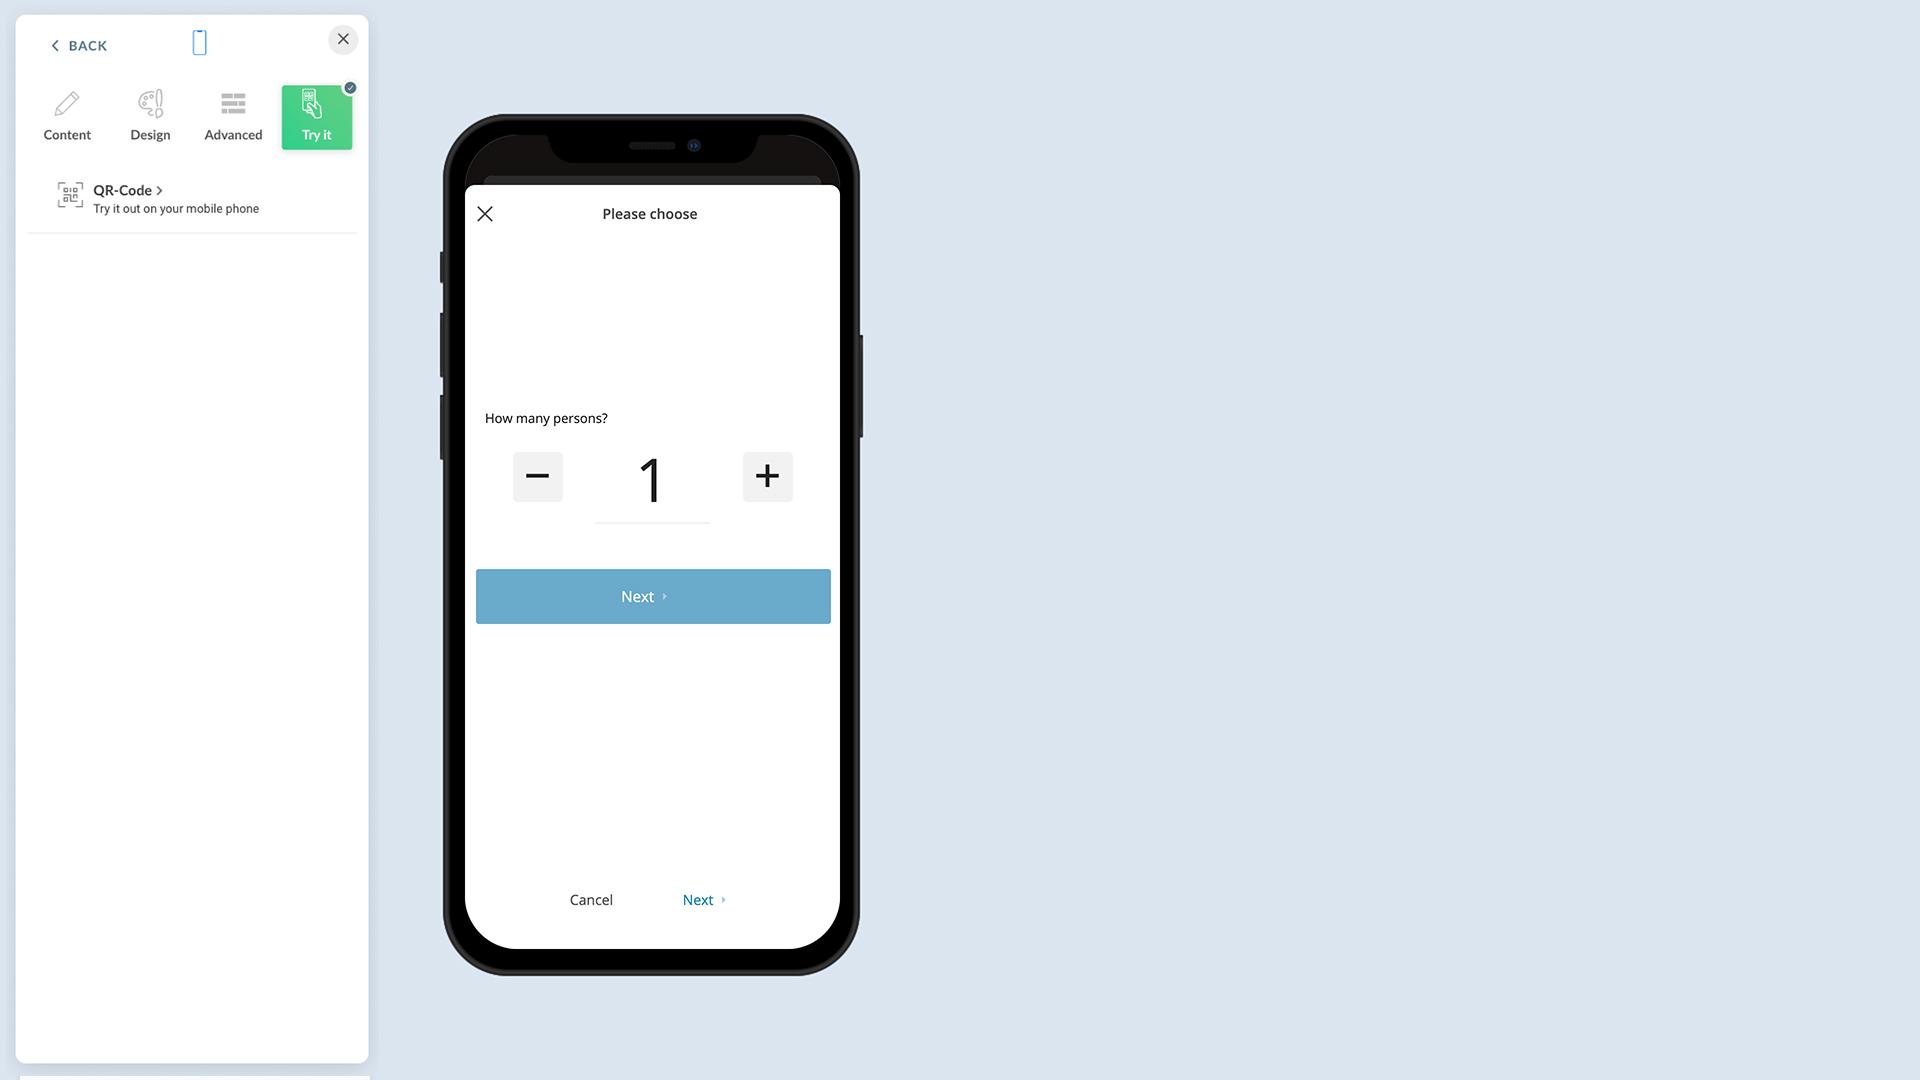
2. Select the number of people.
image.png174.65 KB
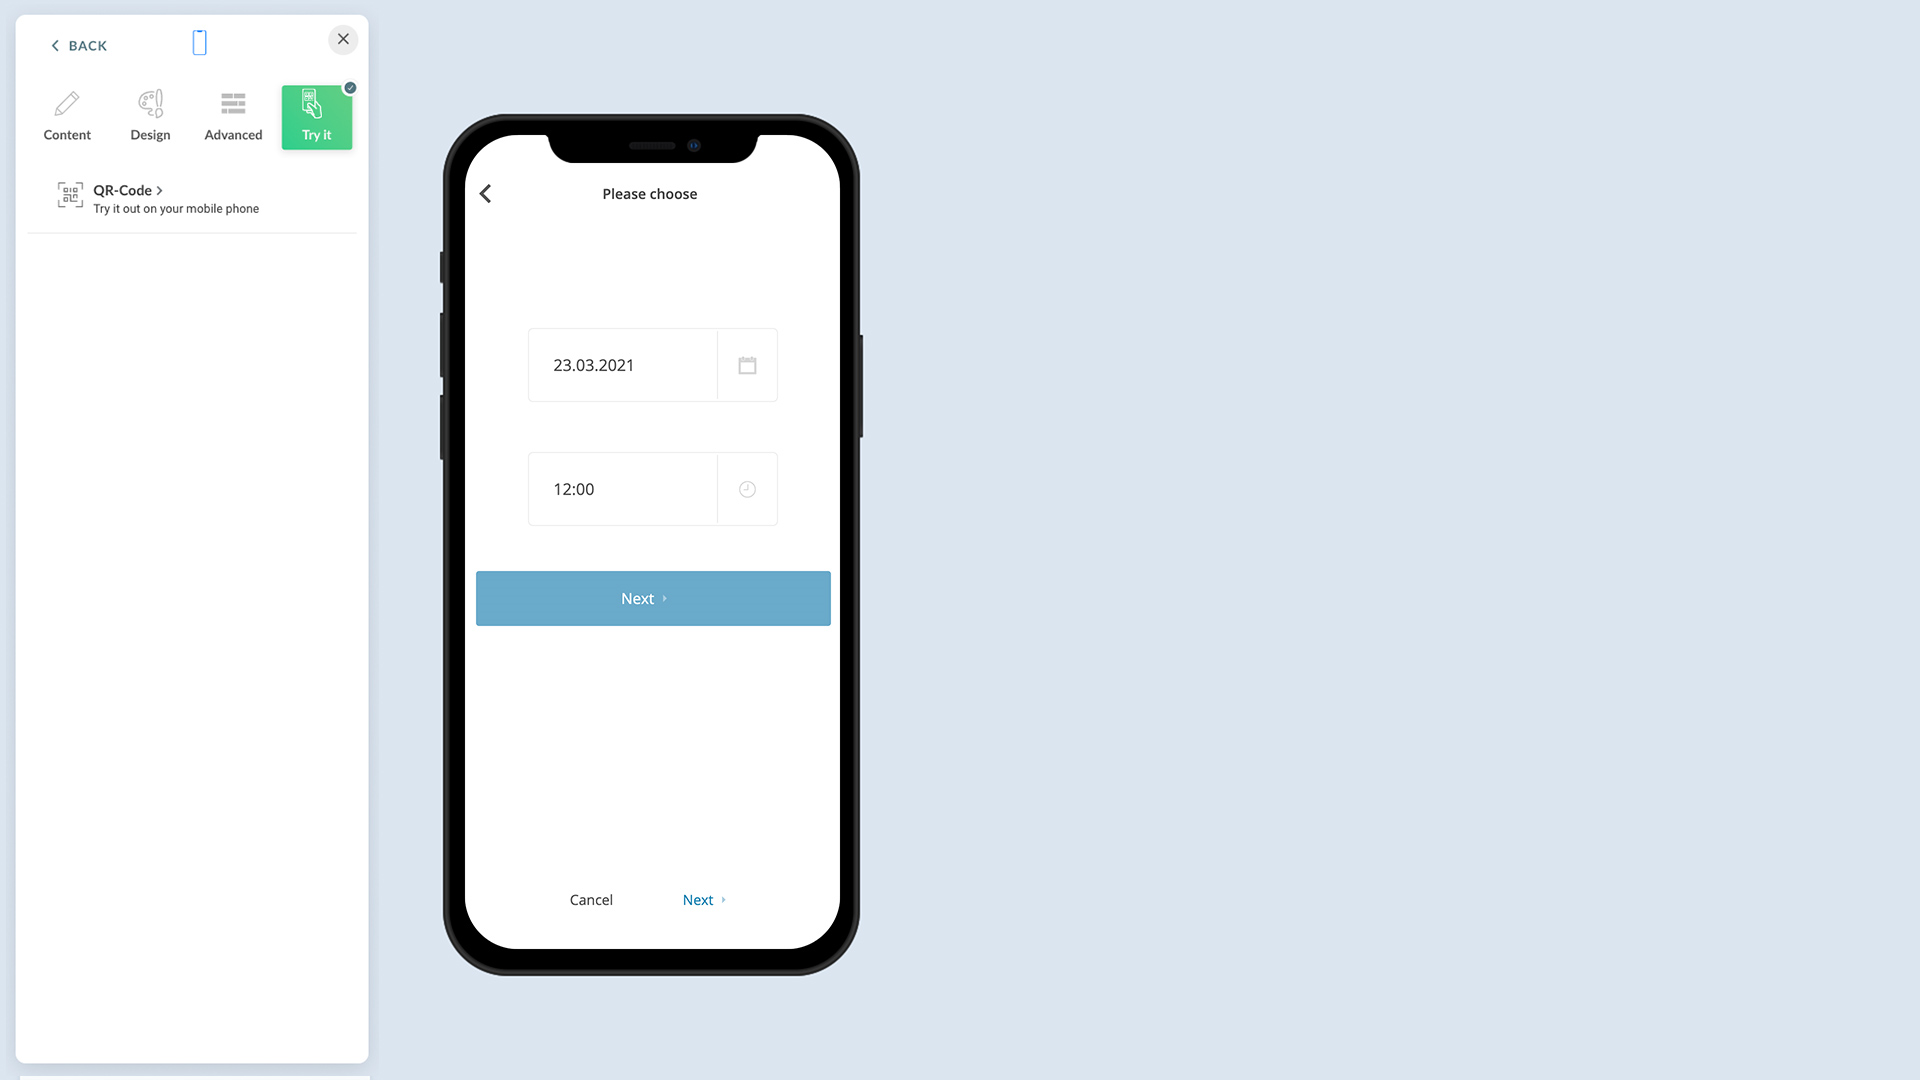
3. Select the date and time.
image.png172.81 KB
Depending on the settings and actual availability, you may see an error indicating the unavailability of the timeslot or resource at this point.
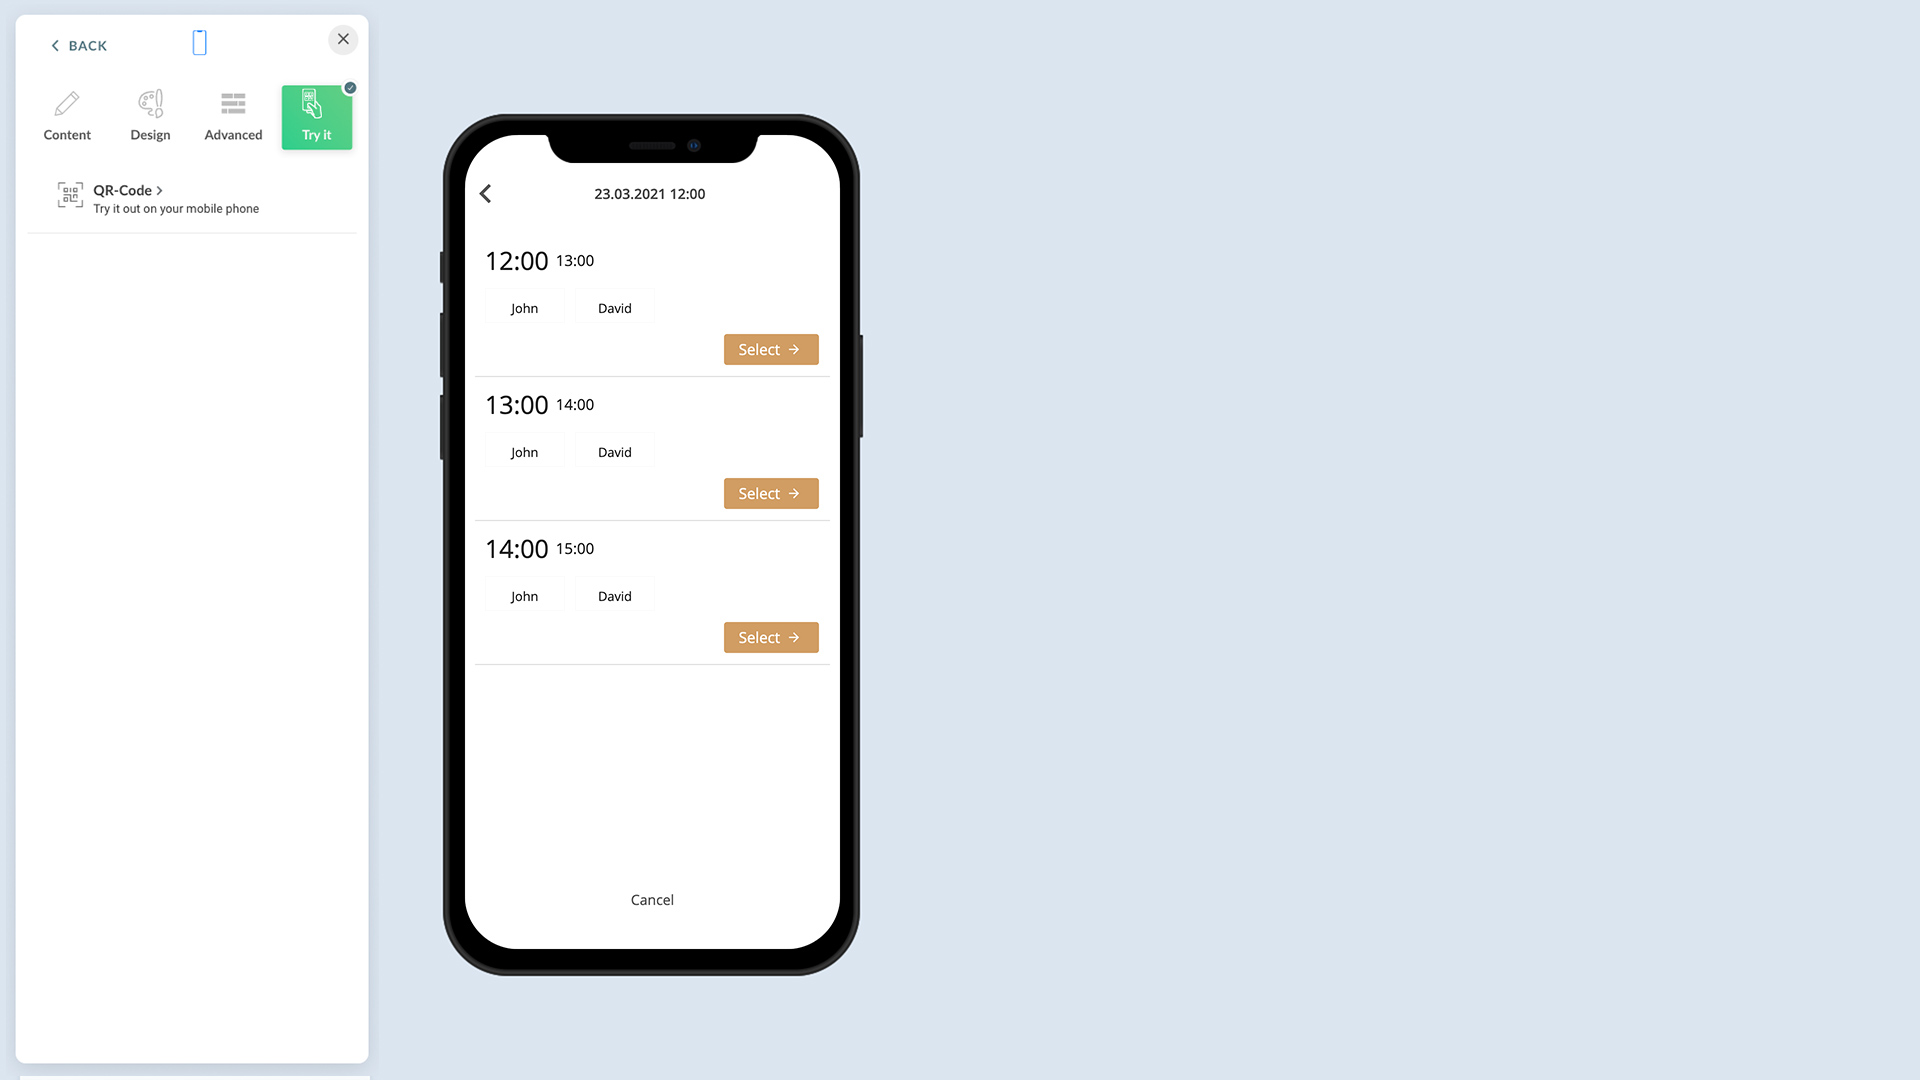
4. Available and qualified resources show up. Select one of the resources.
image.png193.48 KB
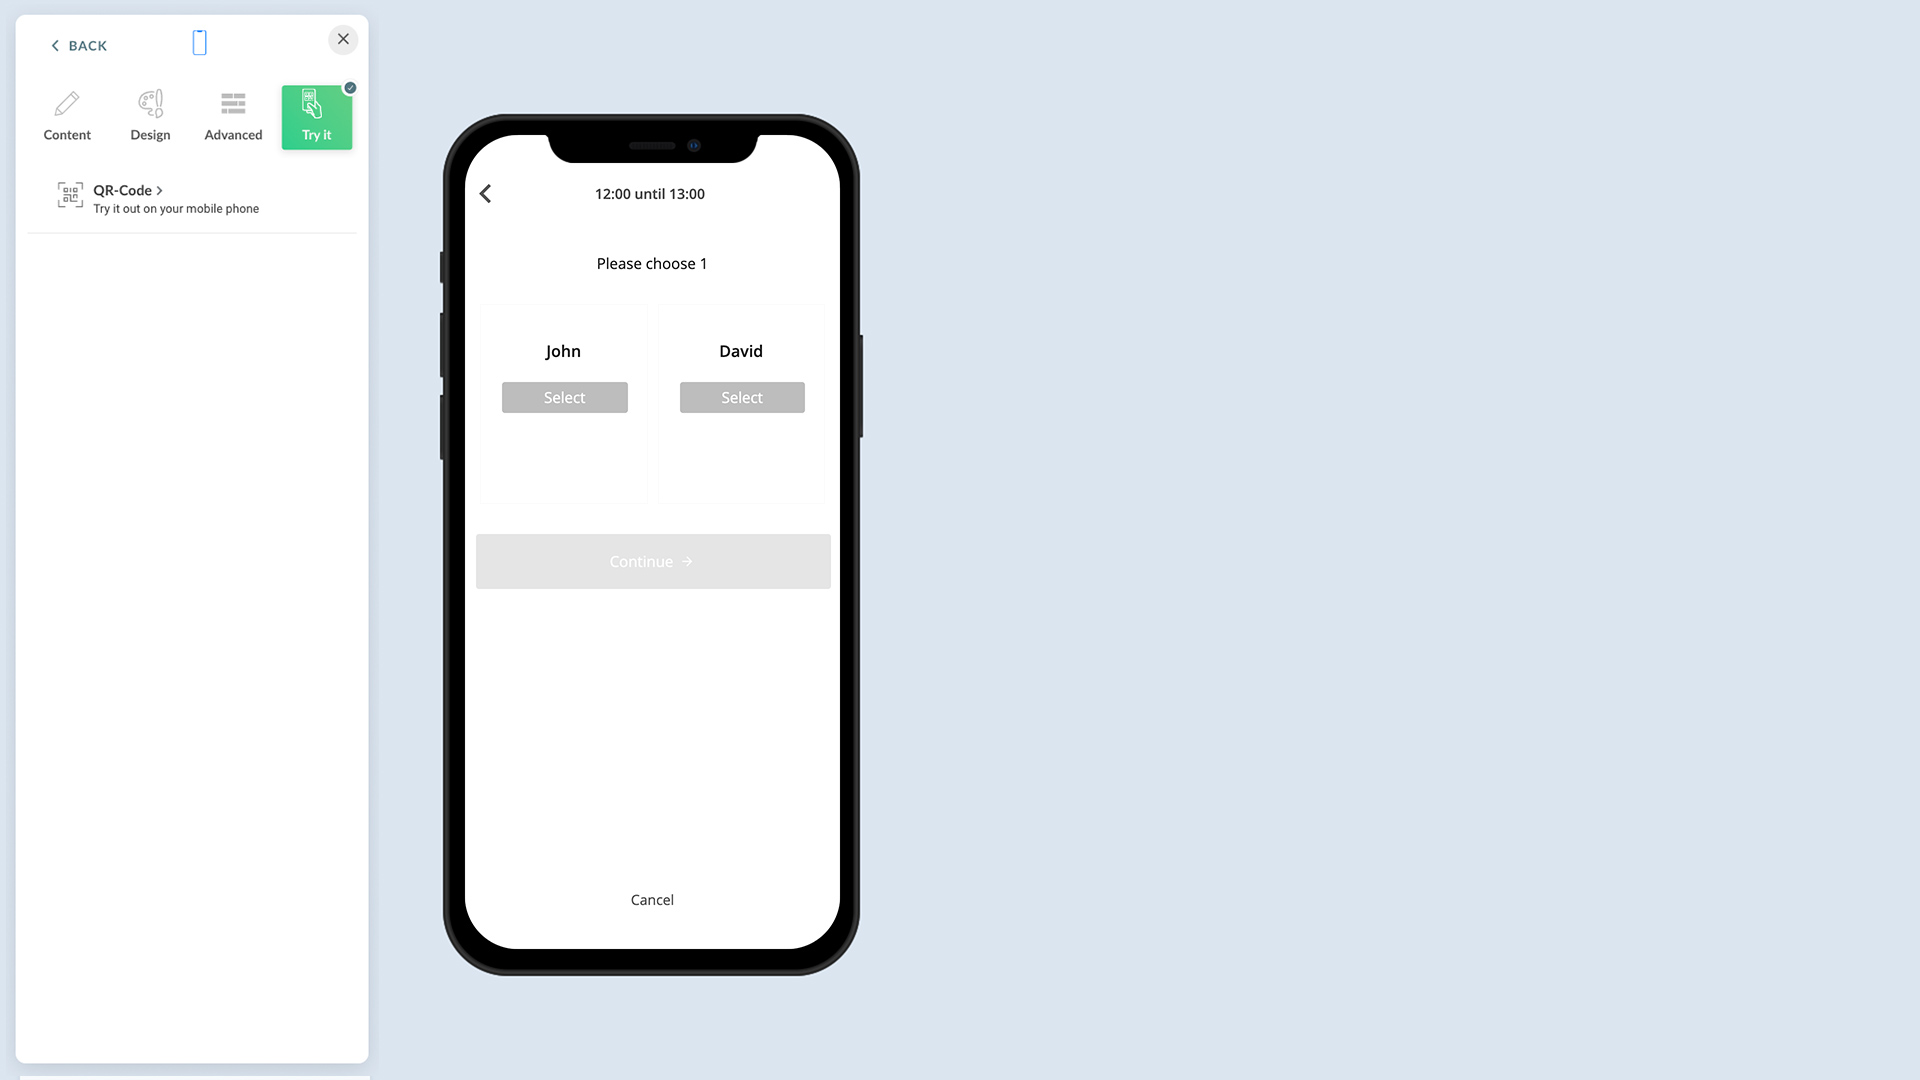
5. Click on the 'Select' again to confirm the resource, and click on the 'Continue' to proceed.
image.png171.91 KB
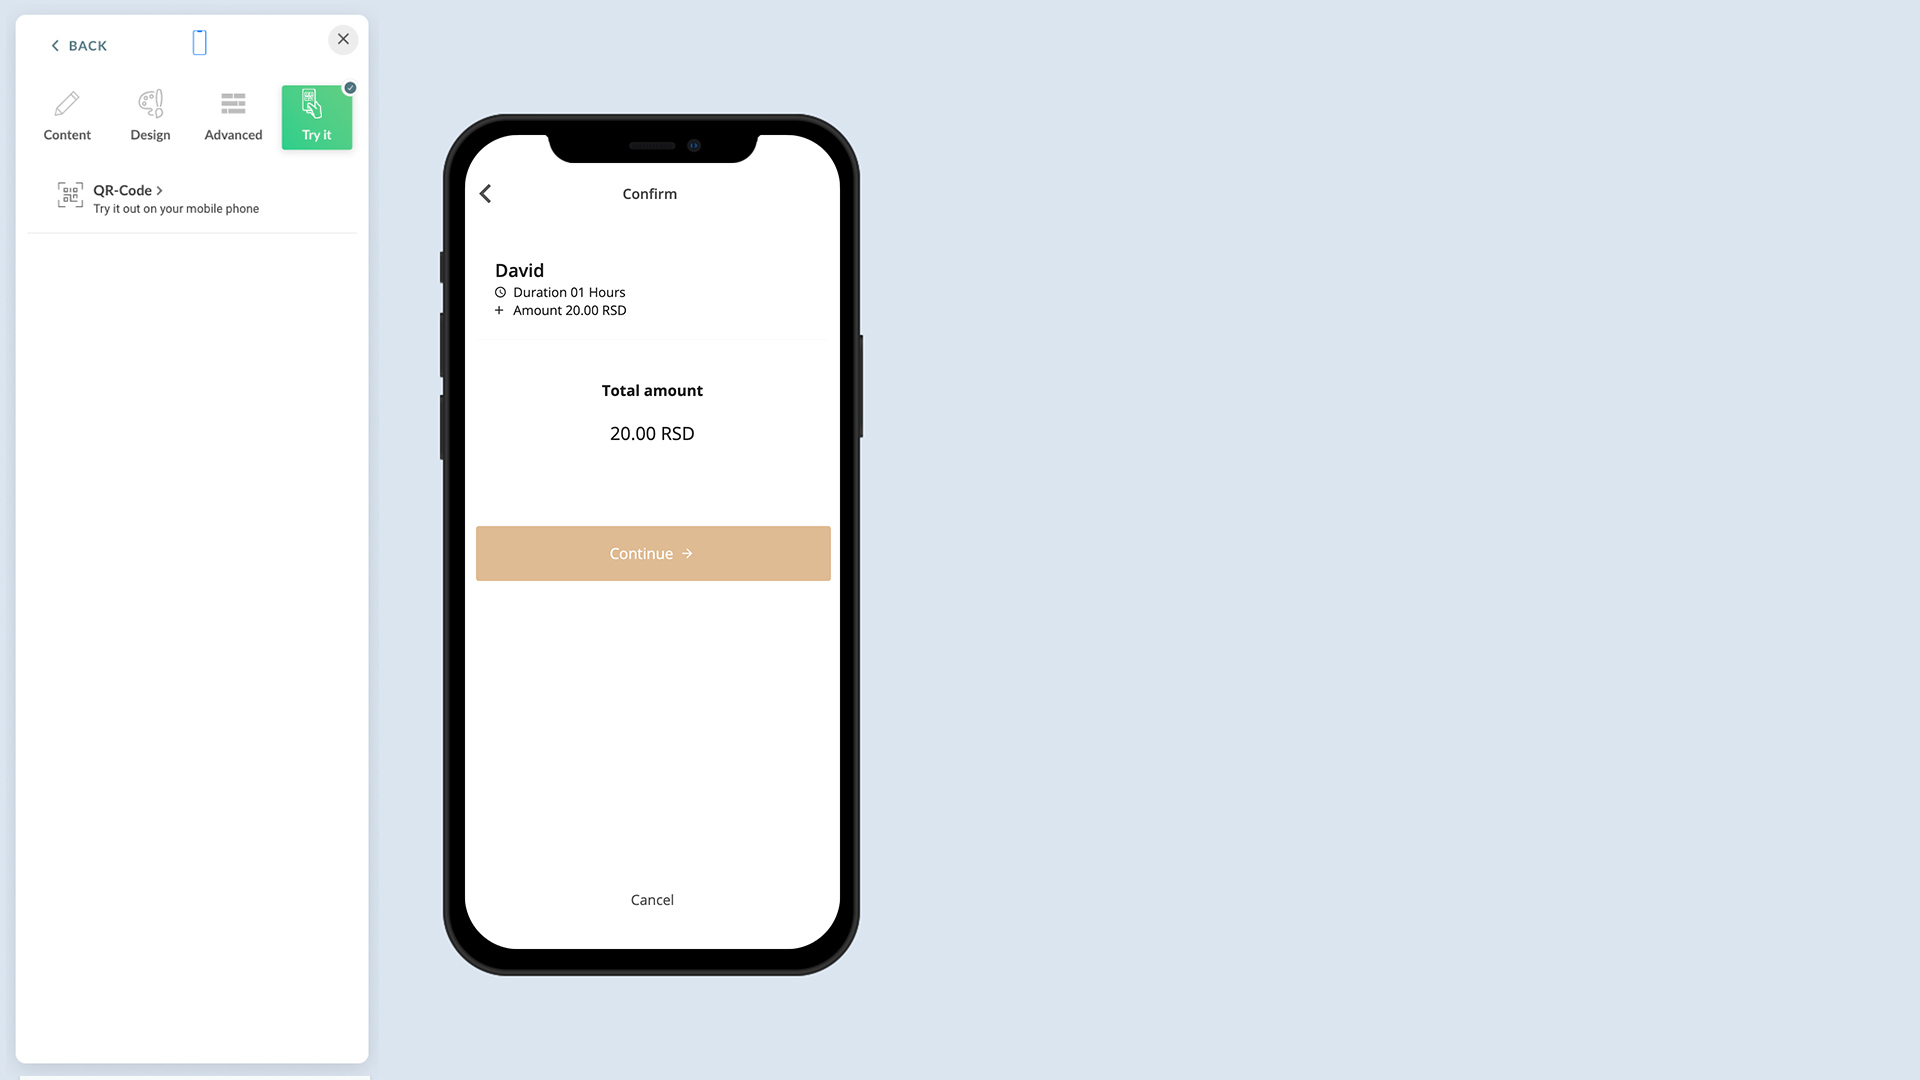
6. A brief detail about the booking is shown. Click on the 'Continue.'
image.png176.24 KB
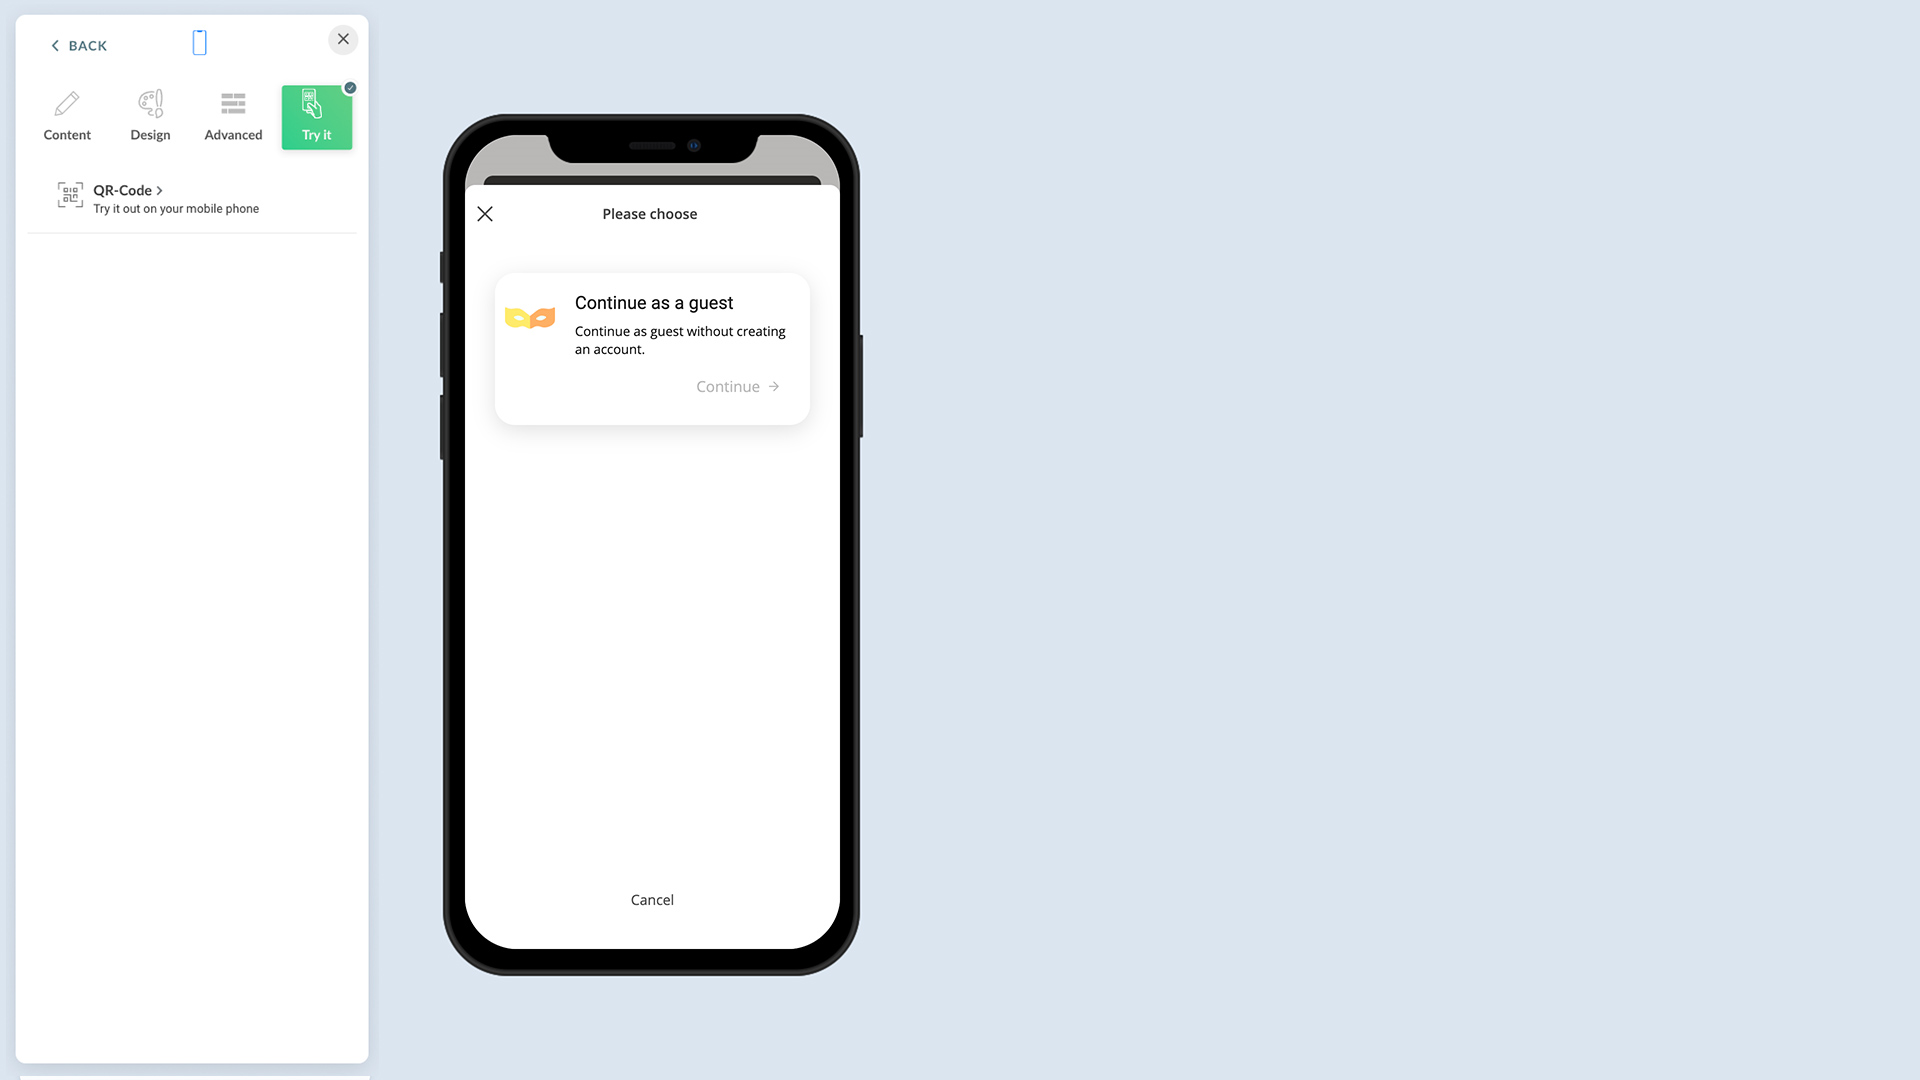
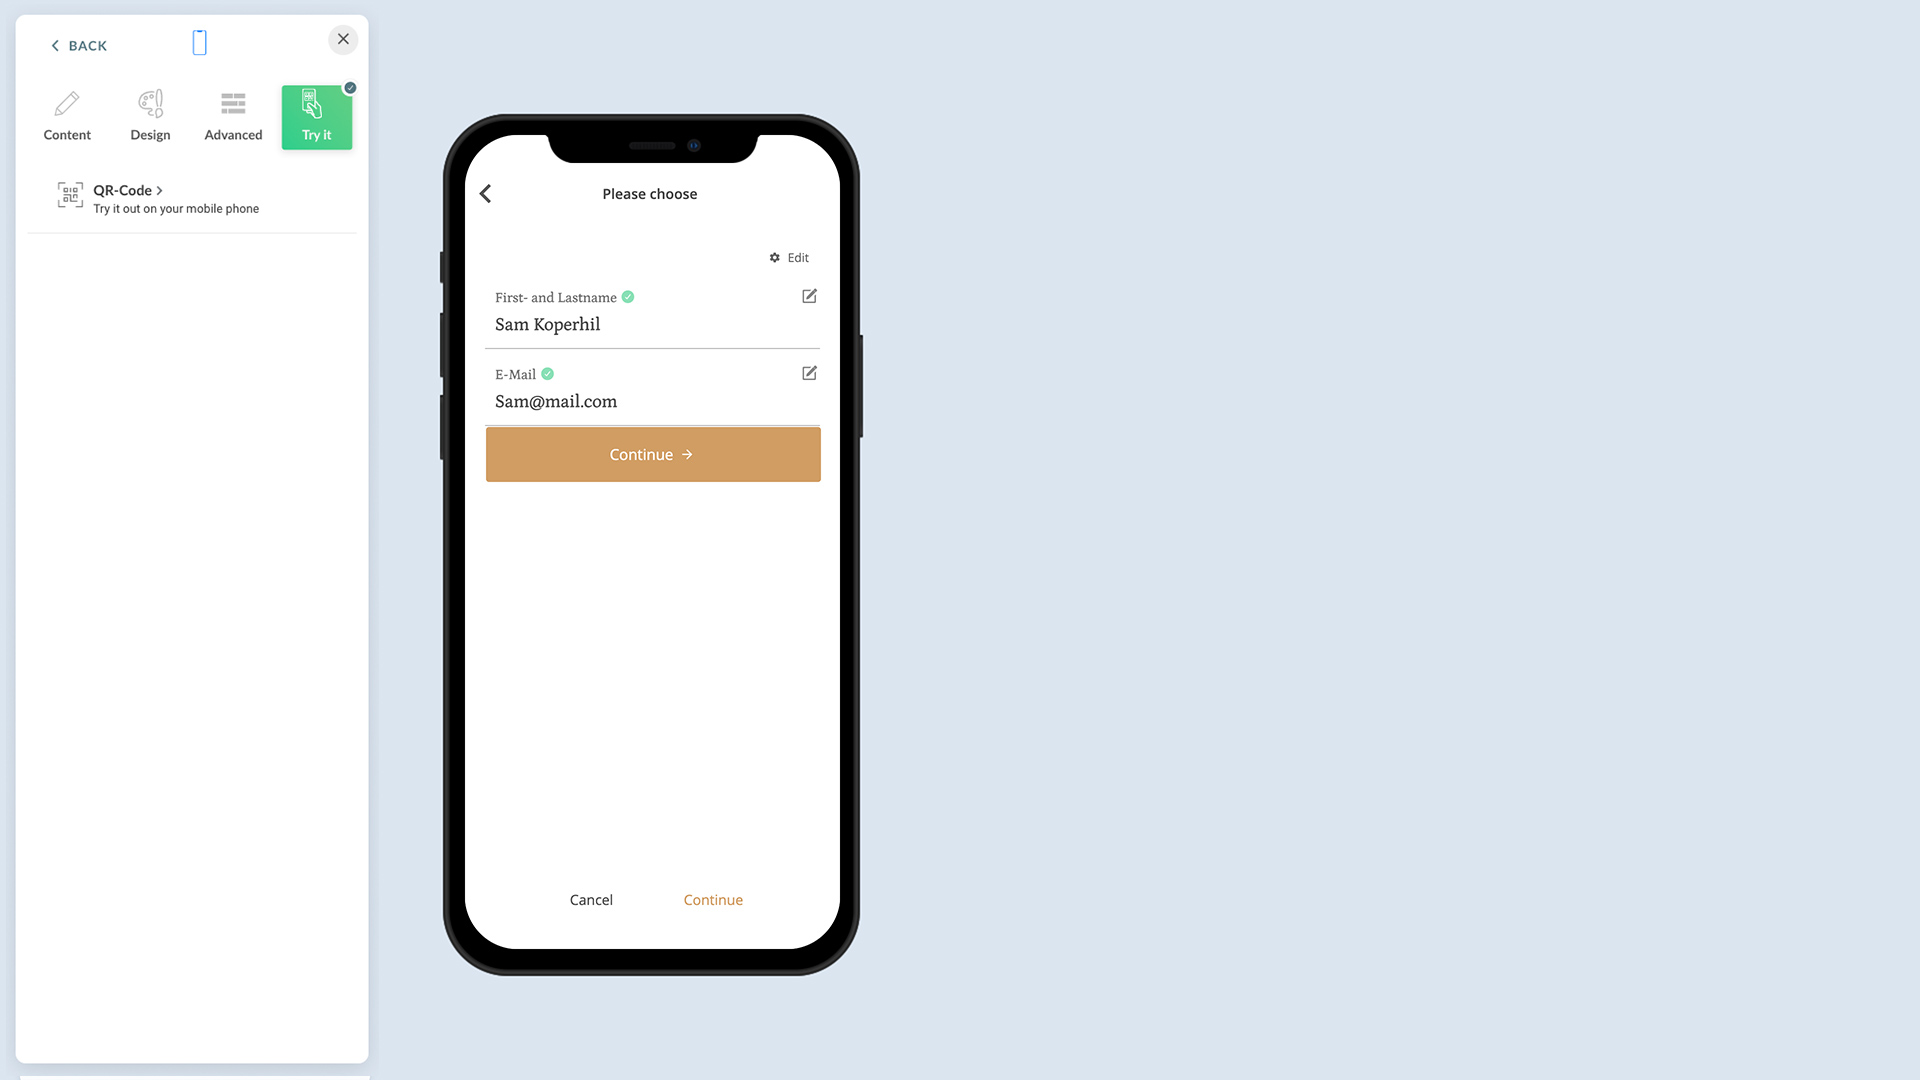
7. Proceed with any rule option to complete making the booking.