Get started  
Login  

Help Center

Community / Forum Ask Zappter Support We build your app Marketplace

Documentation

English

General

Videos

Mastering the content editor Pixel perfect design Setup your E-Commerce Store Configure your booking engine Event-System / Drop-In

Popular

App Store Submission Creating Push Notifications Typography Changing template Changing Rules

Business Modules

New

More Tutorials

Documentation

Creating Content Groups

Creating landing pages

Creating landing pages and linking to CTAs, getting direct URL or using QR codes to accessing it, consists of these tasks as outlined below. Then the below sections guide you through each of them. 
  1. Create a landing page.
    • Create a new 'view' for the landing page
    • Create a new 'content layout' inside the view
  2. Populate your landing page with UI elements.
  3. Add a button on your app that calls the landing page.
Create a new 'View' for the landing page:
Why create a new view? Just as in website landing pages, you're going to create a new page and add UI elements to it to make it a landing page. In order to create a new page, you need a view, on which you need a content layout. Note: It is not applicable to Zappter subpages and categories.
1. Admin > Customize > Content. Click '+ New.'
image.png 452.37 KB
2. Click on 'New Landing Page.'
image.png 678.96 KB
3. In the New Landing Page setup screen, provide the following information:

  • Landing Page Name: Give your new landing page a name
  • Start Page:  Set to no
  • Origin Landing Page: Untick all
image.png 587.17 KB
5. Create and your 'view' is ready now. Move on to the next section to create a new content layout on the view.
6. Click on 'Put Online.' 
Create a new content layout:
Why create a new content layout? Just as in website landing pages, you're going to create a new page and add UI elements to it to make it a landing page. In order to create a new page, you need a view, on which you need a content layout. Note: It is not applicable to Zappter subpages and categories.
Note that 'Content' in this context does not refer to your UI elements. Content refers to a layout. Because you need to have a layout where you can add your UI elements.
1. Admin > Customize > Content. Click on '+New' as you did earlier but this time select 'New Content' option.
image.png 680.6 KB
2. Give it a name and choose a default image and set other fields as described below.

  • General:  Give a name and select an image
  • Info/Intro Text: Provide intro information. If you enable popup, when users open this content, a popup will show them this intro
  • Workstation: Select here the workstations that are linked to this content. For instance, any orders from this content will be received at this workstation
image.png 410.26 KB
3. Create and remember to 'Put Online.'  You have now completed creating view and content layout and are ready to add your UI Elements. Now your landing page is ready. Move on to the next section to add user content on your landing page.
Above are the default and important tab settings. If you have subscribed to additional plugins, you will see more tabs associated with relevant plugin functionalities.

Adding landing page content

Now your landing page is ready, you can start adding UI elements on it. It is no different than adding your app content. Check out below steps to add content on your landing page.
1. Admin > Customize > Content . Your default 'view' is selected with a tick on. Besides your default view, you can see your newly created view for landing page. Select it.
2. When selecting the view as mentioned above, you can see your newly added content layout for the landing page appears below with the default image you selected under the section,  Create a new content layout.
image.png 288.63 KB
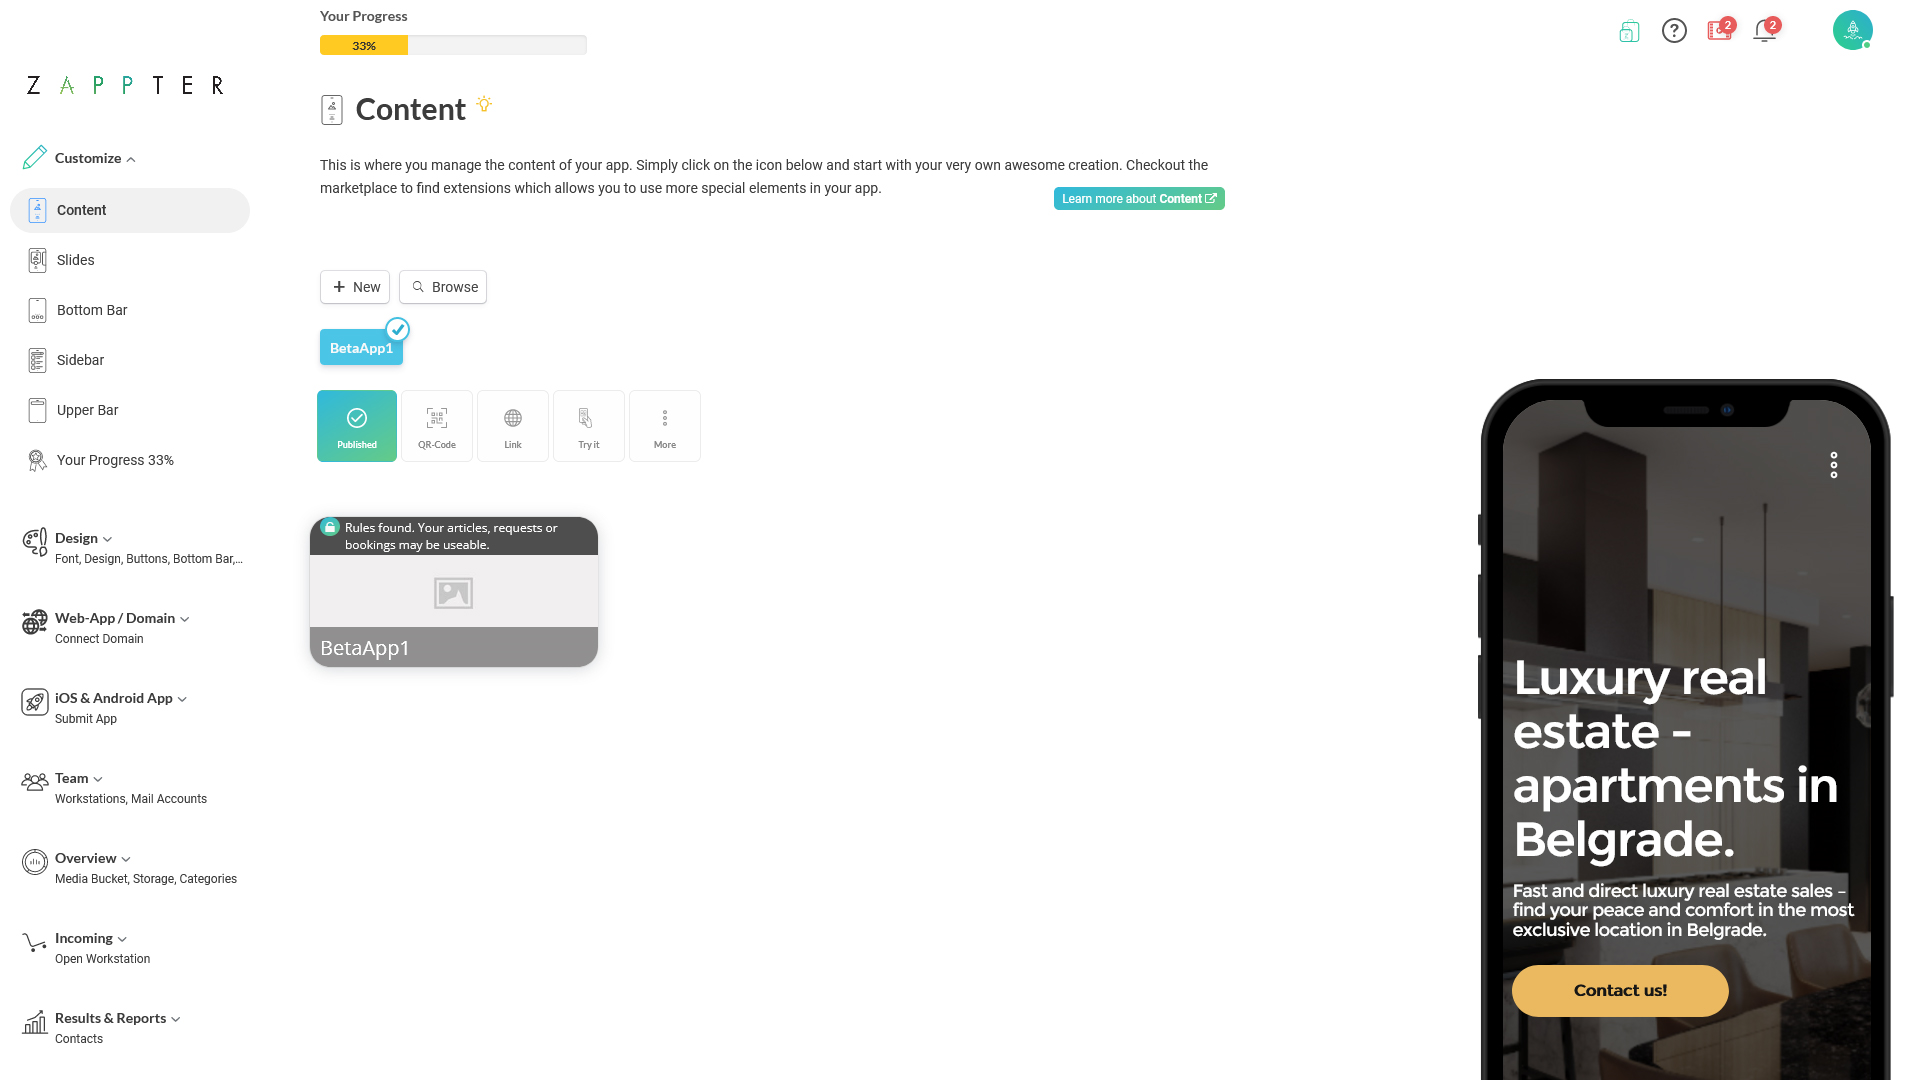
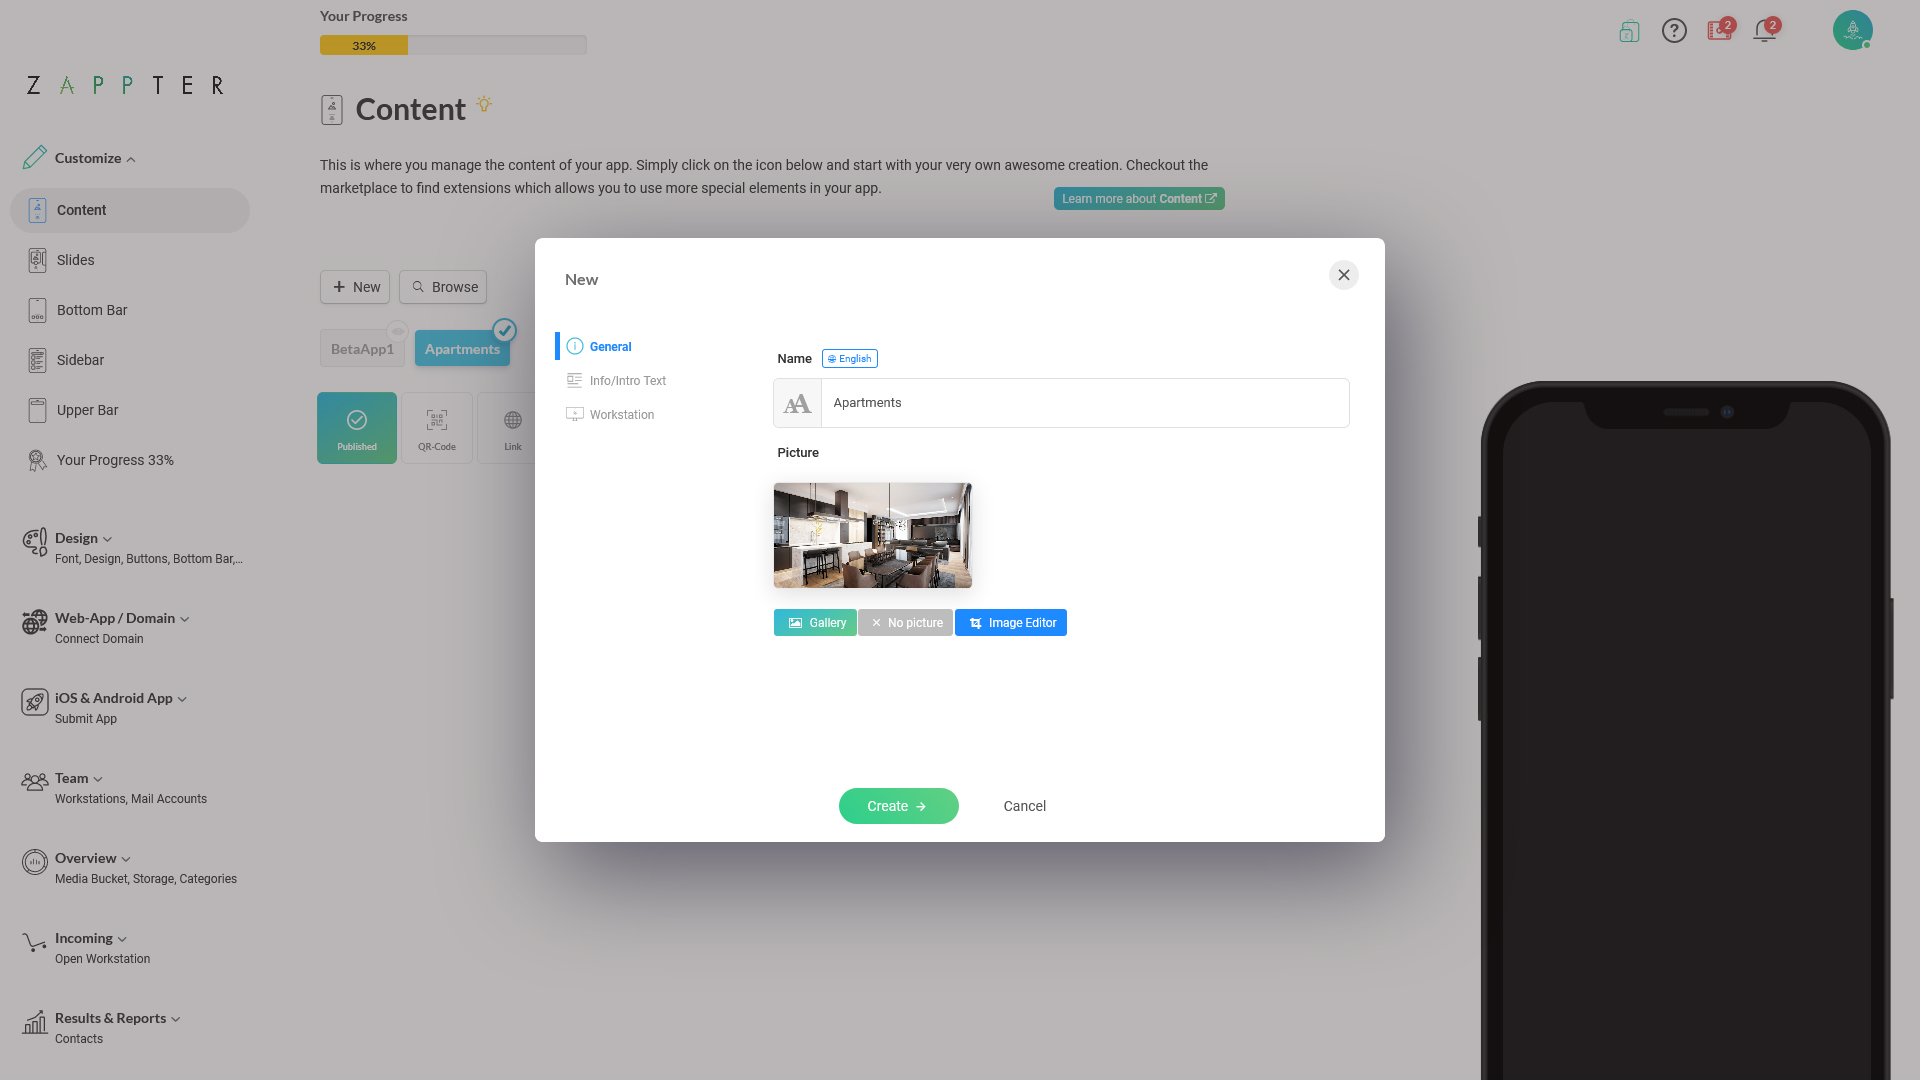
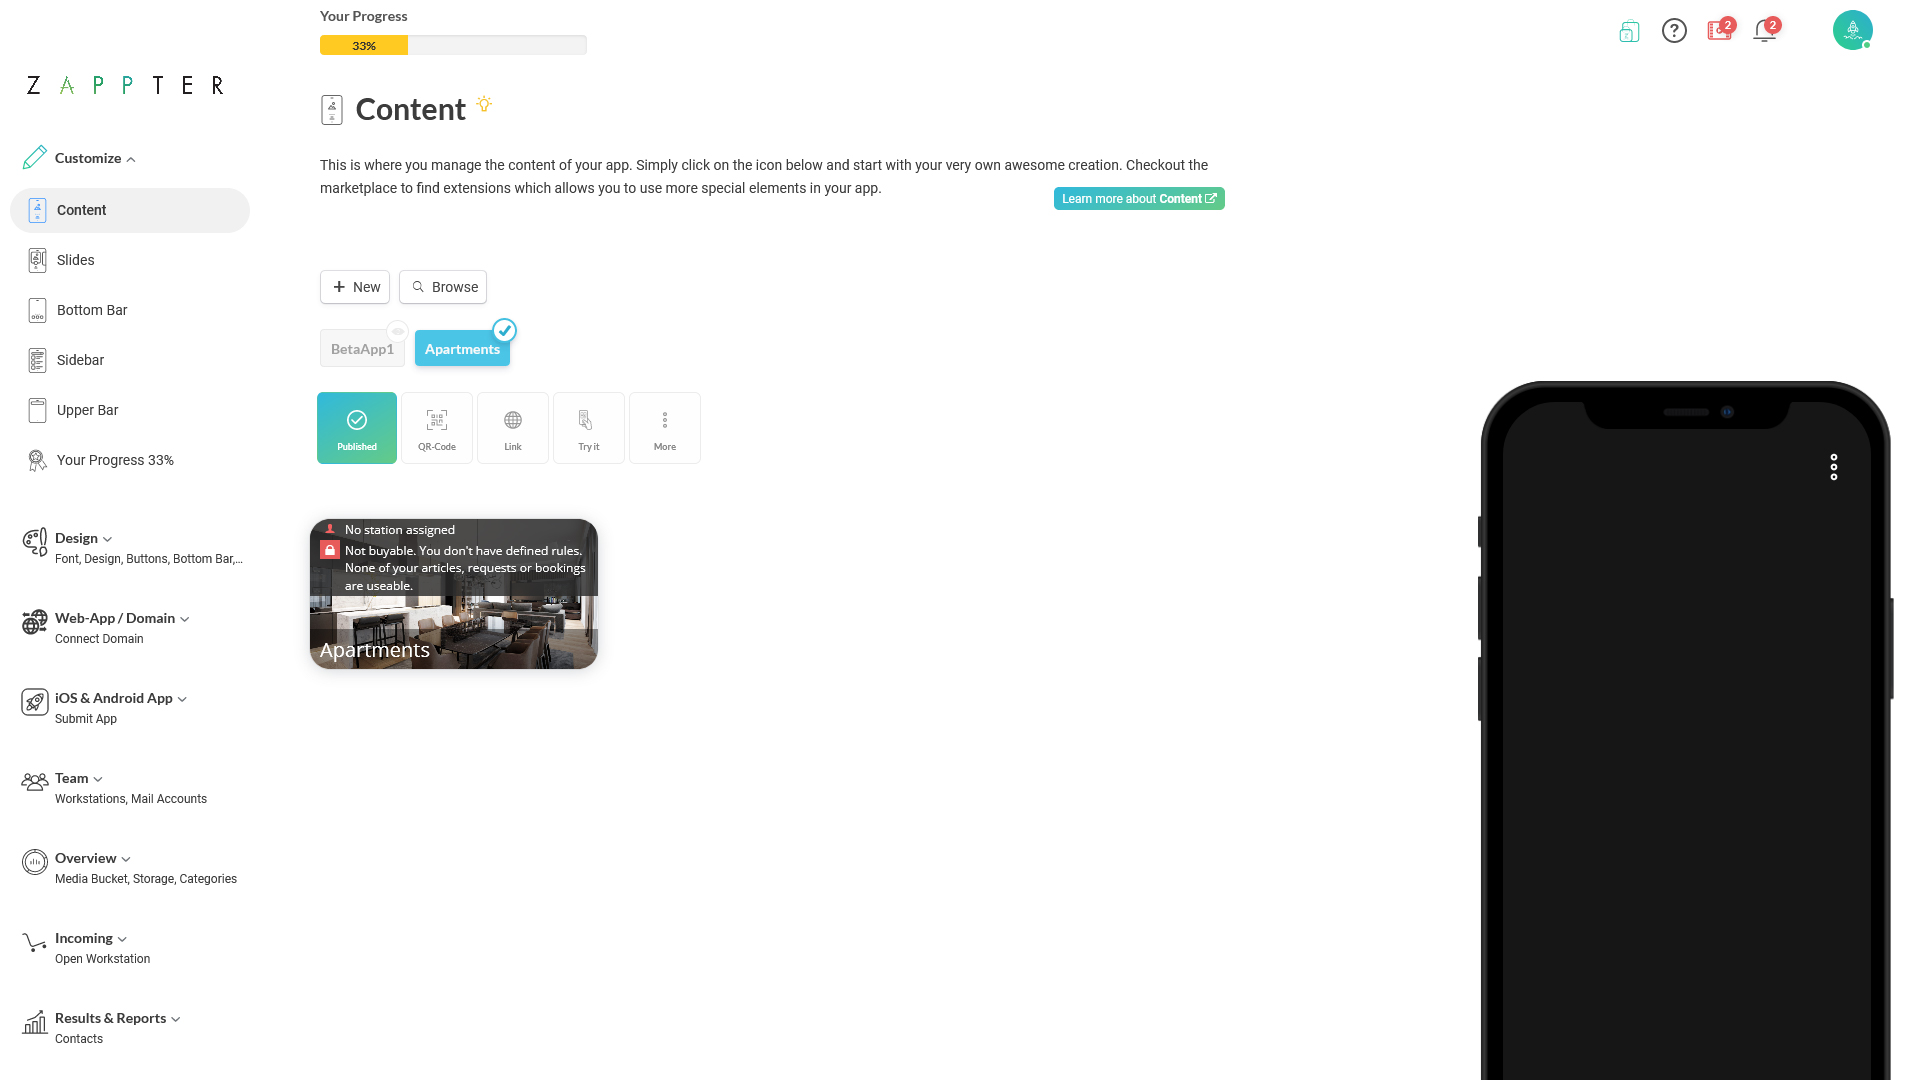
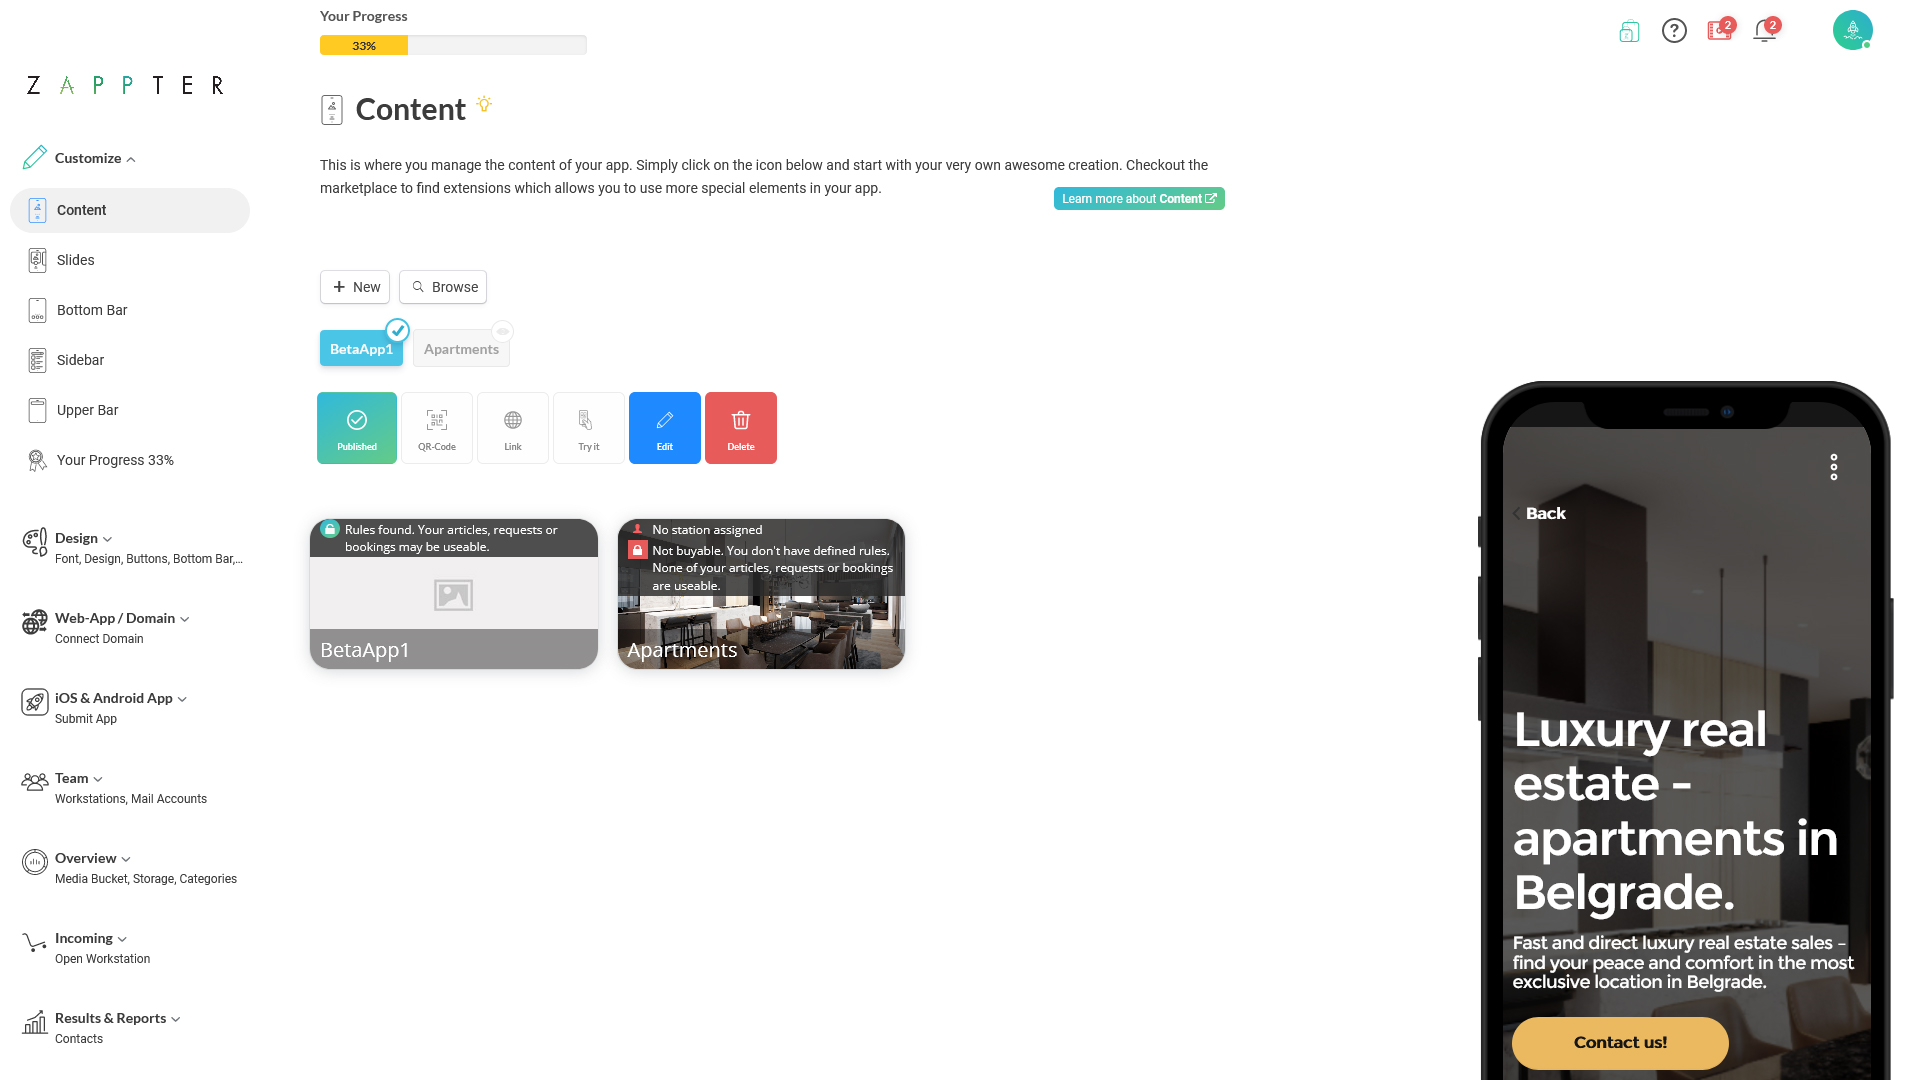
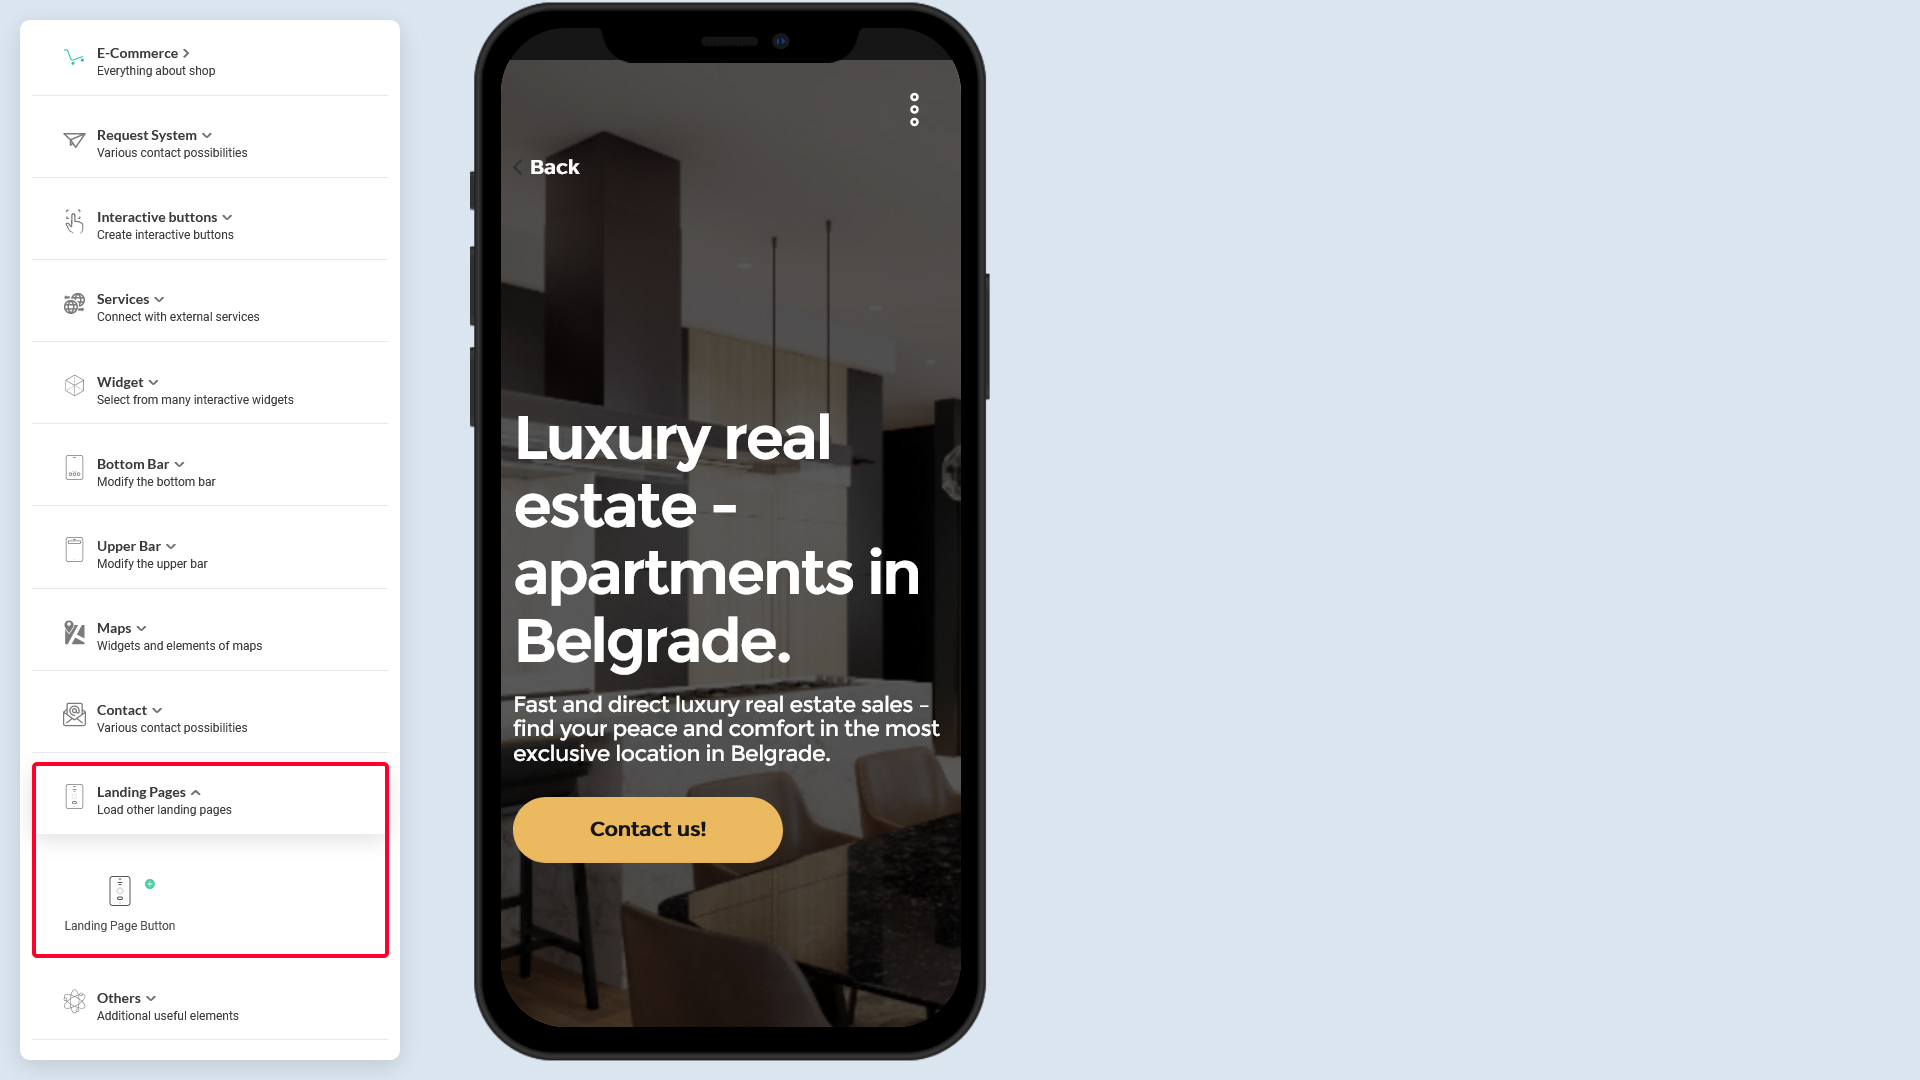
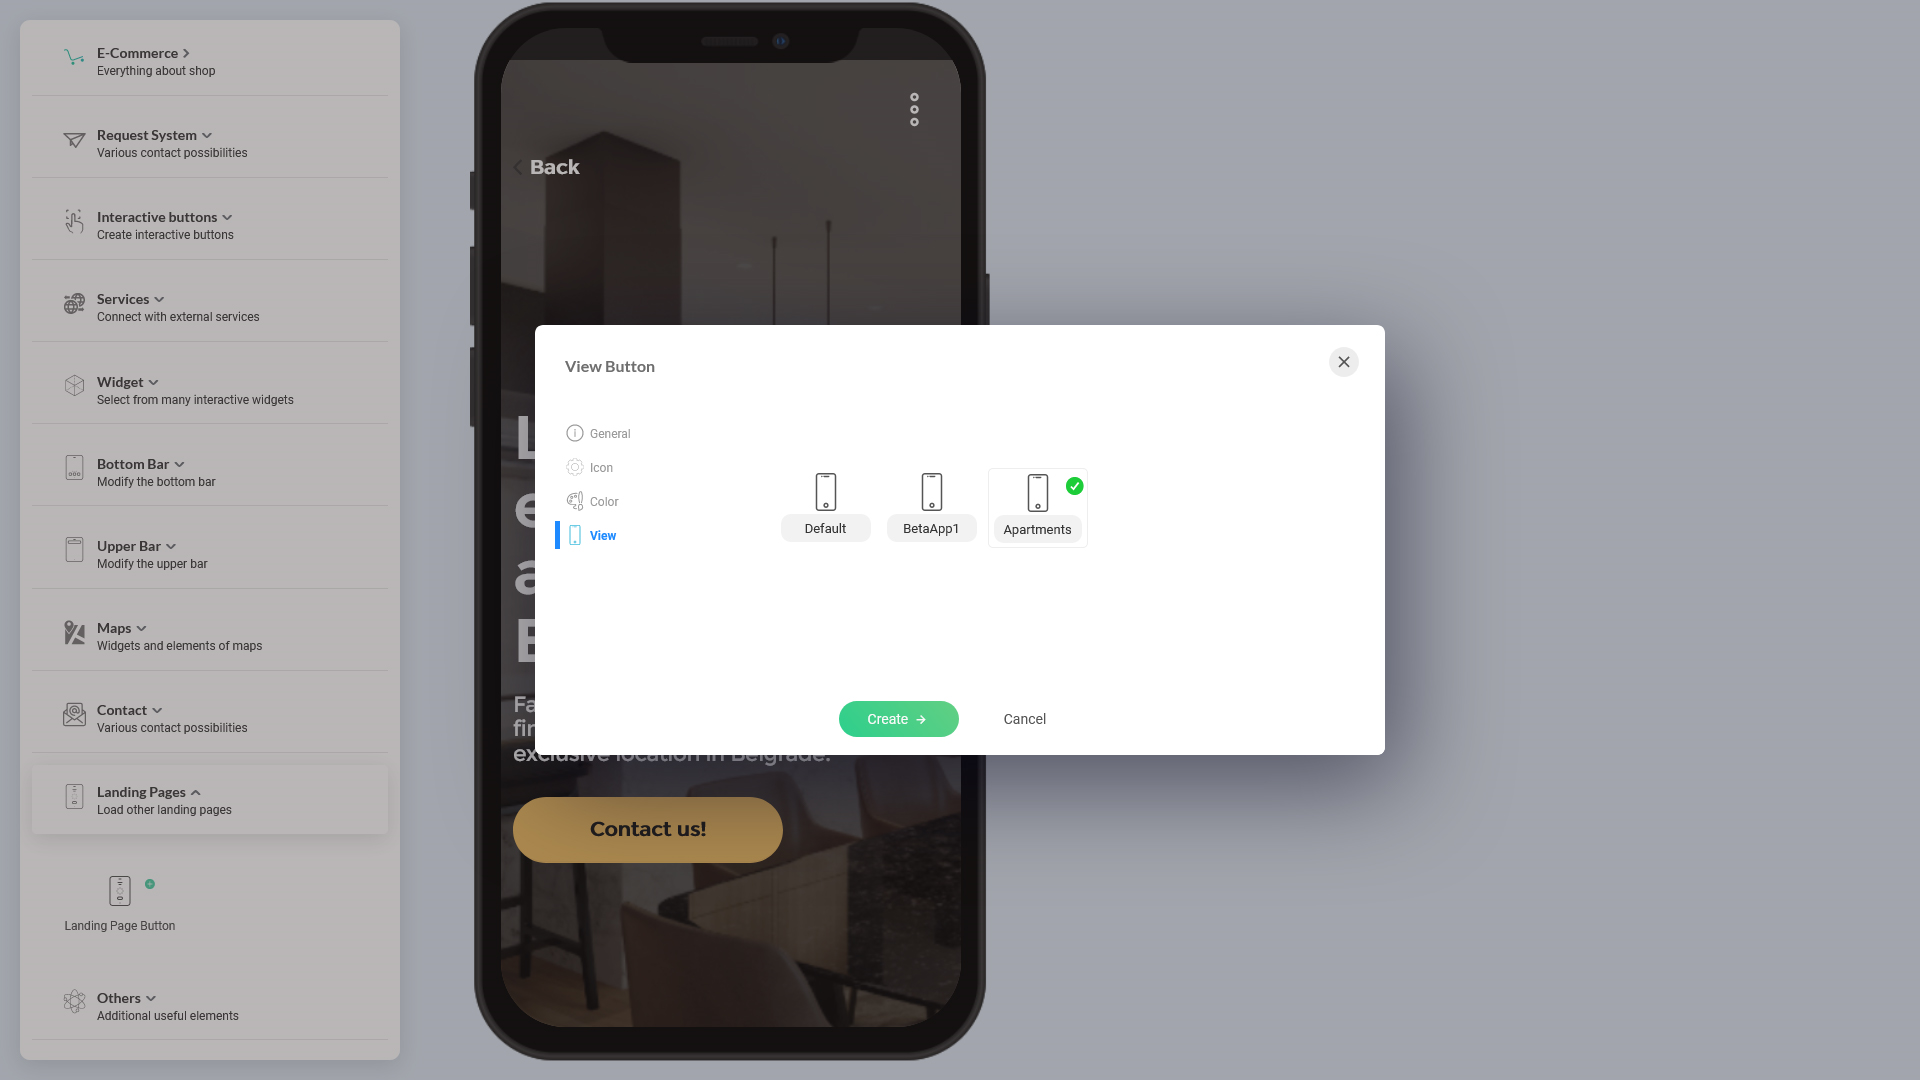
3. Click on it to edit and start adding the UI elements for your landing page. Remember, adding your content inside a landing page is no different than adding your regular app content. You can read the documentation on How to add your app content here.

Calling landing pages from app

Follow below steps to add a button on your app so that when users click on the button, they're taken to the landing page.
1. Admin > Customize > Content. Click to edit the app (Ensure your app view is ticked, and not the landing page view).
image.png 538.37 KB
2. Select 'Content,' then expand the 'Landing Page' group on the plugin panel. Click on the 'Landing Page Button.'
image.png 565.07 KB
3. Move on to the 'View' tab and you can see your landing page name that you created under the above section, Create a 'View' for Content Layout is an option there. Click on it to tick it. Important: This step is crucial as it links your landing page with the button.
image.png 448.32 KB
Other tabs:

  • General: Here you can customize the button caption
  • Icon: Assign the button with an icon
  • Color: Customize the button colors
4. Create the landing page button. Remember to 'Put Online' the changes.
You can also use the landing page outside your app. You get a direct link URL or Iframe widget code to use in your outside marketing campaigns. It is discussed in the next section, Link & Iframe.
Content Groups
Last updated at 06.12.2023 11:57