Choosing, cropping, and adding an image on the content
Rotating it to your desired angle using Zappter designer
Choosing, cropping, and adding an image on the content
(Read next subsection below for rotating the image using Zappter designer)
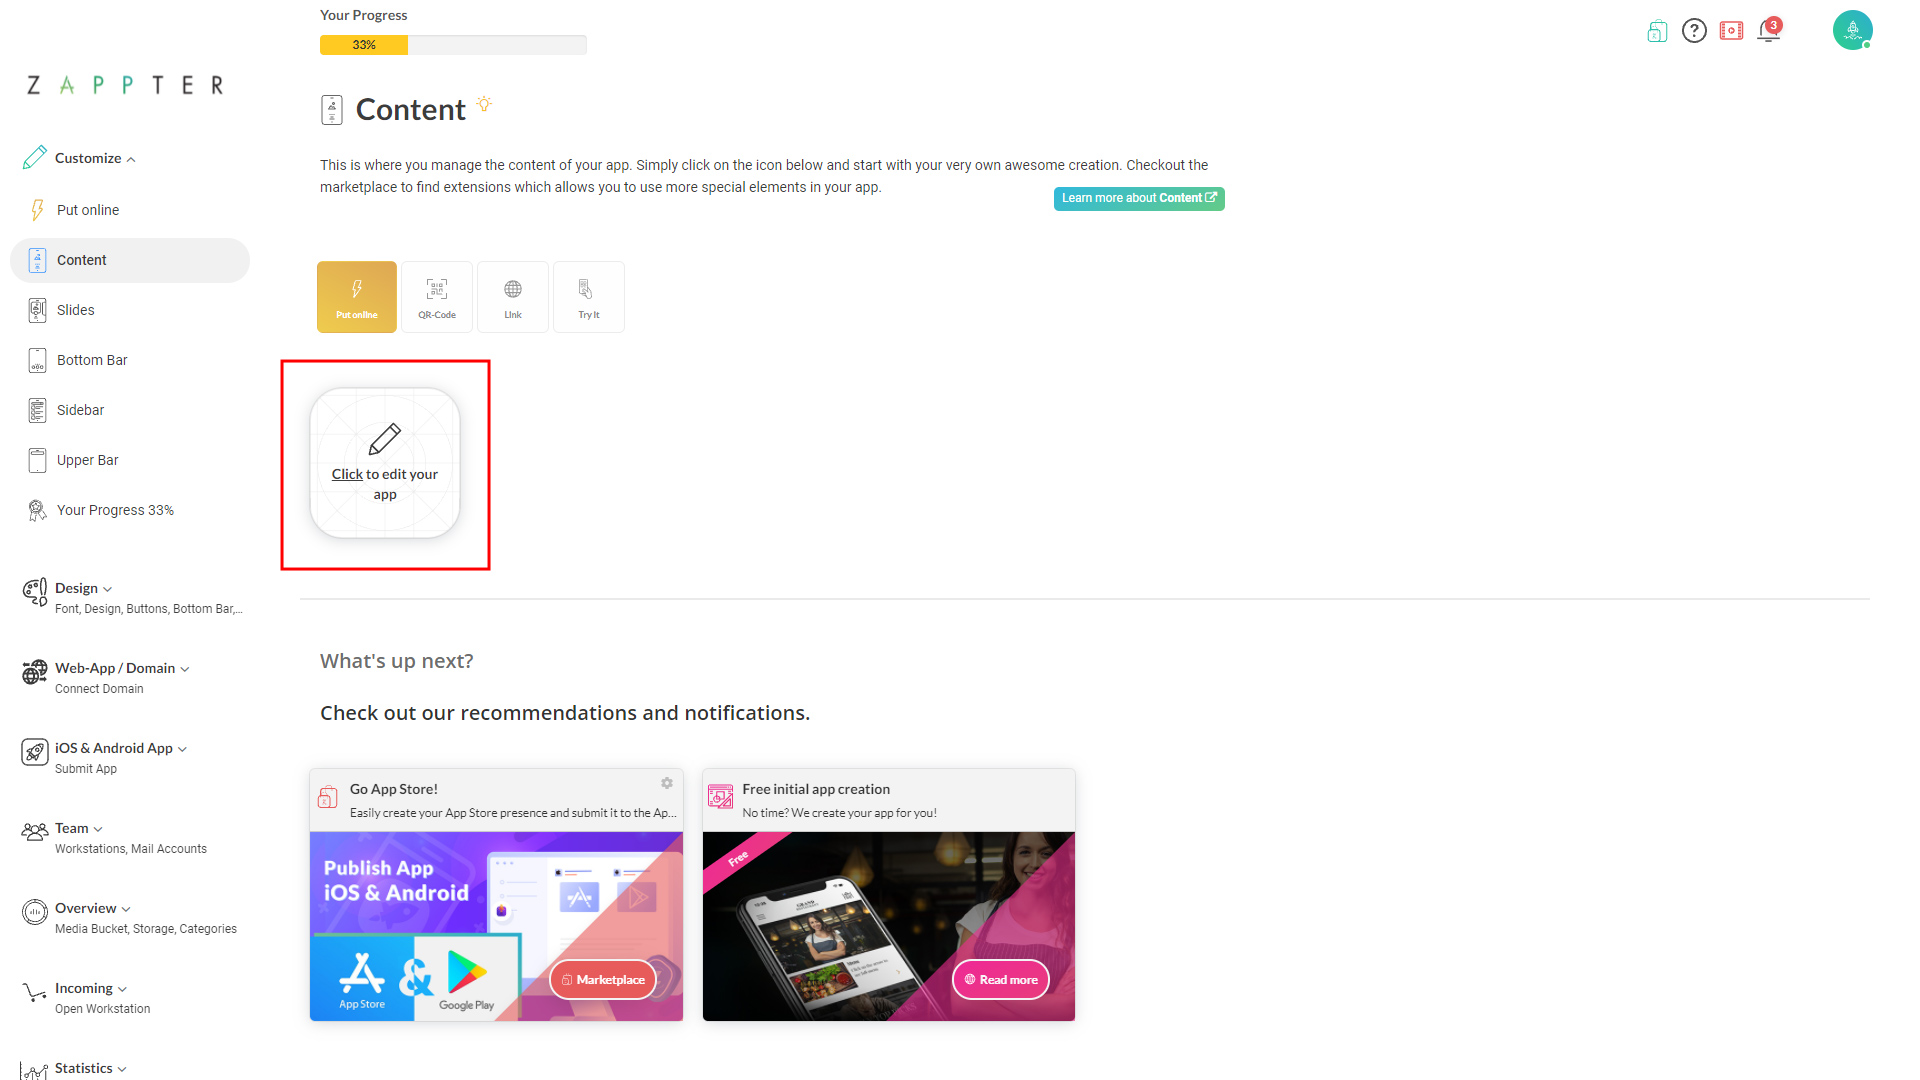
1. Admin > Customize > Content. Click to edit your app.
1.jpg299.27 KB
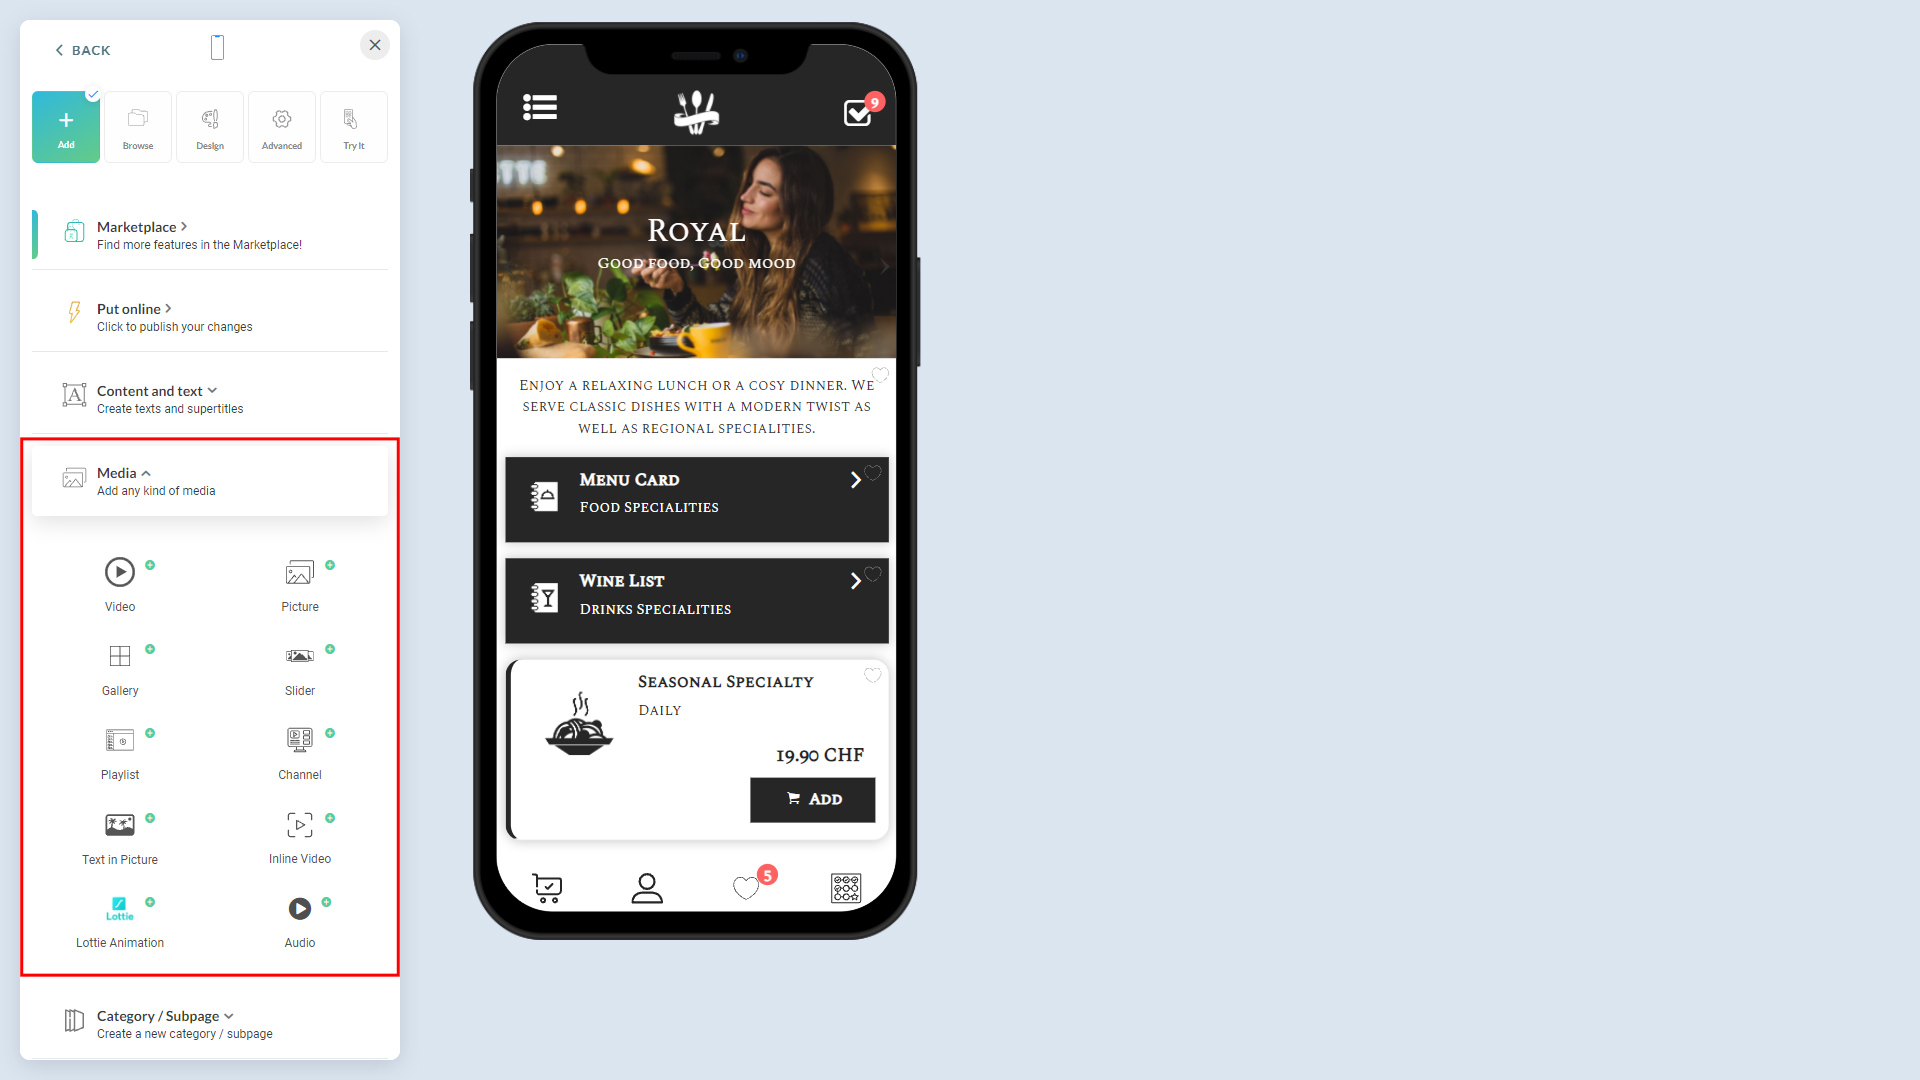
2. In the app customization, expand the group. 'Media' under Content. Click on the 'Picture.'
2.jpg279.26 KB
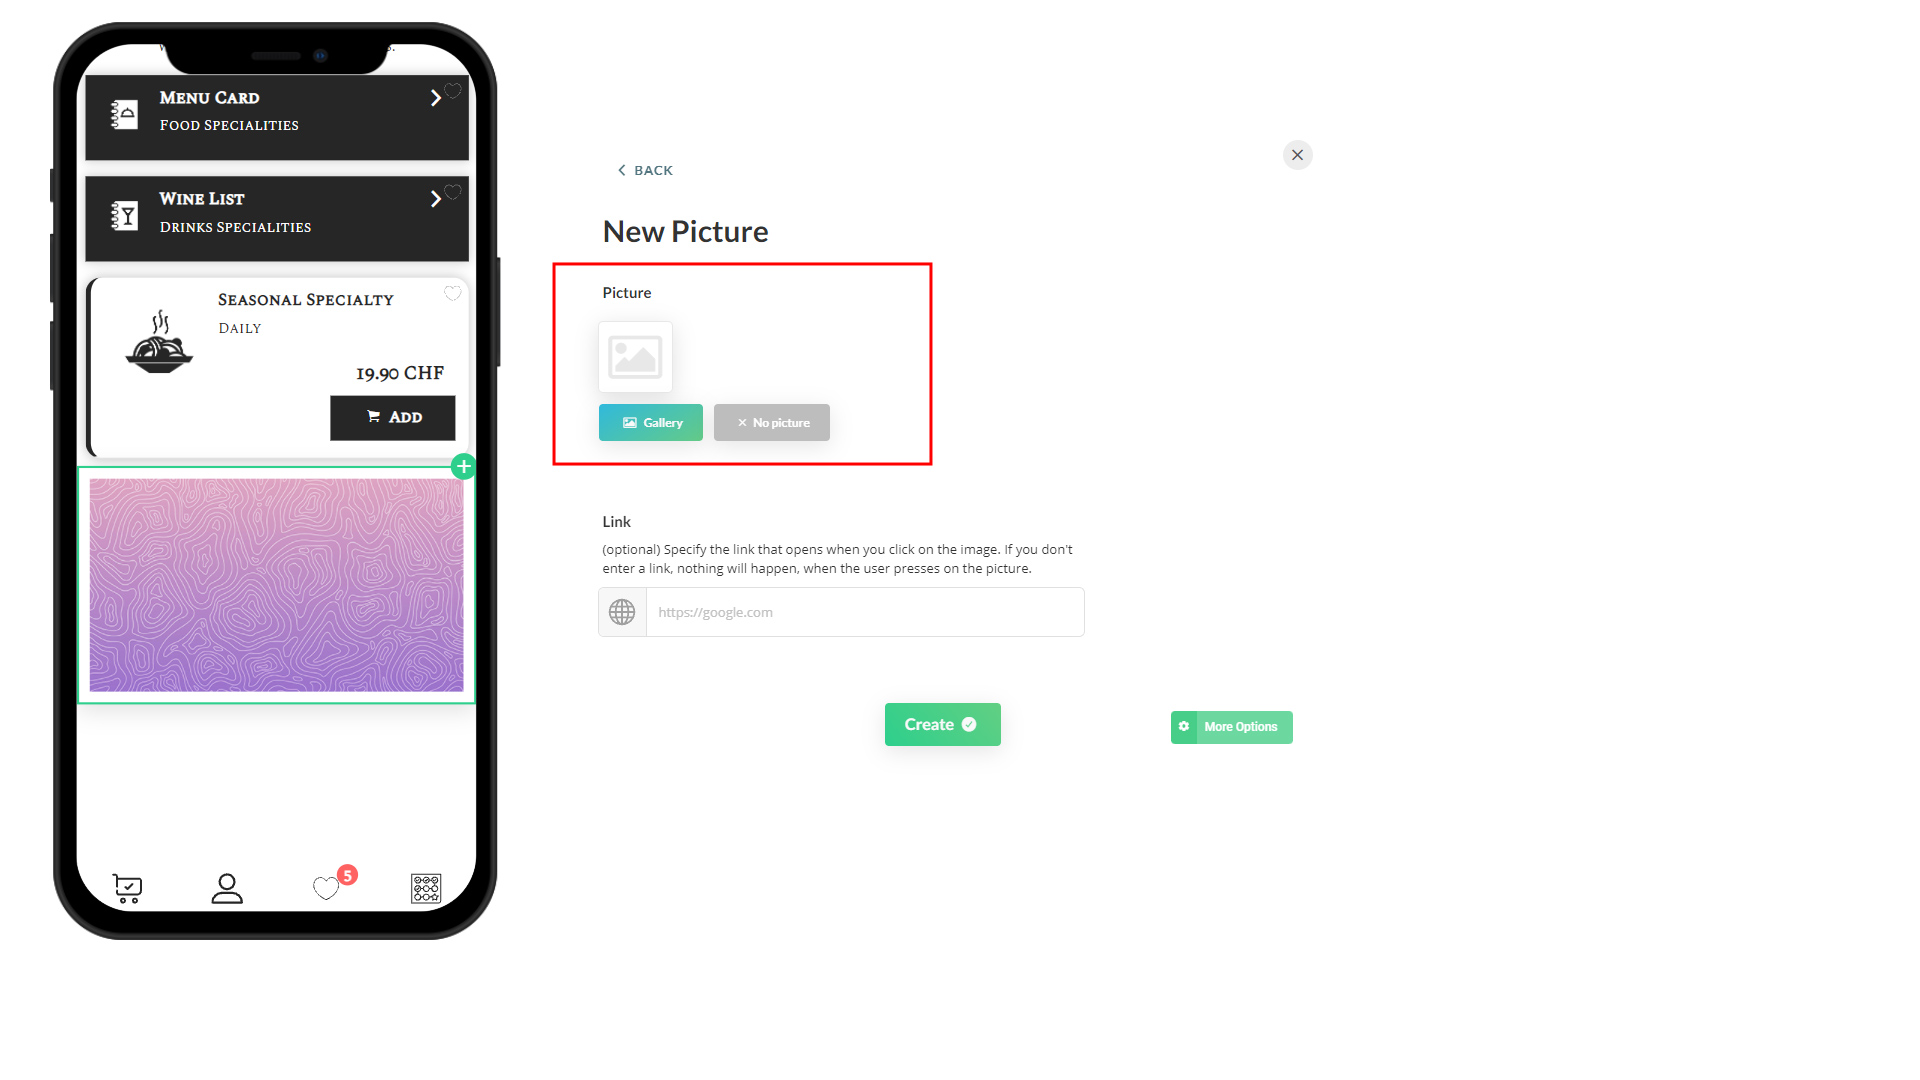
3. Once the image settings comes up, click on the 'Gallery' button to pick an image.
3.jpg221.95 KB
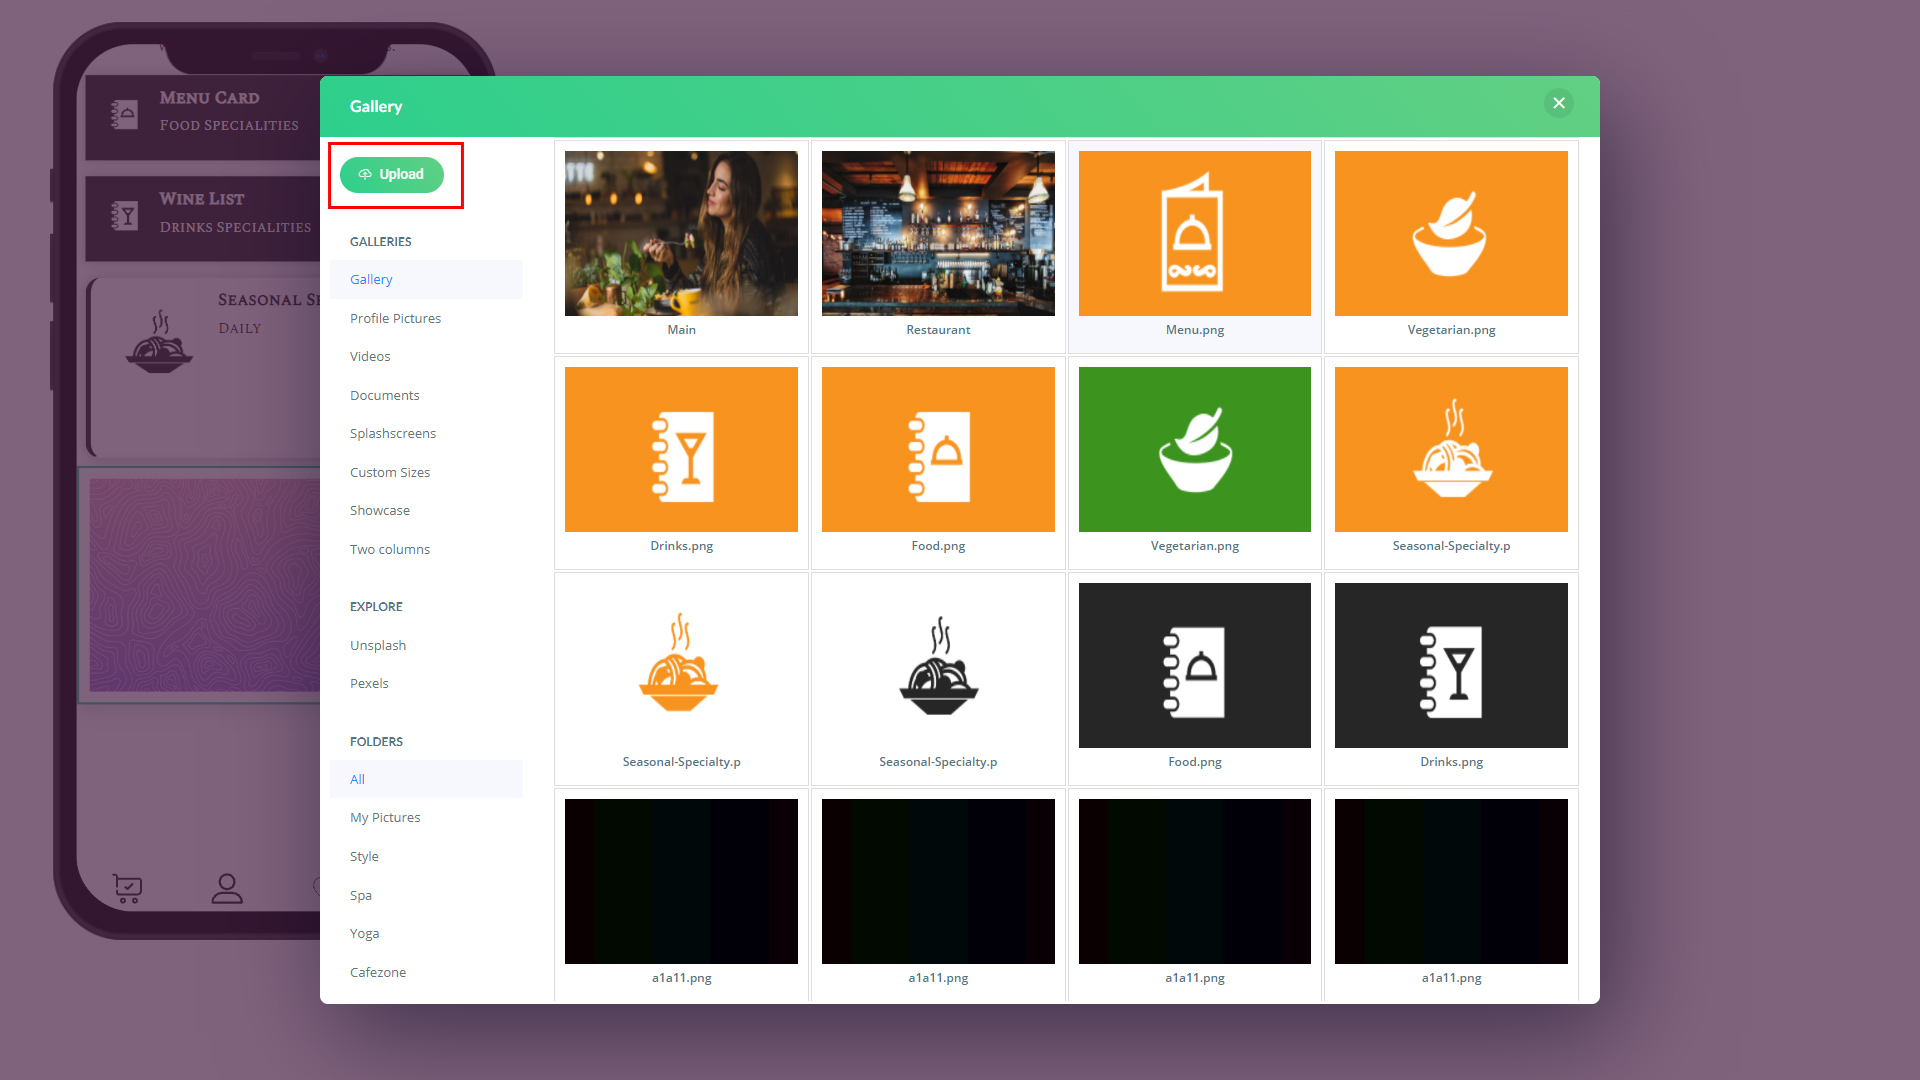
4. Pick an image from the gallery or use the 'Upload' button to upload one from your computer. (For this guide, an image was picked from the gallery)
4.jpg341.99 KB
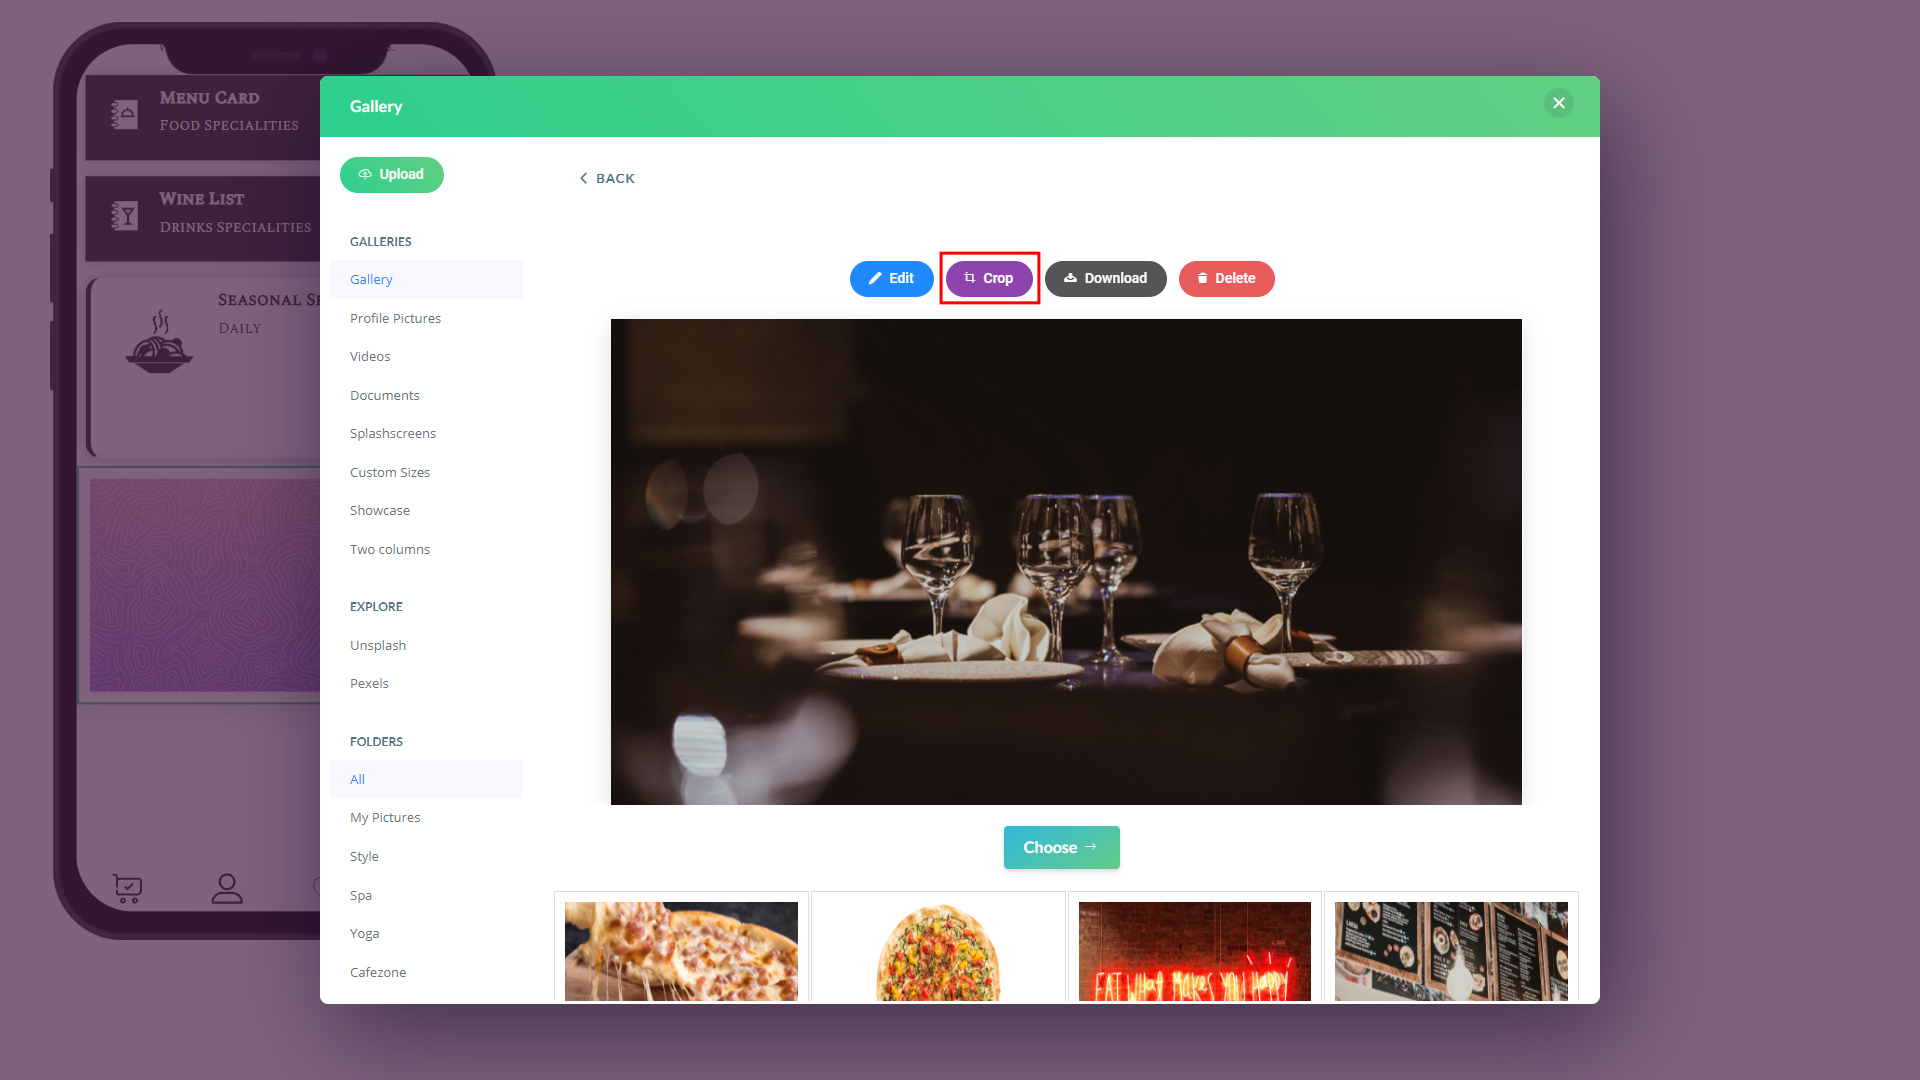
5. Click on the 'Crop' button.
5.jpg379.69 KB
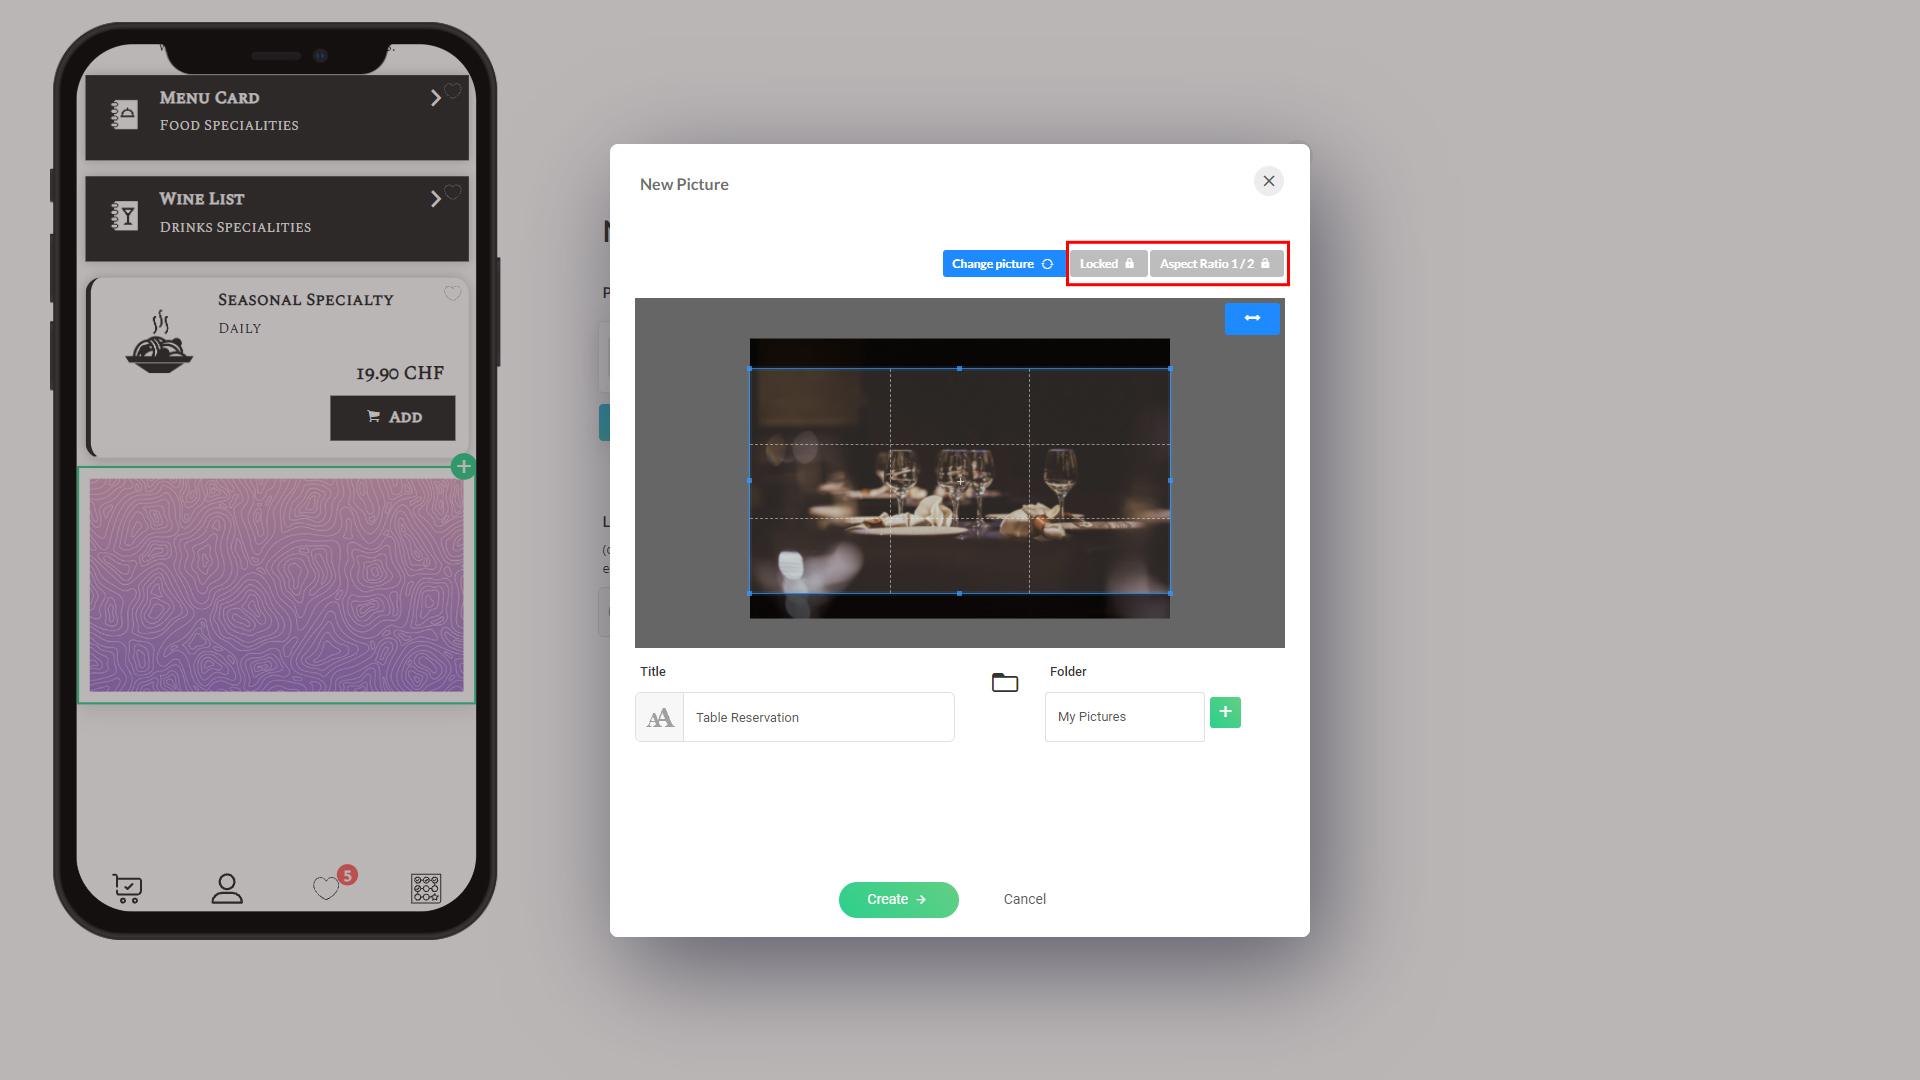
6. Built-in image cropper loads.
6.jpg254.73 KB
Important: There are three important elements to note in the image cropper:
The crop layer (red arrow points to): It is the default crop area
Locked: When locked, you can move the crop layer around the image. But you can resize the area. When you want to resize the crop area, unlock this setting. Then by dragging the dots around the corners, you can resize the crop area
Aspect Ratio: When locked, you can only resize the image diagonally using the corner dots just like in any image editor software. However, if you want to resize the image freely either horizontally or vertically, or both, you need to unlock 'Aspect Ratio'
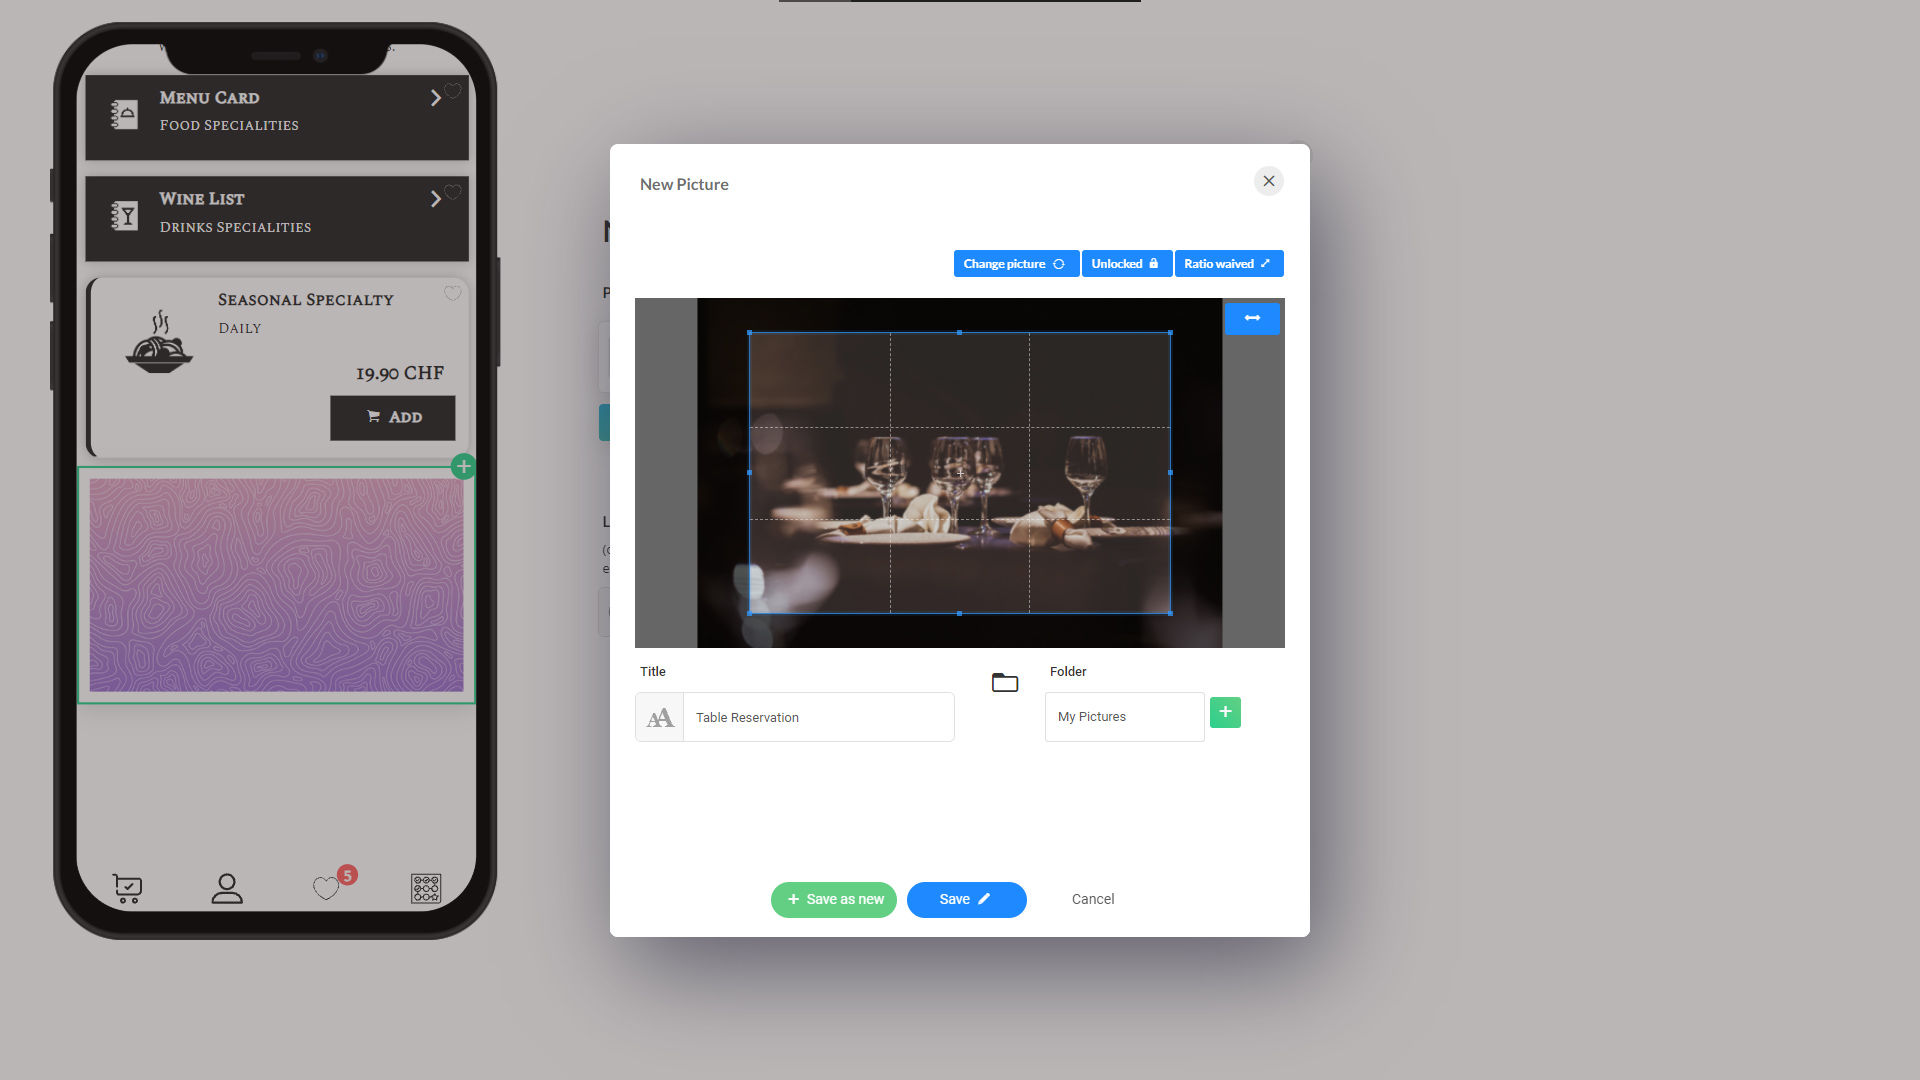
When 'unlocked' both these options change to blue and caption changes:
7. Save the change when you're done with cropping the image. Your cropped image is ready and you're back on image settings page.
8.jpg175.73 KB
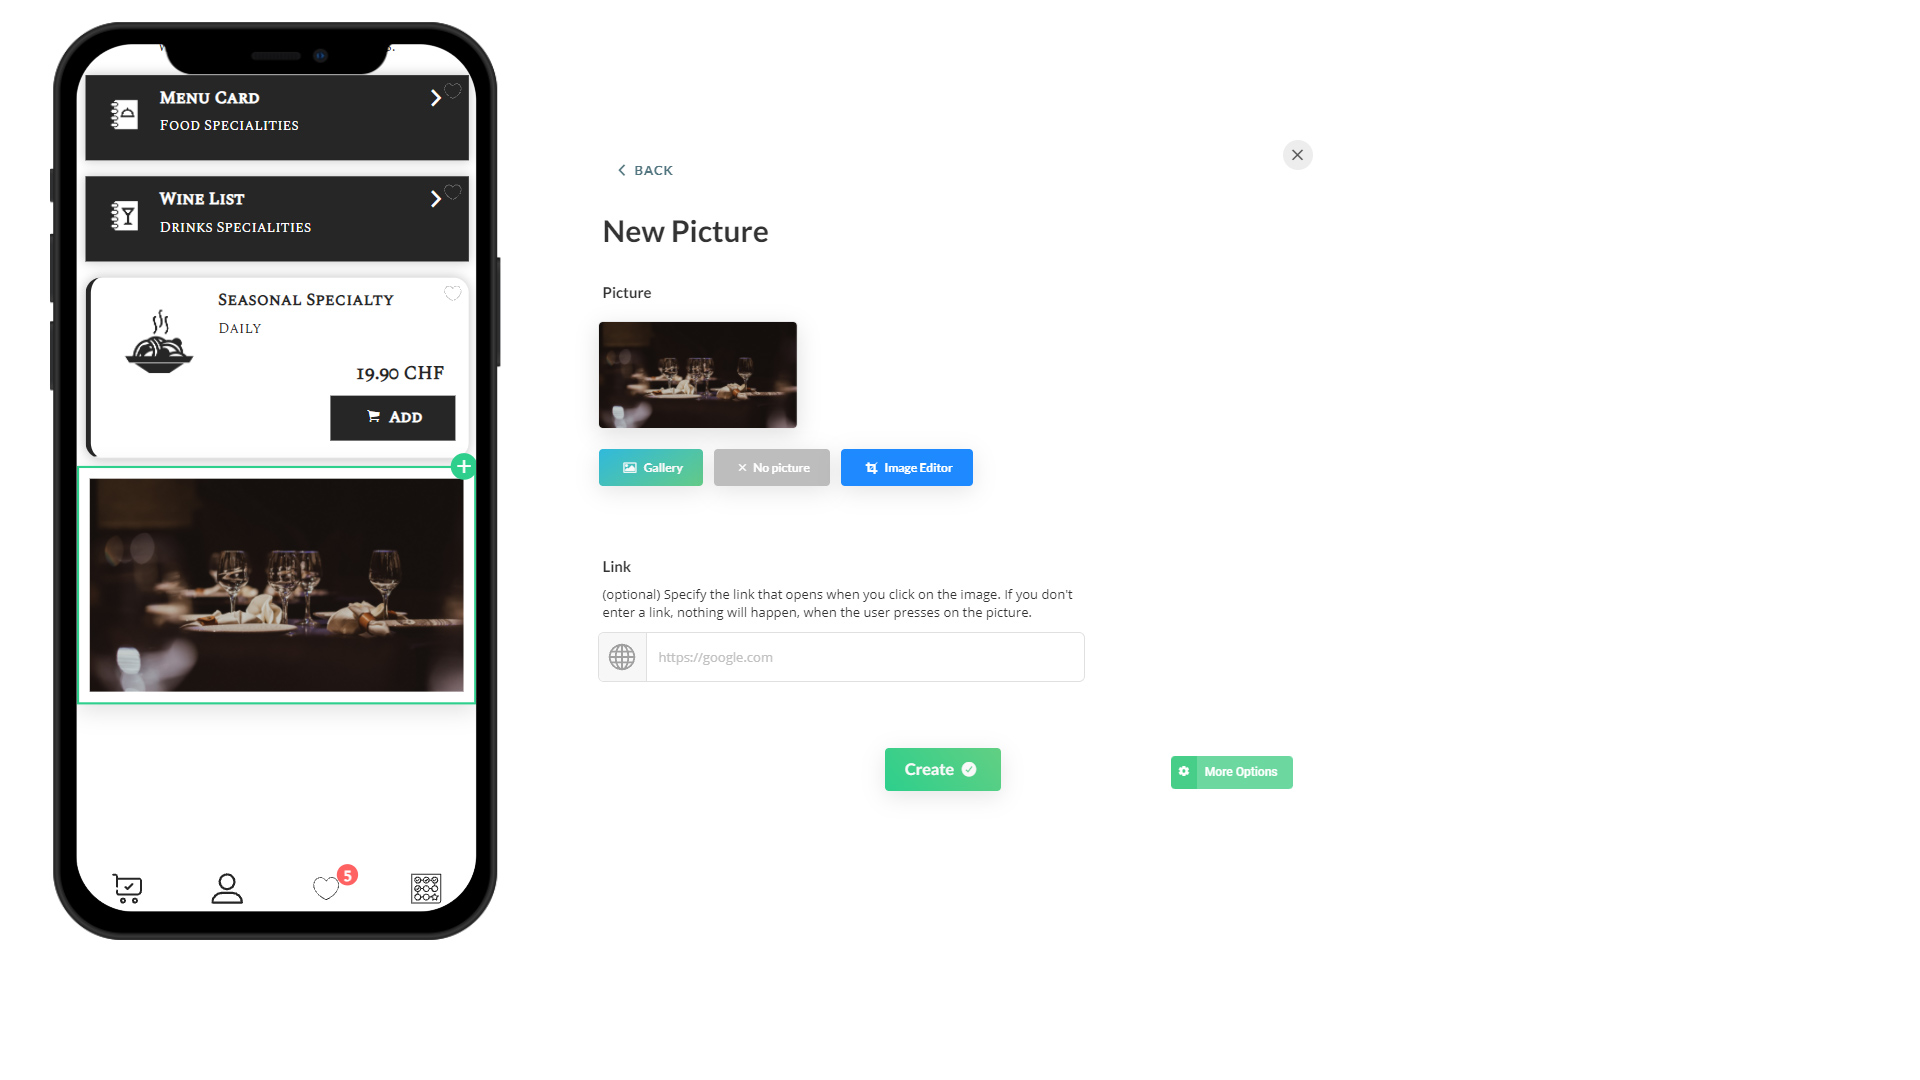
8. Click on 'Create' to complete adding the resized image to the app content.
Rotating the image in the designer
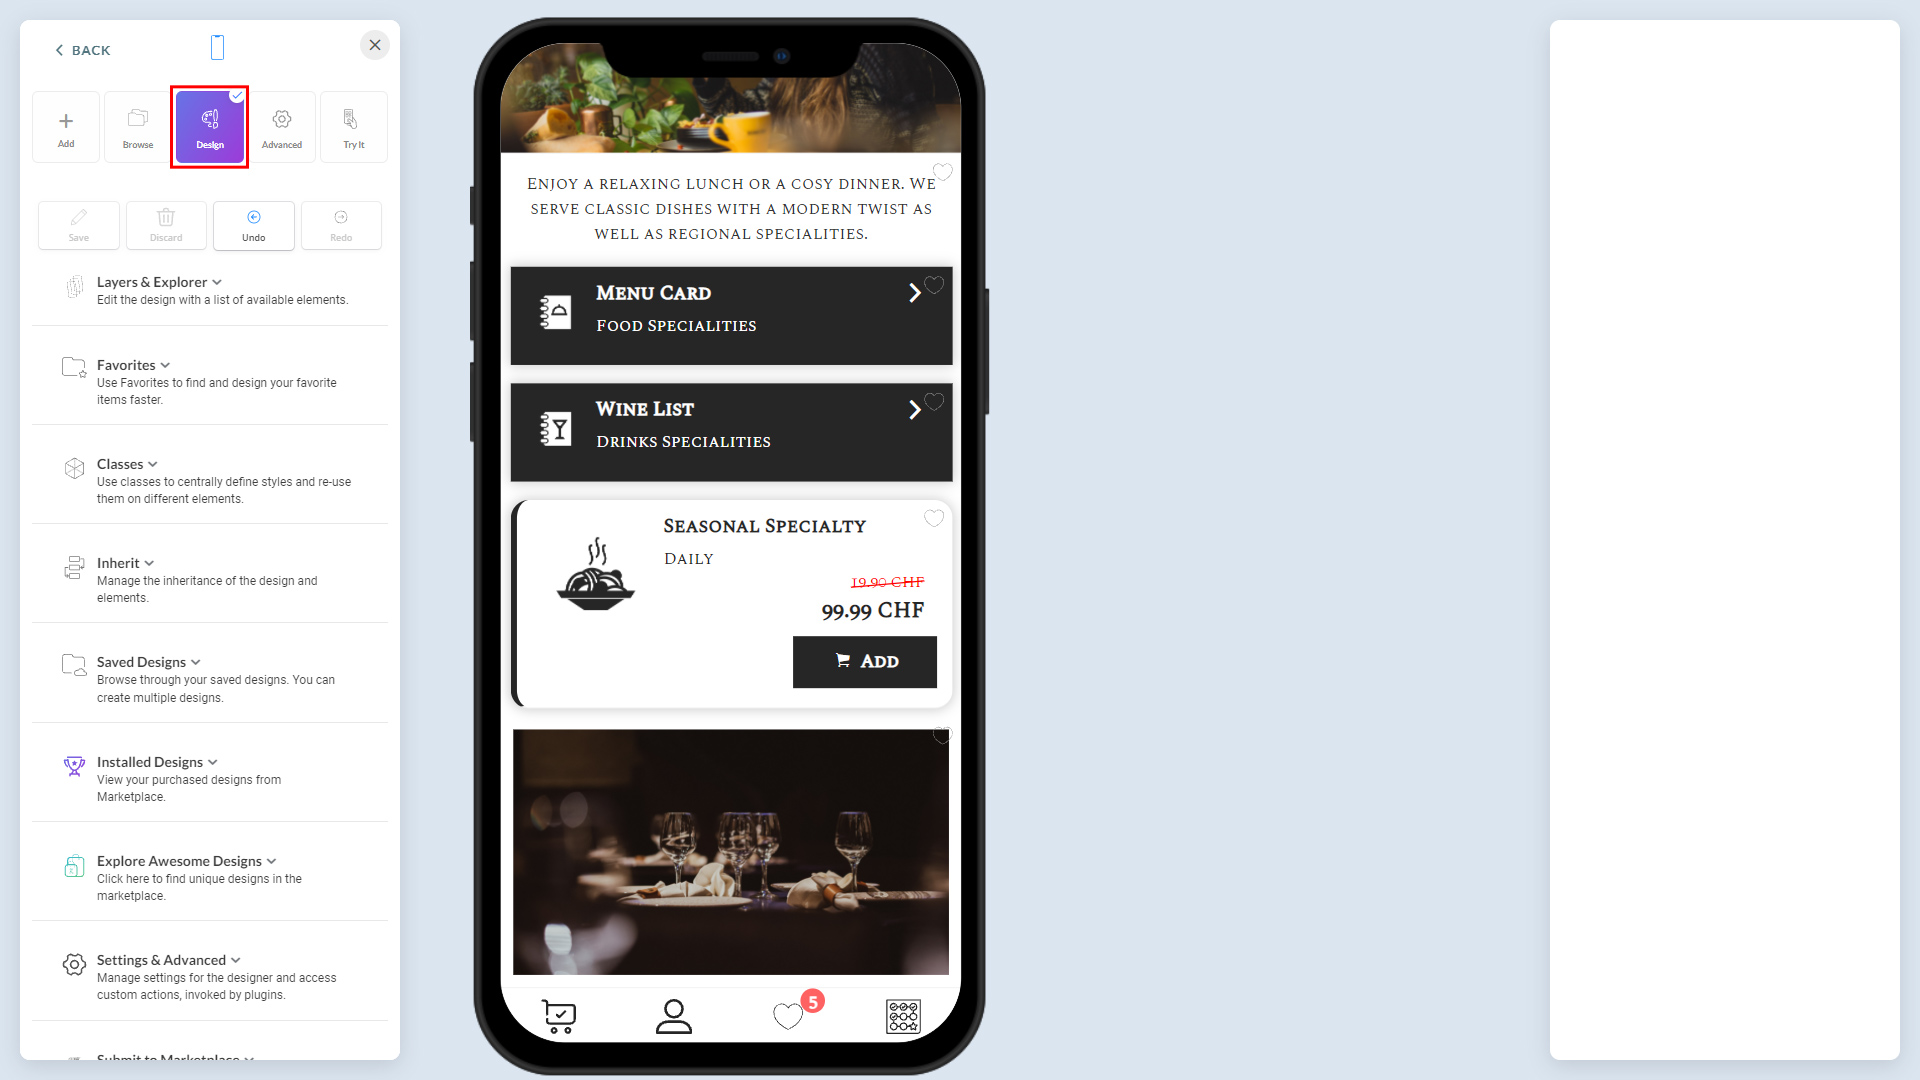
1. Once you're back on the content editor, click on the Design toolbar option.
9.jpg301.69 KB
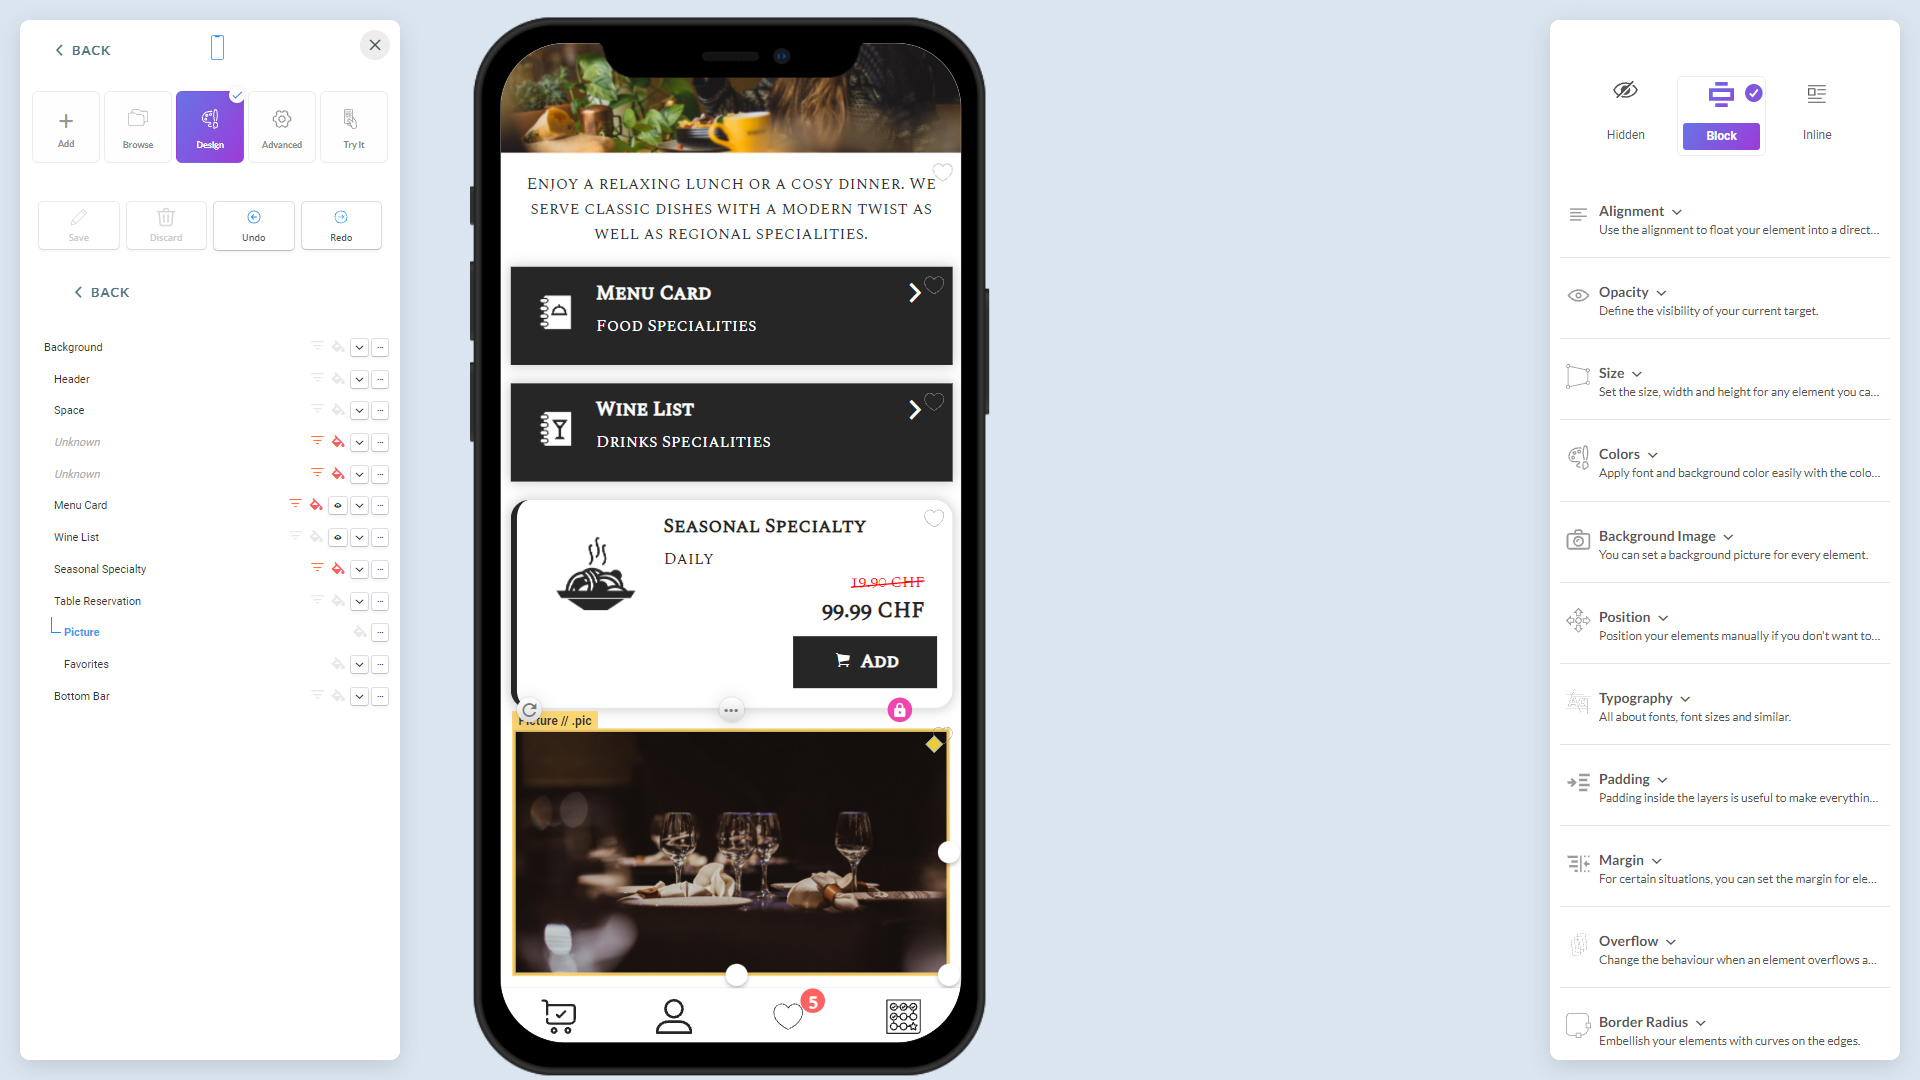
2. Click on the image.
The image is selected, and its border color changes to yellow. On the right panel, all available style settings (CSS) appear:
10.jpg315.98 KB
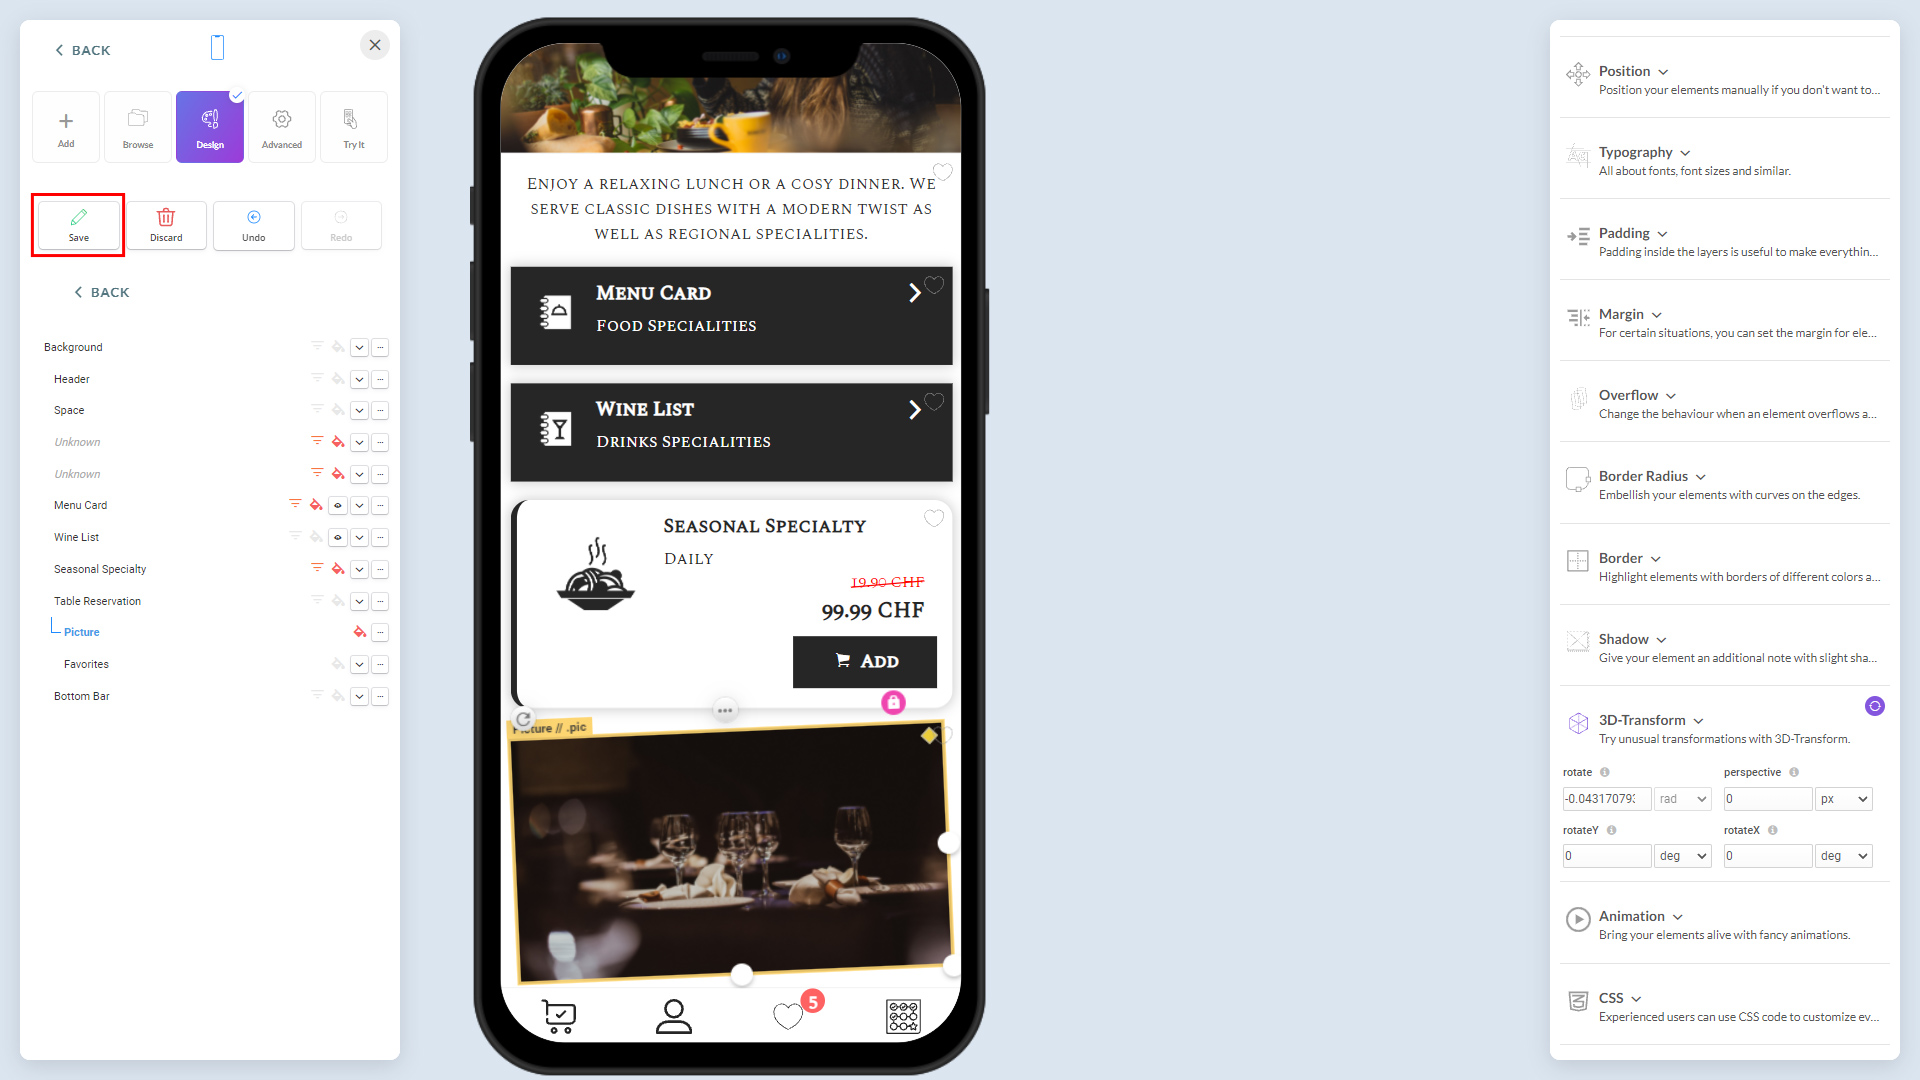
3. Click-hold your mouse on the tiny rotate button at upper-left corner, and drag around until your desired position is reached.
11.jpg404.36 KB
You can also manually adjust the rotation using the style settings ( 3D Transform > Rotate ) on your left:
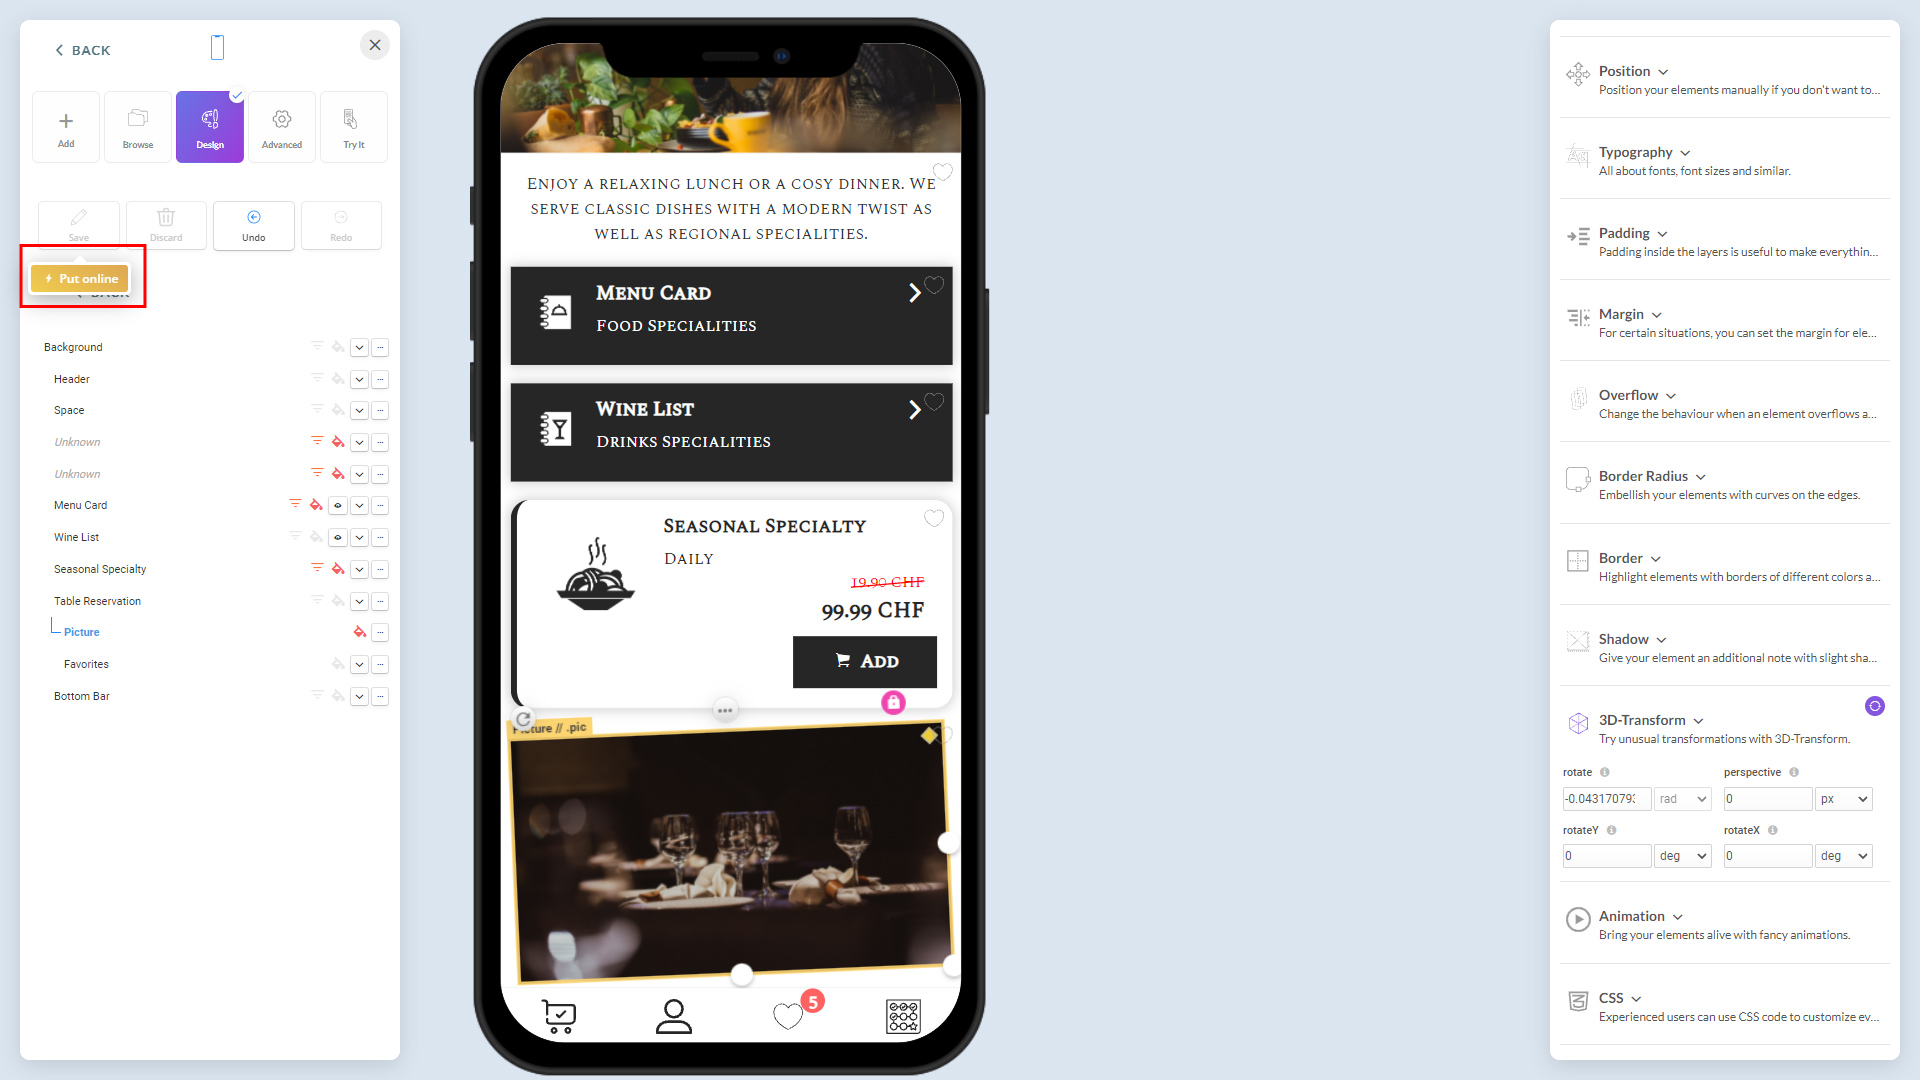
4. Click on the 'Save' to complete your image rotation.