Get started  
Login  

Help Center

Community / Forum Ask Zappter Support We build your app Marketplace

Documentation

English

General

Videos

Mastering the content editor Pixel perfect design Setup your E-Commerce Store Configure your booking engine Event-System / Drop-In

Popular

App Store Submission Creating Push Notifications Typography Changing template Changing Rules

Business Modules

New

More Tutorials

Documentation

Creating categories

Creating categories - admin

Follow the below steps to create a category or a page on your app. 
1. Admin > Customize > Content. Click to edit your app. 
1.jpg 150.1 KB
2. In the app customization, expand the group. 'Pages/Categories/Sections' Click on the 'New Page / Category.' Note: Category and Page are the same.
2.jpg 295.8 KB
3. Set up your category. 
3.jpg 296.48 KB
  • Name: Write a descriptive name for the category, and it is mandatory
  • Description: Short description about the category
  • Picture Dimension: This setting is mainly aimed at showing images on different devices. If you select the 'Device optimized' option, it makes sure to pick the center area of the image and works its way diagonally until the device's display size. If you select the 'Square' option, it simply minimizes the entire image to support the device display size.
  • Picture: Select a picture that will show up on the mobile app for this category 
  • Open another page: Whenever your users click on this category, If you want them to land on an already existing category, you can enable this option and select the target category under the 'Page' field
  • Page: When you have enabled, 'Open another page' option as mentioned above, you must select the target category here. So your users will end up in this category
Using the Gallery tab, a user can insert an image from the computer, use an image already saved in the gallery or pick a free image from the Unsplash or Pexel sites. 
When you have selected, 'Open another page' option, click on the 'Brows' button under 'Page' option to select target category.
4.jpg 259.6 KB
4. Click on the 'Create' ('Save' when you edit a category) button to complete creating the category. 
5. 'Put online' to publish your changes on your users' devices. The button's caption changes from 'Put online' to 'Published'  once the changes have been applied successfully.
5.jpg 147.65 KB
Additional tasks: 
You can do more with categories and have more control over your product listing and organizing. Click on the 'More Options' button when creating or editing a category to check other tabs:
6.jpg 247.85 KB
Pages tab:
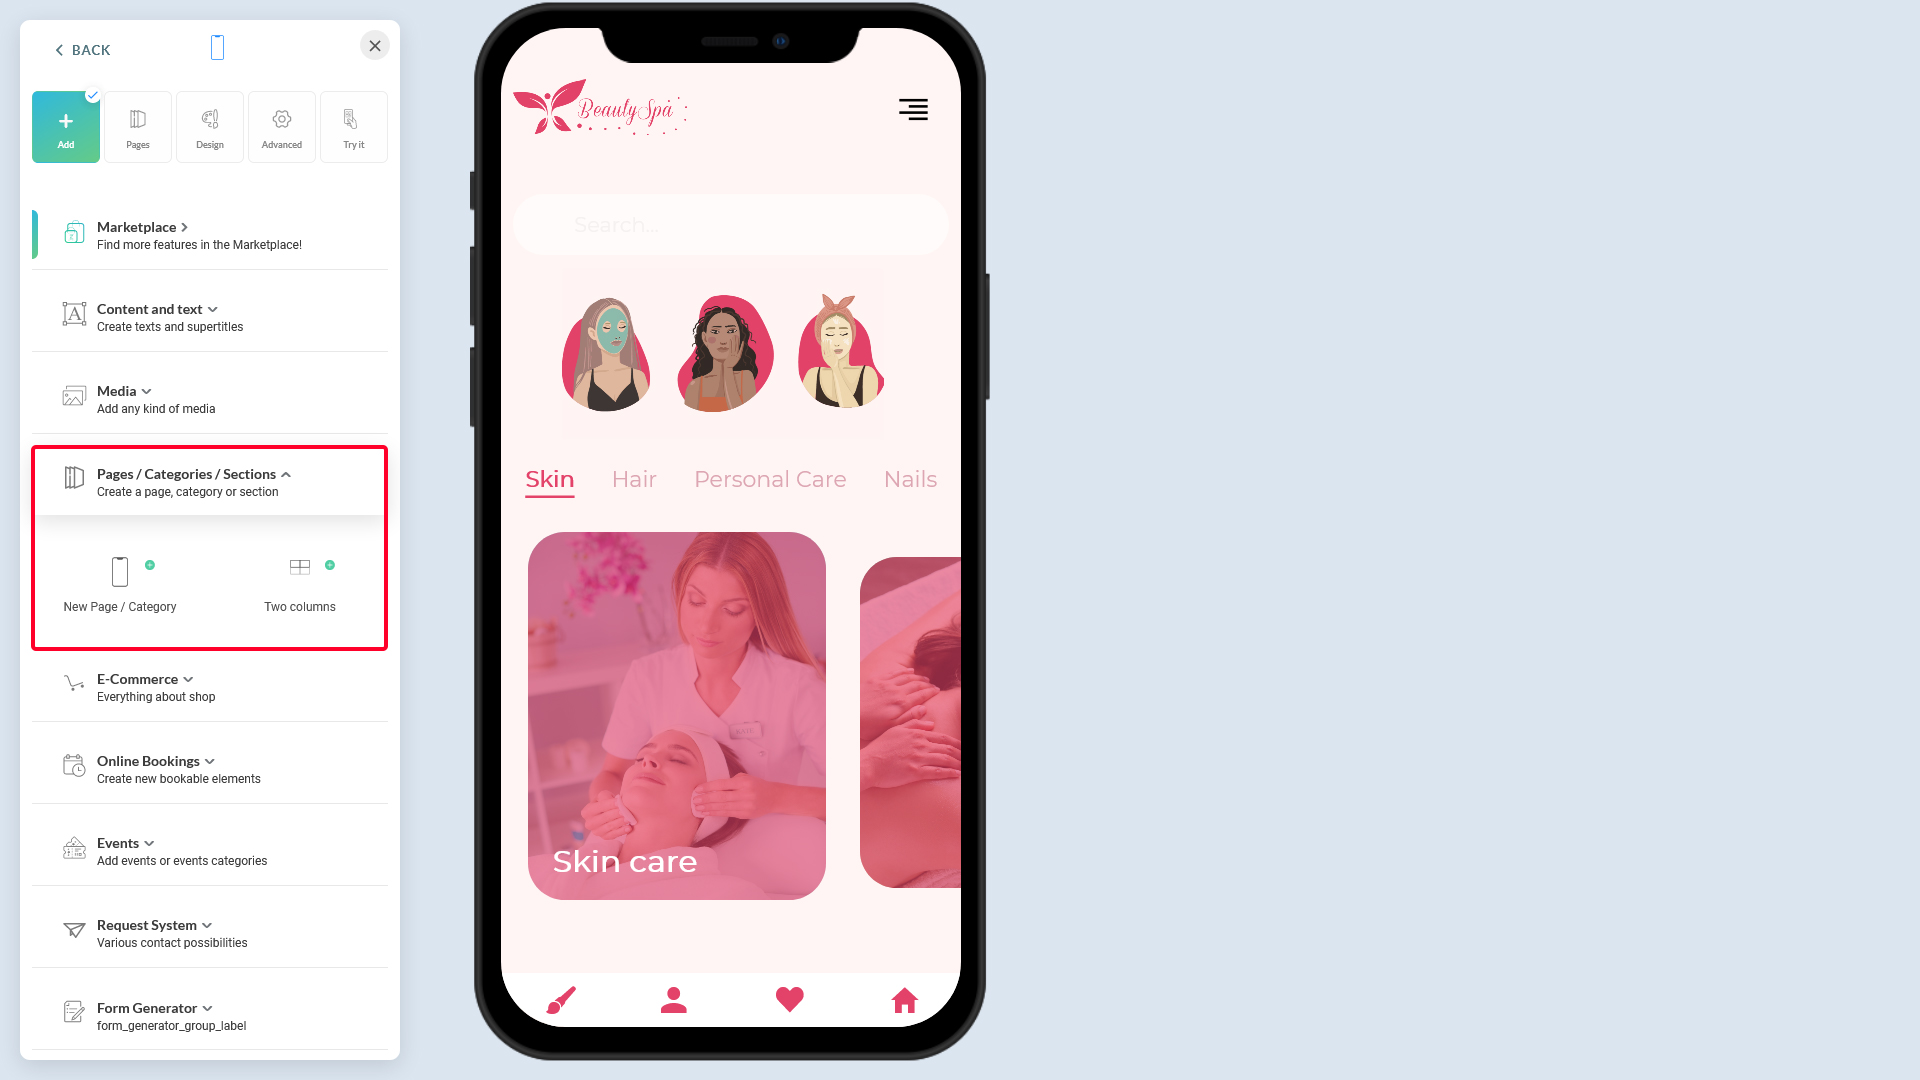
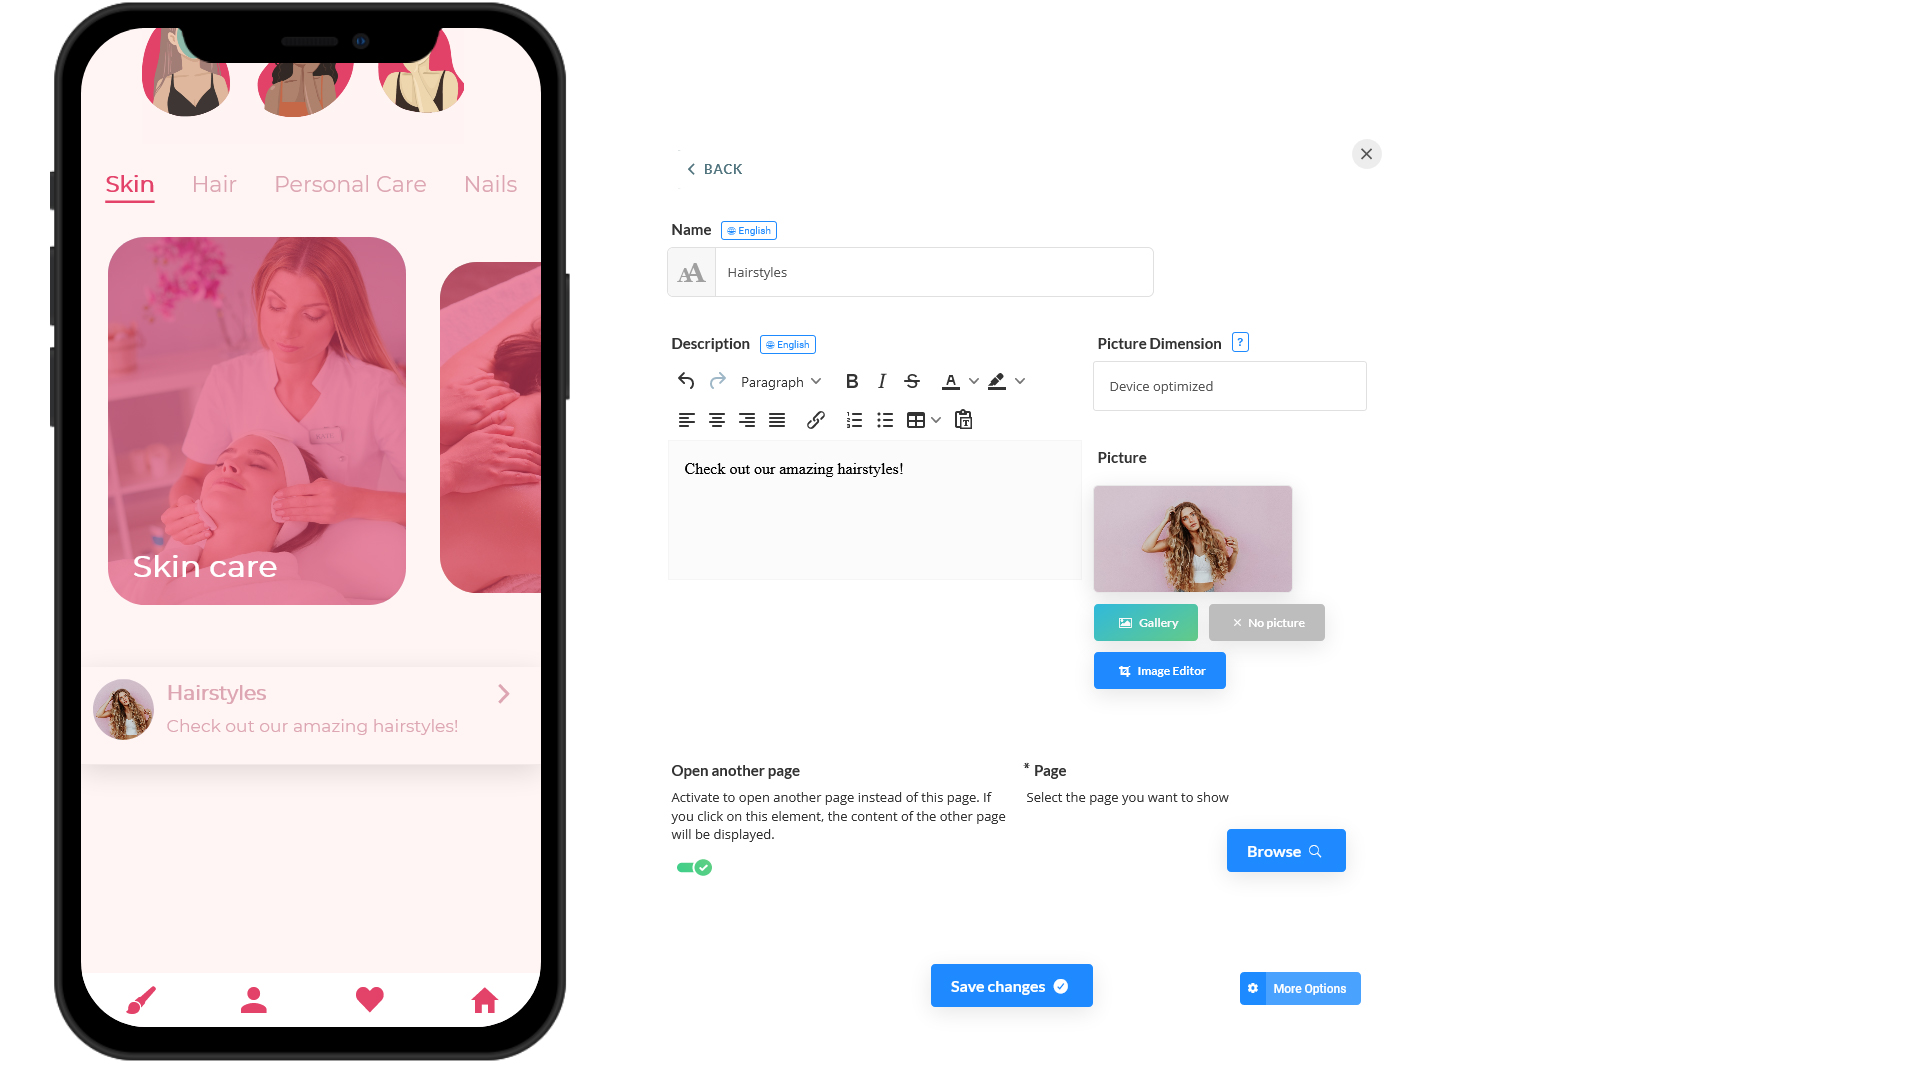
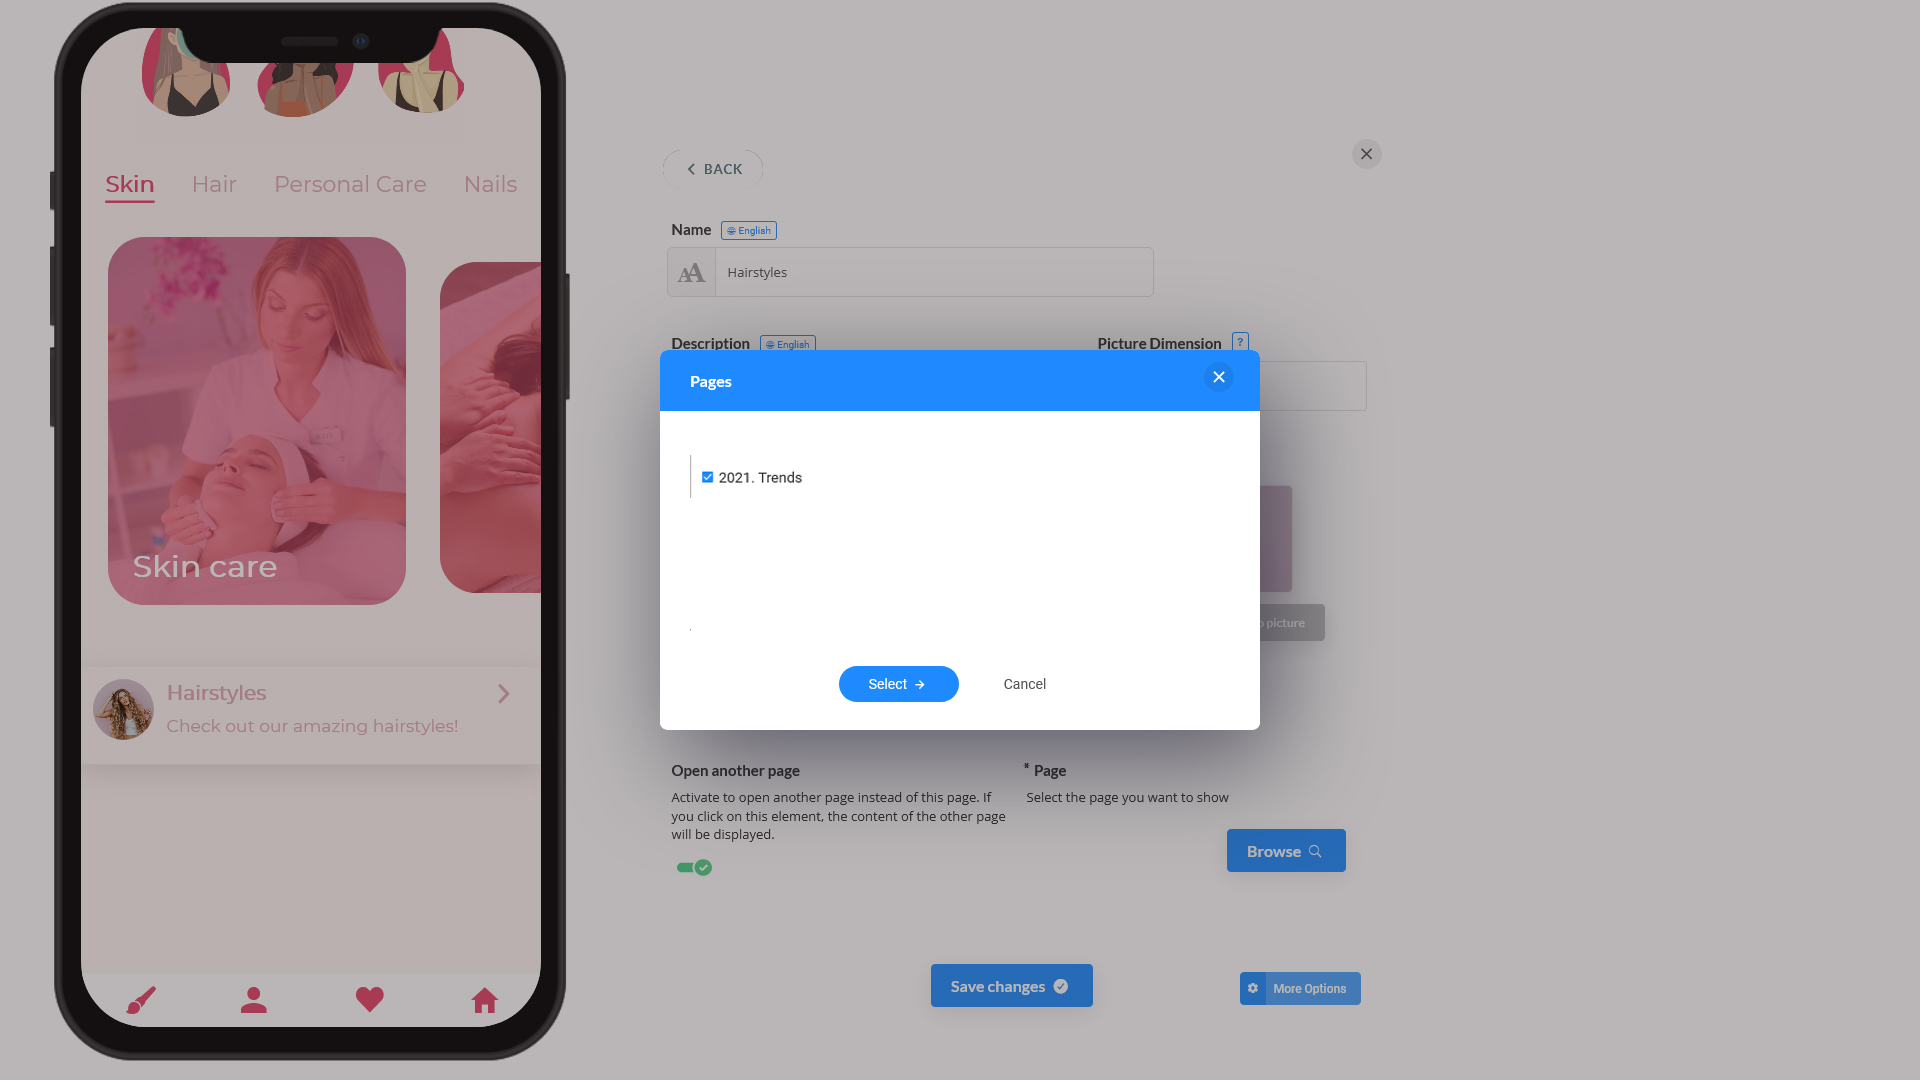
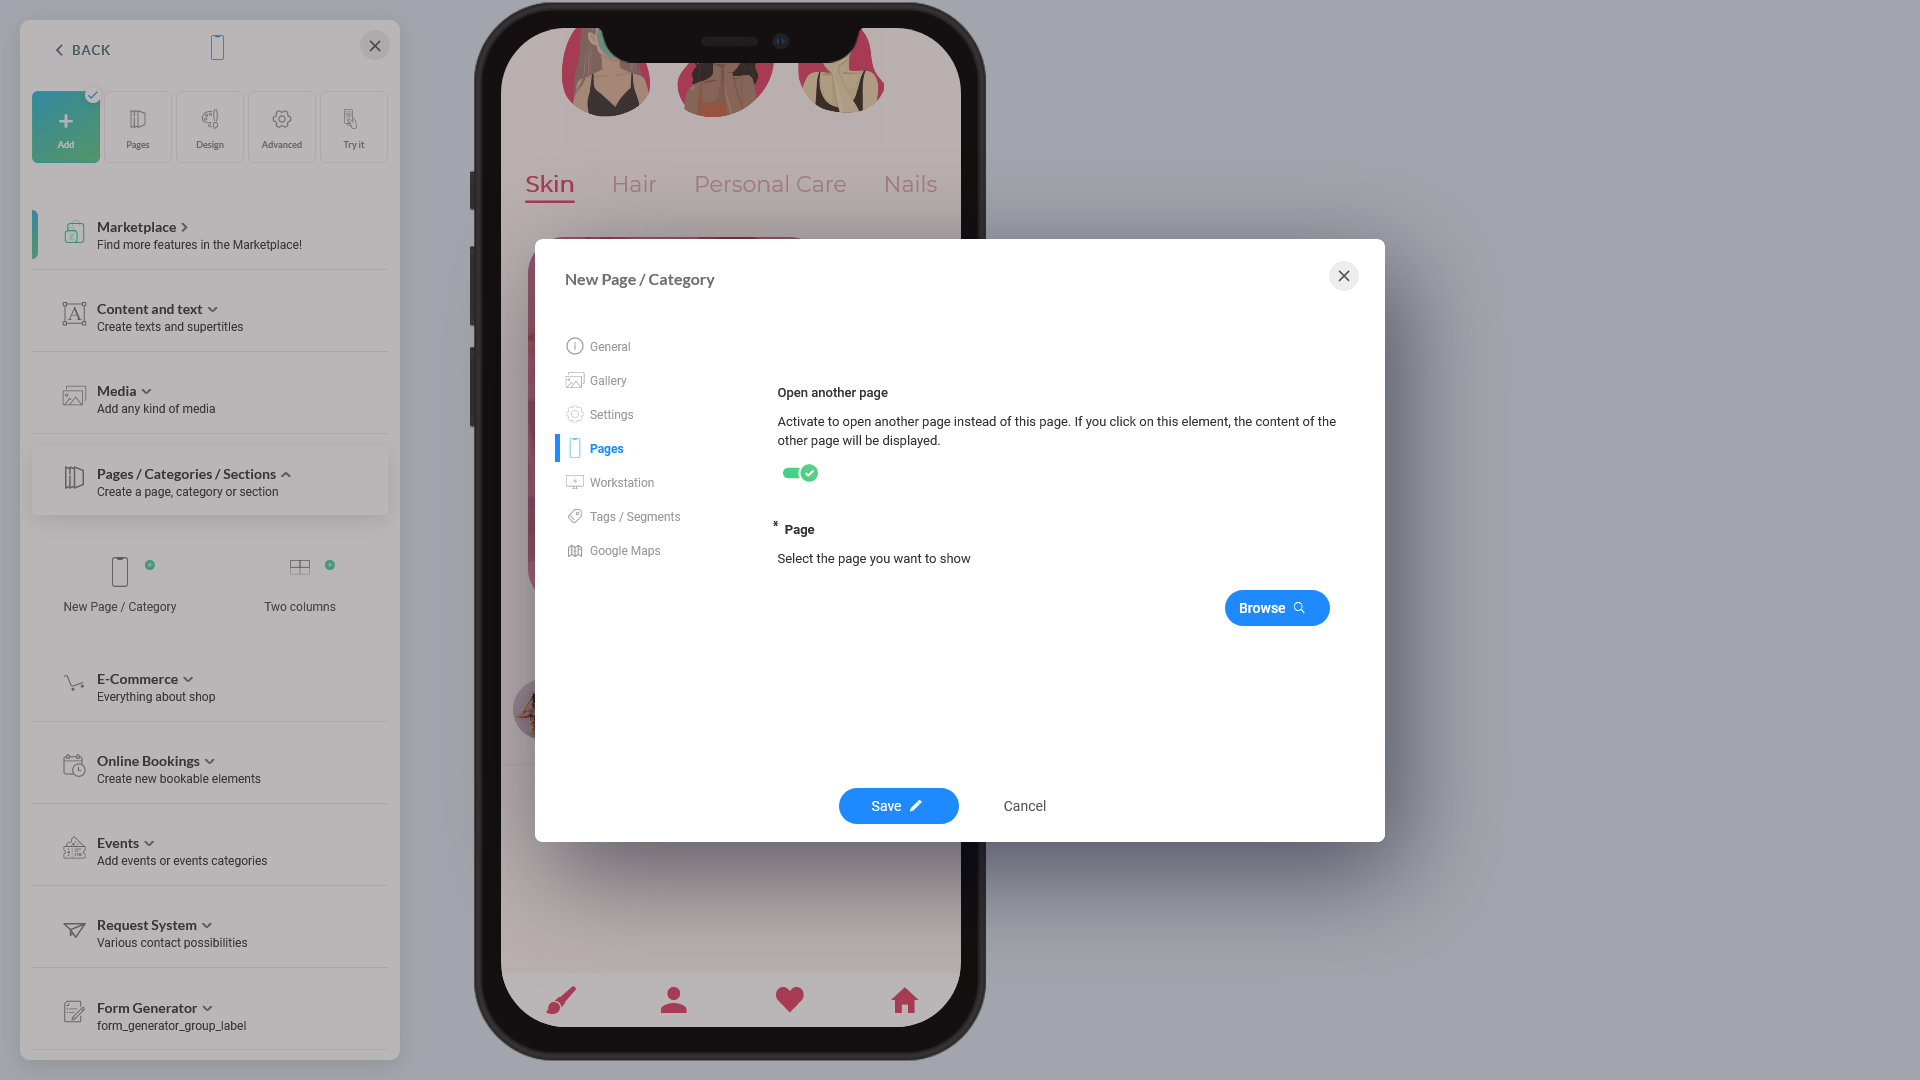
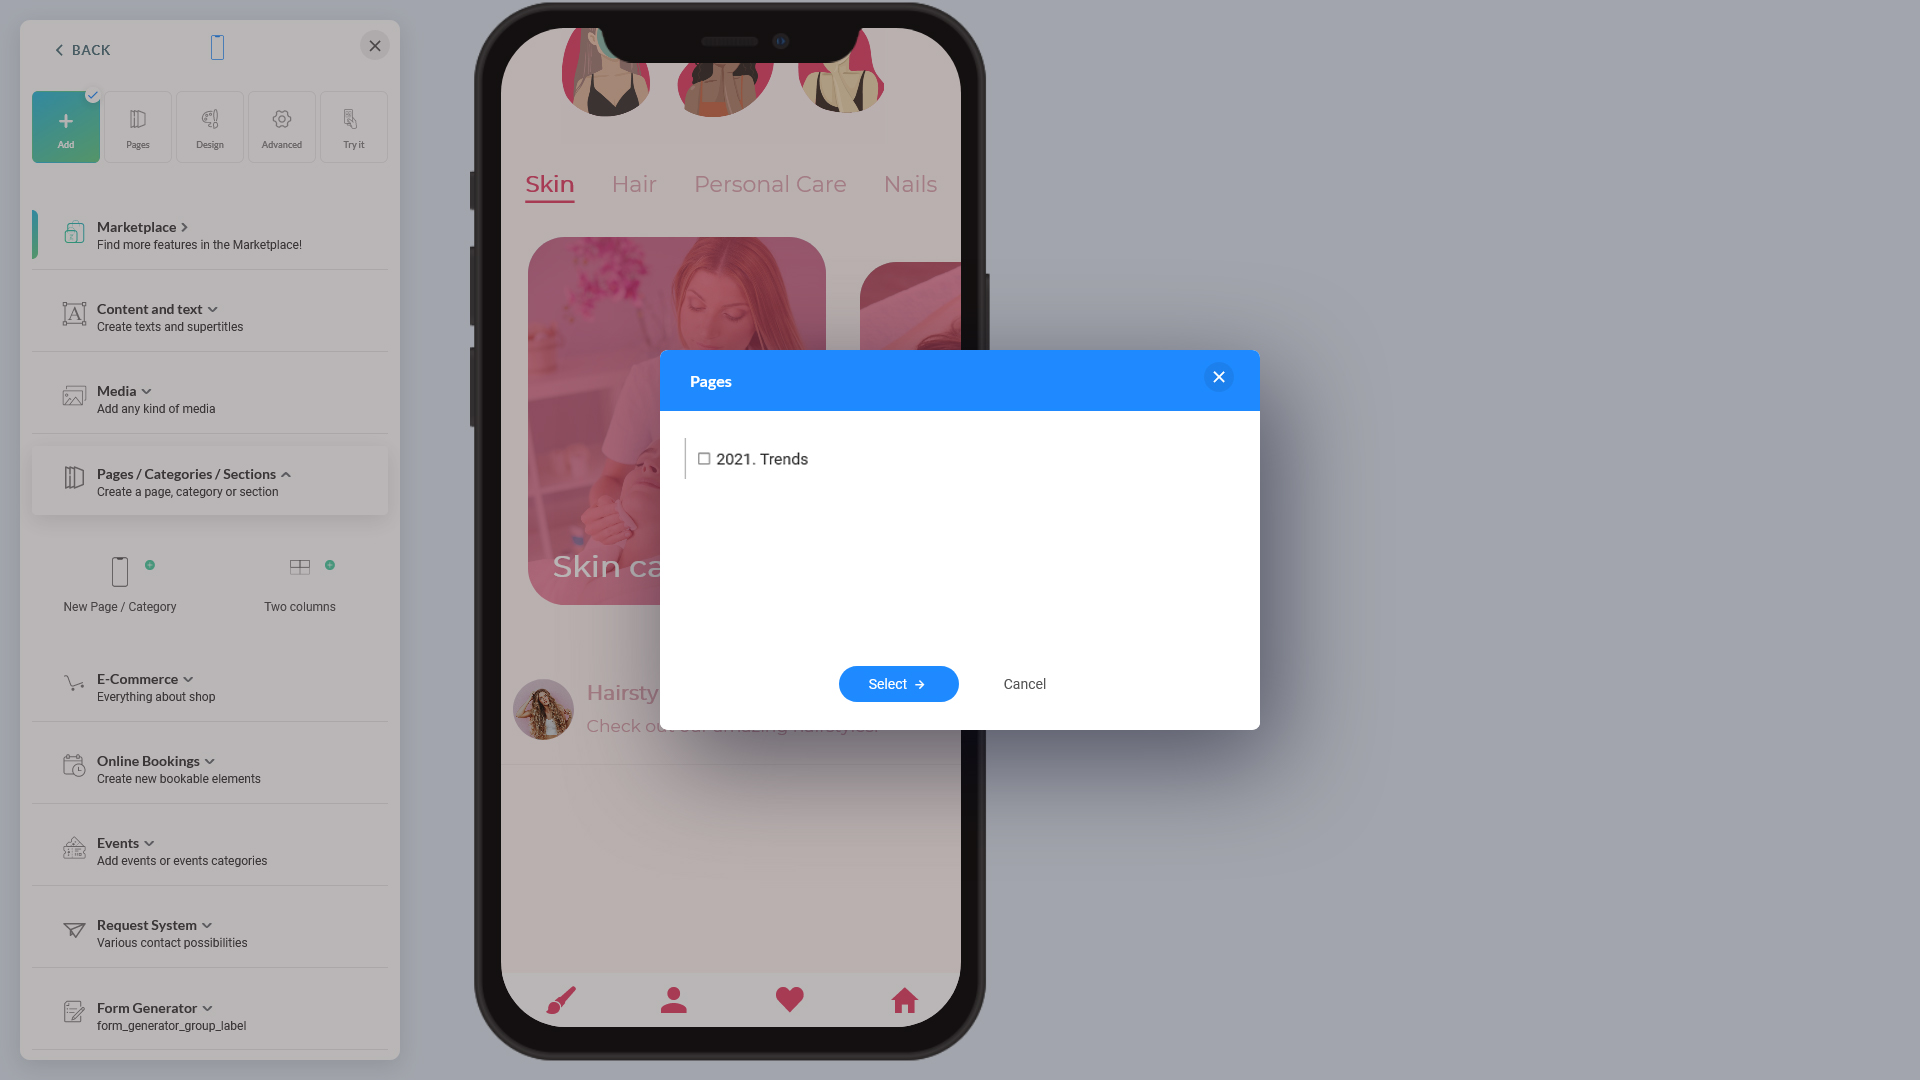
It is the same option available directly under the category setup page, Opera another page. When you enable this option, it shows the 'Browse' option under the 'Page' field, so you can select an existing category that opens when your users tap on this category. Probably, it is a good option to temporarily redirect a user to a different category/page, say a page with promotional offers. Also, if you want to organize the entry point for users on the app and show them an existing page/category.
7.jpg 245.52 KB
And when the users browse, they get the selection:
8.jpg 245.84 KB
Other optional tabs:  

  • Gallery: To pick an image for the category
  • Settings: Settings to enable category visible only to registered users
  • Workstation: Workstations are inherited from the app content settings (offer settings). However, you can override with a different workstation at this category so that this category and everything under this category will have the newly assigned workstation
Depending on the plugins you have subscribed to, you might see more tabs associated with the features of those plugins. 
Categories
Last updated at 02.11.2022 10:19