Structuring your user segmentation with tags is crucial as your business grows. It helps to target your marketing messages to the right demographics and track statistics and help collecting meaningful insights. Sections in this document explain how to create segmentations using tags and attaching them to the user profiles.
Creating new tags
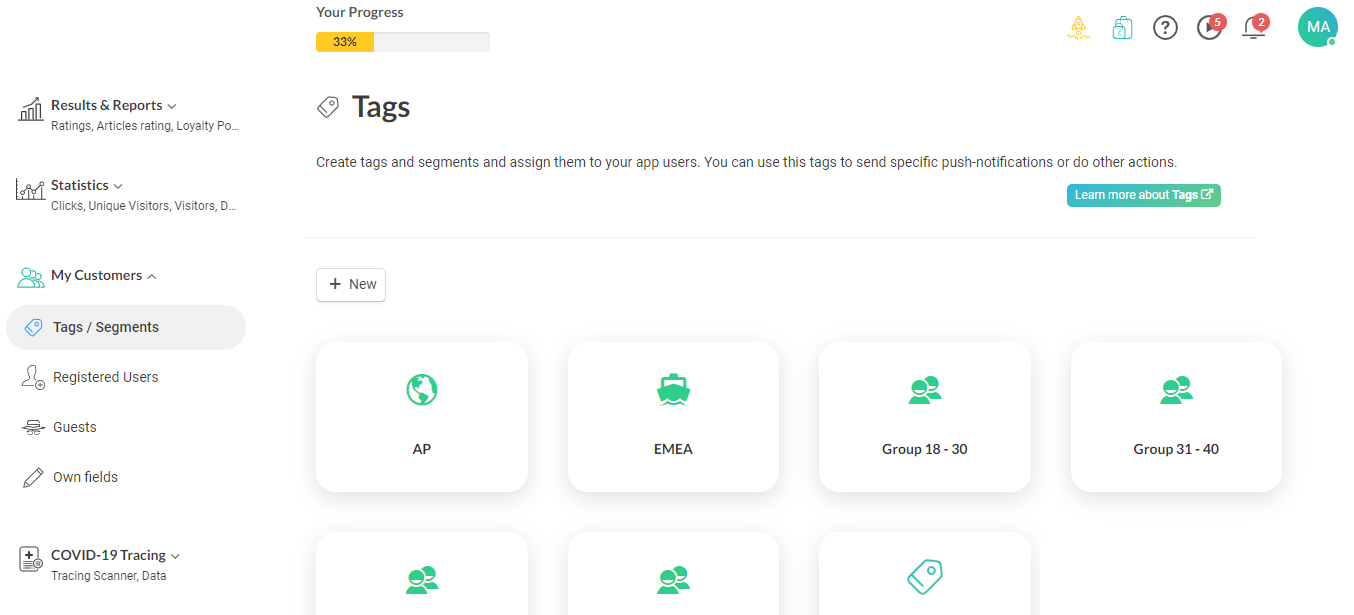
1. Admin > My Customers >Tags / Segments.
image.png91.05 KB
2. Click on the '+ New' to create the tag. Enter tag's name.
image.png145.36 KB
3. Name your tag and move on to the 'Appearance' tab to choose an icon.
image.png146.94 KB
4. Create it.
Add tags on customer profiles
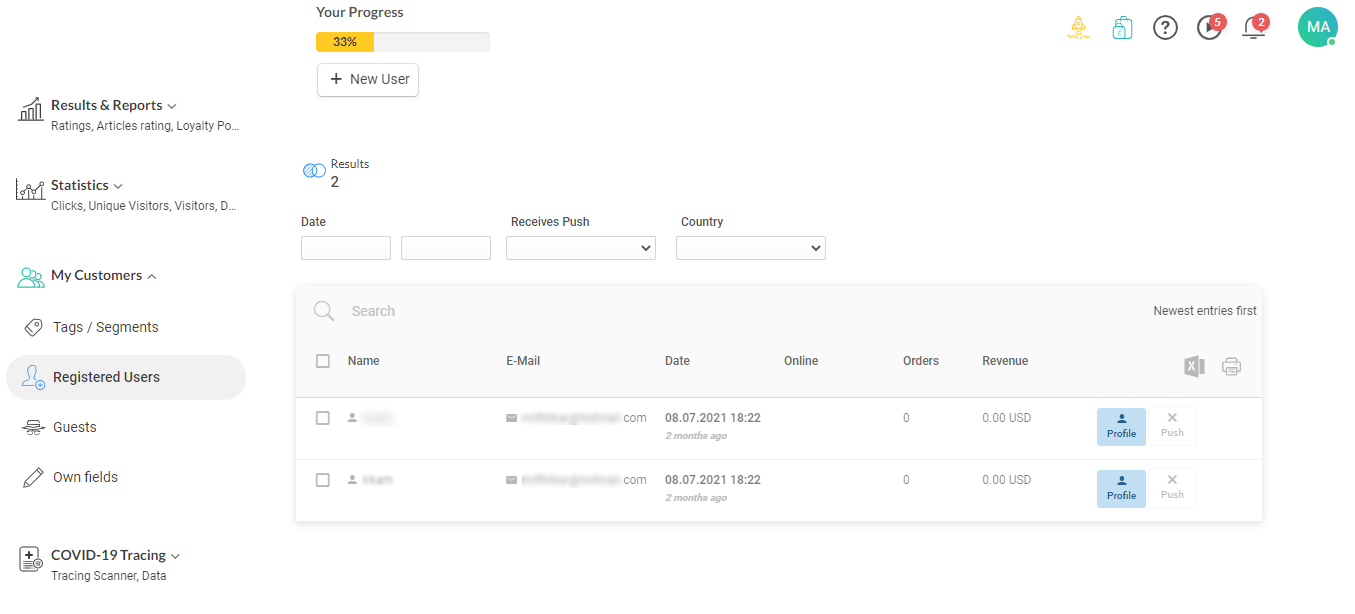
1. Admin > My Customers > [Registered Users or Guests]. The list of all customers displays; select the 'Profile'button next to the customer where you want to add the tag.
image.png76.95 KB
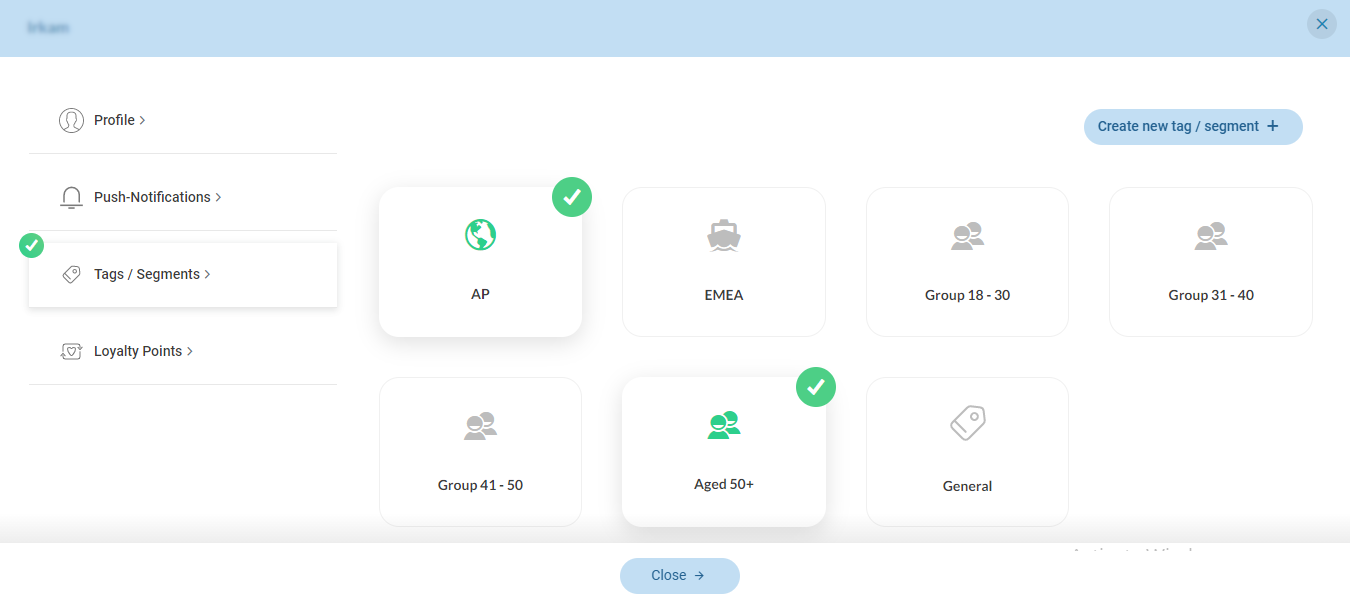
2. Click on the 'Tags / Segments.' The list displays all existing tags on the customer profile, that you can untick to remove from the profile. To add a new tag to the profile, click on the tag.
image.png65.55 KB
3. Once you have selected the tags, close.
You can also create new tags by clicking on the 'Create new tag / segment +.'