The below steps guide you through to adding a 'Predefined' booking item on your app. Note that as explained in the Getting Started section, predefined bookings are provided to make reservations on to predefined timeslots. such as a 1 PM to 2 PM therapist session.
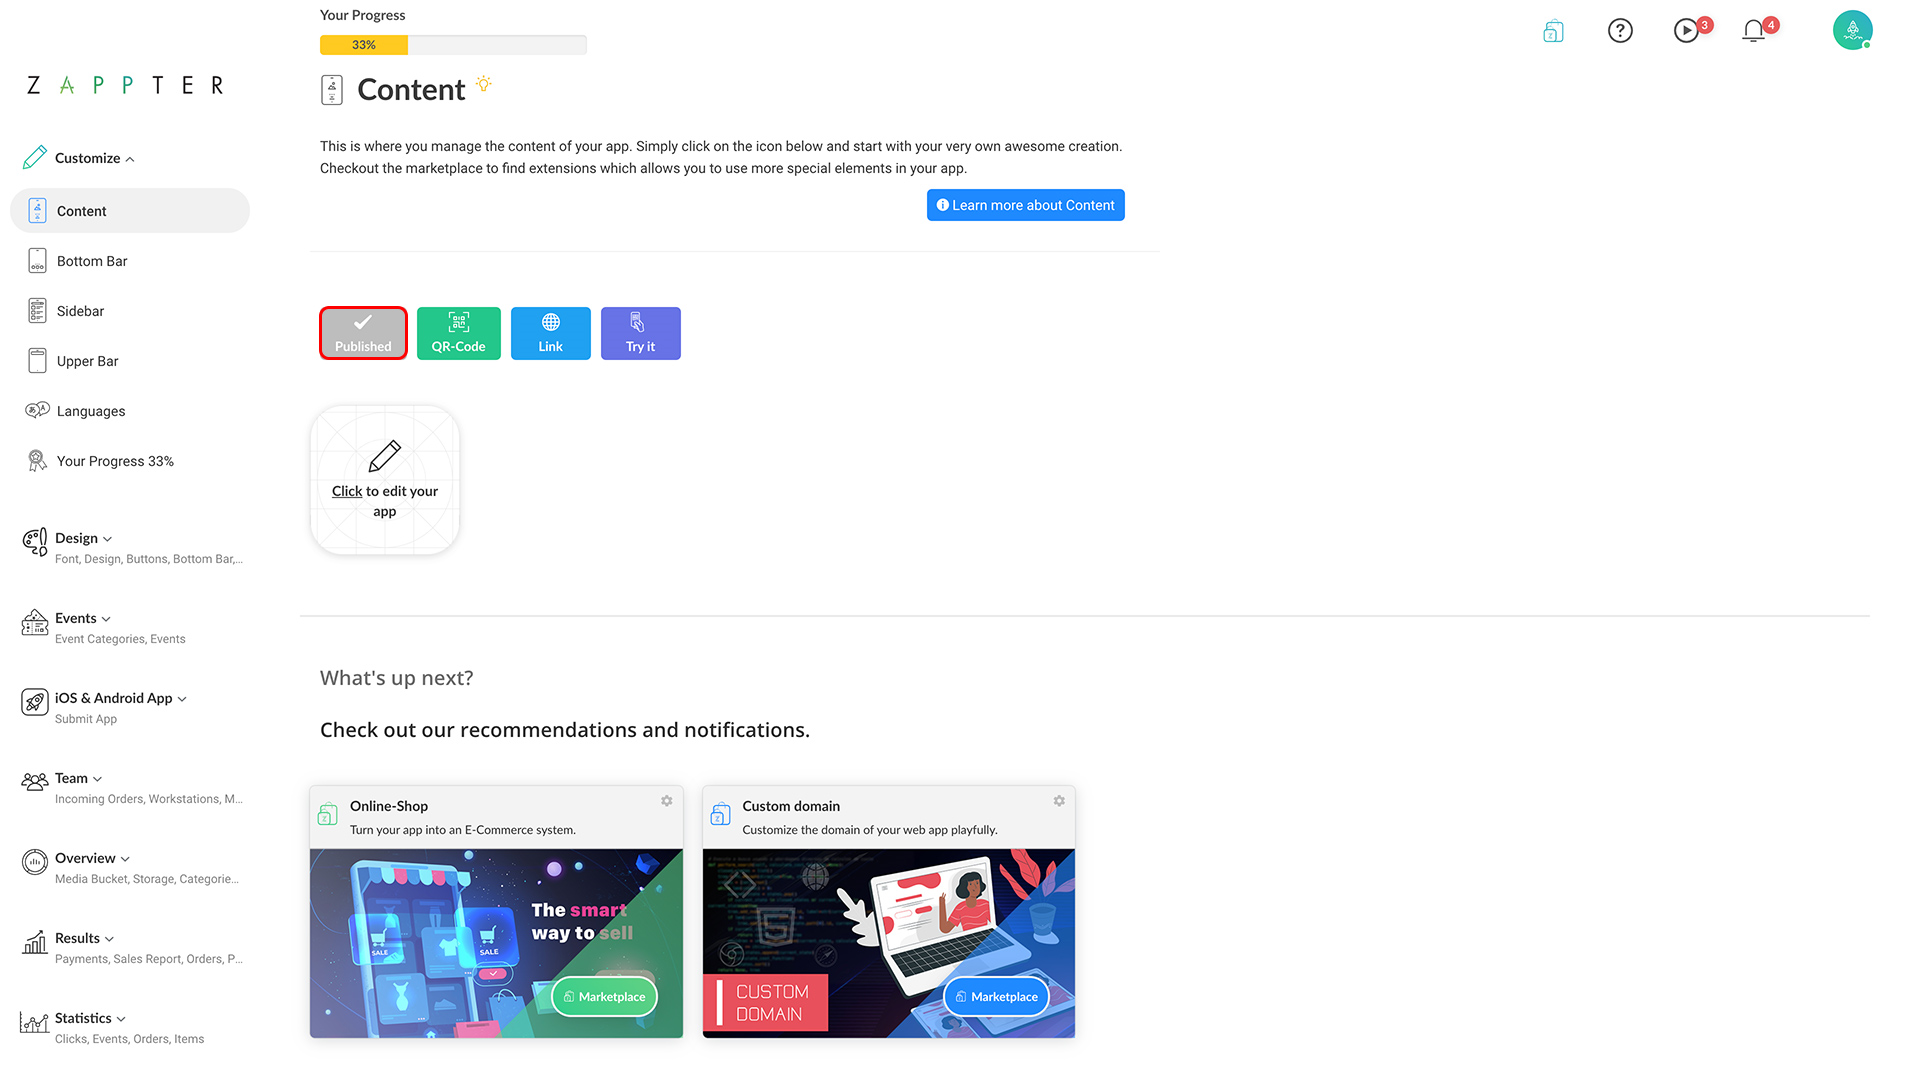
1. Admin > Customize > Content. Click to edit your app.
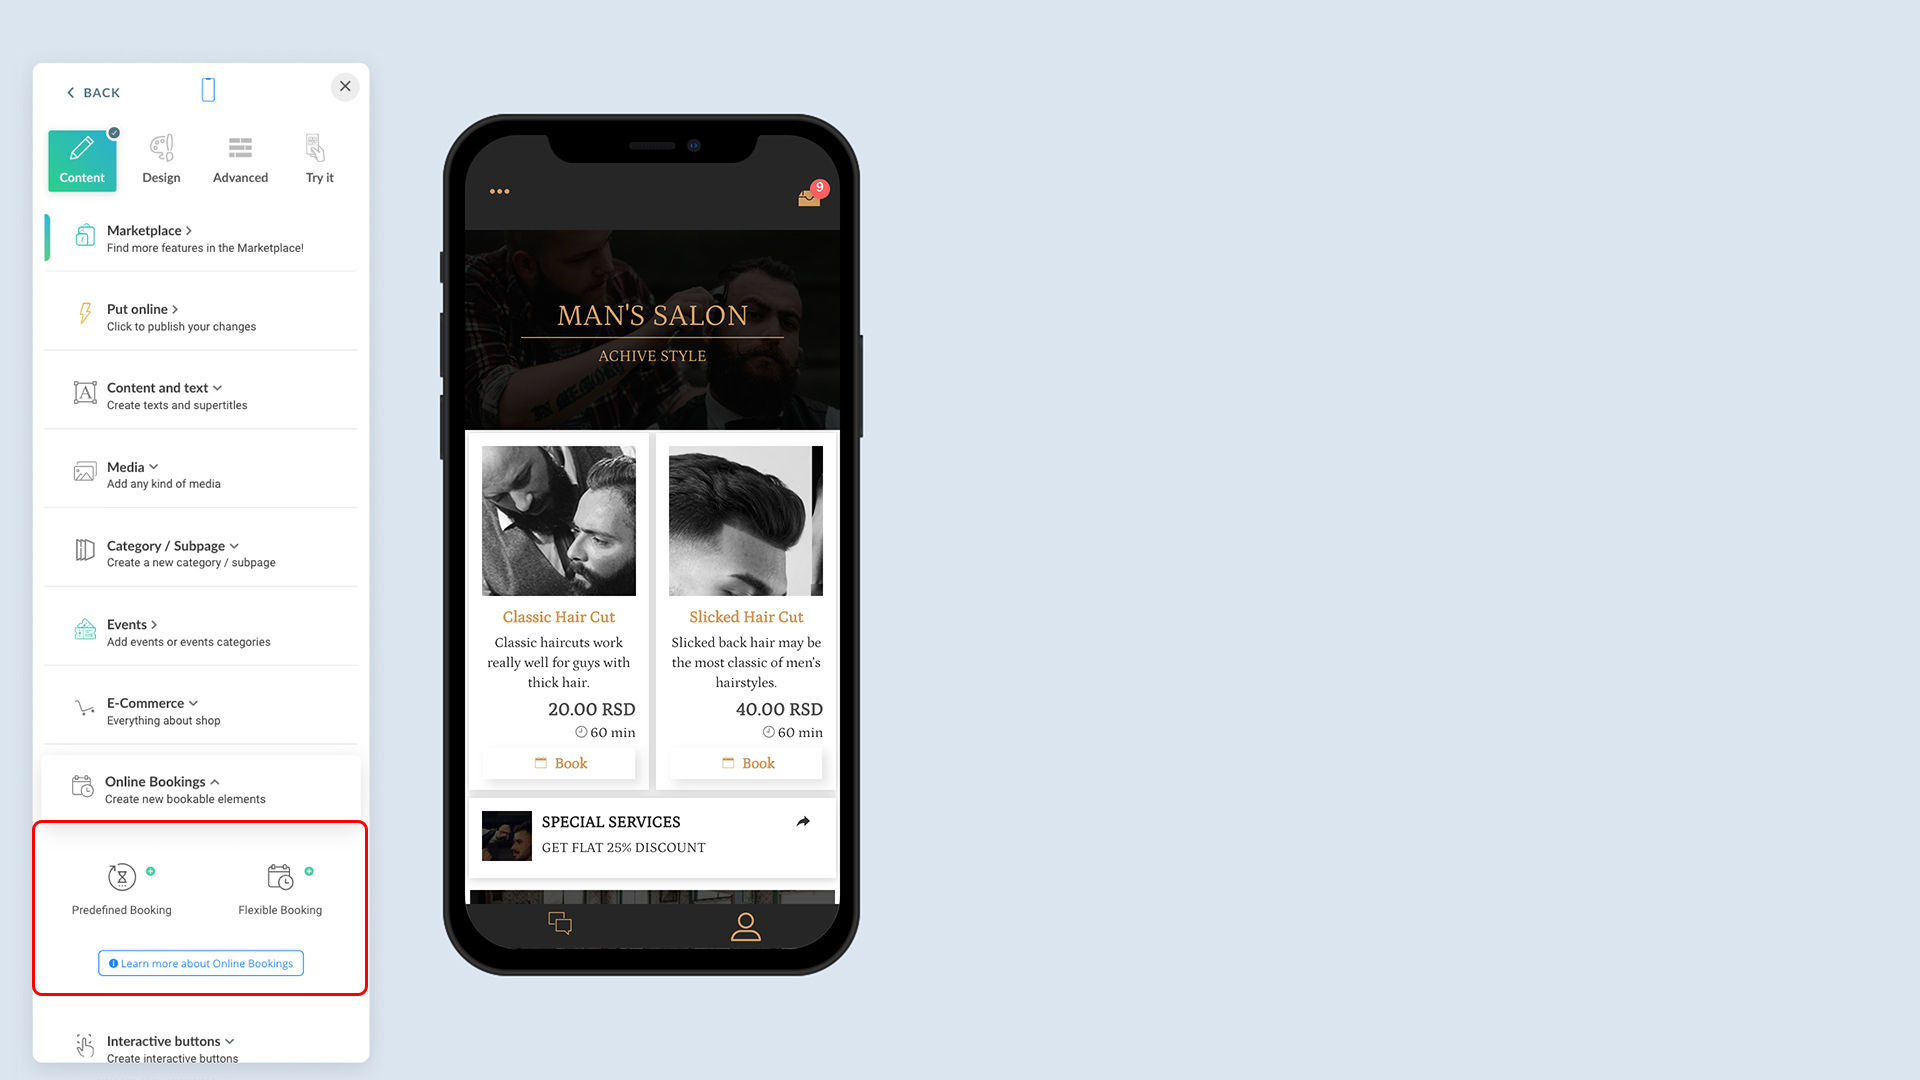
2. In the app customization, expand the group, Online Booking. Click on the 'Predefined Booking.'
image.png517.18 KB
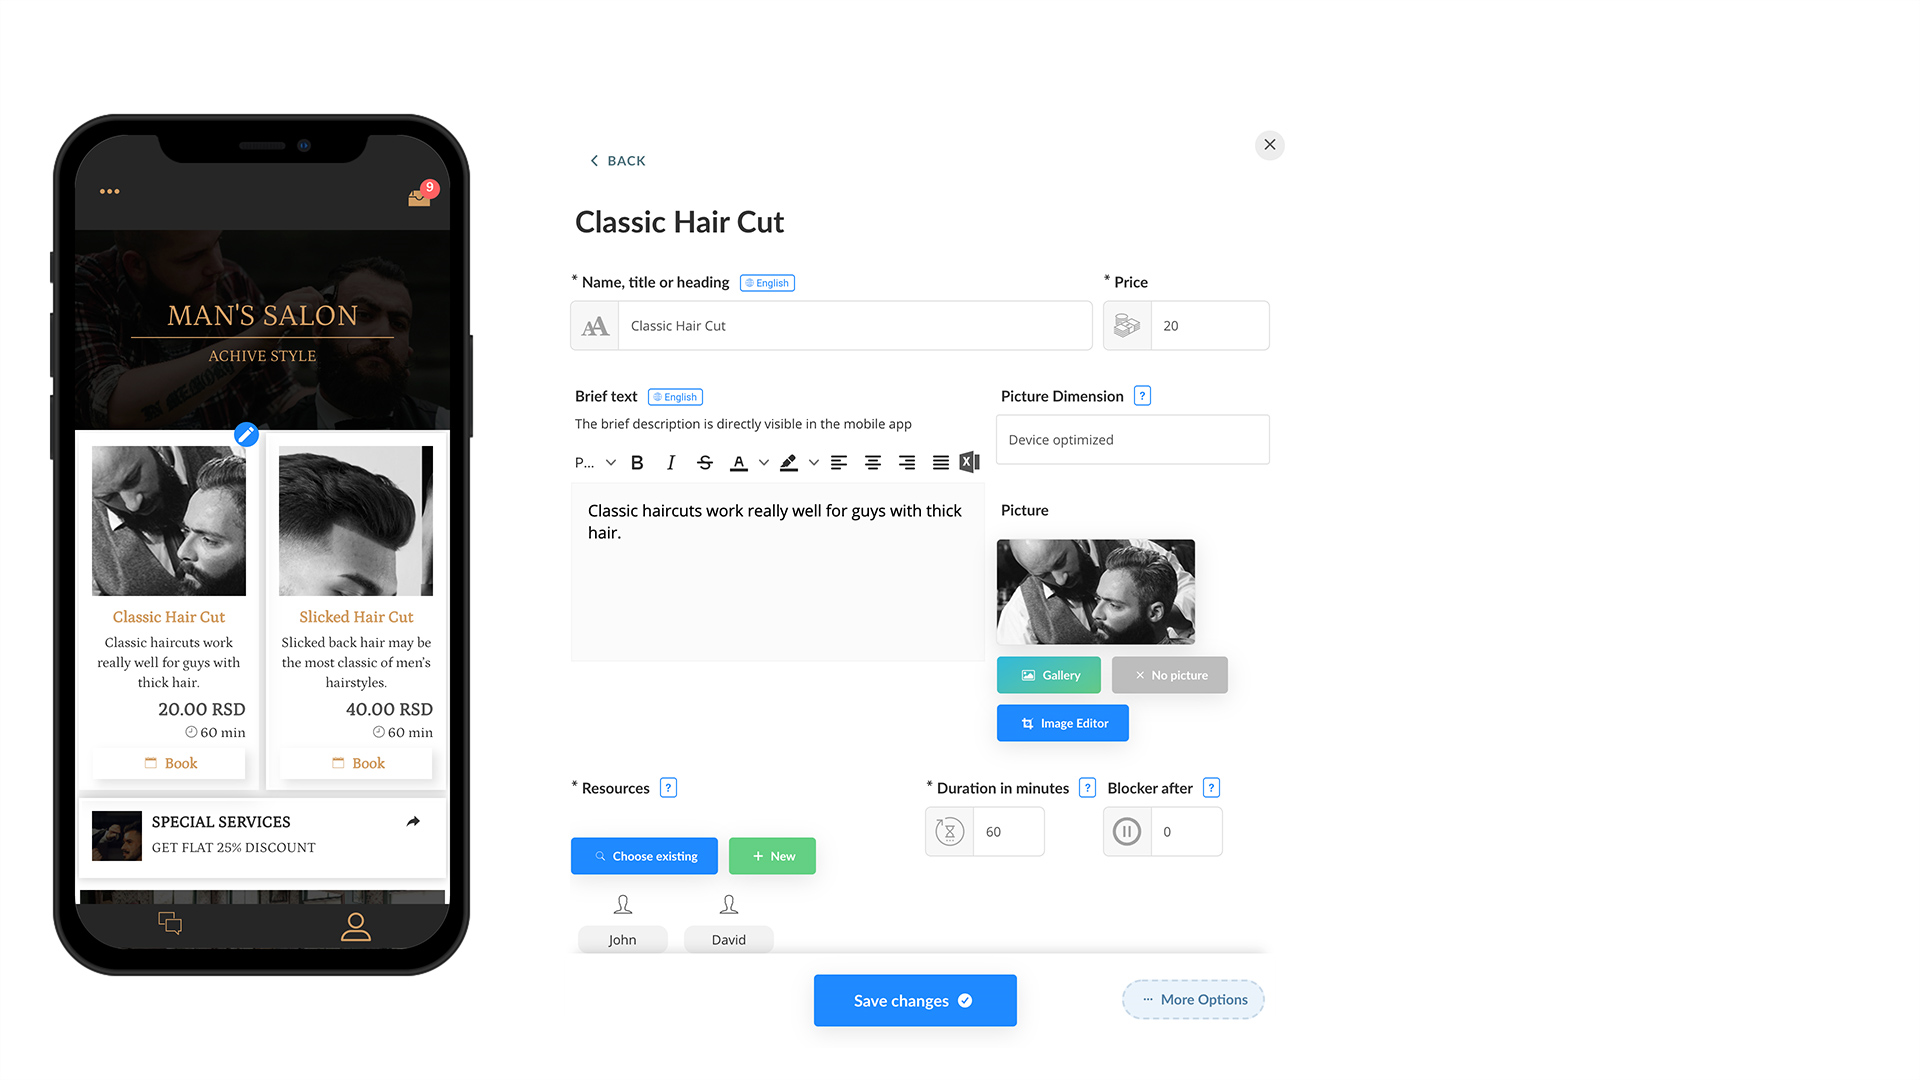
3. Set up your predefined booking.
image.png550.84 KB
Name, title or heading: Write a descriptive name of your bookable appointment, and it is mandatory
Brief text: Brief detail about it
Price: Set a pricefor the bookings, and it is mandatory
Picture Dimension:
Gallery: Select an image that shows up for this booking by clicking on the 'Gallery'
Resources: Choose one or more of the resources who will handle the booking. Also in this tab you can choose to disable resource selection coming up on the user mobile devices, which is ideal for restaurant booking setups
Duration in minutes: This is the 'predefined' duration of the bookings
4. Click on the 'Create' button to complete creating the bookable item.
5. Click on the 'Back' button, and in the main content screen, click 'Put online' to publish your changes on users' devices. The button's caption changes from 'Put online' to 'Published' once the changes have been applied successfully.
Additional tasks:
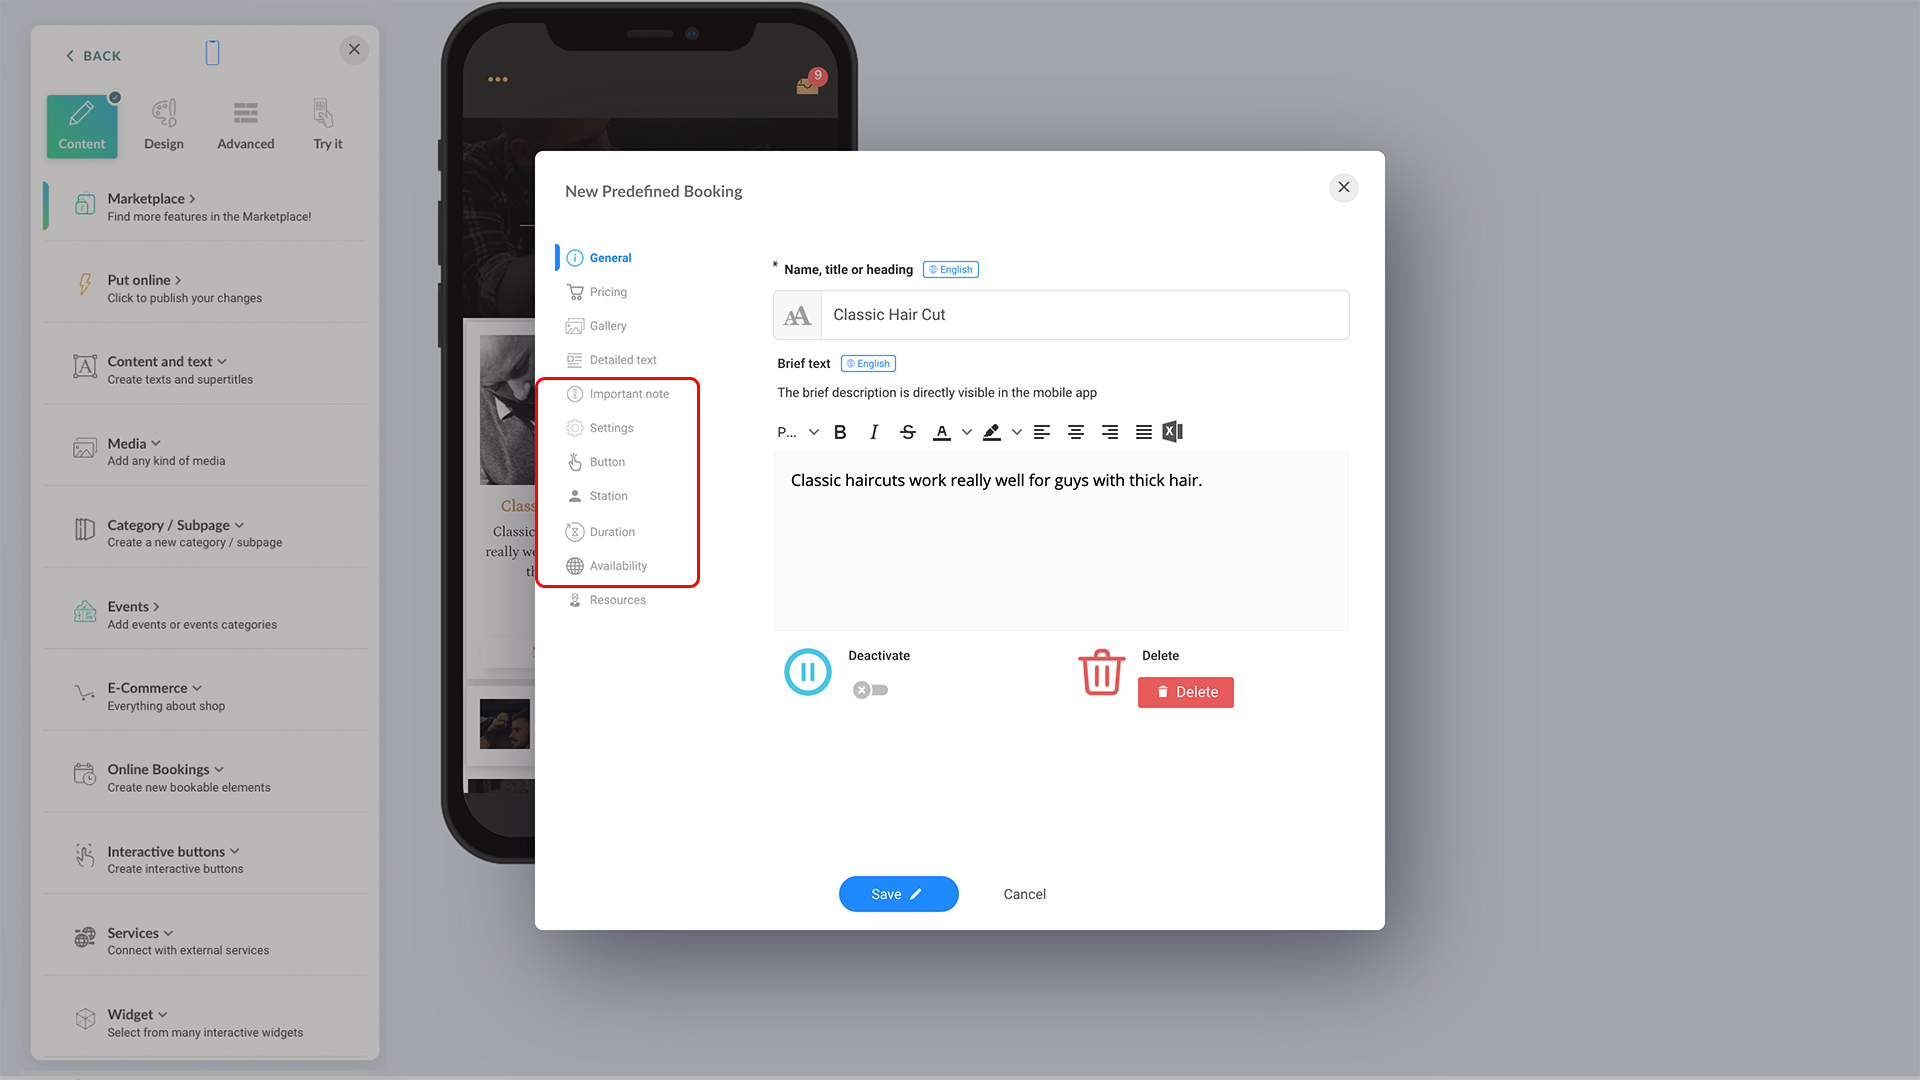
You can do more with booking and have more control over your scheduling, availability, resource assignment, and sales. Click on the 'More options' button when creating or editing a booking to check on other tabs:
image.png648.1 KB
Detailed text:Enter the exact text that describes the bookable appointment with much more information than you covered in the 'Brief text'under the 'General' tab. Users can click on the icon, ⓘ and the app shows this information
Important note: Add an important note here to alert the users or potential booker on any important note about the bookable appointment, such as booking requirements, refund policies, appointment scope, etc.
Settings: Show/hide article title
Button:The user can design the icon button
Station: Workstation overriding options
Duration, 'Duration in minutes': This is the appointment/treatment duration, etc. Ex: 60 mins
Duration, 'Blocker after':The next available appointment will be after 'duration' + this value. ex: 15 mins
Duration, 'Reservation Time': It's the 'hold time' for unconfirmed bookings
Duration, 'Preferred booking interval': If you put a value here, 'interval mins' is exclusive to 'duration.' Ex. 30 mins duration, 15 mins interval makes the next available booking in 45 mins
Duration, 'Preparation time':Time to prepare to start taking the first appointment for the day
Availability: Allow or not allow the same day bookings. Also, set if it's allowed or not, to take the bookings, whose end-time falls outside business hours
Depending on the plugins you have subscribed to, or installed, you might see more tabs associated with the extended features of those plugins.