Get started  
Login  

Help Center

Community / Forum Ask Zappter Support We build your app Marketplace

Documentation

English

General

Videos

Mastering the content editor Pixel perfect design Setup your E-Commerce Store Configure your booking engine Event-System / Drop-In

Popular

App Store Submission Creating Push Notifications Typography Changing template Changing Rules

Business Modules

New

More Tutorials

Documentation

Creating a Flexible Booking

 Creating flexible booking items

Below steps guide you through to create flexible booking items. As explained in the Getting Started section, you create a flexible booking item when you expect customer booking that are not intended to be within predefined timeslots, such as a restaurant dine-in. Even though a dine-in has timing such as lunch from 11 AM to 3 PM, it is only an open time where a customer can come in at anytime during this period.
1. Admin > Customize > Content. Click to edit your app.
image.png 348.01 KB
2. In the app customization, expand the group, Online Bookings. Click on the 'Flexible Booking.'
image.png 562.64 KB
 3. Set up your flexible booking. 
image.png 595.76 KB
  • Name, title or heading: Give the title or the name, and a brief text about the booking
  • Price: Set a price for the booking here, and it is mandatory
  • Brief text: Short description
  • Picture Dimension: This defines how the image should be optimized for device view.
  • Picture: Select a picture that will show up on the mobile app for this booking item
  • Resources: Choose an existing resource, or create a new resource from here, who will be assigned to handle this booking. Also in this tab you can choose to disable resource selection coming up on the user mobile devices, which is ideal for restaurant booking setups
  • Min.Duration:  This is the duration of the appointment/treatment, etc. Ex: 60 mins
4. Click on the 'Create' button to complete creating the booking. 
5. Click on the 'Back' button, and in the main content screen, click 'Put online' to publish your changes on users' devices. The button's caption changes from 'Put online' to 'Published'  once the changes have been applied successfully. 
image.png 170.93 KB
Additional tasks:
You can do more with booking and have more control over your scheduling, availability, resource assignment, and sales.
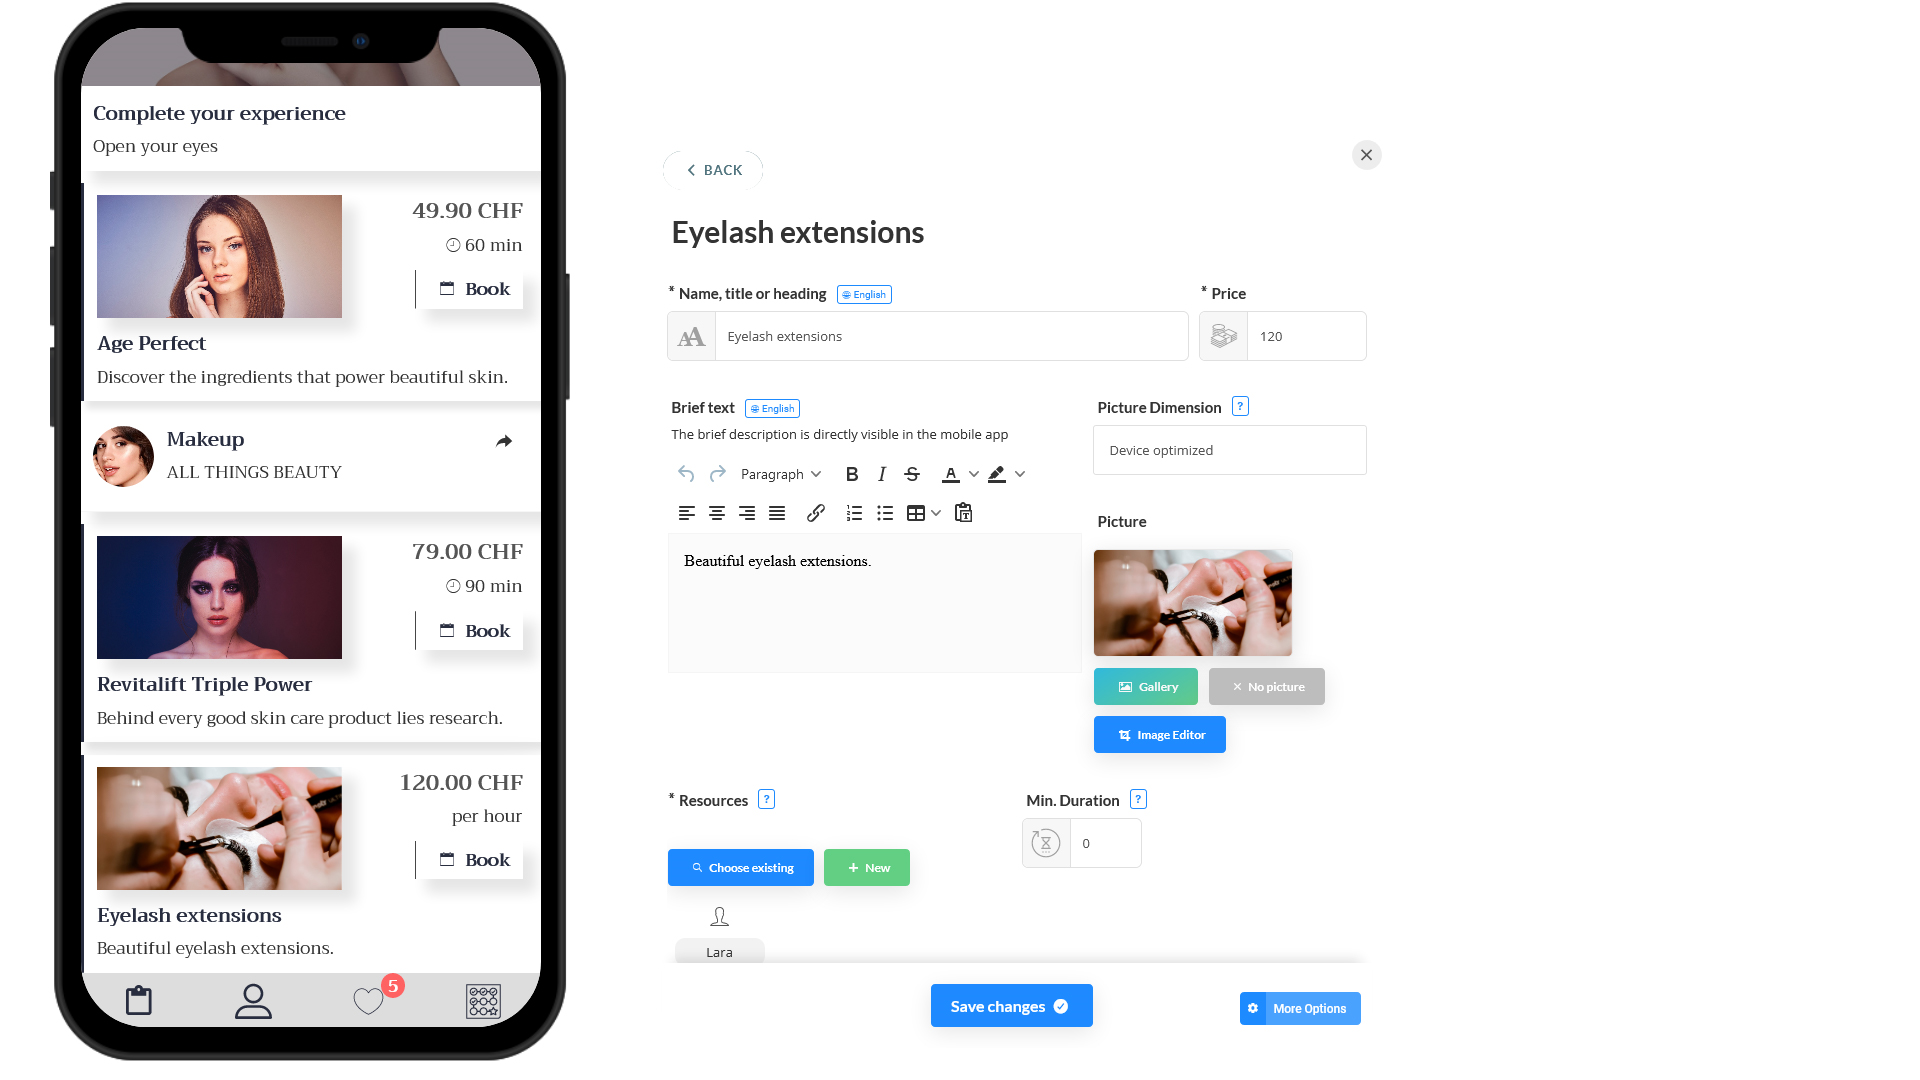
Click on the 'More options' button when creating or editing a booking to check on other tabs:  

  • Detailed text. Enter the detailed text that describes the bookable appointment with much more information than you covered in the 'Brief text' under the 'General' tab. Users can click on the icon,   and the app shows this information
  • Important note Add an important note here to alert the users or potential booker on any important note about the booking, such as booking requirements, refund policies, appointment scope, etc.
  • Settings: Show/hide name title
  • Station tab: Workstation overriding options
  • Duration, 'Reservation Time': It's the 'hold time' for unconfirmed bookings
  • Duration, 'Preparation time': Time to prepare to start taking the first appointment for the day
  • Availability: Allow or not allow same-day bookings 
  • Flex-Settings, 'Only same day': Accept only the same day bookings
  • Flex-Settings, 'Time cannot be chosen': Booker can't choose the time
  • Flex-Settings, 'Suggest durations': You can define a few suggested durations, and the bookers pick one from the list
  • Flex-Settings, 'Allow only suggestions': Bookers must pick a time from your defined suggested values
Depending on the plugins you have subscribed to, or installed, you might see more tabs associated with the extended features of those plugins. 
Reservation & Booking System