Get started  
Login  

Help Center

Community / Forum Ask Zappter Support We build your app Marketplace

Documentation

English

General

Videos

Mastering the content editor Pixel perfect design Setup your E-Commerce Store Configure your booking engine Event-System / Drop-In

Popular

App Store Submission Creating Push Notifications Typography Changing template Changing Rules

Business Modules

New

More Tutorials

Documentation

Creating Push Notifications

Setting up push notifications

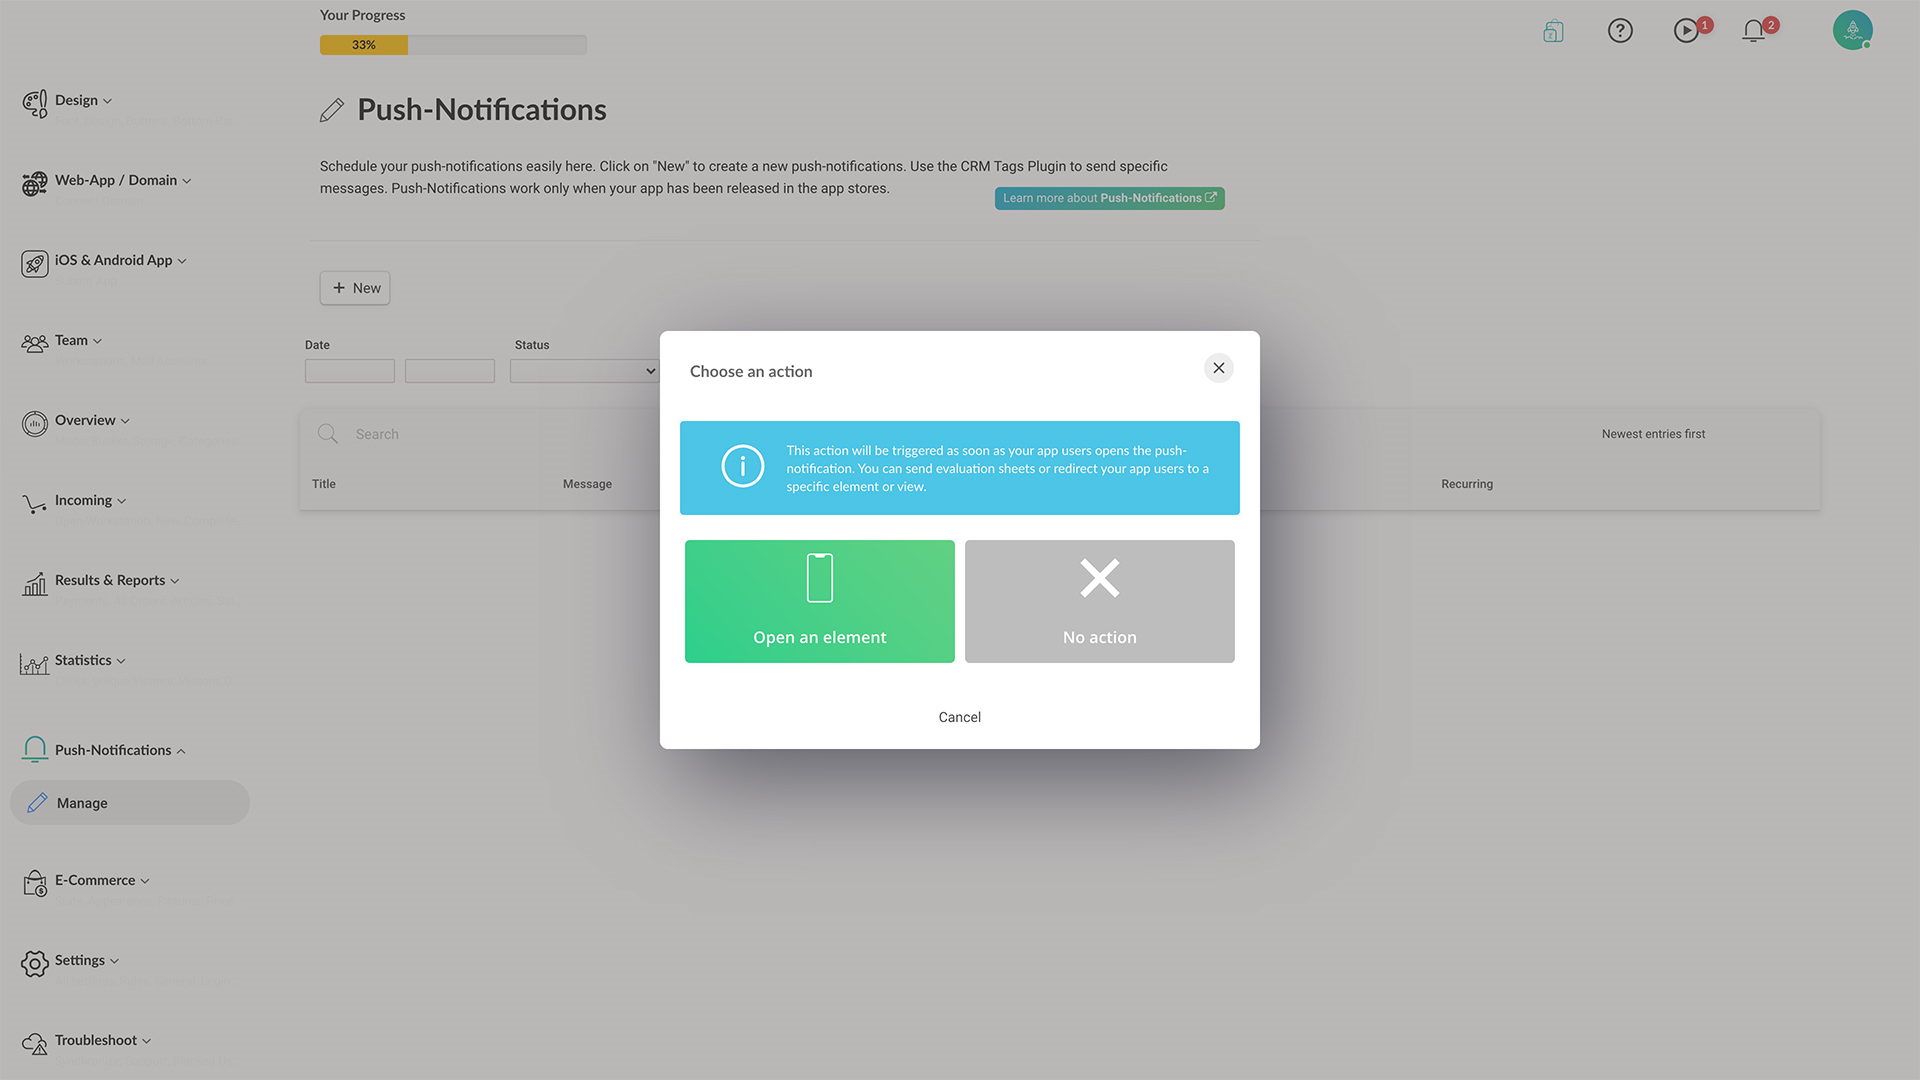
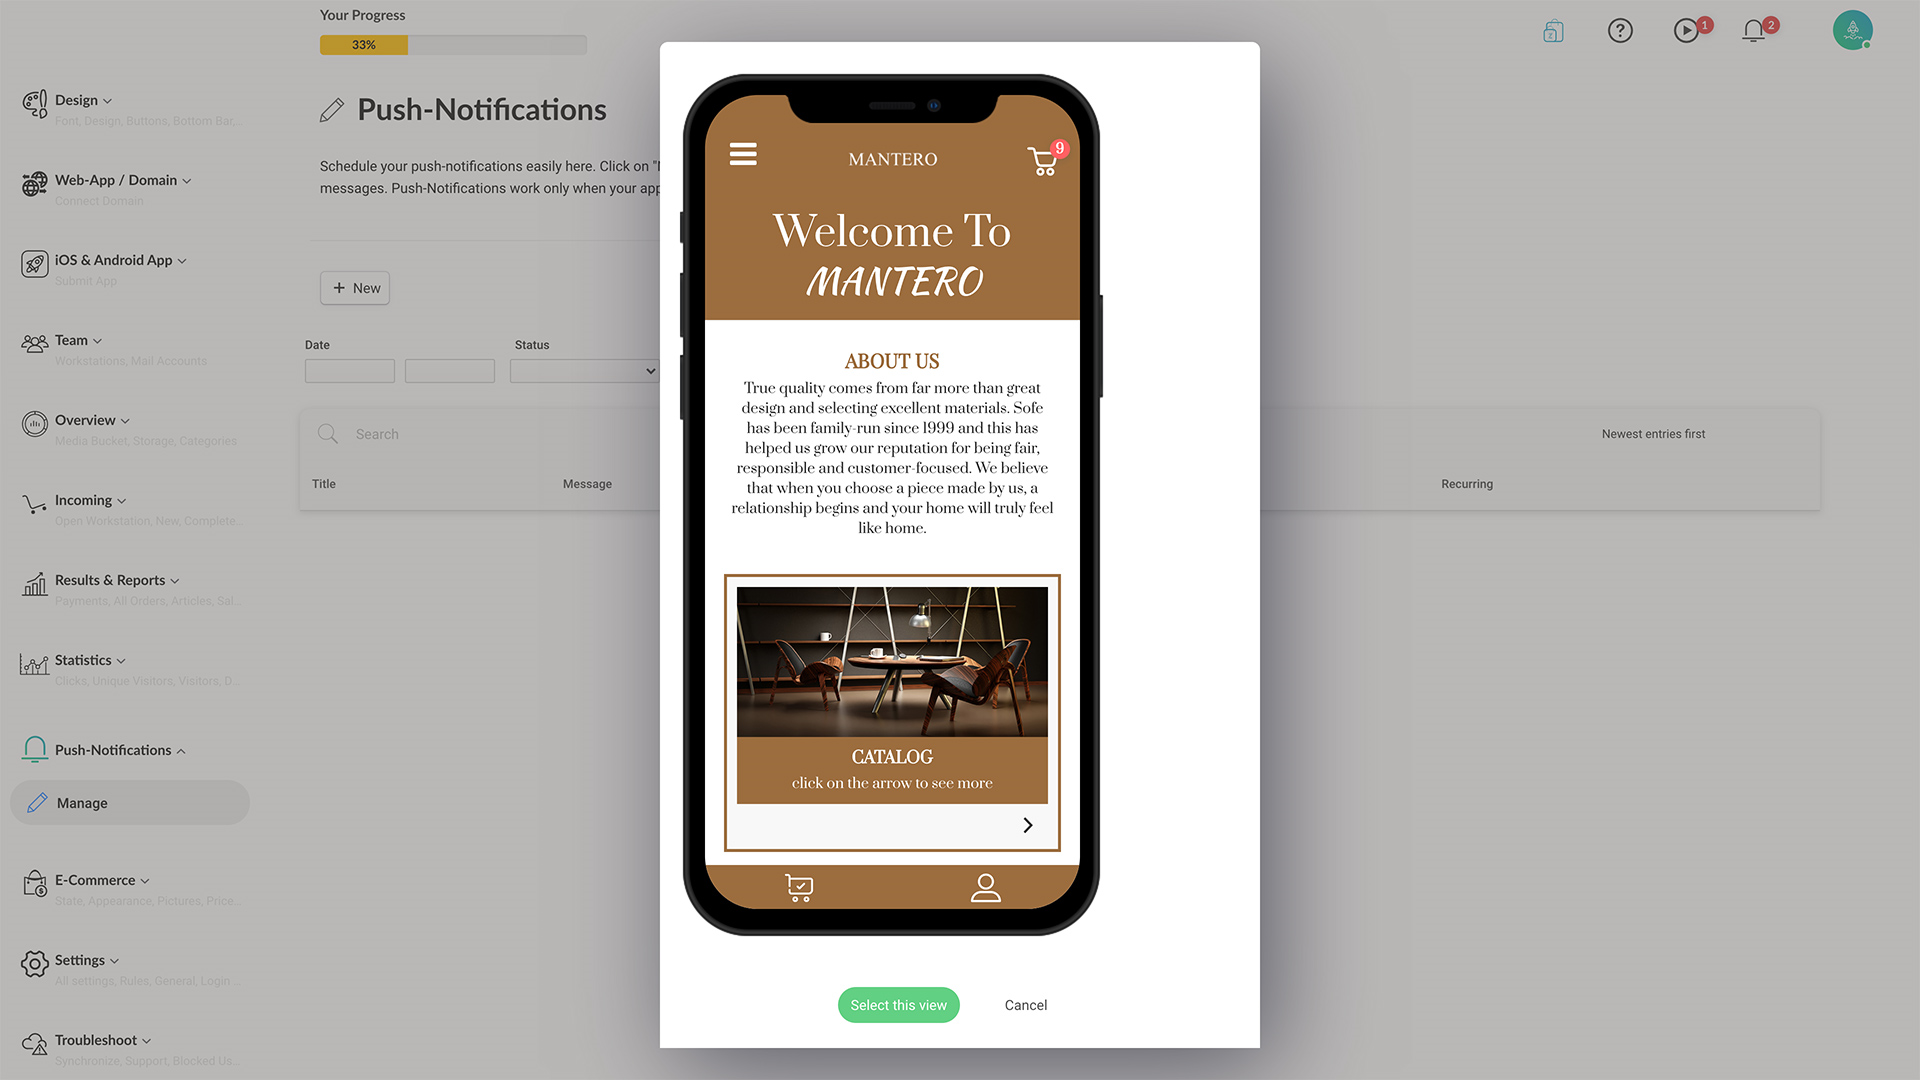
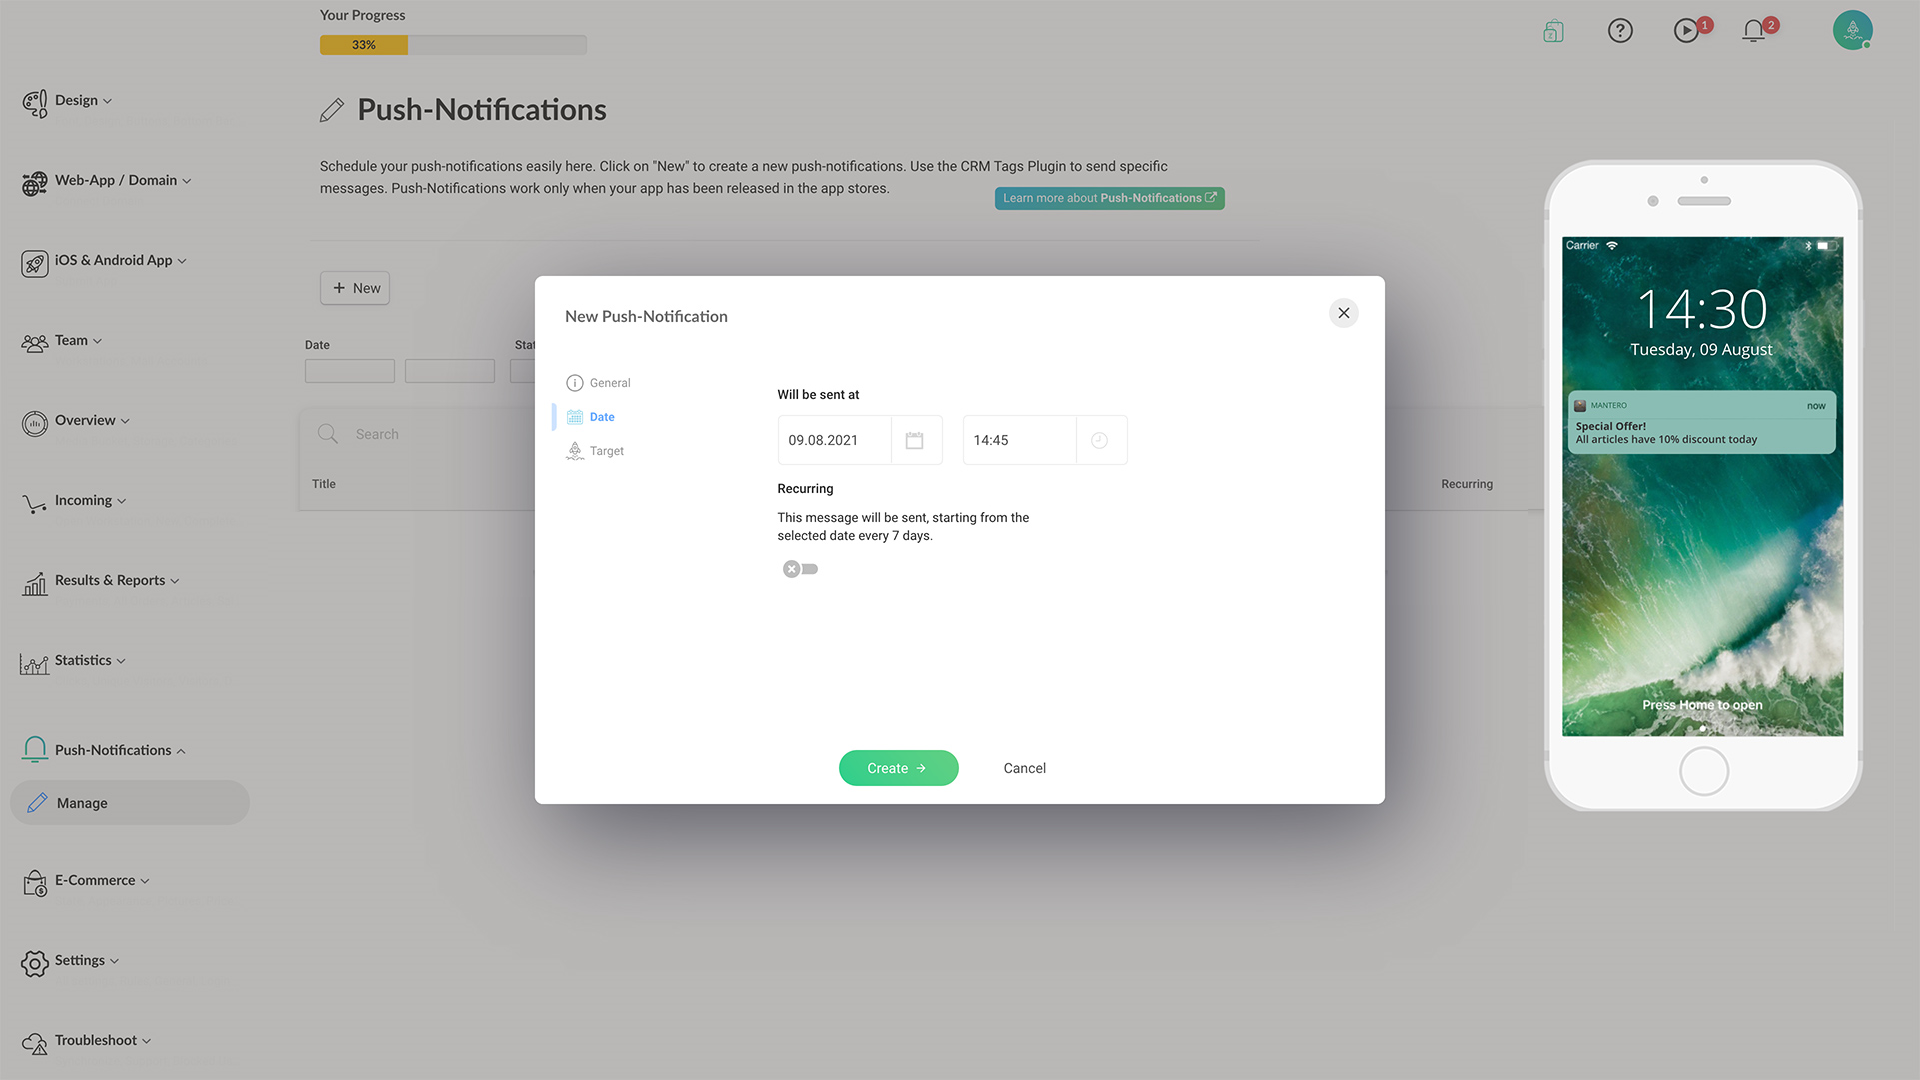
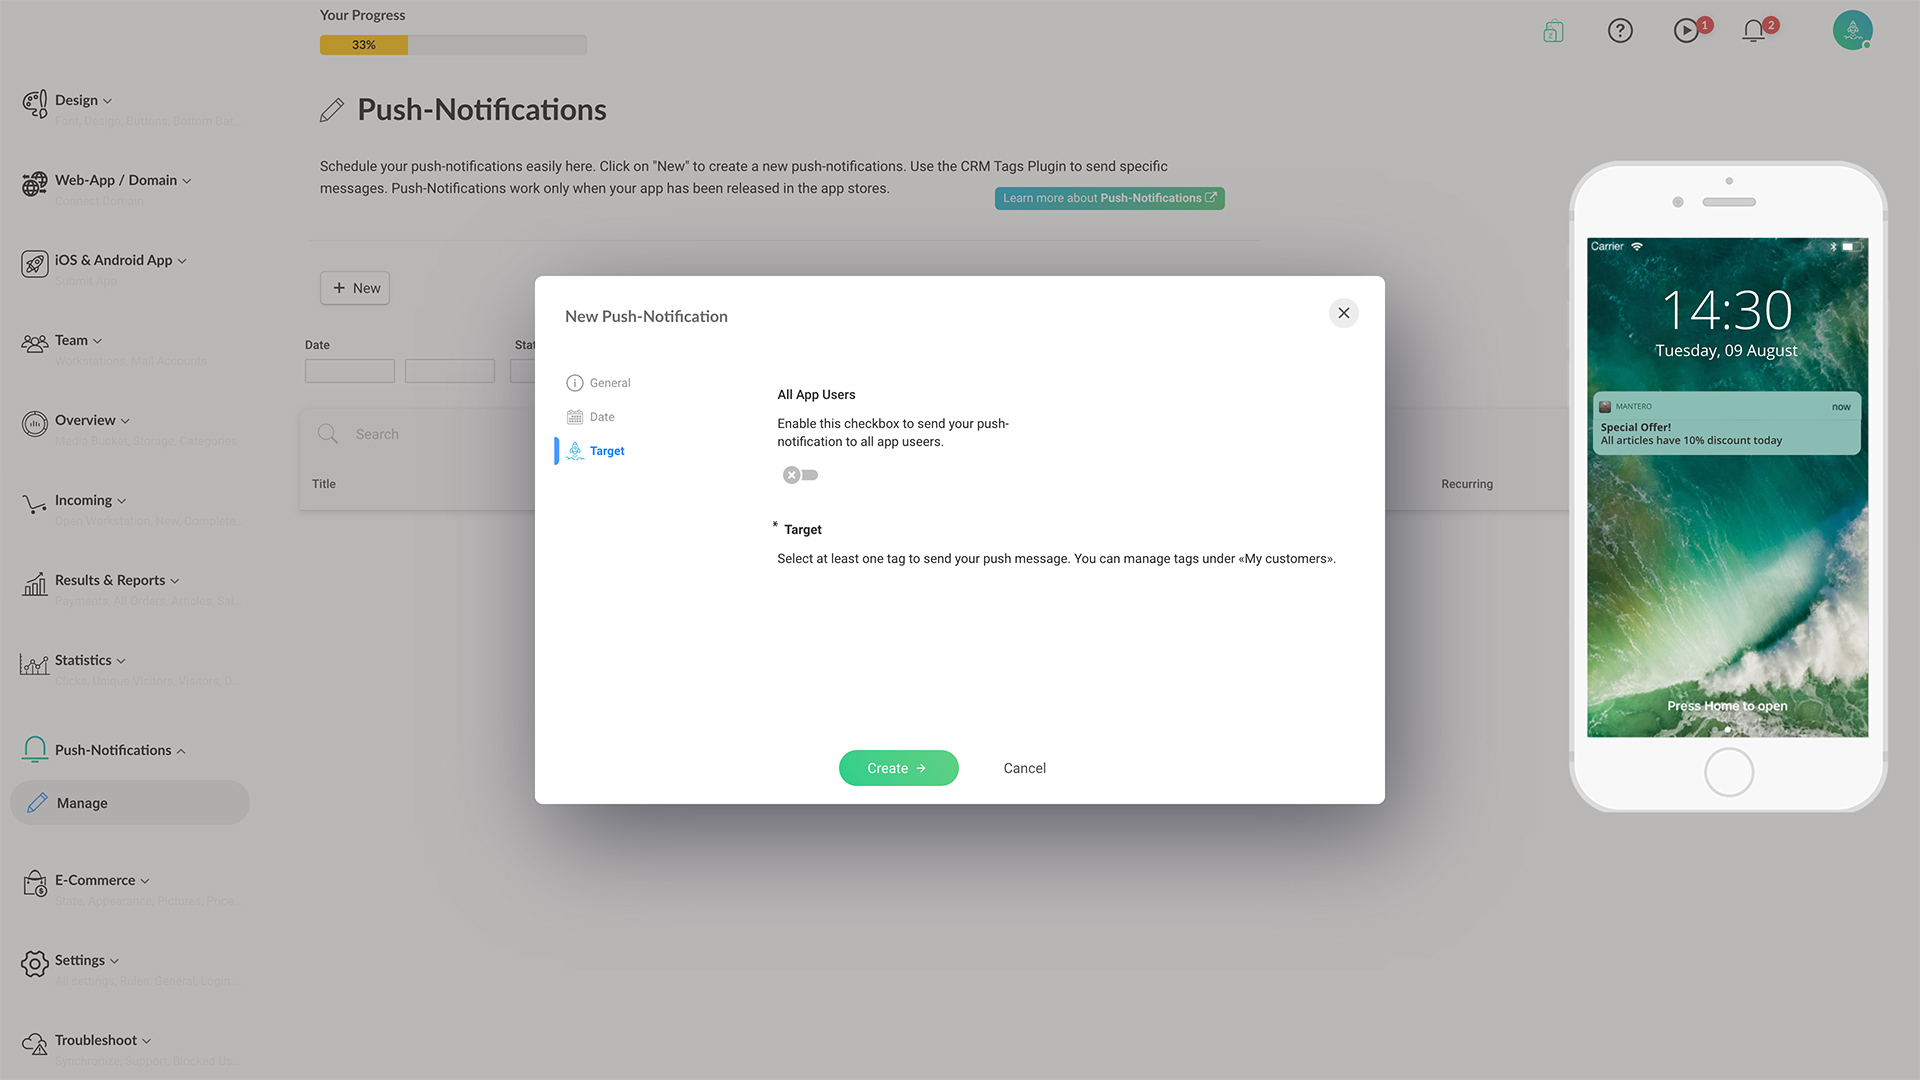
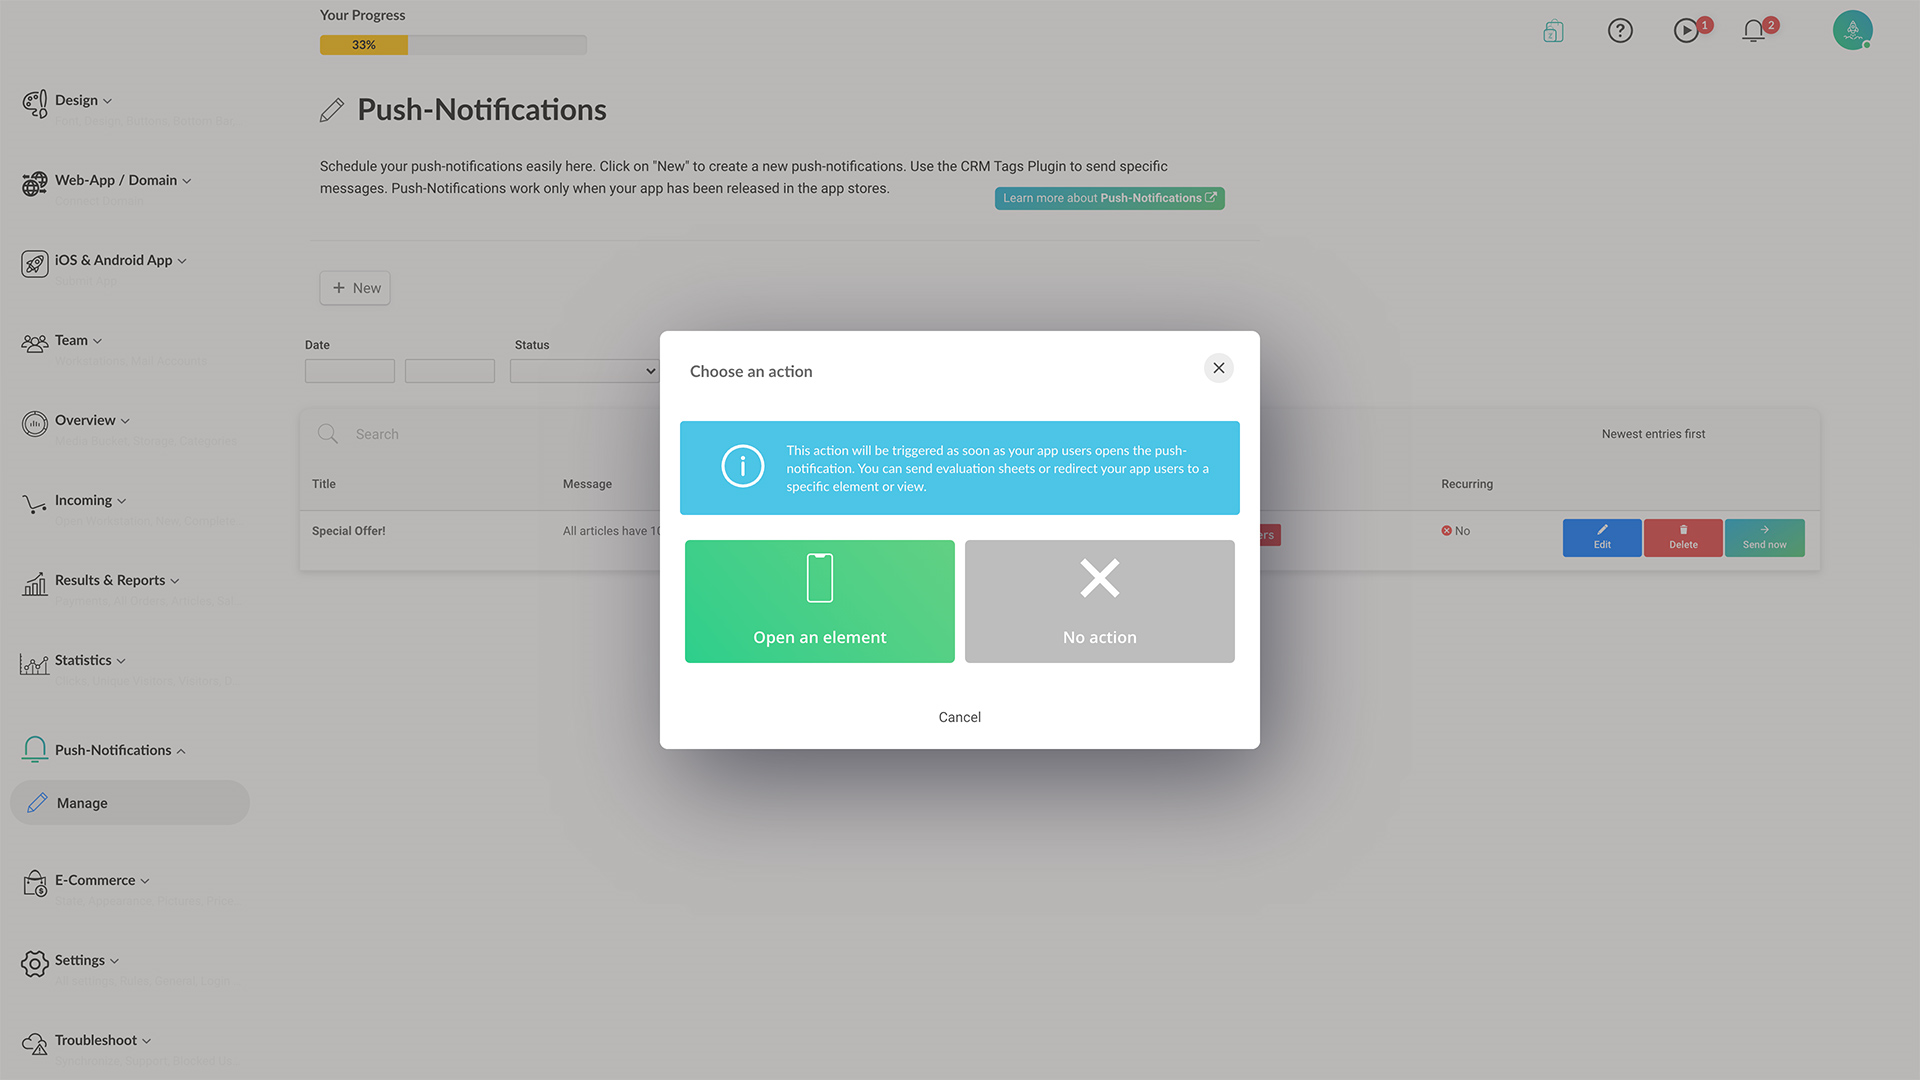
Send actionable notifications to promote your products and services; with this option, you're able to pick your content view and craft the message.  Use generic notifications to send high-value, regular push to actively engage with users that may increase your brand reputation, for example. 
1. Admin  > Push-Notifications > Manage. Click on the '+New' button. Select the 'Open an element' option.
image.png 448.22 KB
2. Click on a content where your target element (article, booking, etc.) reside.
image.png 369.68 KB
3. Click on an element on the content, or click on the 'Select this view' button. 
image.png 671 KB
4. The below screen comes where you can enter your push notification details. In the 'Text' tab, give a descriptive title and the new push notification message.
image.png 831.73 KB
5. In the 'Date' tab, schedule your delivery date, and also specify if it is a recurring notification.
image.png 804.96 KB
6. In the 'Target' tab, select your targeted users.
image.png 817.75 KB
Customers without CRM My Customers plugin can only target 'All App Users.' When you use CRM My Customers plugin, you can segment your users (using Tags and Segments) and that segmentation is available for selection here. Check the plugin's documentation for more information. 
Check out this page to learn how you can use CRM Tags.
7. Create.

Setting up generic pushes

Using this option, you can set up generic push notification with which, you don't target any specific audience group. It's also called mass messaging push notifications.
1. Admin > Push-Notifications > Manage. Click on the '+New' button. Select the 'No action' option. 
Select 'No action' when you're creating push notifications that are generic messages, and not promoting your products or services.
image.png 478.66 KB
2. The below screen comes and you can enter your push notification details. In the 'Text' tab, give a descriptive title and a message of the new push notification.
image.png 825.68 KB
3. In the 'Date' tab, schedule your delivery date, and also specify if it is a recurring push.
image.png 802.49 KB
4. In the 'Target' tab, select your targeted audience.
image.png 812.8 KB
Customers without CRM My Customers plugin can only target 'All App Users.' When you use CRM My Customers plugin, you can segment your users and that segmentation is available for selection here. Check the plugin's documentation for more information.
Check out this page to learn how you can use CRM Tags.
5. Create it.
Push-Notifications
Last updated at 04.07.2022 22:50