Get started  
Login  

Help Center

Community / Forum Ask Zappter Support We build your app Marketplace

Documentation

English

General

Videos

Mastering the content editor Pixel perfect design Setup your E-Commerce Store Configure your booking engine Event-System / Drop-In

Popular

App Store Submission Creating Push Notifications Typography Changing template Changing Rules

Business Modules

New

More Tutorials

Documentation

Working with Image Gallery

About picture gallery

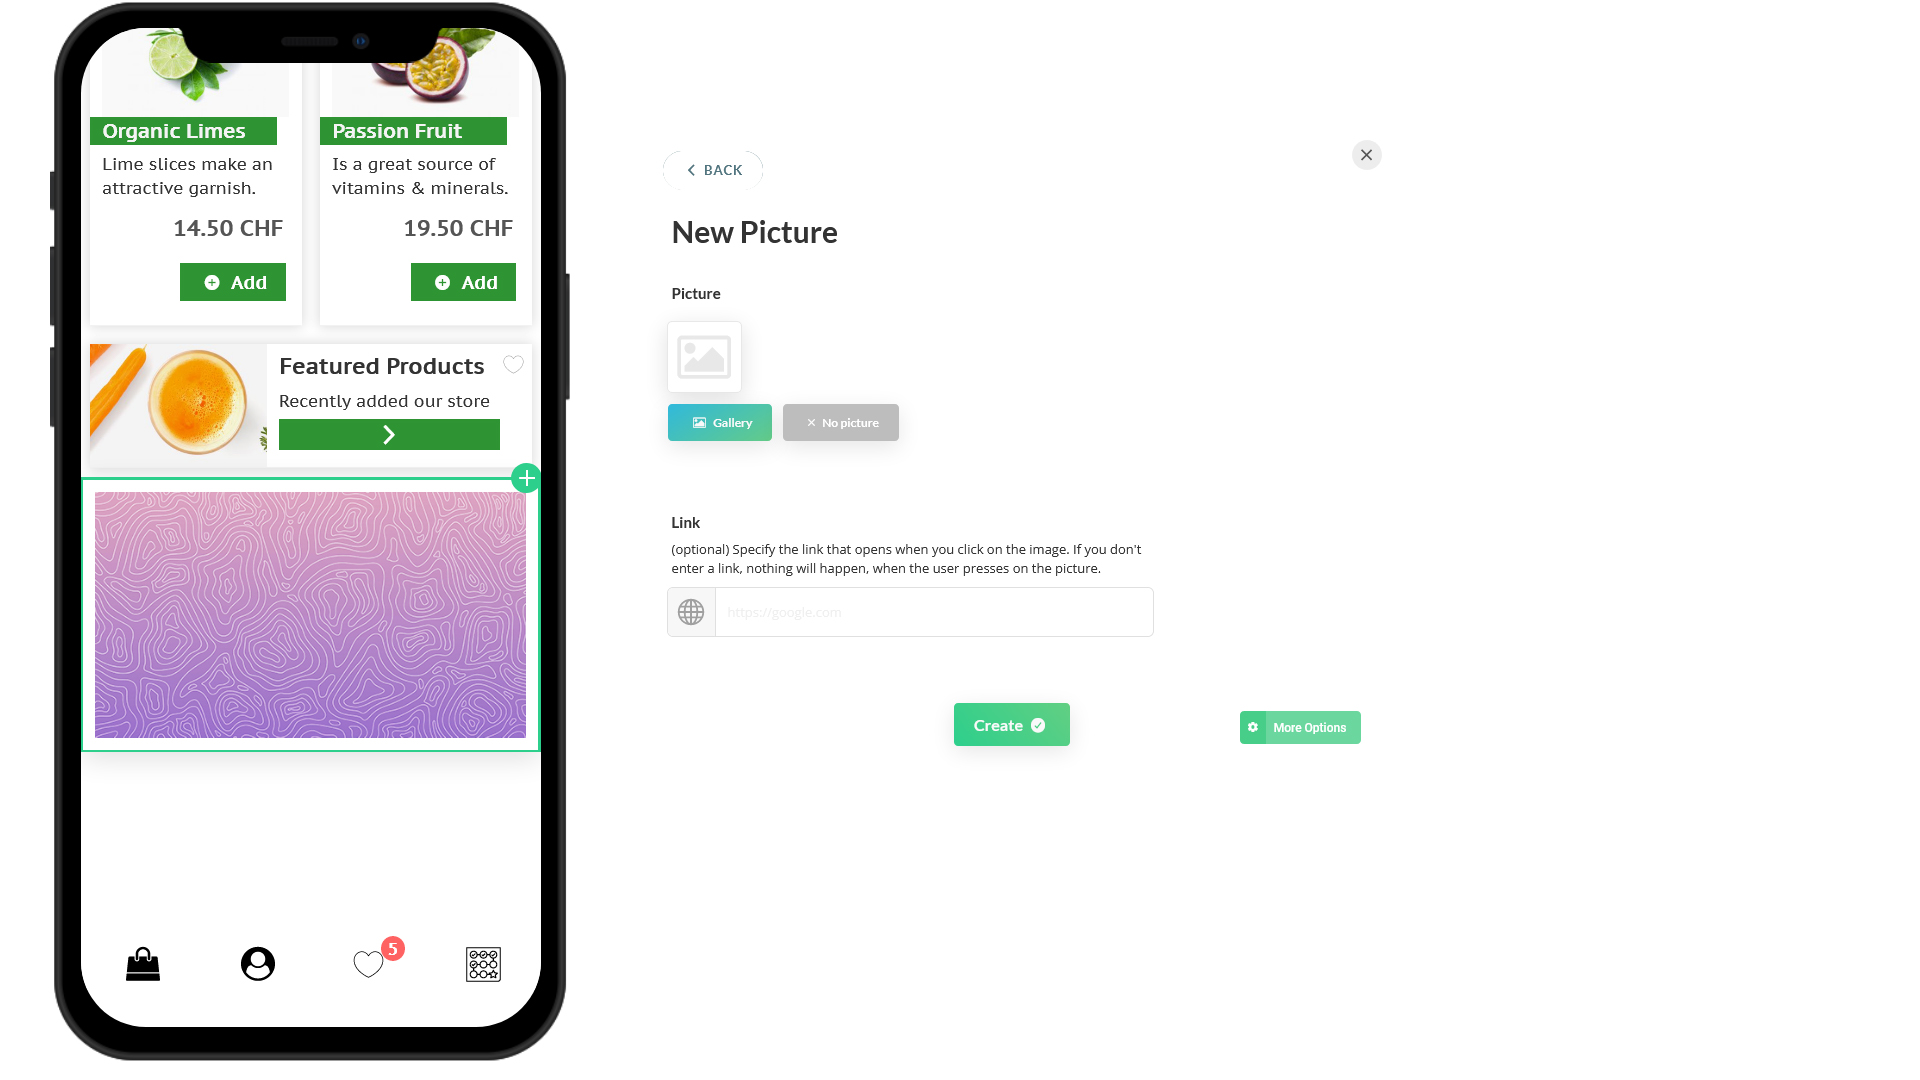
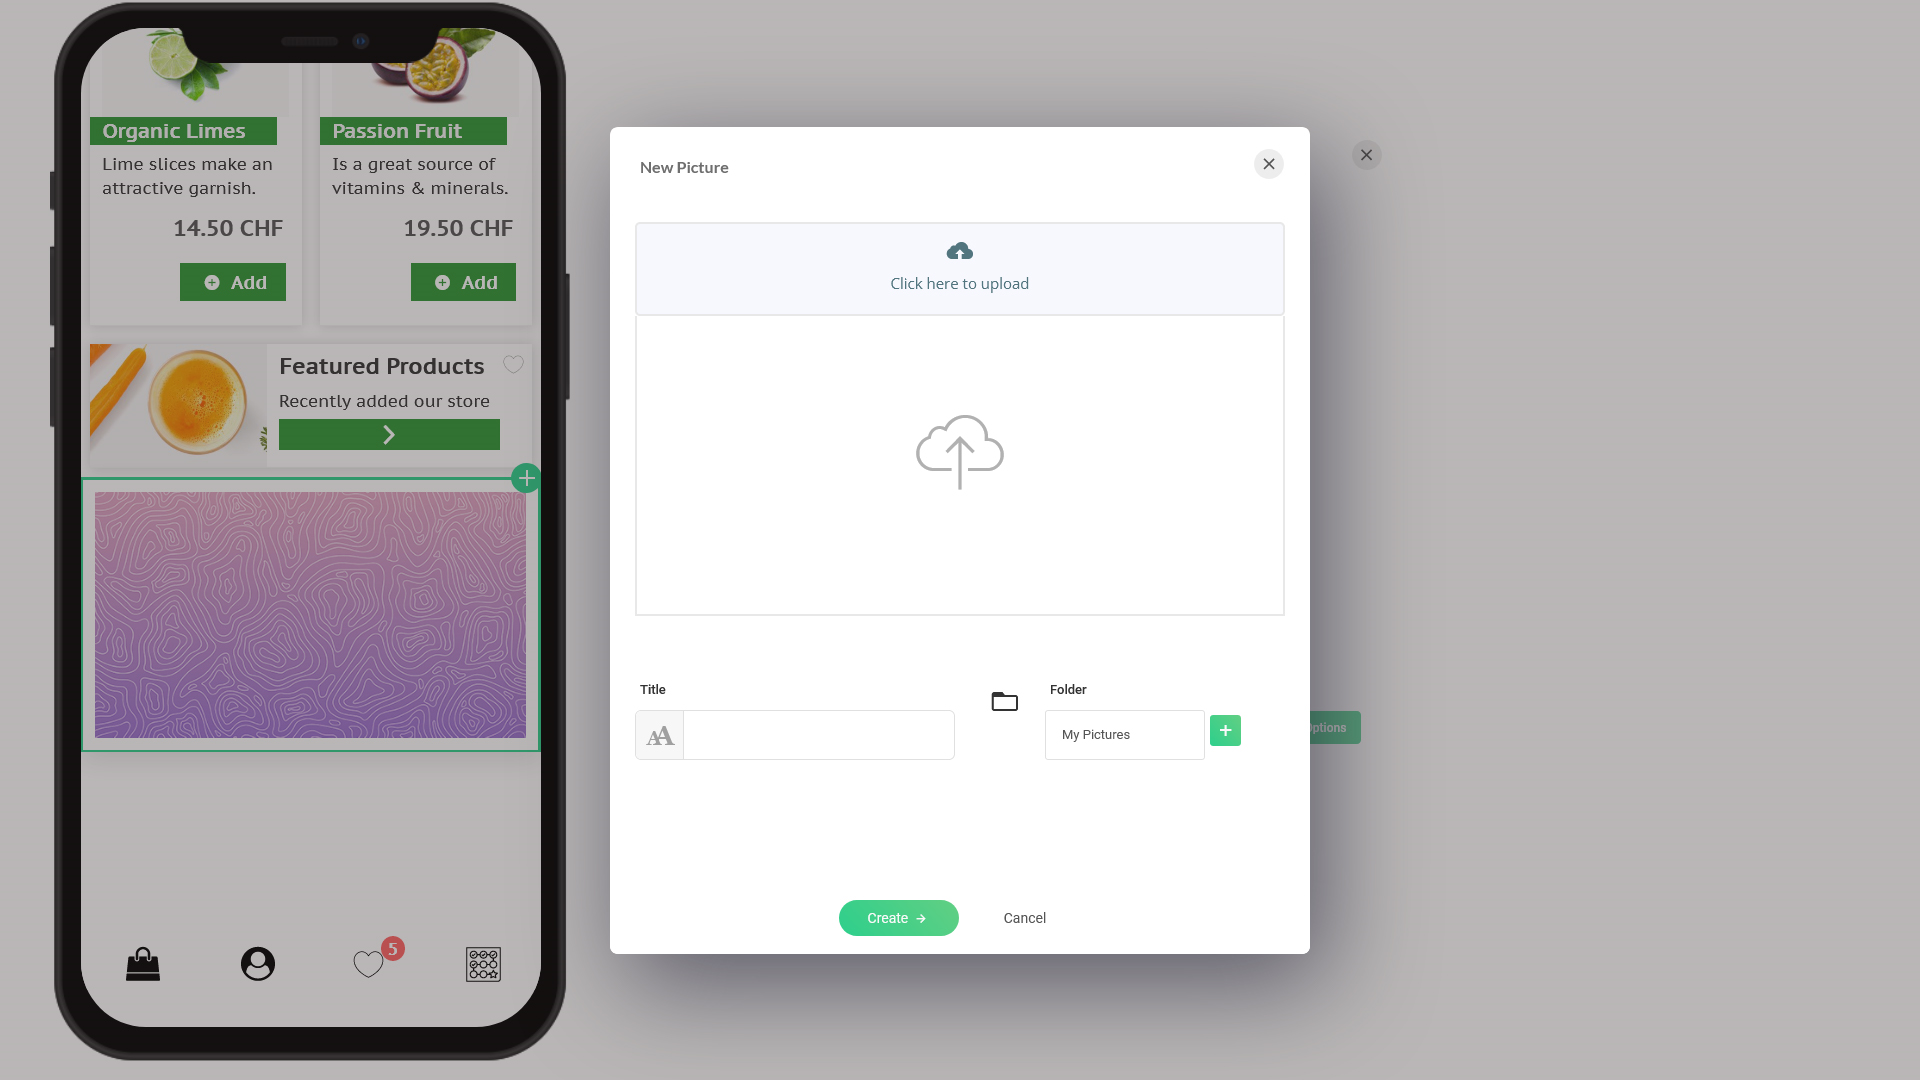
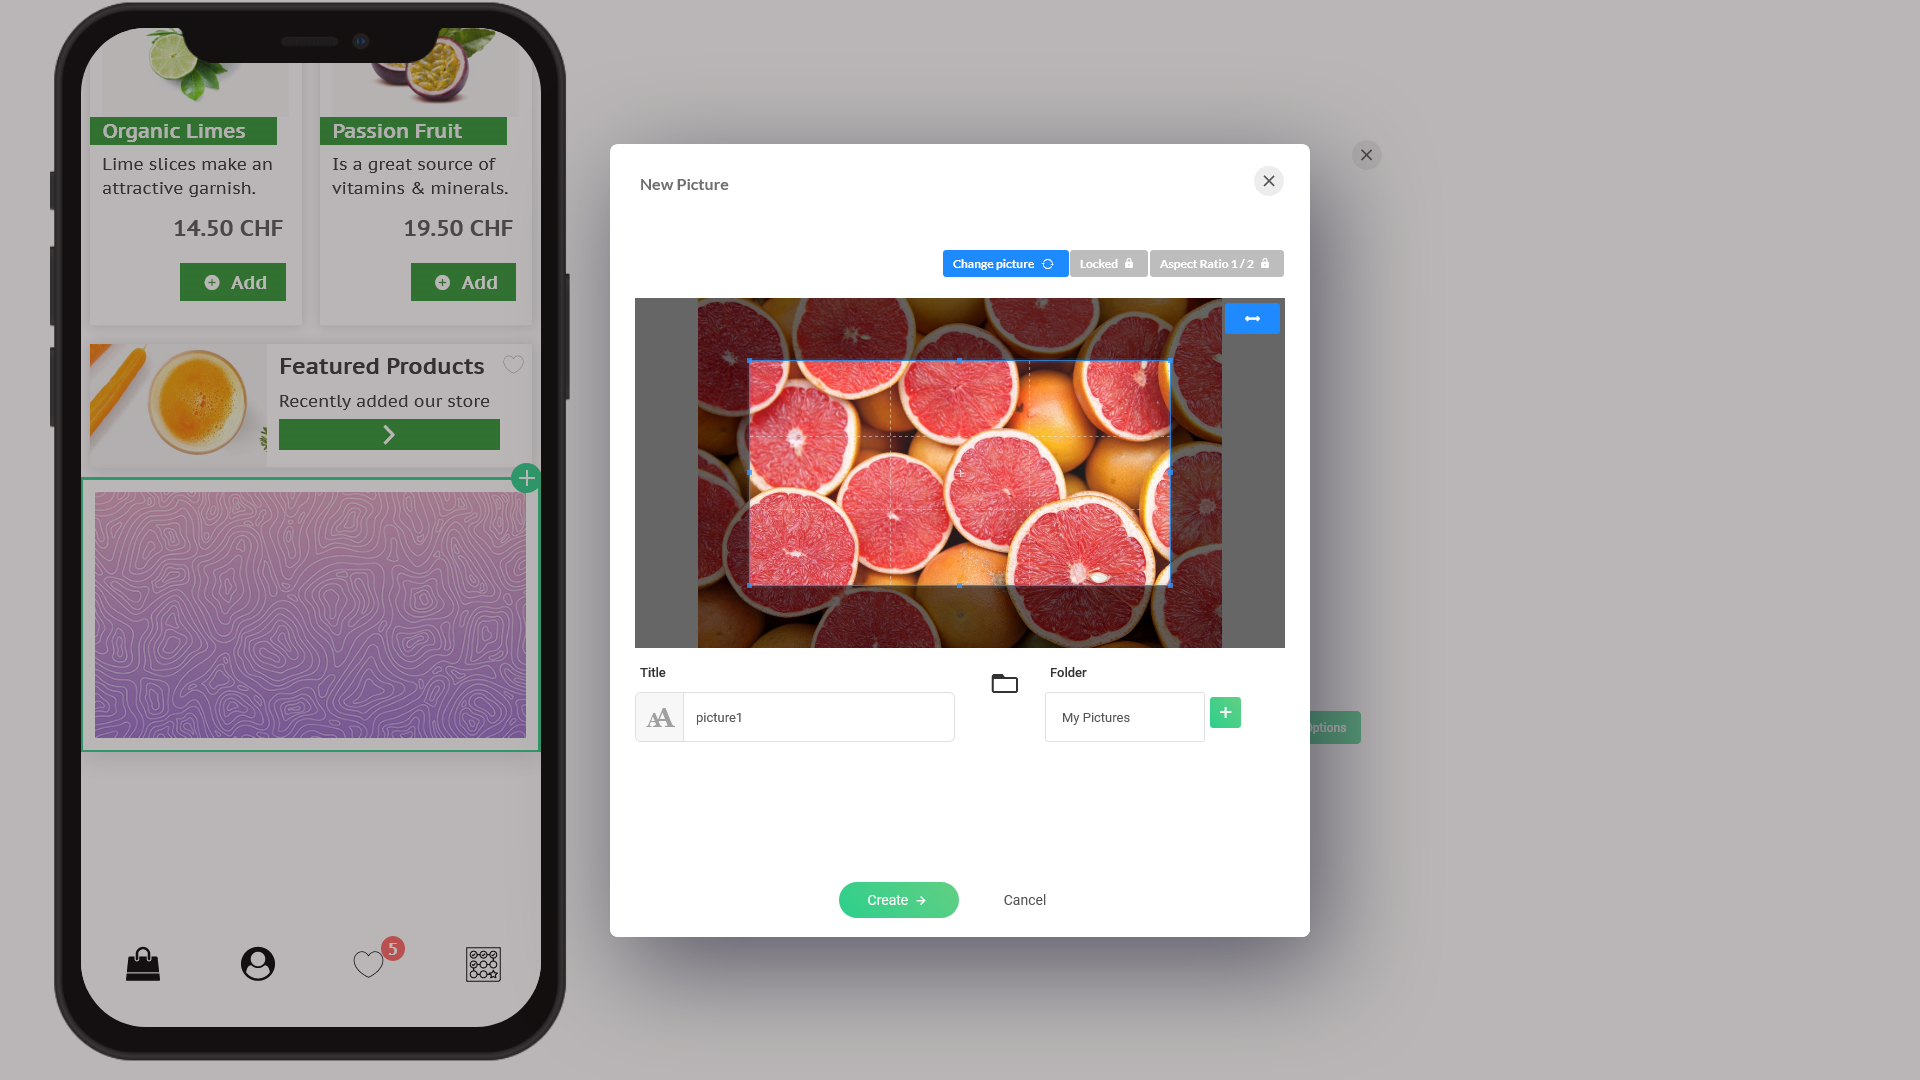
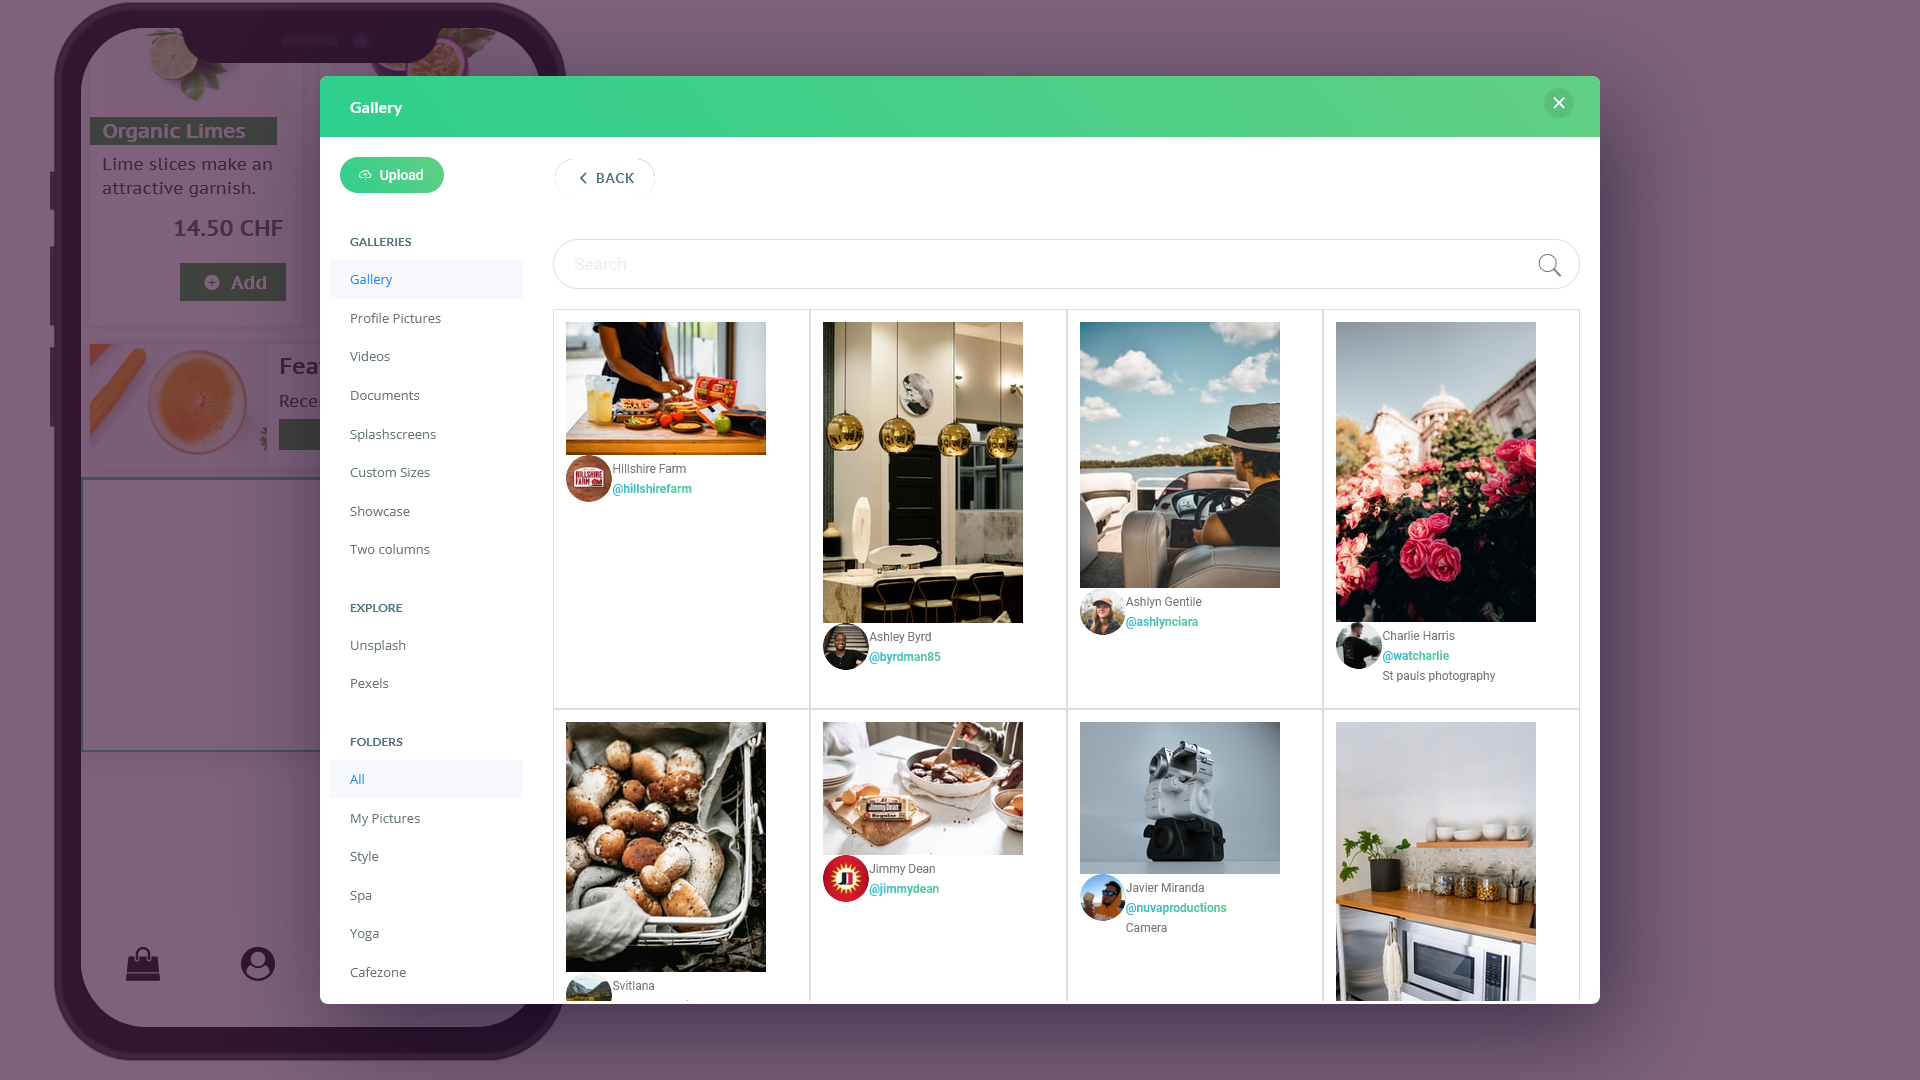
Picture gallery maintains the storage of your images. Every time you add an image to your app content from your computer, it is saved within the picture gallery to simplify reusing the image at a later time. The picture gallery has these sections:

  • Upload: Use this option when you need to upload an image from your computer to your app content.
  • Galleries (all pictures you upload are saved as mentioned under the 'Folder' option below, they also appear under the relevant gallery option listed below for easy finding):
    • Profile pictures: All pictures added as profile pictures are stored under this folder
    • Videos: All videos
    • Documents: Any document uploads
    • Splashscreens: Images uploaded for intro slides are saved here
    • Custom sizes: Any image that needs to be uploaded in custom sizes are stored in this folder
    • Two columns: Any two-column pictures store for the Picture Gallery plugin
    • Showcases: Any images uploaded for the E-Commerce showcase feature are stored here
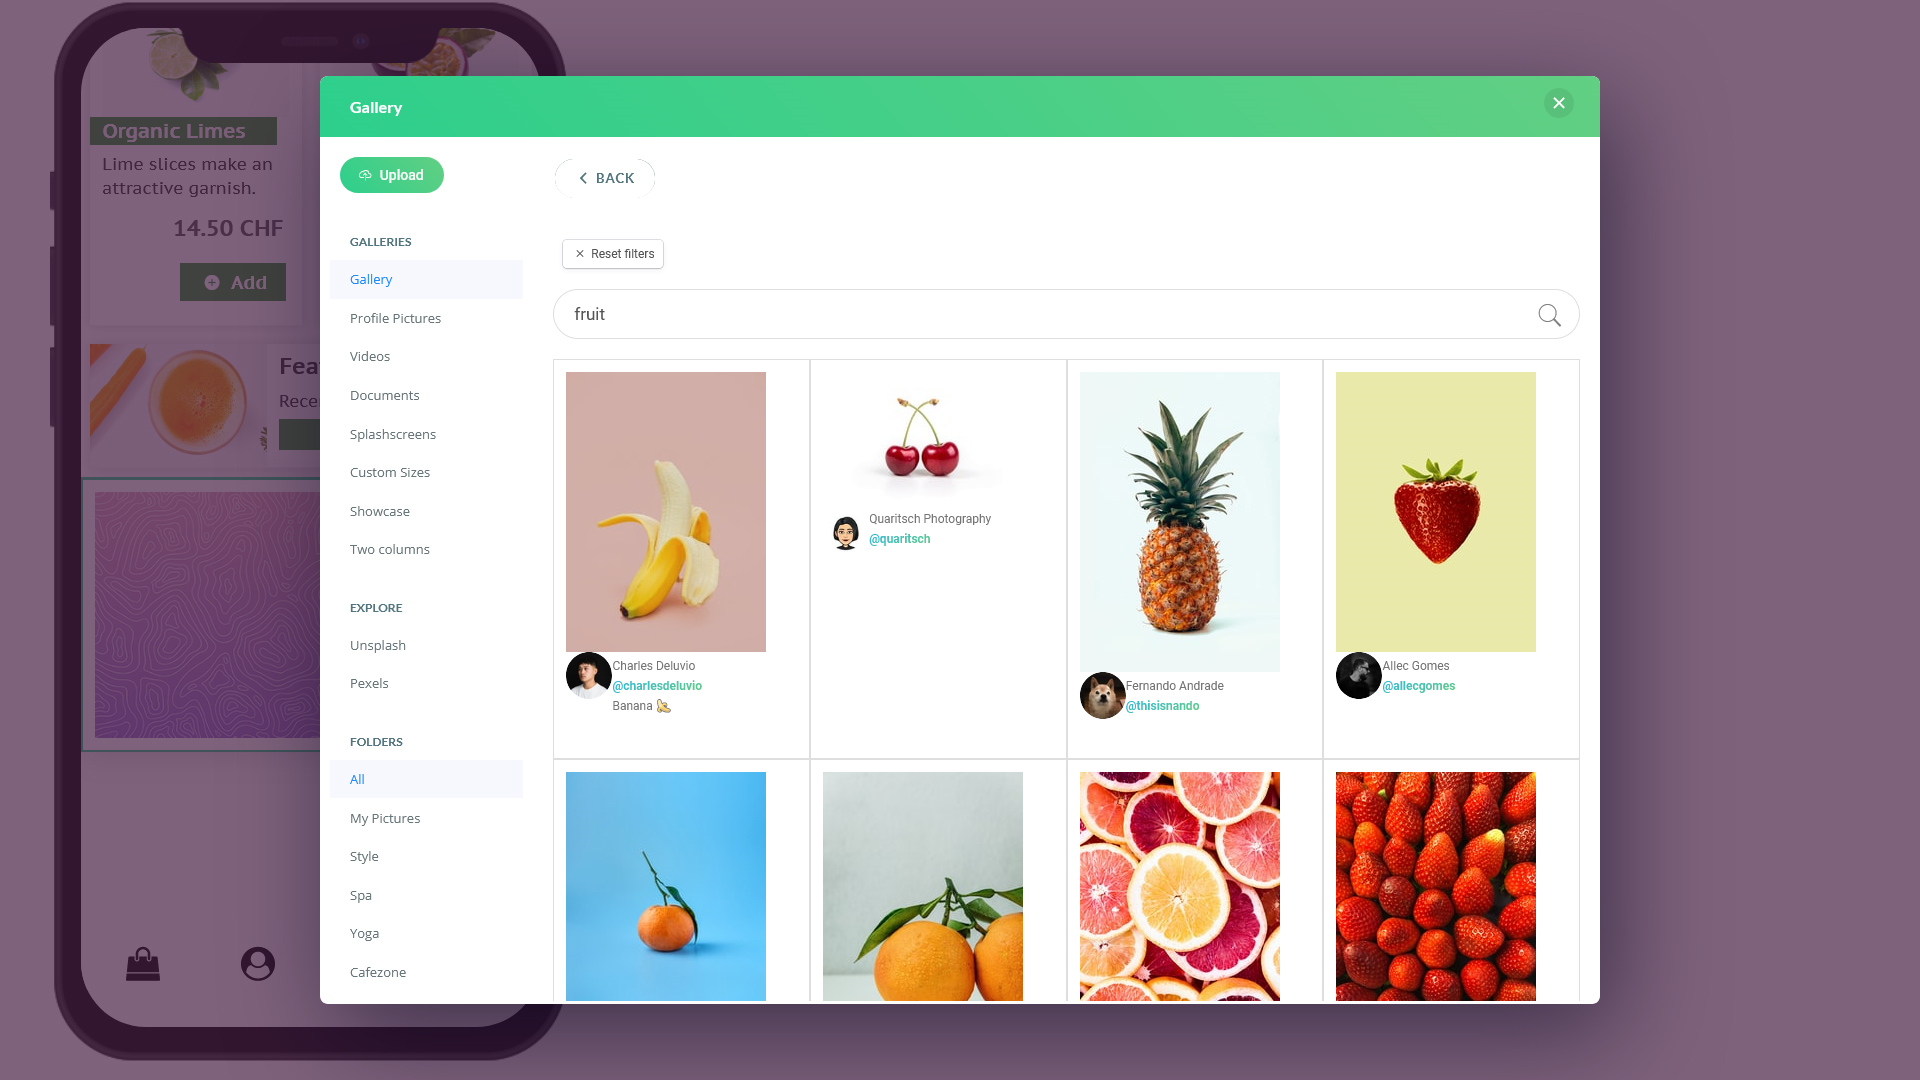
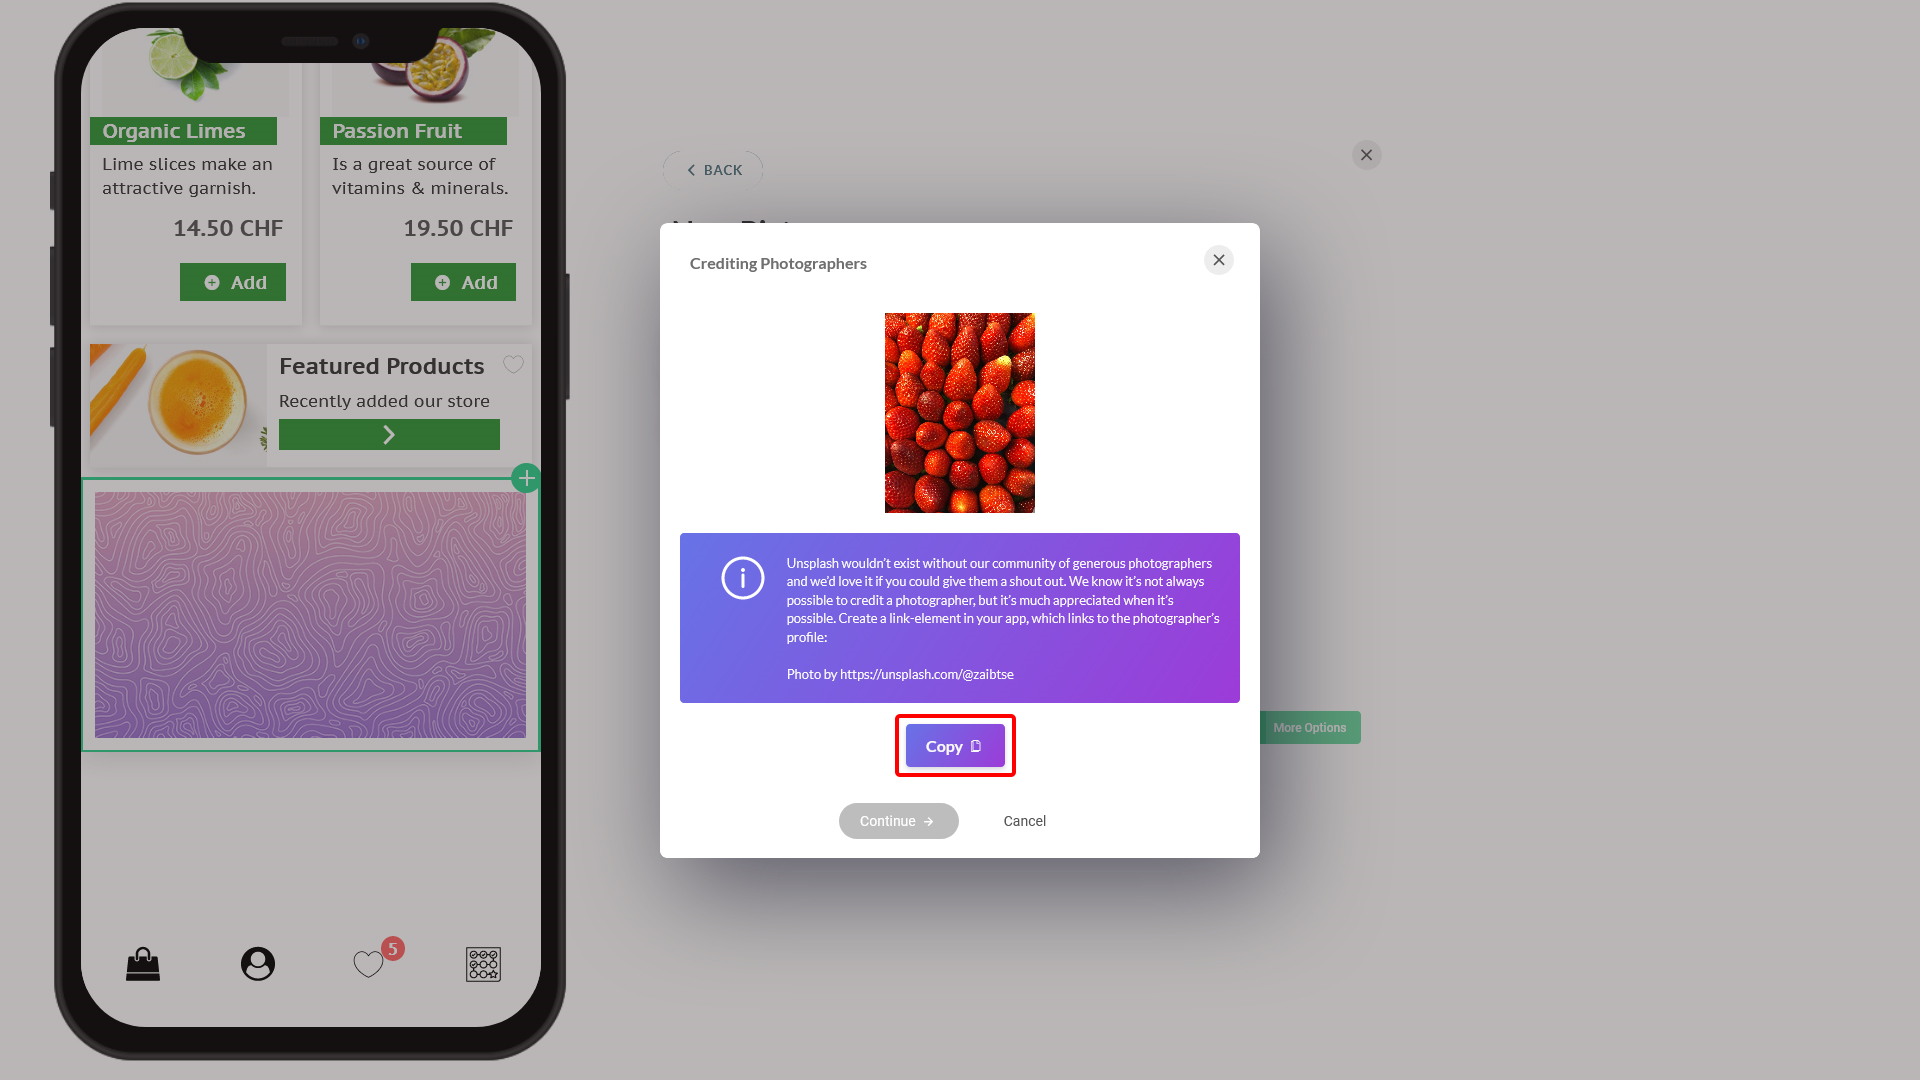
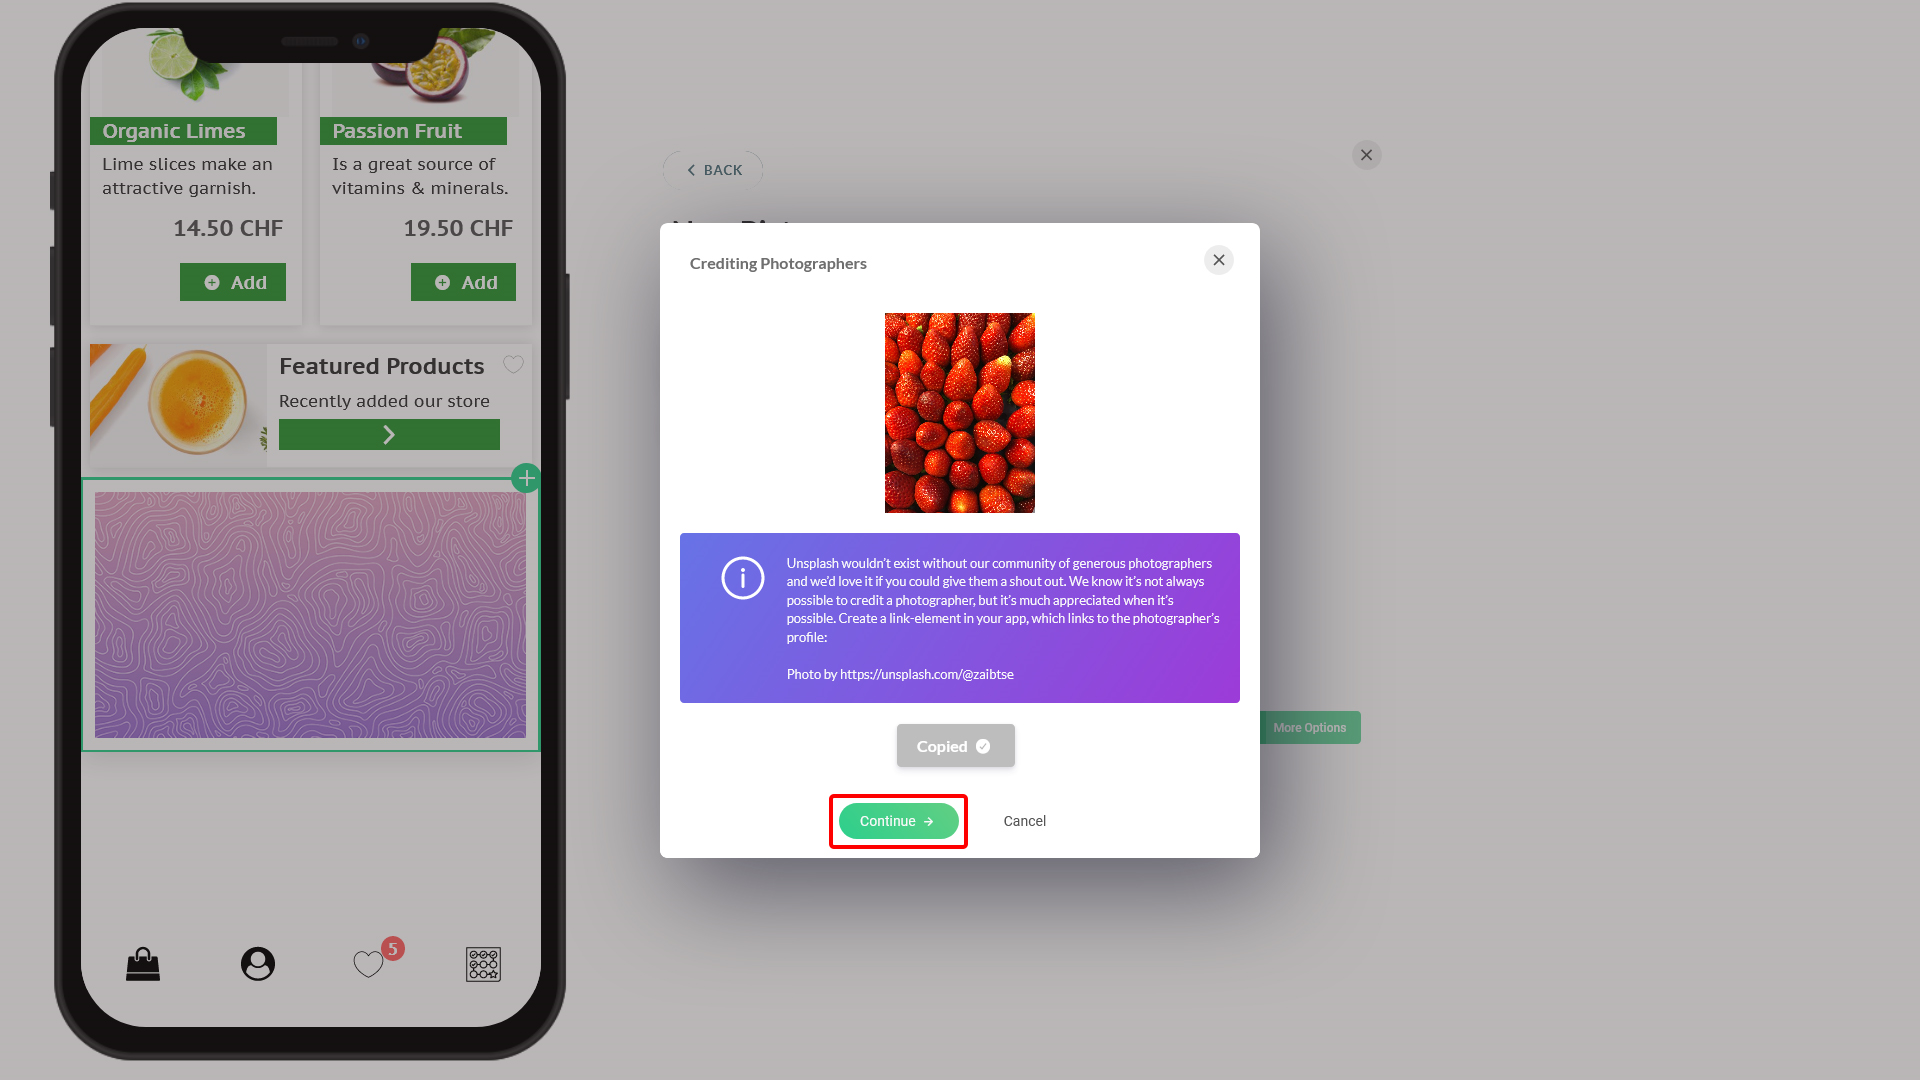
  • Explore: You can pick your free images from sites, Unsplash & Pexel
  • Folder: Any custom folders created are displayed here and the images in them. 'All' and 'My Pictures' are default folders. Whenever you upload an image, it goes into the 'My Pictures' folder unless you specify a different folder when uploading.

Uploading images

1. Admin > Customize > Content. Click to edit your app. 
image.png 176.8 KB
2. In the app customization, expand the group, Media. Click on the 'Picture.' 
image.png 497.95 KB
3. Click on the Gallery button. 
image.png 522.35 KB
  • Link: Optionally, enter a URL that opens whenever a user clicks on the image you're going to choose here. Leave it empty for no reactions.
4. Setting up picture with Upload option.
image.png 1.45 MB
5. Click on upload icon and select an image from your computer. 
image.png 602.65 KB
 6. Click on 'Create' to confirm image selection and complete creating the picture. 
image.png 1.14 MB
When you complete, the image gets saved on your gallery so that you can use the image elsewhere without picking from your computer. 
  • Title: Give image a better title to search within your gallery to make it easier for searching the same image within your gallery next time
  • Folder: 'My Picture' is the default folder in your gallery and the images get saved in there by default. You can also click on the '+' sign to create your custom folders and save the images there. 
7. 'Put online' to publish your gallery so that it will appear on your users' devices. The button's caption changes from 'Put online' to 'Published'  once the changes have been applied successfully. 
image.png 170.93 KB

Searching images

1. After following the usual steps to get below point, click on the 'Gallery' button. 
image.png 522.35 KB
  • Link: Optionally, enter a URL that opens whenever a user clicks on the image you're going to choose here. Leave it empty for no reactions.
2. Enter your search terms.
image.png 563.6 KB
  • All images are displayed after filtering based on the 'title' you have given when saving into the folder in gallery. 
3. Select an image from the 'Gallery' option and click on 'Choose' to confirm your selection. And proceed with other usual steps.
image.png 1.83 MB

Picking images from Unsplash / Pexels

1. After following the usual steps to get below point, click on the 'Gallery' button. 
image.png 522.35 KB
  • Link: Optionally, enter a URL that opens whenever a user clicks on the image you're going to choose here. Leave it empty for no reactions.
2. Move onto 'Explore' and select Unsplash/Pexels
The Unsplash and Pexels under 'Explore' option has the same steps when creating picture. 
image.png 1.27 MB
3. Select an image from the 'Explore' option.
  • Enter your search term in the search box and all images are displayed based on the 'search term' you have given
image.png 1.09 MB


  • Select an image and click on 'Copy' to continue
image.png 792.94 KB


  • The picture is copied and the user can proceed with the picture by clicking on 'Continue'
image.png 792.9 KB
4. The selected image appears. Click on 'Create' to complete your selection.
image.png 879.5 KB
When you complete, the image gets saved on your gallery so that you can use the image elsewhere without picking from your computer. 
Picture