Get started  
Login  

Help Center

Community / Forum Ask Zappter Support We build your app Marketplace

Documentation

English

General

Videos

Mastering the content editor Pixel perfect design Setup your E-Commerce Store Configure your booking engine Event-System / Drop-In

Popular

App Store Submission Creating Push Notifications Typography Changing template Changing Rules

Business Modules

New

More Tutorials

Documentation

Changing Rules

Defining your rules to let your app users order, book or request items or services

About rules

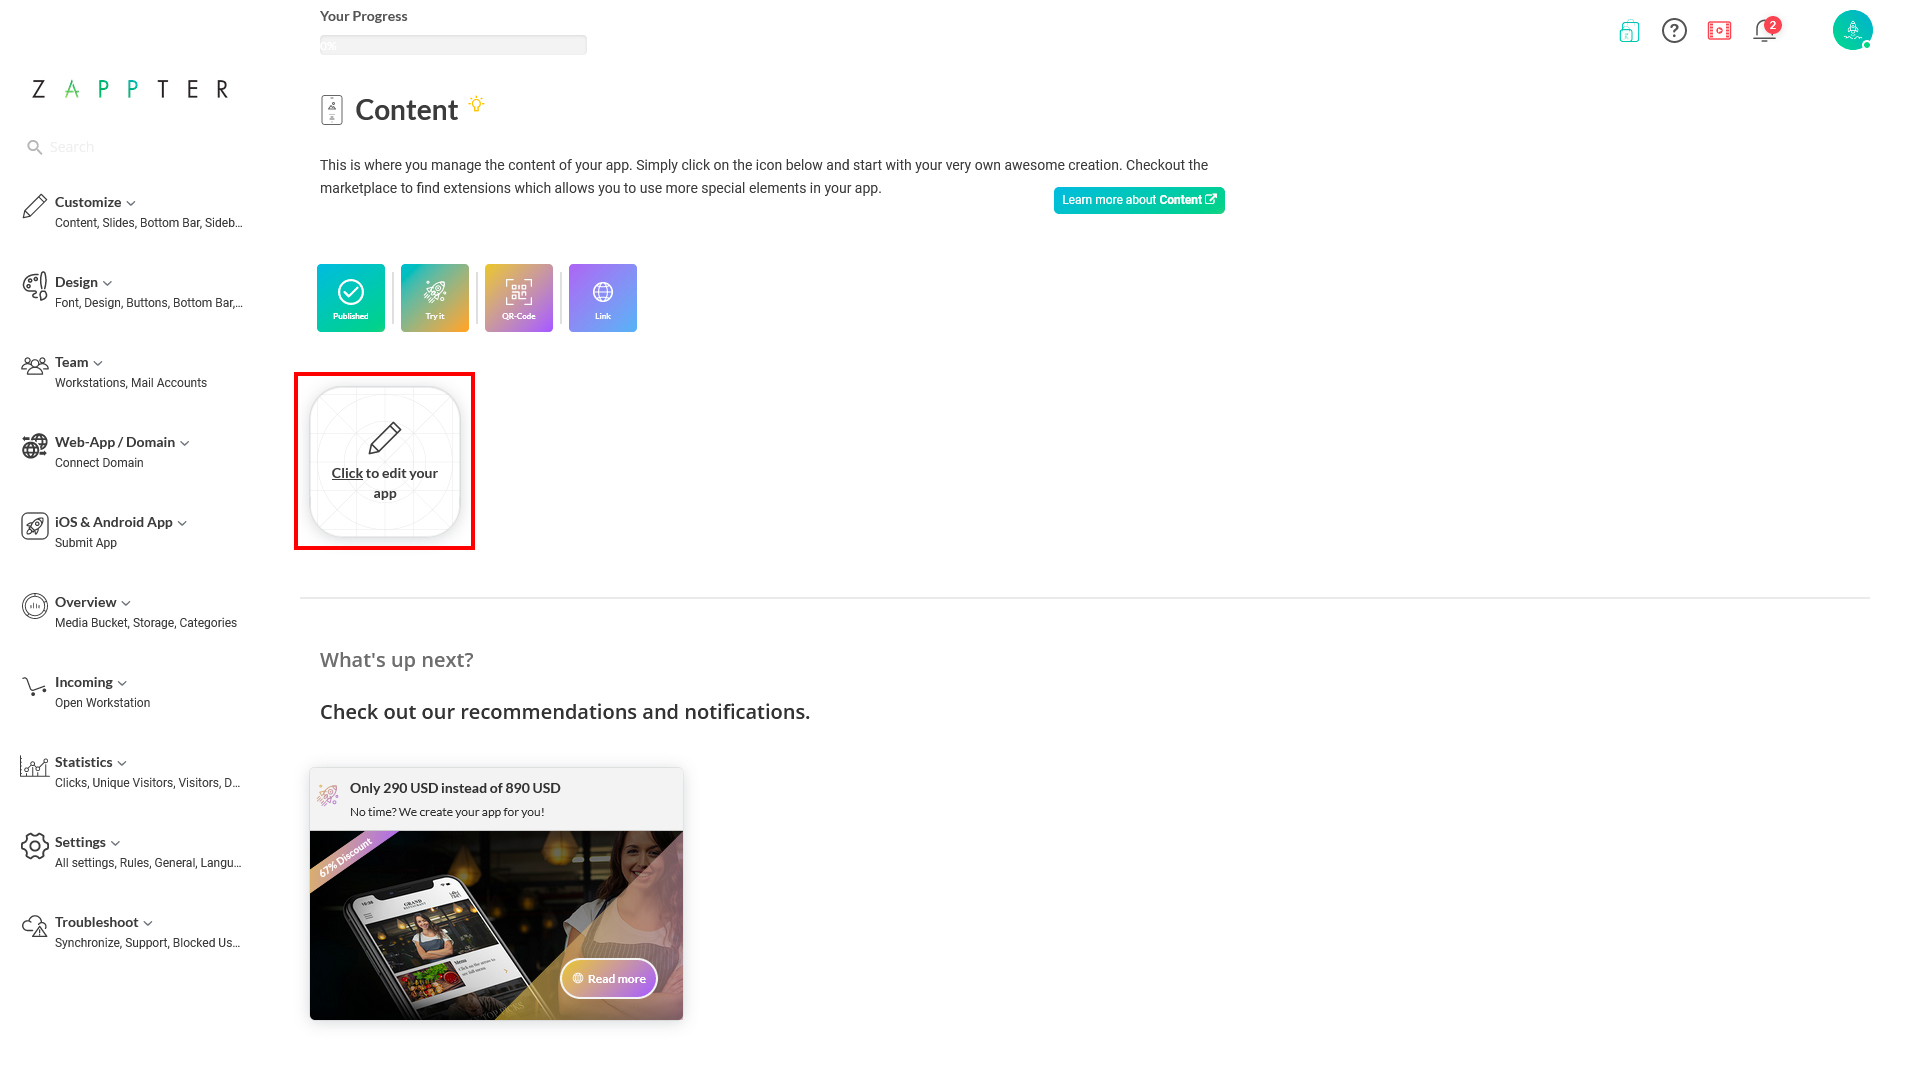
Create your content. The important part of the content includes selling your products and services; they could be articles, bookings, and/or requests. Before you can make them buyable, you need to set 'rules' on your content.
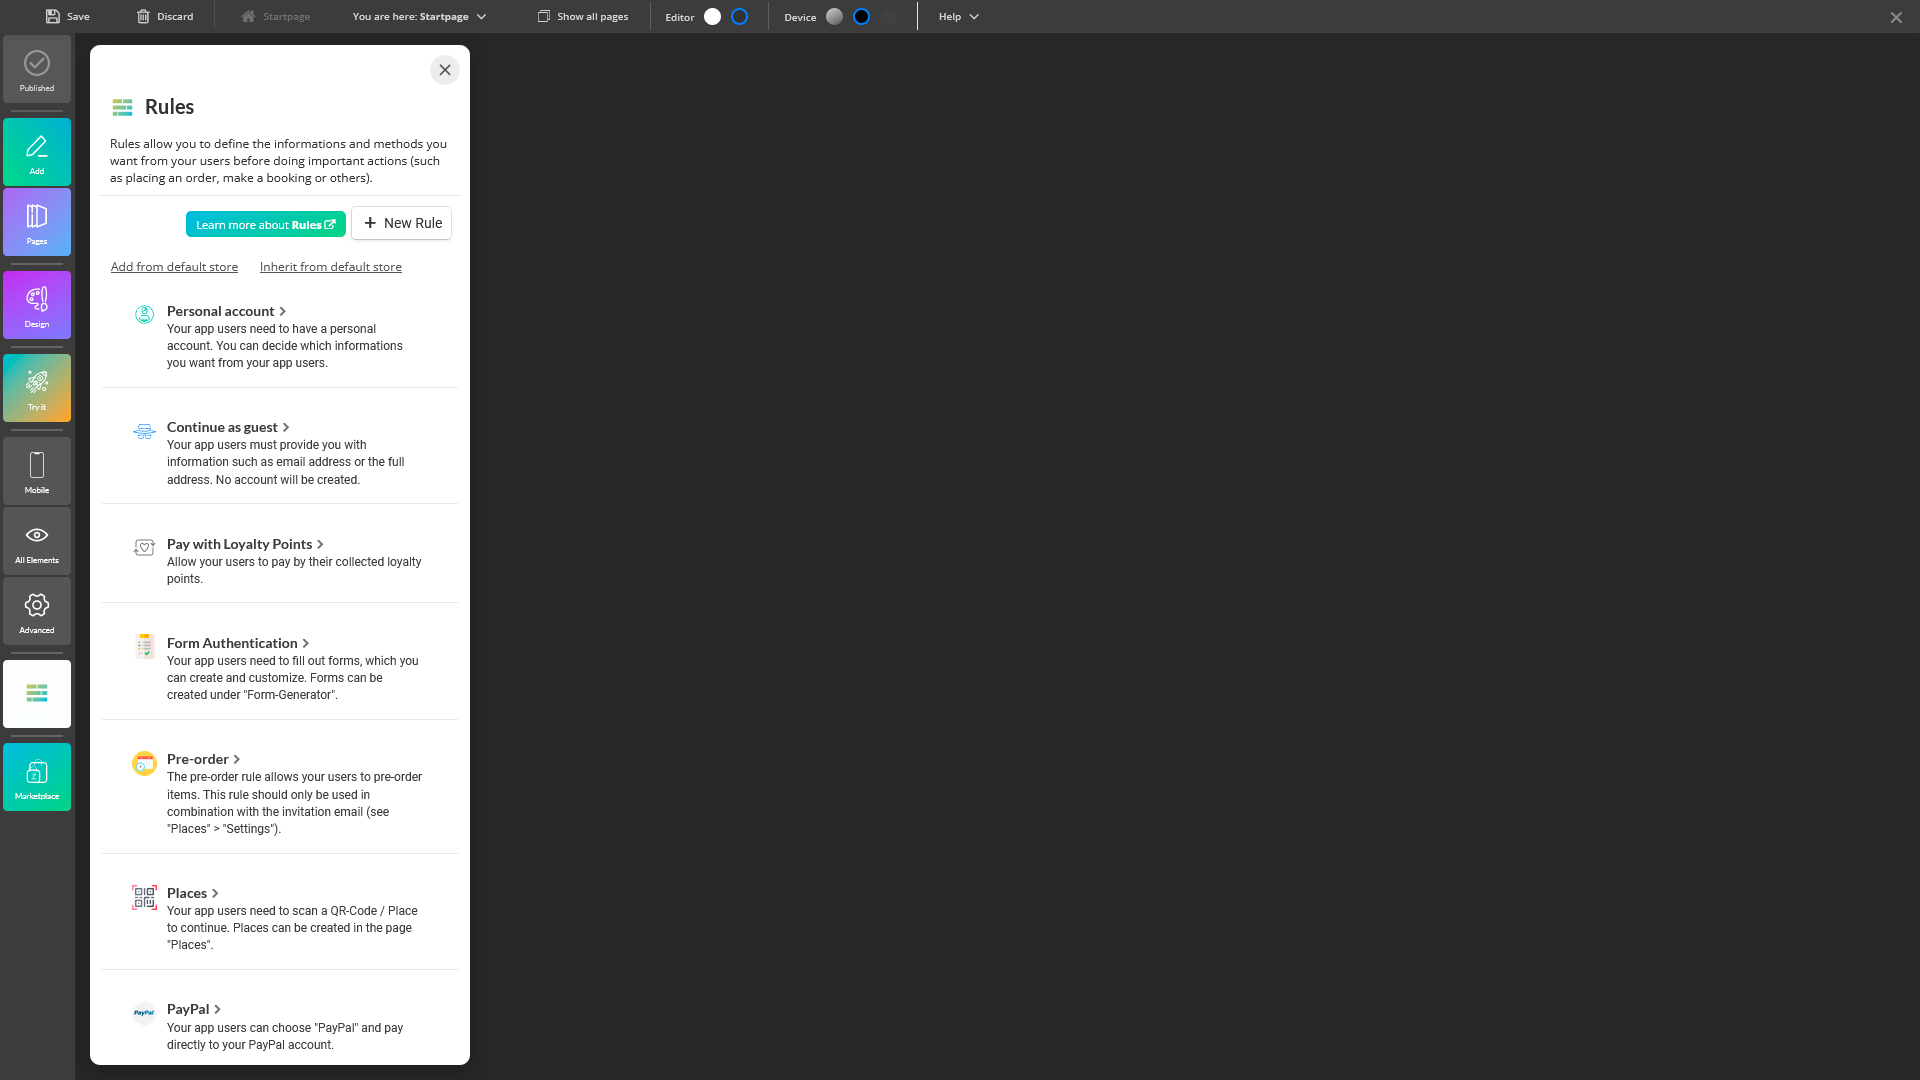
What are 'rules'?
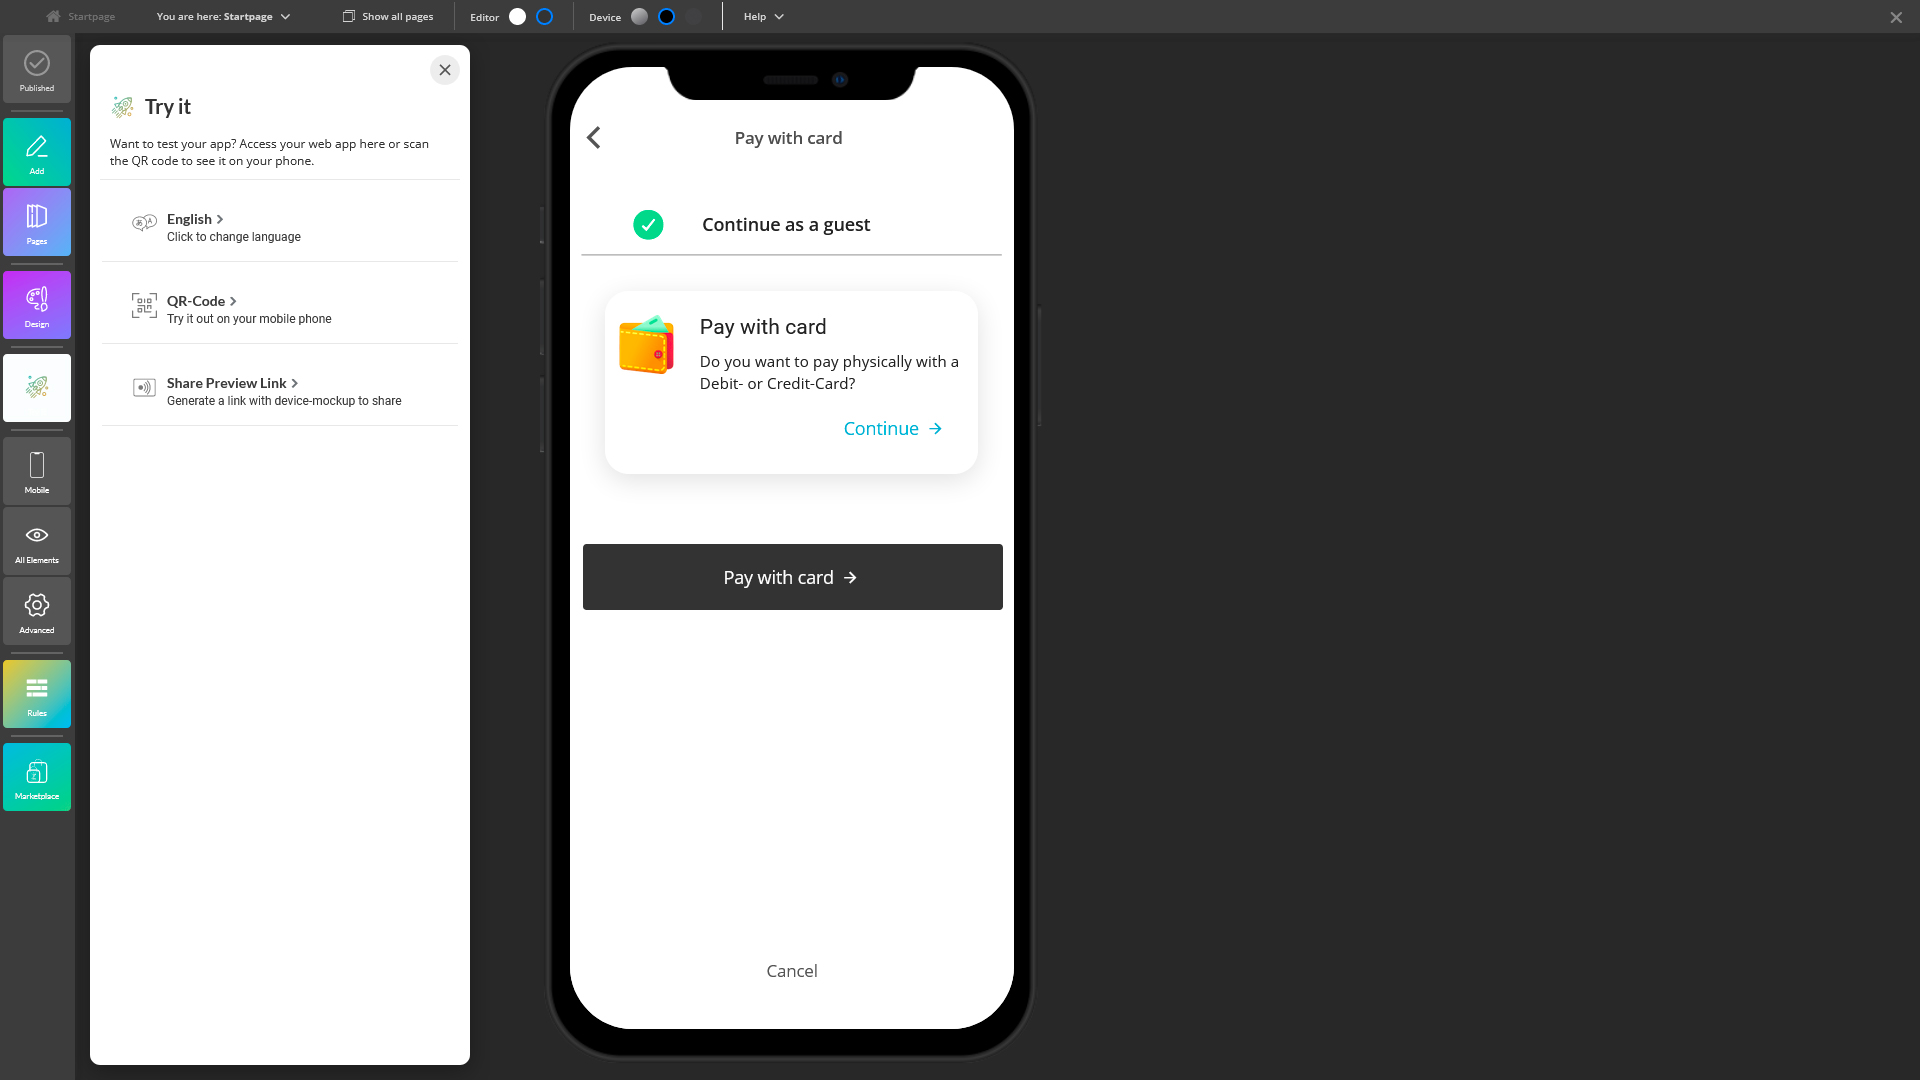
When your users buy an article, make a booking, or place a complimentary request, they achieve their target while you receive a conversion. But this final step is crucial for your users and to your business to adhere to the set 'business rules.' The below are such business rules/requirements:

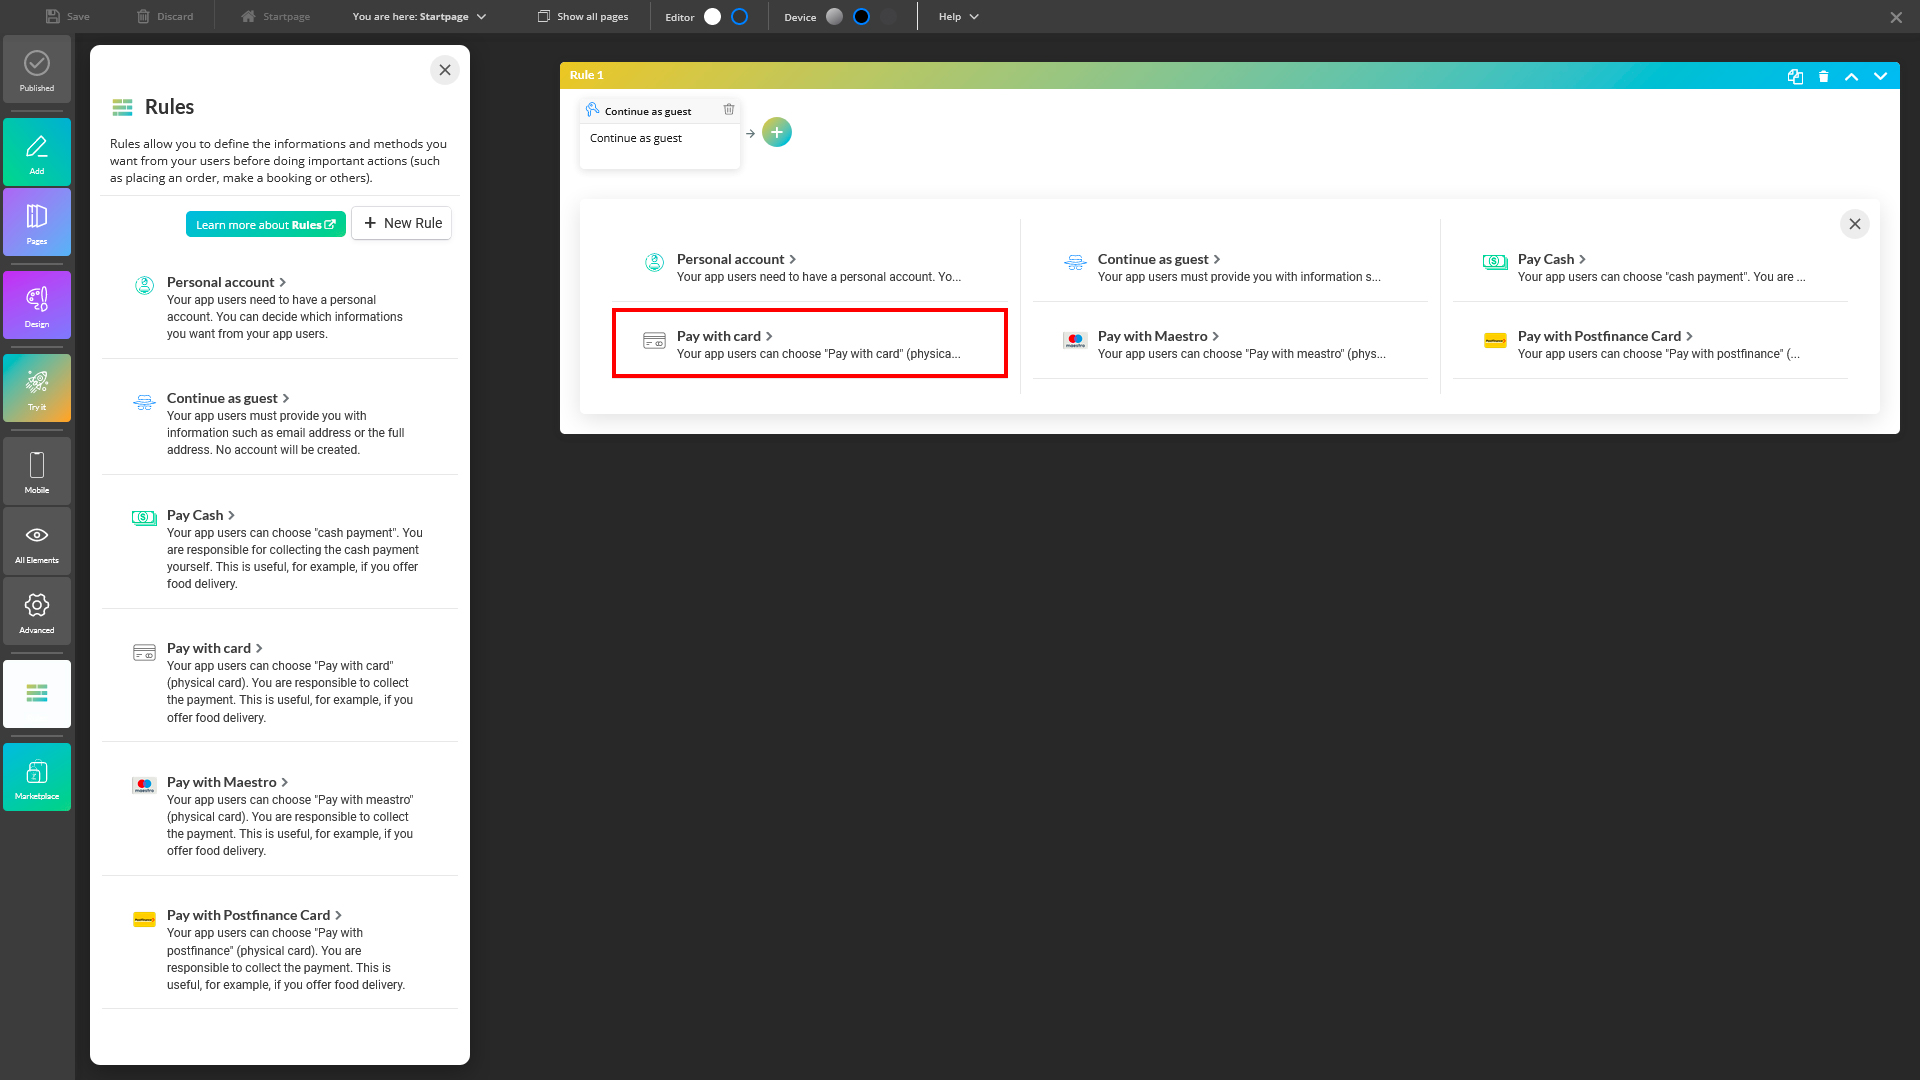
  • What payment methods are available for checkout?
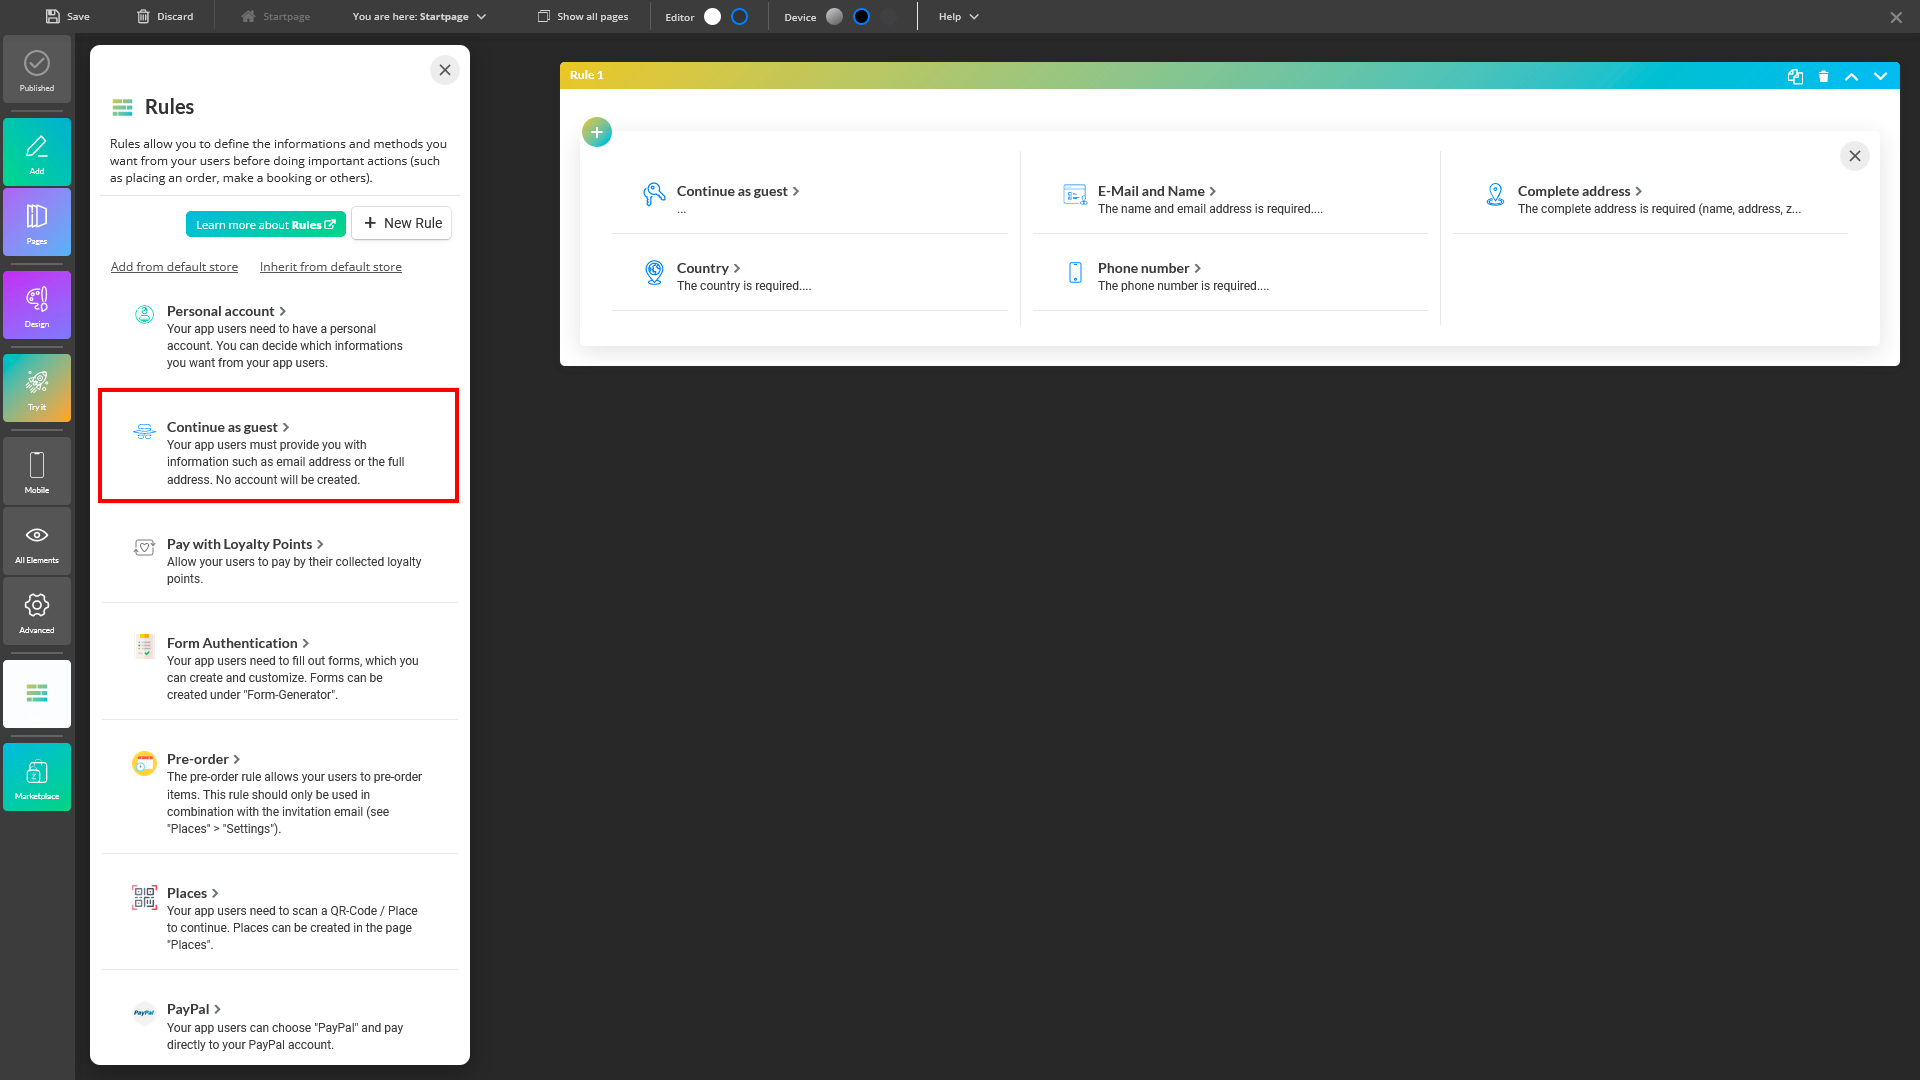
  • Should the user be registered or can place the order as a guest?
  • Should the item be pre-ordered?
  • Say, at a restaurant table, should the user scan a QR code to place the order?
  • Is the user allowed to pay with loyalty points also?
  • Is this item available for customers from any region/state or restricted to customers from a specific location?
  • Is the user allowed to take advantage of his/her VIP status with your business?
  • Does your business need to collect more information from the user before placing an order? (forms)
These are the rules that help shape and enhance your app user experience while fulfilling your business needs. So it becomes mandatory that you set up at least a single rule. You can mix and match multiple rules to address your specific needs. 
Current set of rules available
  • Personal account - to collect more user information
  • Continue as guest - users don't need to register to place an order
  • Several 'Pay with...' options for each of payment methods
  • Pre-order - preorder requiring items
  • Places - proximity-based access with QR codes
  • Pay with loyalty points
  • Pay with (shopping) stamps
  • Form authentication - to enforce users to fill forms that you can customize in the app
  • Limit to ZIP codes and postal codes
  • Apply users VIP status where users can check out with VIP payment privilege
You can combine multiple rules in your content so the user has to fulfill all rules, for example, a user has to be in a certain ZIP code and complete the user form. You can also give alternative rules, for example, a user has to pay cash or pay with PayPal.
Setting rules
You apply rules at content level. Follow the steps to add your rules.
1. Admin > Customize > Content. Click to edit the app.
image.png 374.24 KB
2. Select 'Advanced' button on your left vertical toolbar, and choose the 'Rules' option. Or, you can also select the 'Rules' button on your vertical toolbar to access rules screen directly. 'Rules' main screen opens.
image.png 637.55 KB
3. The screen is divided left and right. On the left, you have all available rules in Zappter that you can use. On the right, you can see any chosen rules or blank when no rules have been chosen yet. 
image.png 224.69 KB
4. Click on a rule that you want to apply and it immediately appears on your right. Notice the numbers, Rule 1, Rule 2 and so on appears as you add more rules.
image.png 283.75 KB
  • Users will see the rules one after the other based on Rule Number
  • For instance, if you have Rule 1 & Rule 2, the users can fulfill any one of the rule to complete the order
  • In the above image, did you notice the "+" sign inside each rule? You can click on it to combine another rule along with existing rule. If you combine multiple rules this way, the users have to fulfill all of these combined rules to place the order
  • You can use up/down arrows to reorder the rules
  • Use little bin icon to delete rules
Example:

  • Rule 1 = Continue as guest + Pay with card ( notice 2 rules combined using the little green '+' sign)
image.png 282.88 KB


image.png 260.46 KB


image.png 300.94 KB


Above, it says users have to continue as guest, if they choose to pay with card (Rule 1). 
4. You can add more rules as you want to. And, click on the 'Save' button at the top left corner to save the changes, and apply.
Disable rule recommendation: When you assign multiple rules, the app will select the best and fastest rule that can check out the users.
  • For some rules, such as 'Personal account' and 'Continue as guest' have additional after adding them. It is to customize what exact information you would want your users to enter
  • Places rule, allows you to select an exact QR code place (scanning location)
  • Form Authentication rule allows you to select a form that will be displayed to app users
On the mobile devices users will see both options as below:
image.png 212.07 KB
Last updated at 11.07.2022 13:27