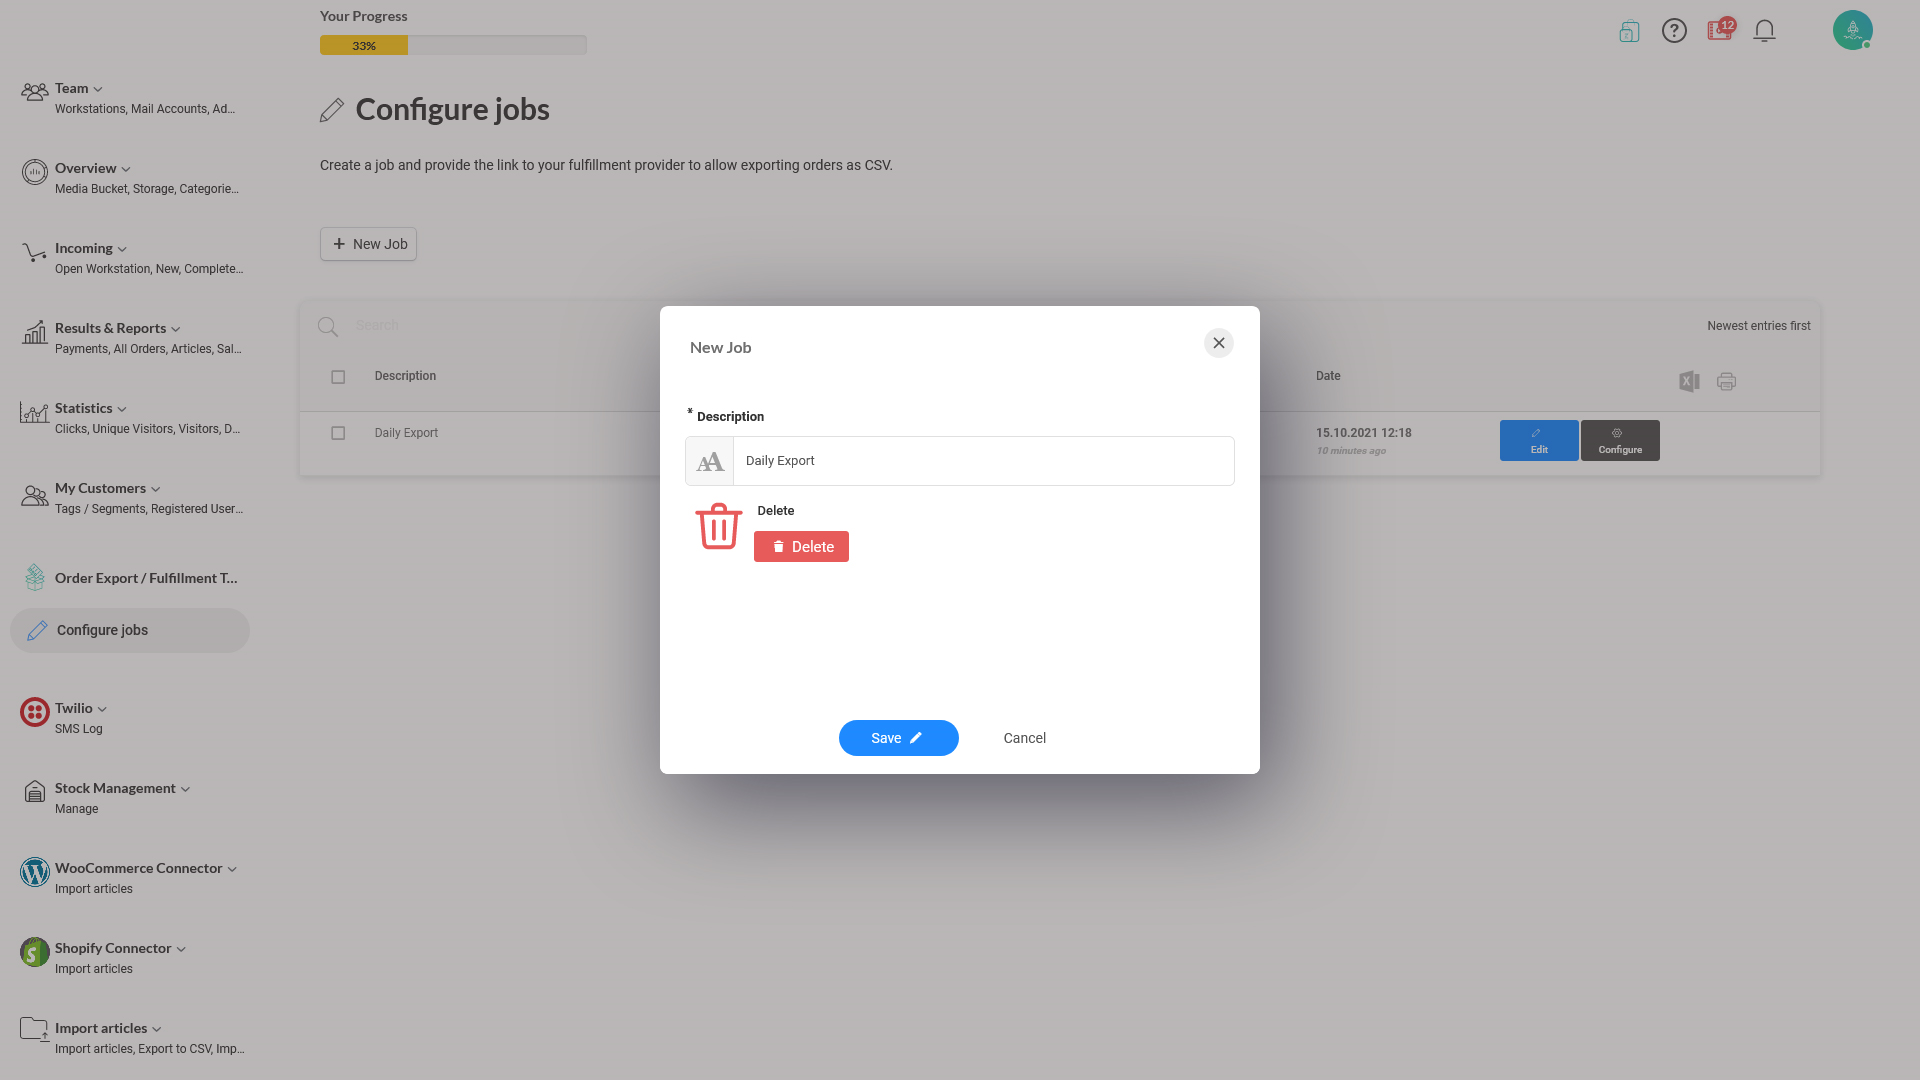
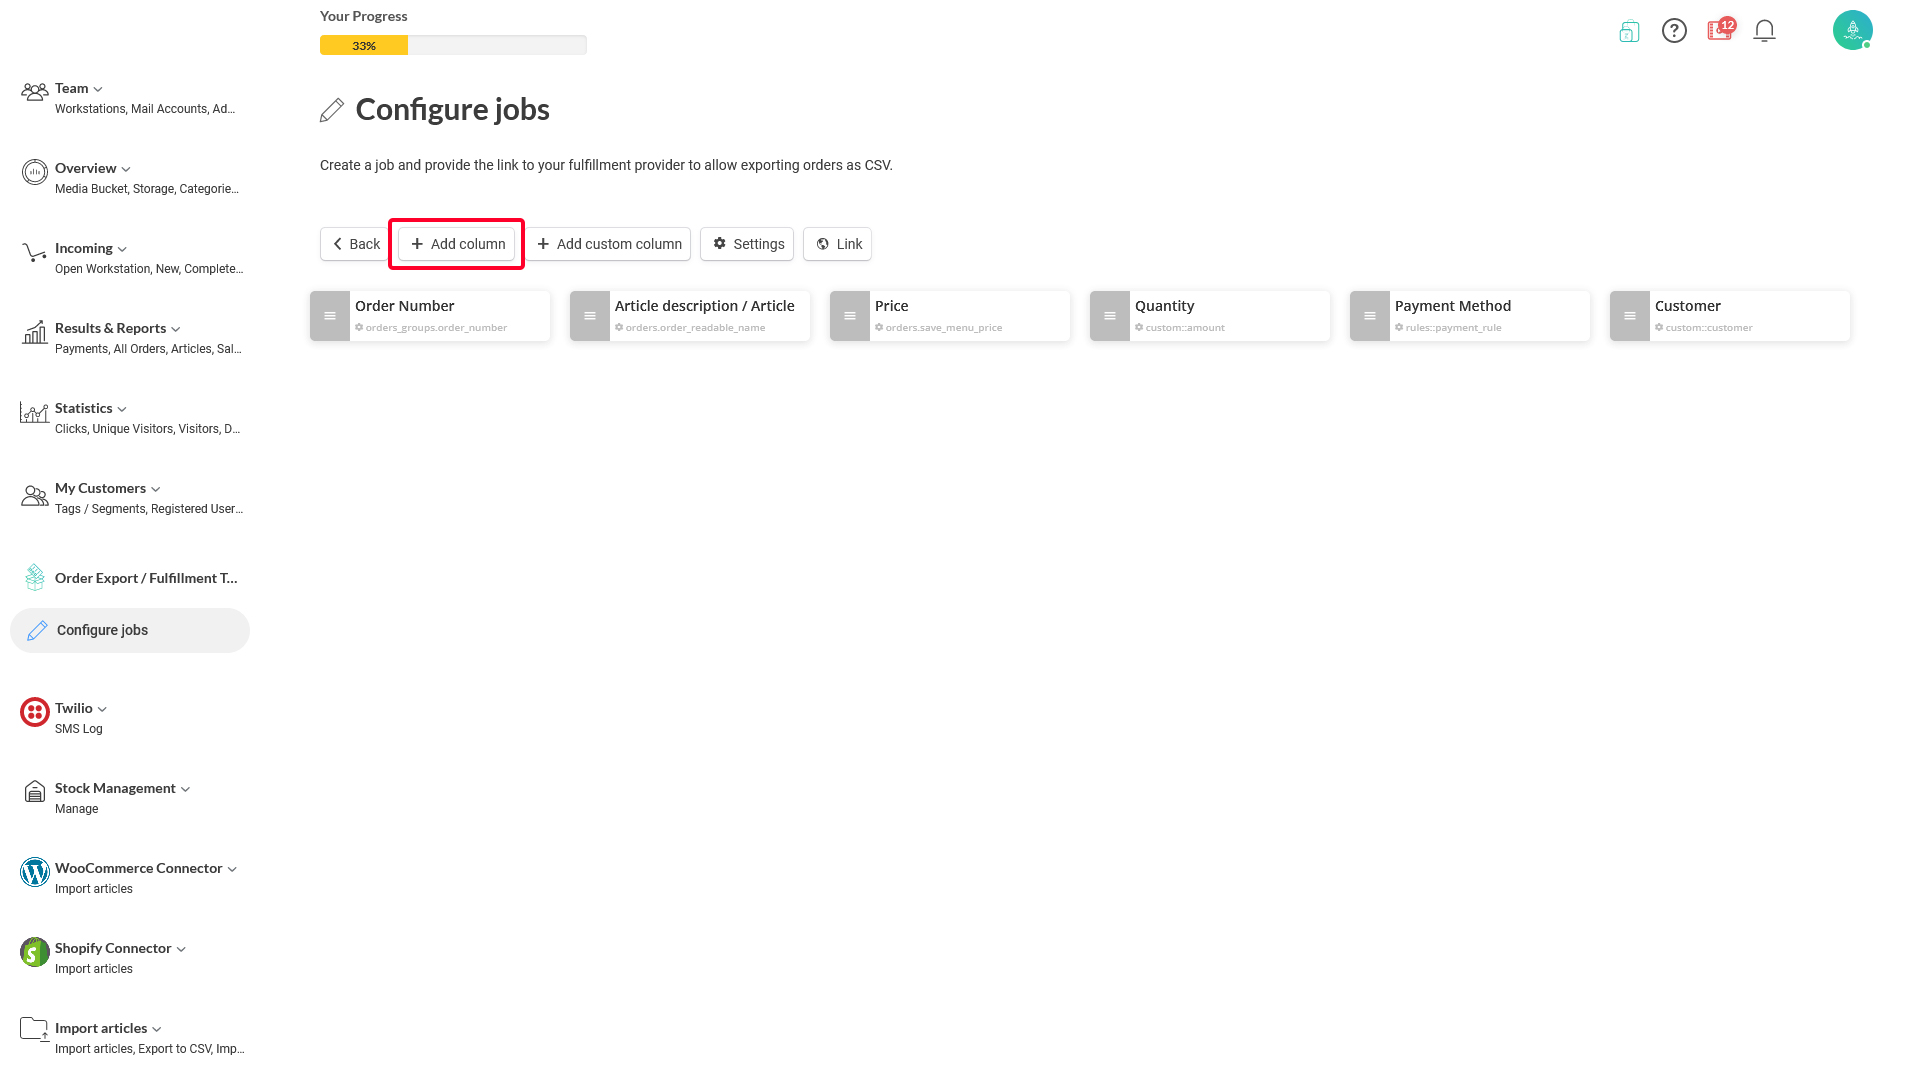
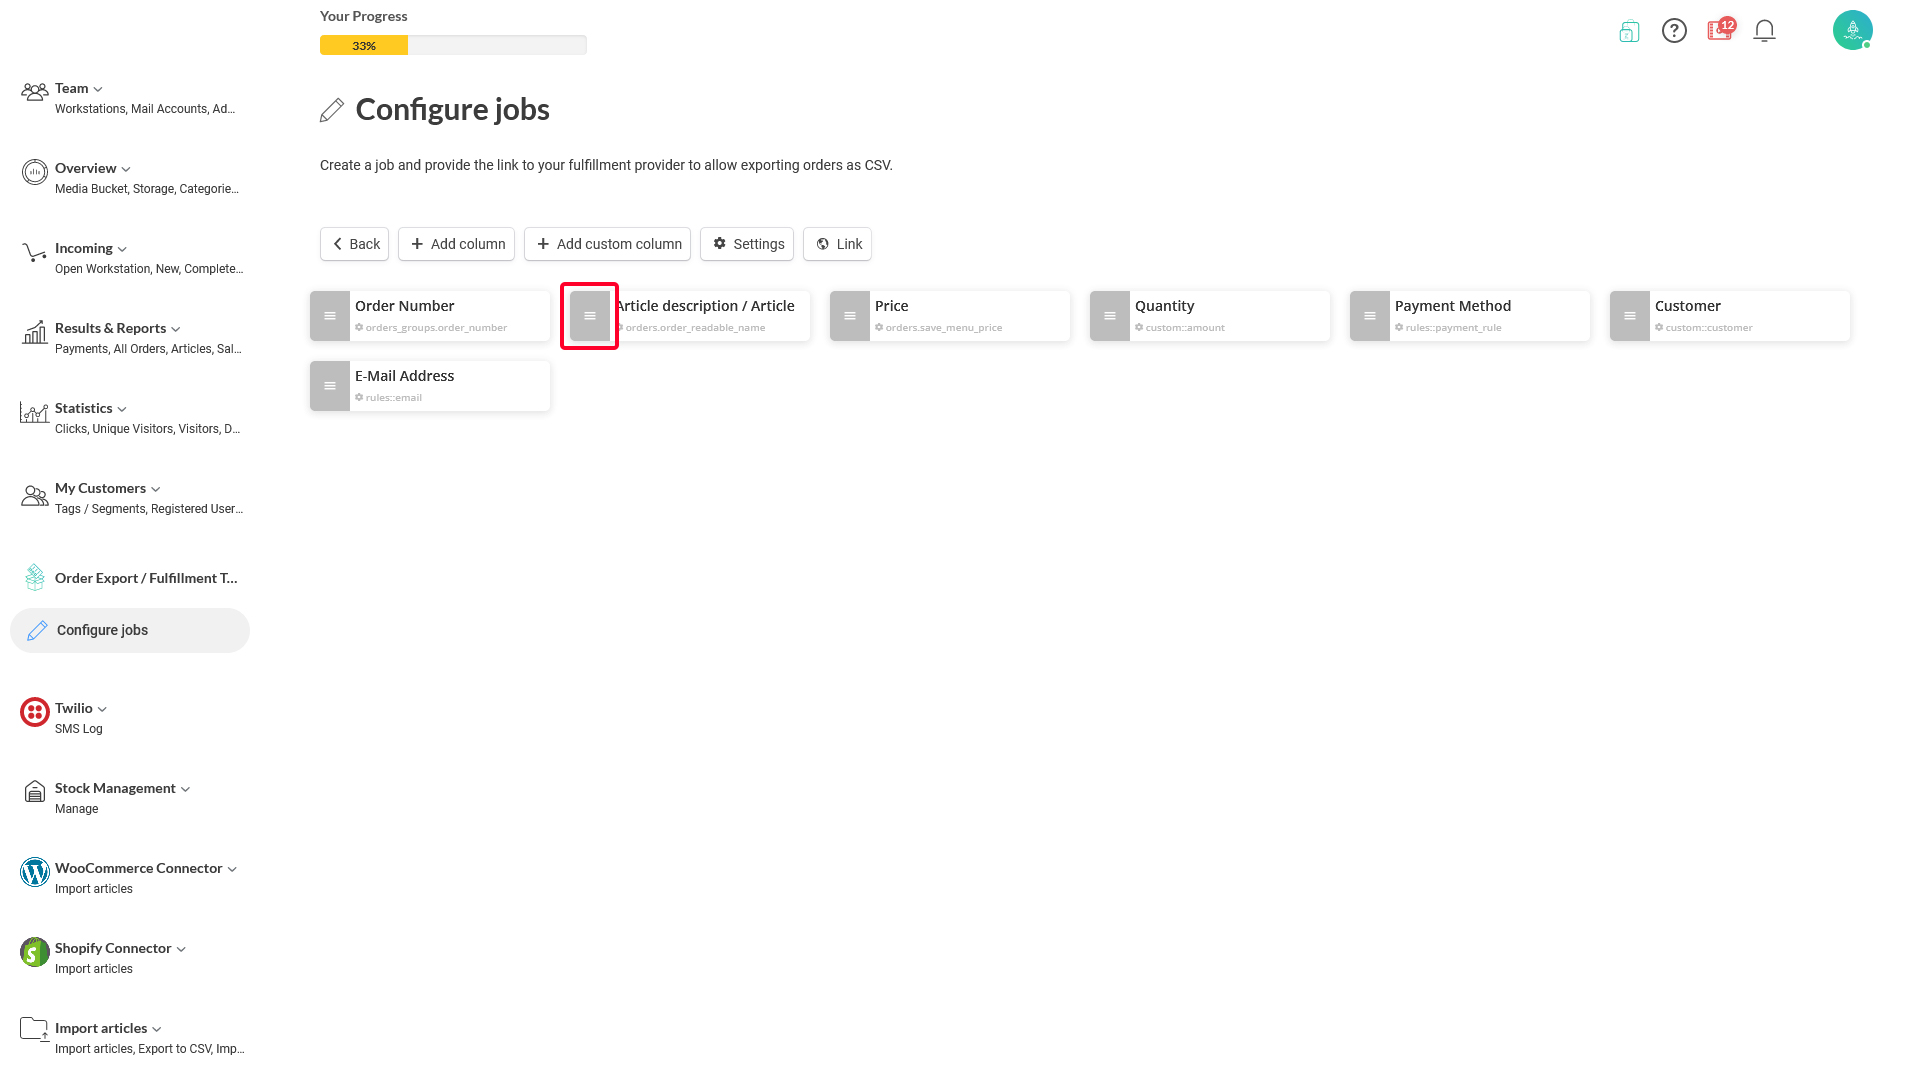
2. When inside the columns setup screen, you can see that each column has its name preceded with a grey area and hamburger menu icon. Click in the grey area of your selected column that you want to move around, and drag and drop where you want to place it. You can move forward and backward, and when you drop it, the existing column in that area will move away (you can see it visually).