This section details different approaches that restaurants work with to address their operational needs. You can use these discussed details match with your restaurant's needs.
This section discusses:
Restaurant apps with table reservations
Restaurant apps without table reservations
Hiding prices in the app
Table reservations example
Follow the steps to create booking items when your restaurant works with table-reservations.
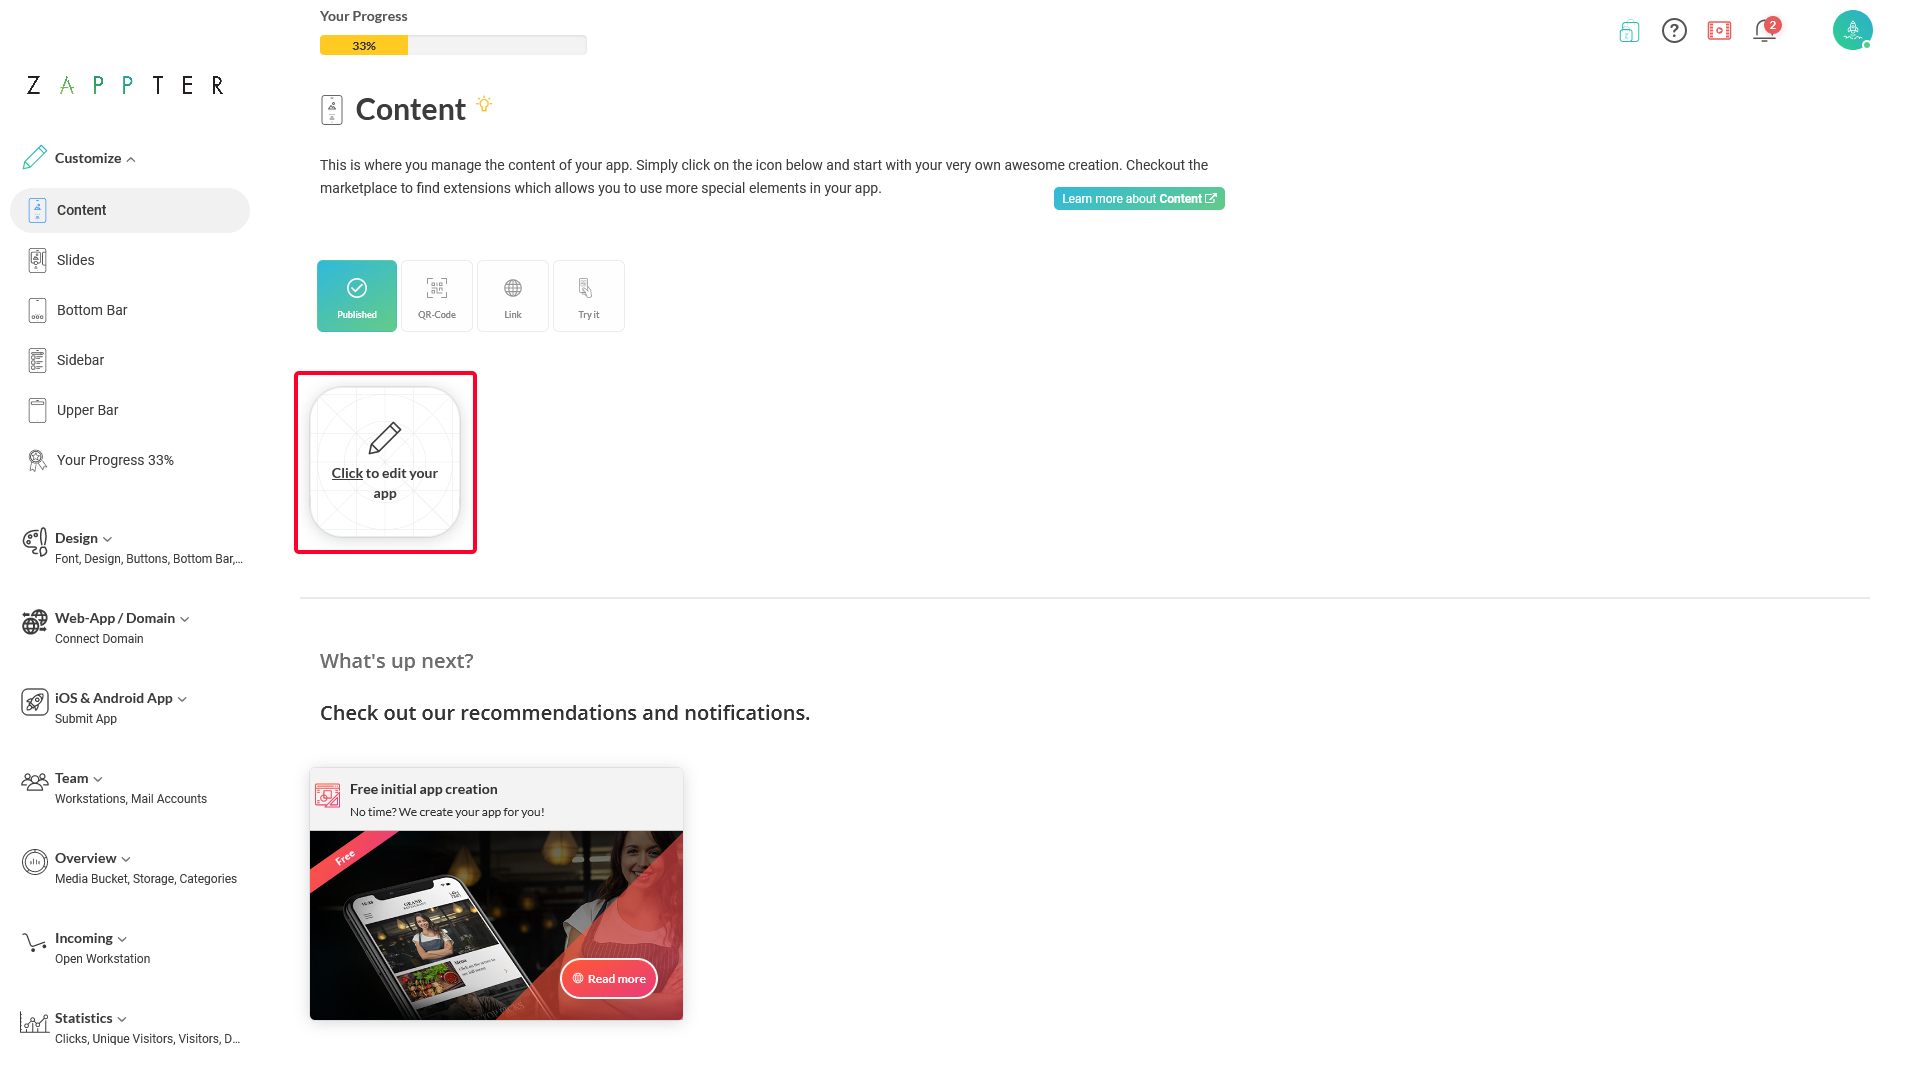
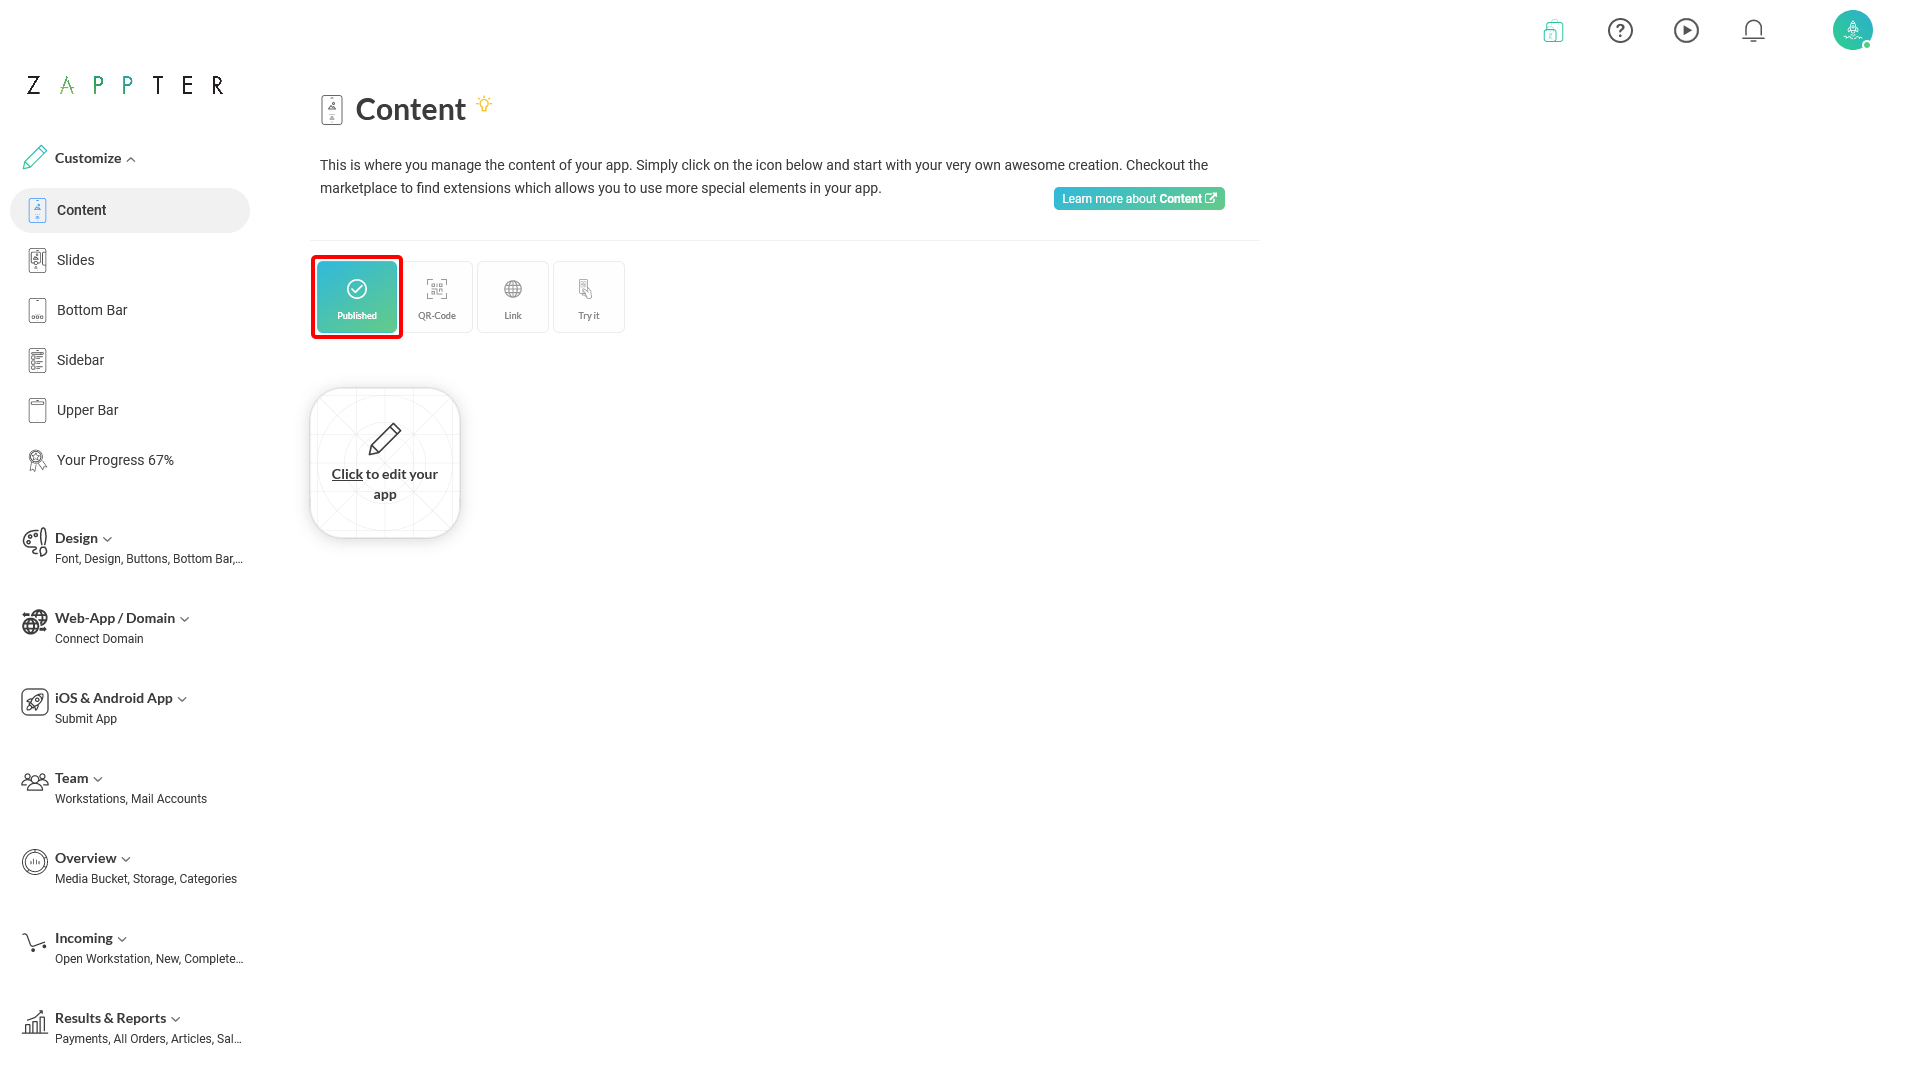
1. Admin > Customize > Content. Click to edit your app.
image.png348.01 KB
2. In the app customization, expand the group, Online Booking. Click on the 'Reservation.'
image.png521.18 KB
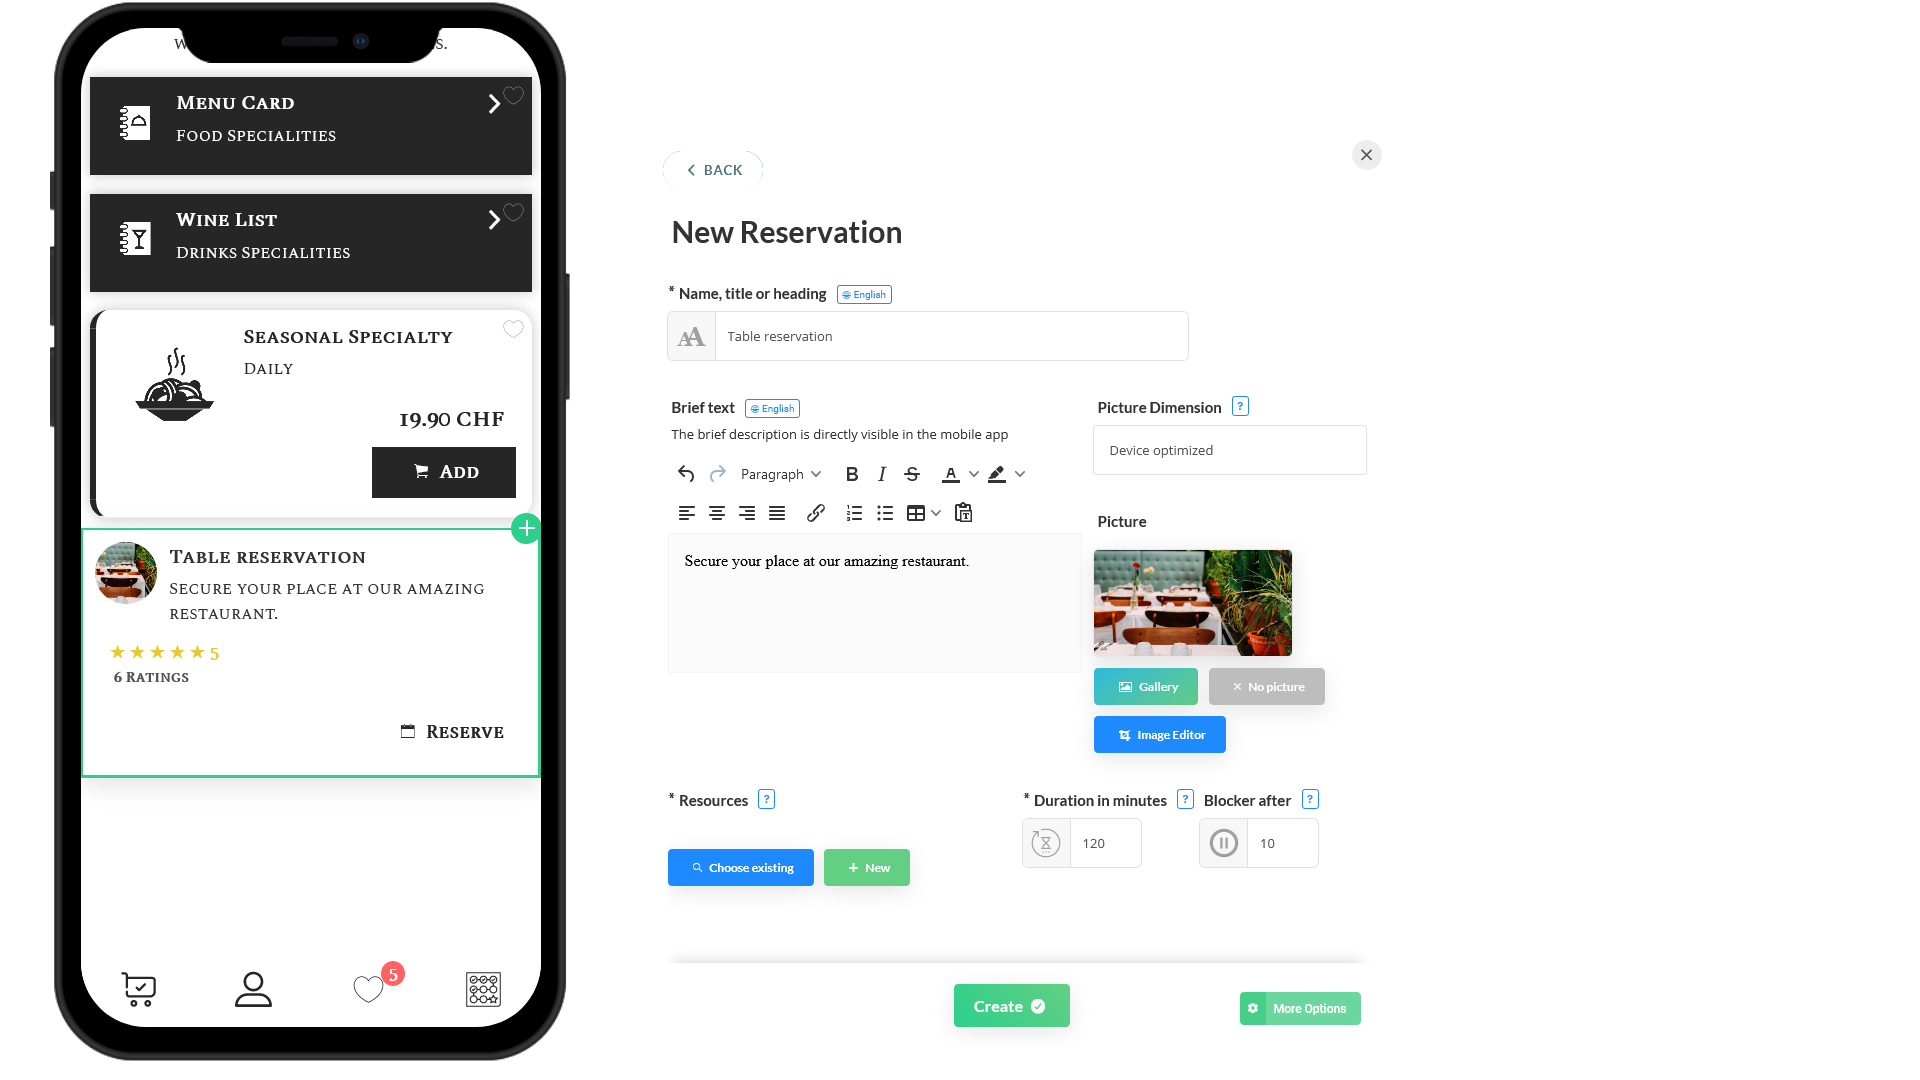
3. Add the required information about the booking item.
image.png316 KB
Name, title or heading: Name of the item
Brief text: Short description
Picture Dimension: This defines how the image should be optimized for device view. Default is 16:9 ratio, which is good for generally all devices
Resources: In the case of restaurant booking apps, you would create your tables (for table bookings) under resources and make them available for users to reserve their preferred table.
Duration in minutes: This is the duration of the booking. Generally zero for restaurant booking apps
Blocker after: This defines the interval it needs to book the next customer. Generally, this is your 'meal period' in restaurant apps
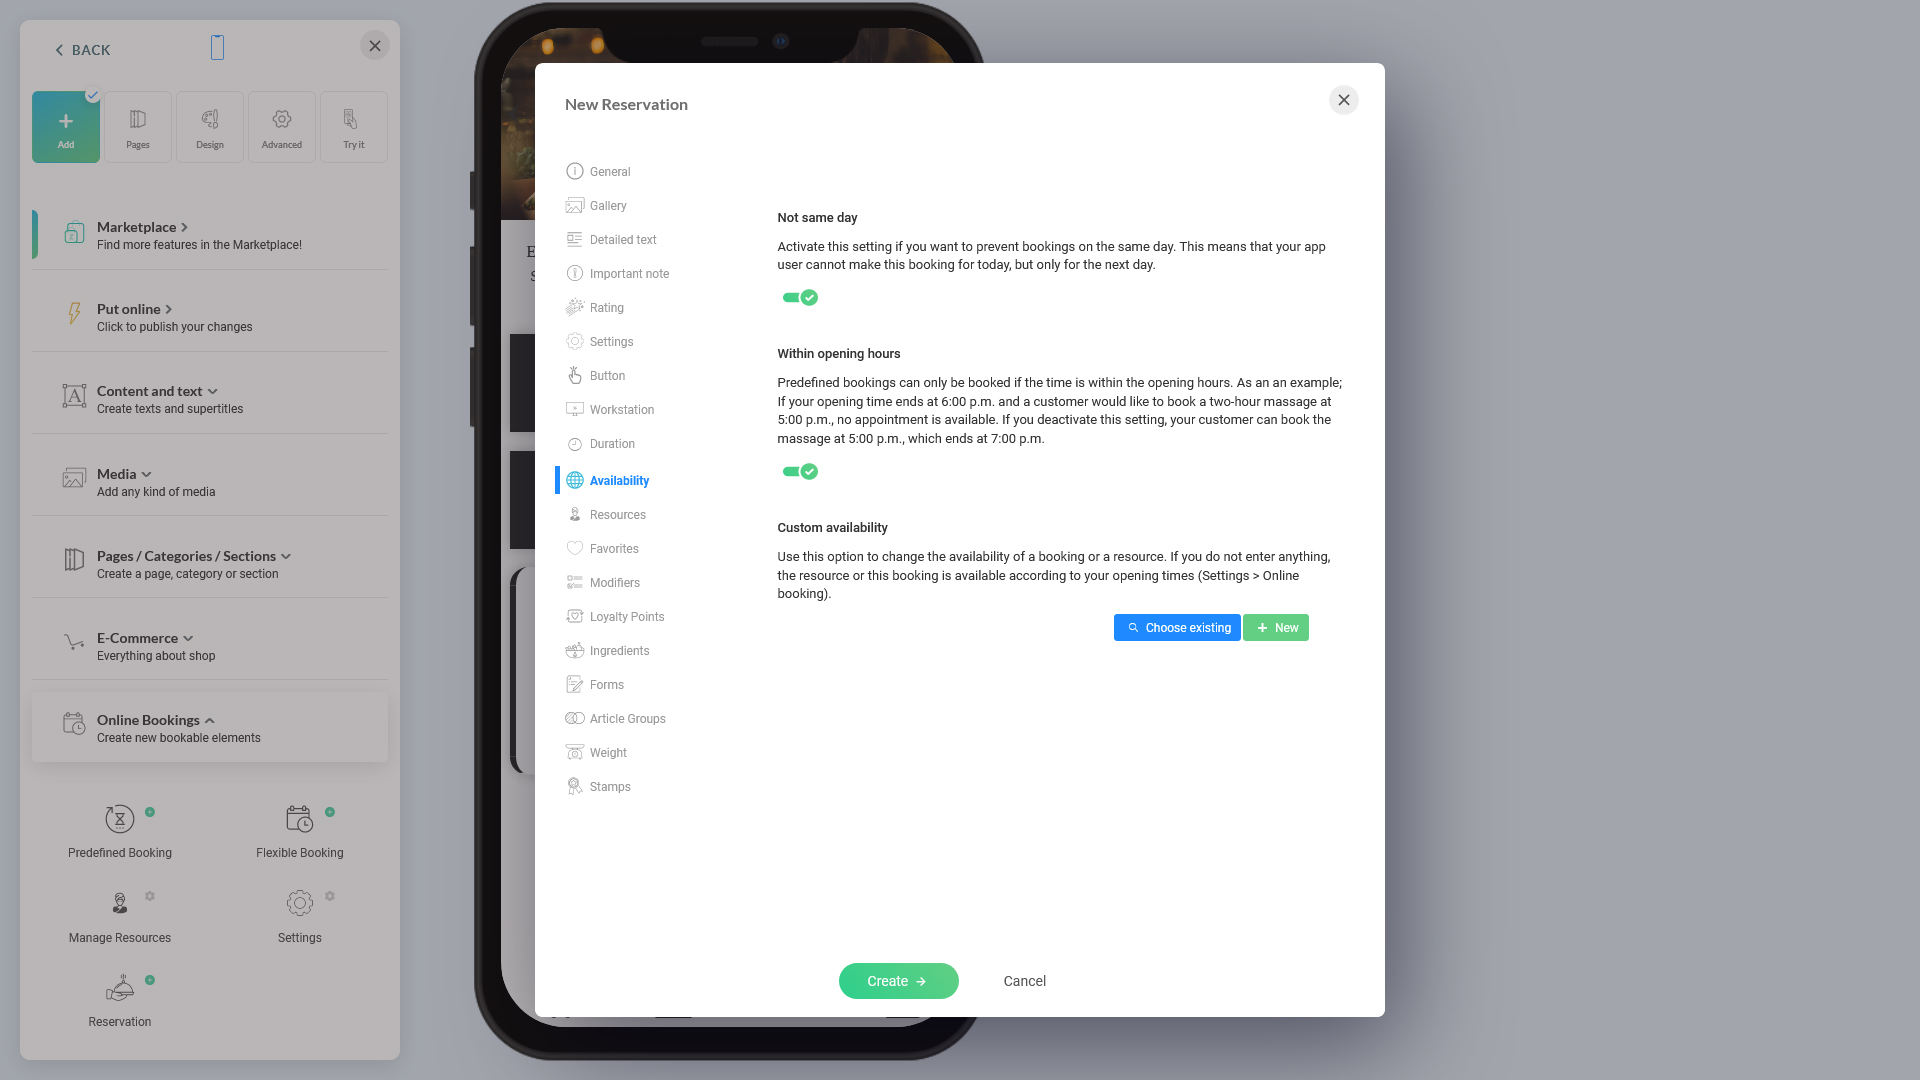
4. Click on the 'More Options' button. Move on to the 'Availability' tab.
image.png400.9 KB
Since it is a restaurant table reservation setup, you might need to create 'custom availability' options. For instance, a lunch service might operate from 11 AM until 3 PM. In this case, you might want to create custom availability options that start and end your lunch hours.
How to create a new Custom Availability?
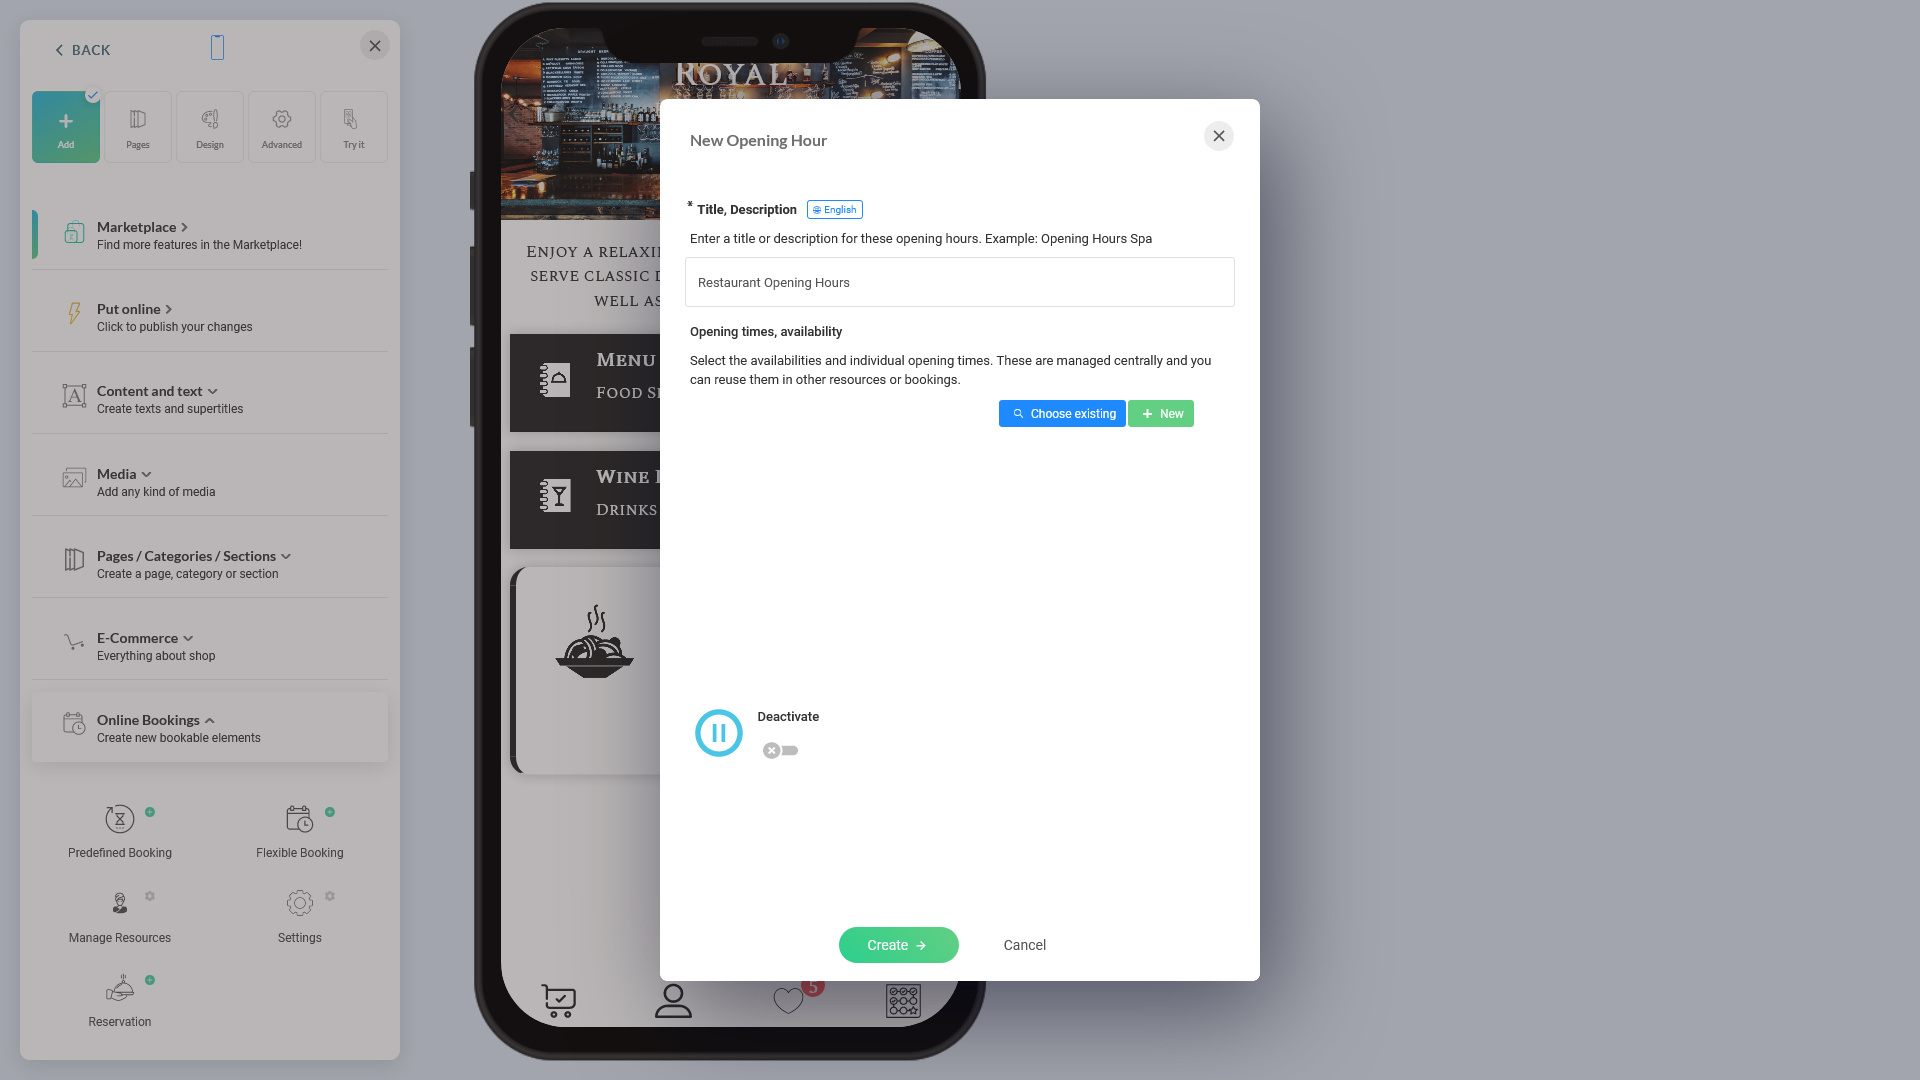
1. Click on the 'New' button under Custom availability and click on the '+ New.'
image.png504.1 KB
2. Give this meal period (opening hours) a name and click on the '+ New' button.
image.png517.88 KB
3. Define your meal period (opening hour) and click on the 'Create' to complete creating your custom availability. (you may need to click on 'Create' two times.
5. Back in the 'Availability tab, click on the 'Choose existing' button to choose the newly created custom availability.
image.png500.65 KB
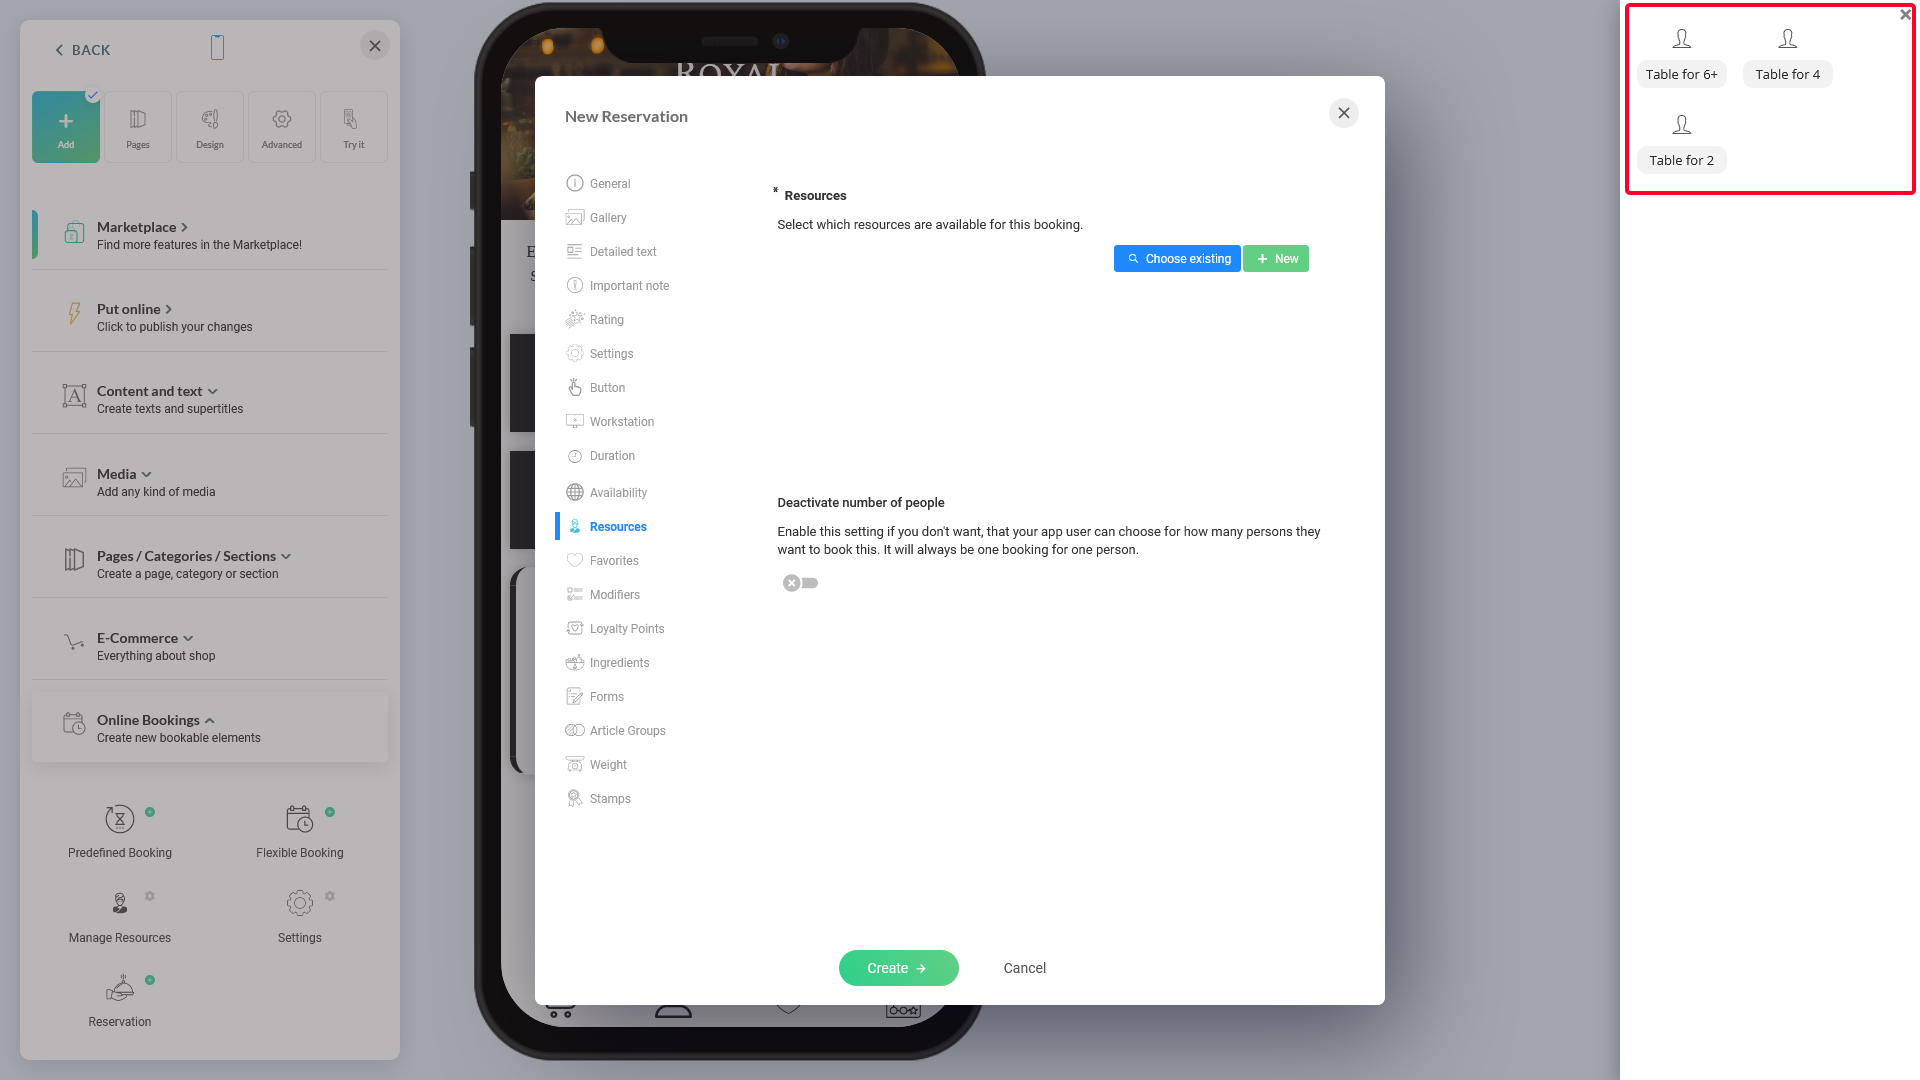
6. Move on to the 'Resources' tab to associate the tables available for users to select when they make a reservation.
image.png404.29 KB
Choosing existing resources or creating a new resource is handled using the same steps as explained above for Opening House (meal period).
7. Click on the 'Create' button to complete creating your table booking item.
8. Click on the 'Back' button, and in the main content screen, click 'Put online' to publish your changes on users' devices. The button's caption changes from 'Put online' to 'Published' once the changes have been applied successfully.
image.png170.93 KB
Additional tasks: You can do more with booking and have more control over your scheduling, availability, resource assignment, and sales. Click on the 'More Options' button when creating or editing a booking to check on other tabs:
image.png368.61 KB
Depending on the plugins you have subscribed to, or installed, you might see more tabs associated with the extended features of those plugins.
Detailed text:Enter the exact text that describes the bookable appointment with much more information than you covered in the 'Brief text'under the 'General' tab. Users can click on the icon, ⓘ and the app shows this information
Important note: Add an important note here to alert the users or potential booker on any important note about the bookable appointment, such as booking requirements, refund policies, appointment scope, etc.
Settings: Show/hide the title
Button:This is the button caption on the user mobiles for table bookings. Default is 'Reserve'
Station: Workstation overriding options
Duration, 'Duration in minutes': In the table reservation context, you can ignore this field
Duration, 'Blocker after': Blocker time may not be used with table reservations as you define your custom 'Availability' as in the above
Duration, 'Reservation Time': It's the 'hold time' for unconfirmed bookings
Duration, 'Preferred booking interval': It may not be used with table reservations as you define your custom 'Availability' as in the above. So users are able to reserve anytime during your custom availability period as long as the table is available
Duration, 'Preparation time': Not used in this context
Without table reservations
Follow the below steps if your app offers restaurant bookings without table selection by users.
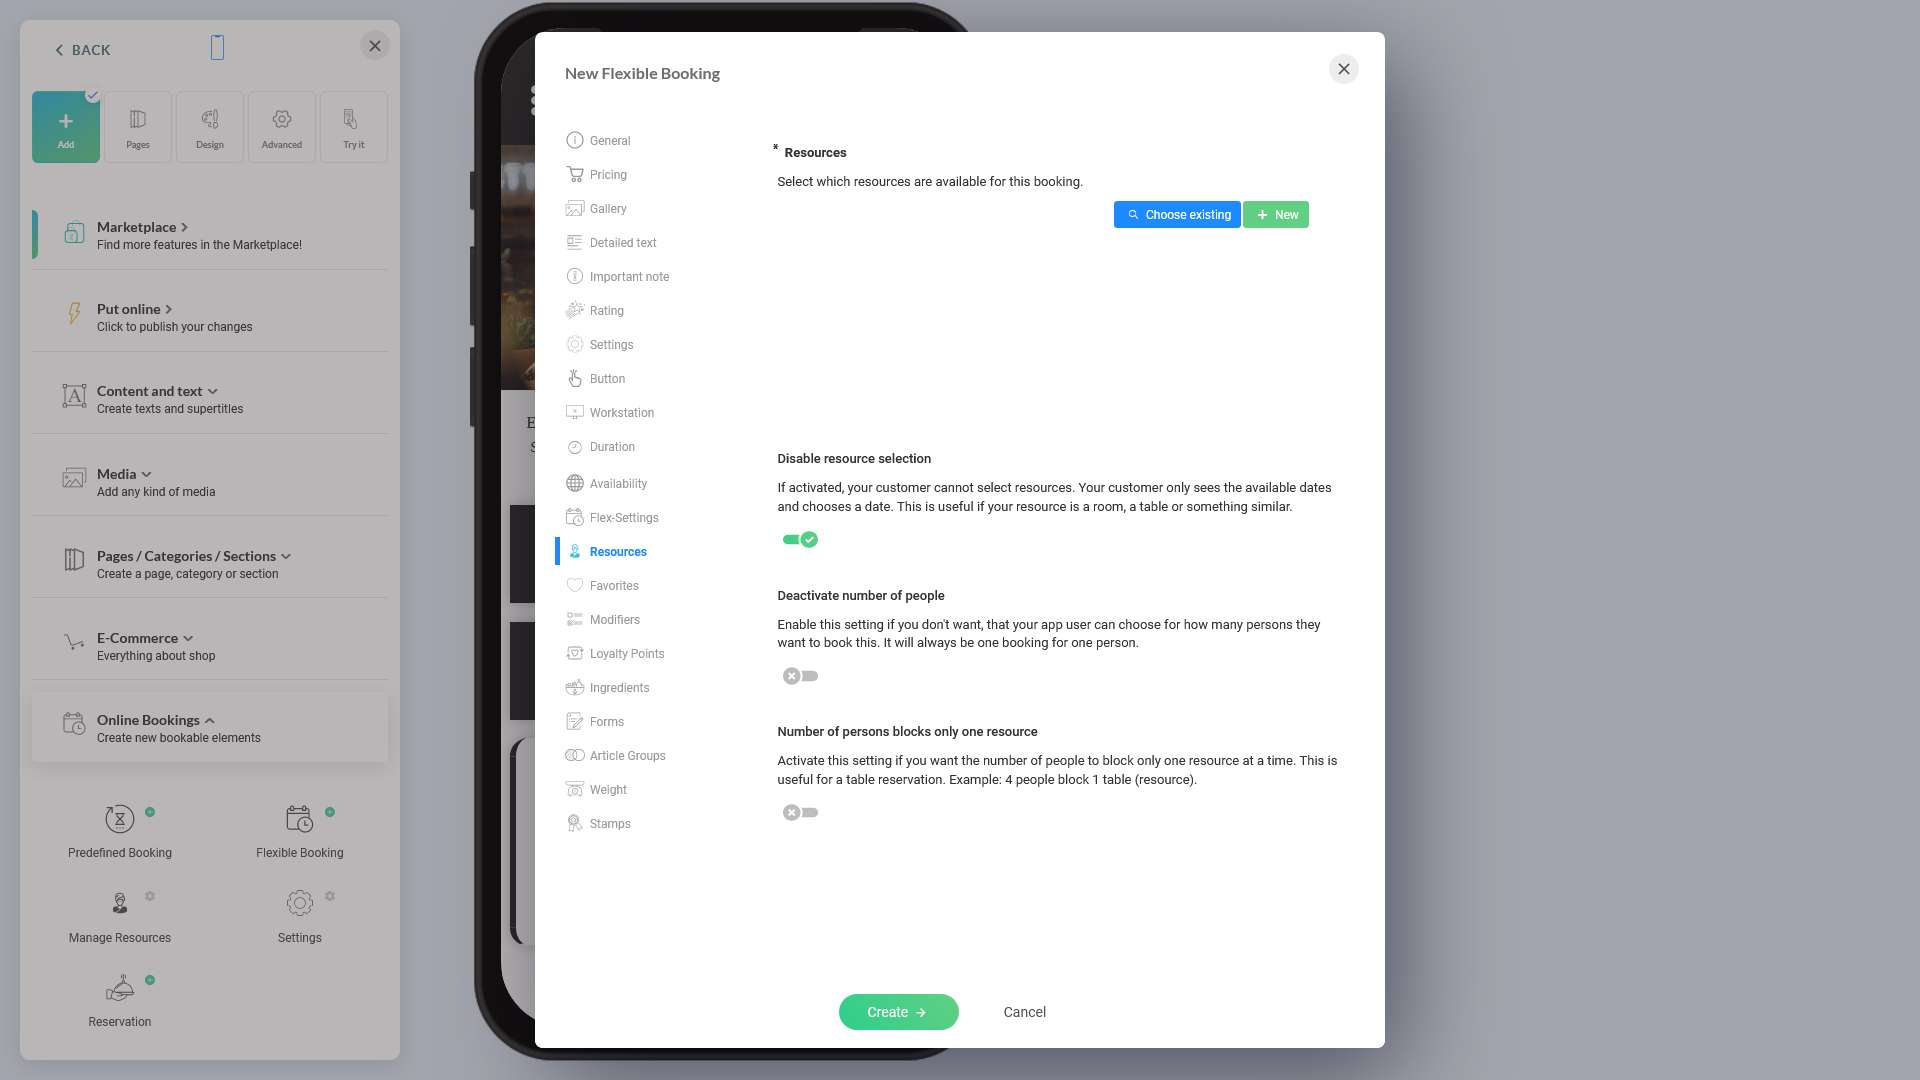
1. It is important that you use the ''Flexible Booking' options when creating a booking item so that you can disable resource selection from user devices.
image.png521.01 KB
2. Select the 'More options' button while you're creating a booking item or editing an existing booking item.
image.png322.78 KB
3. Move on to the 'Resources' tab to disable 'resource selection.'
image.png381.13 KB
Resources: You need to select a default resource here and the field is mandatory
Disable resource selection: Enable this field so that your users don't see the resource selection option.
Deactivate number of people: Keep it as default or enabled since it's the ideal choice for restaurant bookings.
4. Save the changes if you're editing or create the booking once you have completed other settings.
5. Remember to 'Put online' the changes.
Hiding prices
In certain cases of restaurants, you wouldn't want to show prices while making restaurant reservations. Follow below steps to hide the price column (or any other column).
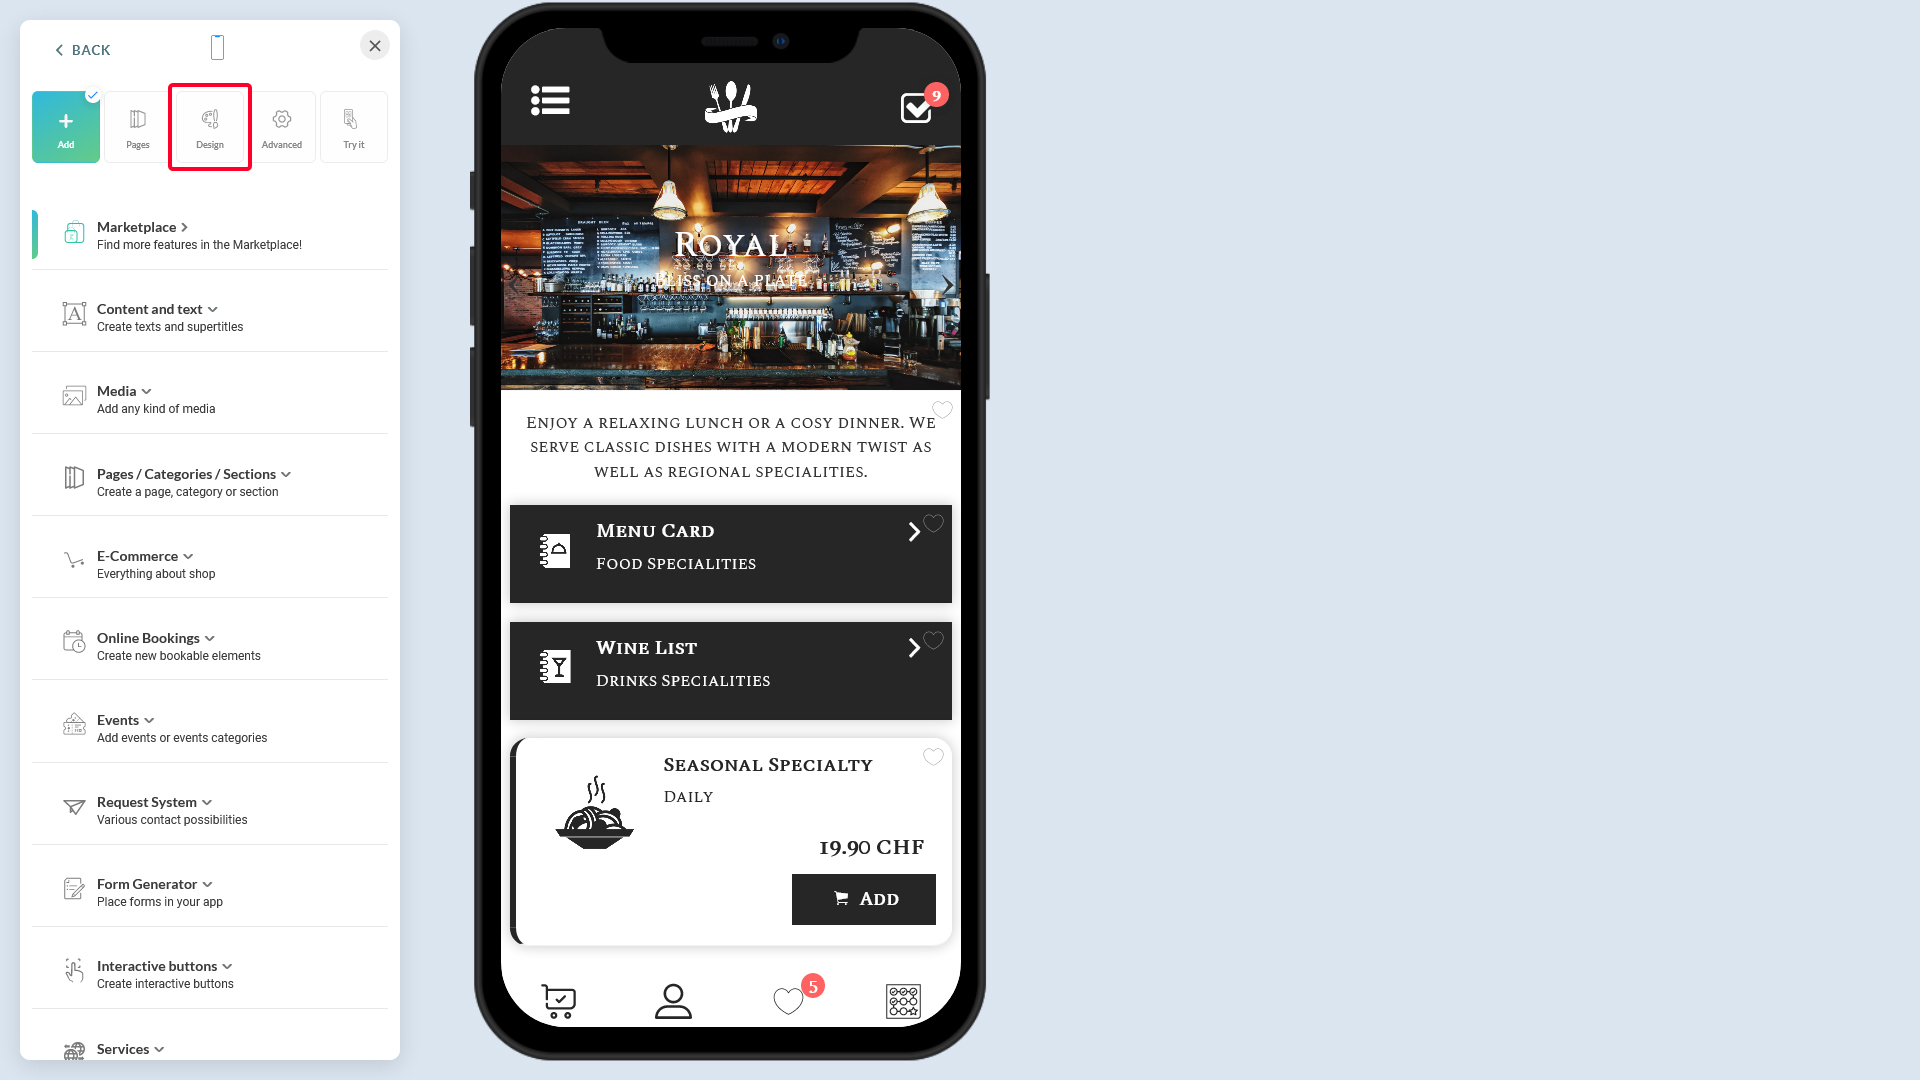
1. From within the content editor, click on the 'Design' icon at the top.
image.png564.95 KB
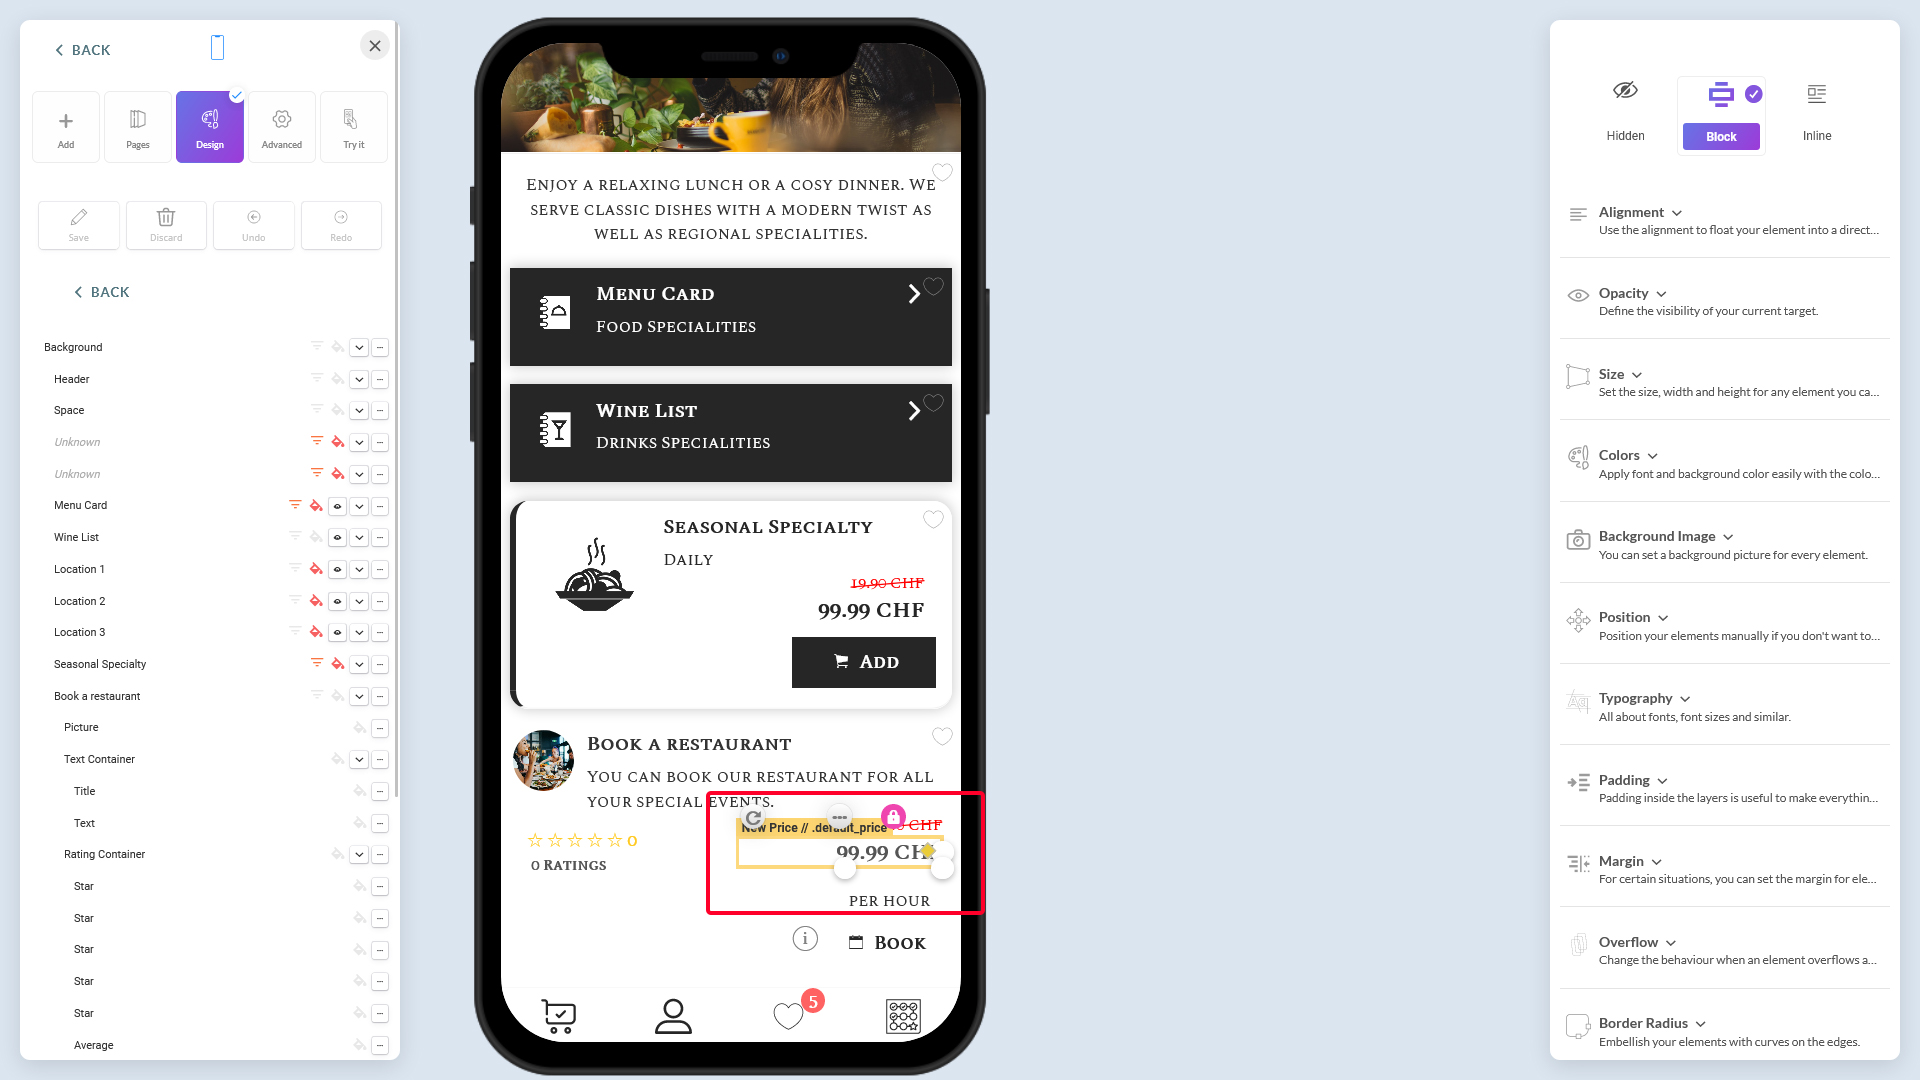
2. In the 'Design' screen, hover over the mouse-pointer on the 'Price container' as in the below image.
image.png485.68 KB
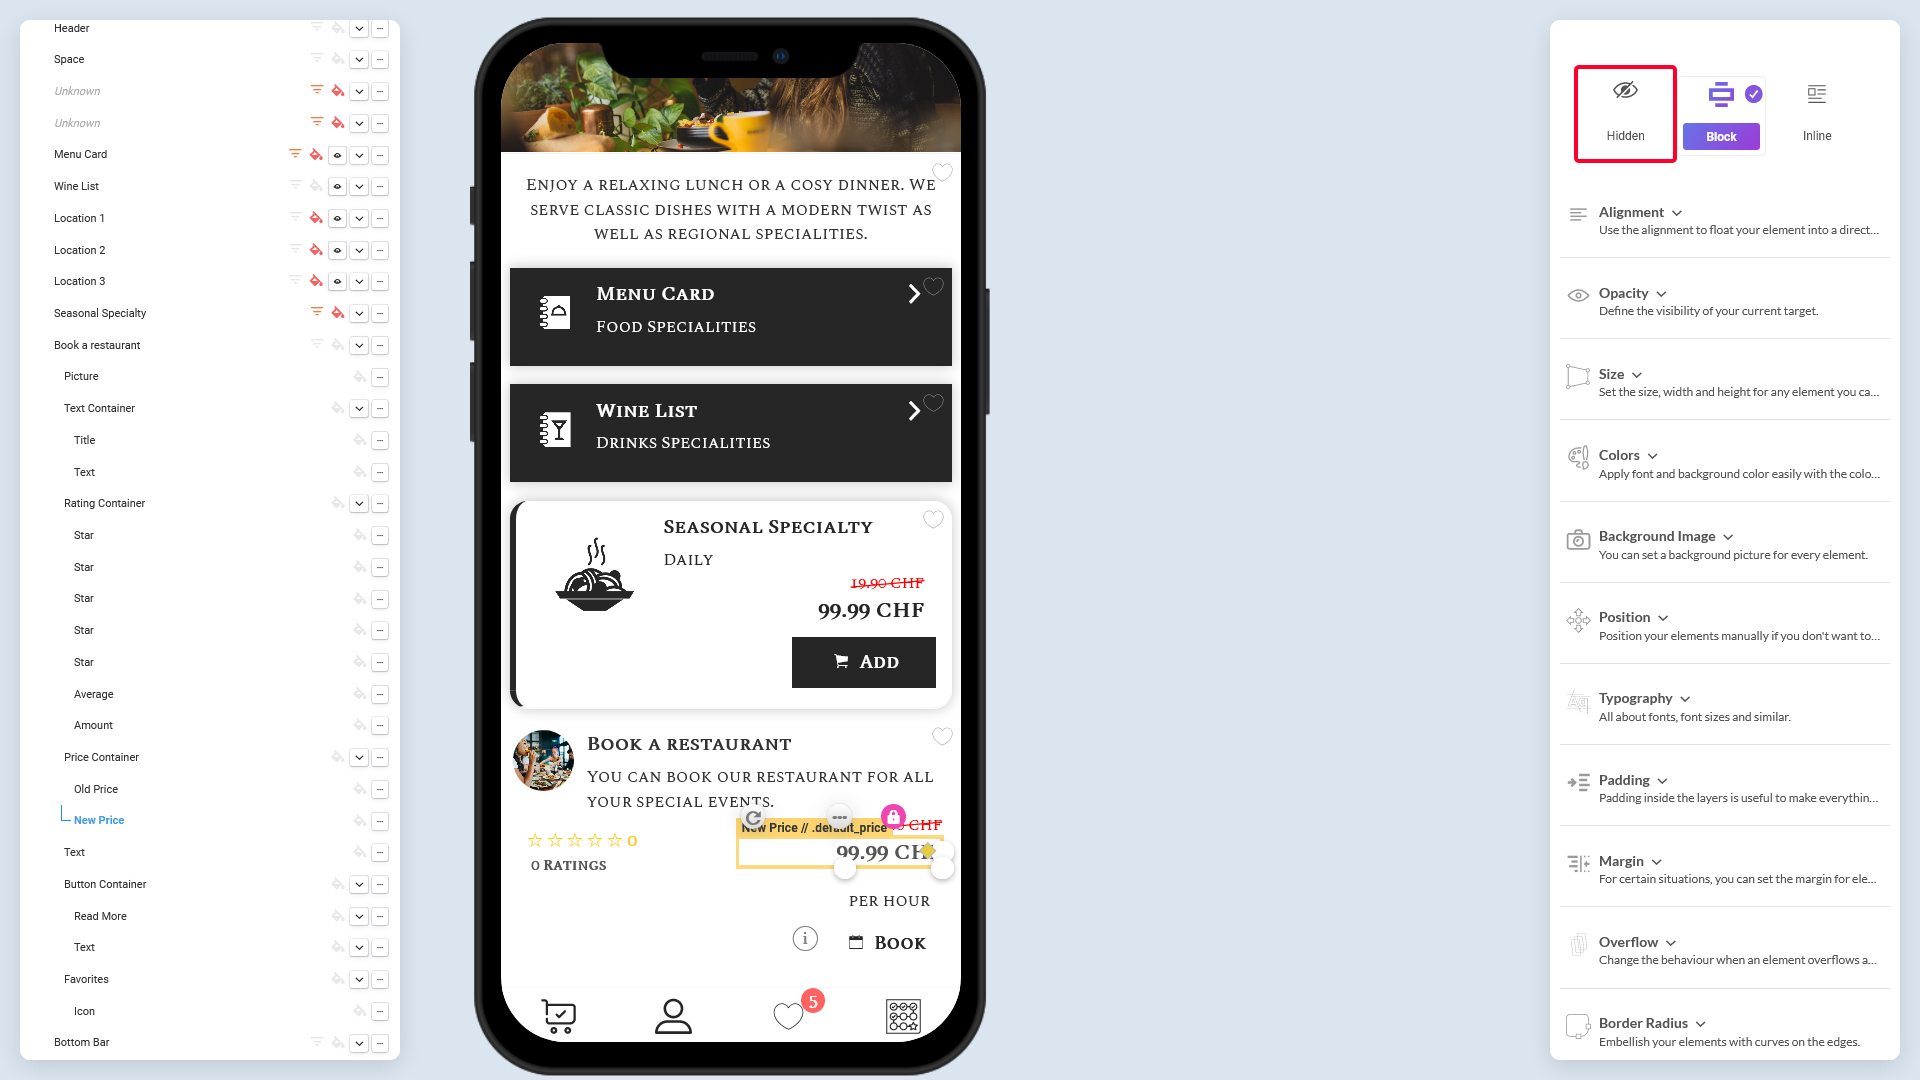
3. Click to select it. The 'Price container' selection changes from red to yellow now. Note: In some design templates the color change is not there. But make sure you have selected the object correctly.
image.png475.36 KB
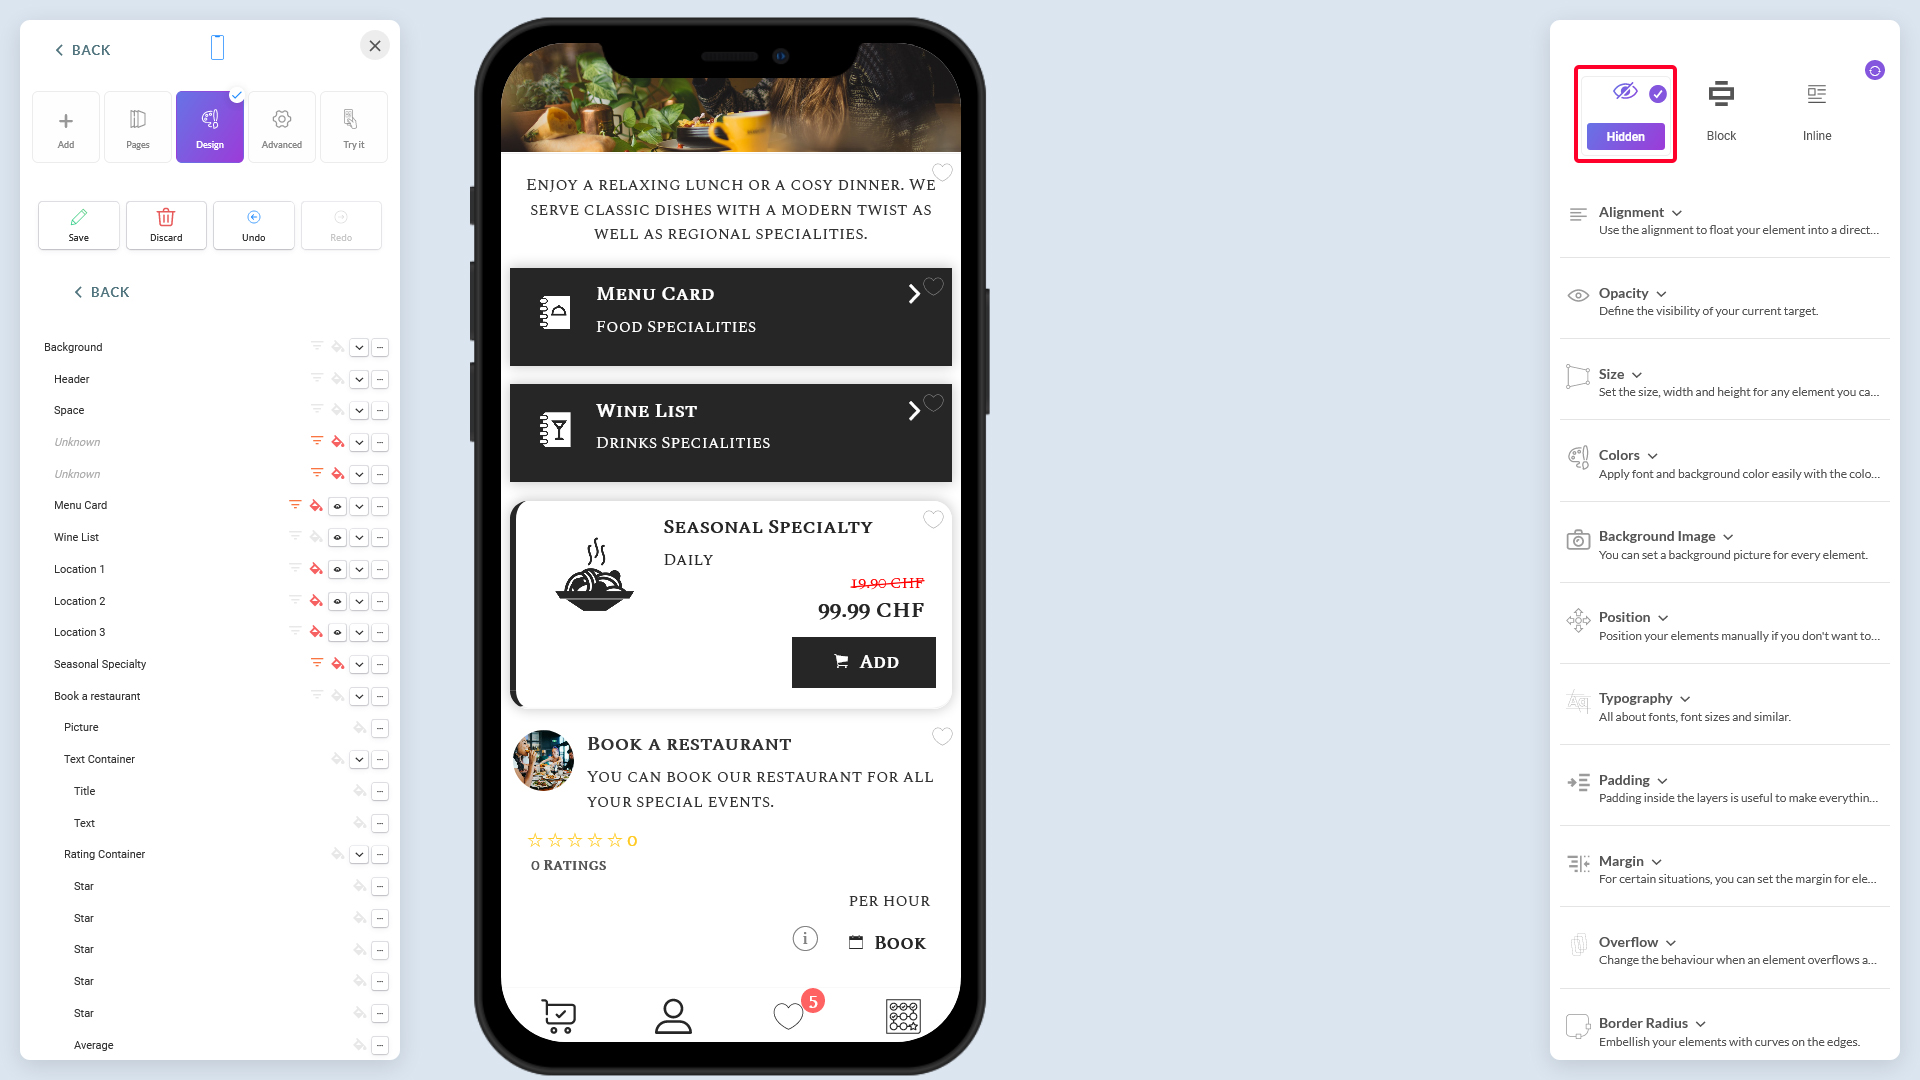
4. Click on the 'Hidden' button at the upper-right.
image.png474.9 KB
5. Now the price is hidden including any promotional prices since you have hidden the Price Container. Click on the 'Save' button at the upper-left, below the Content button.
image.png468.38 KB
6. Repeat the same steps to hide the duration shown as well.