Once you have setted up your printers (ip-address, etc.), you need to add them in Zappter.
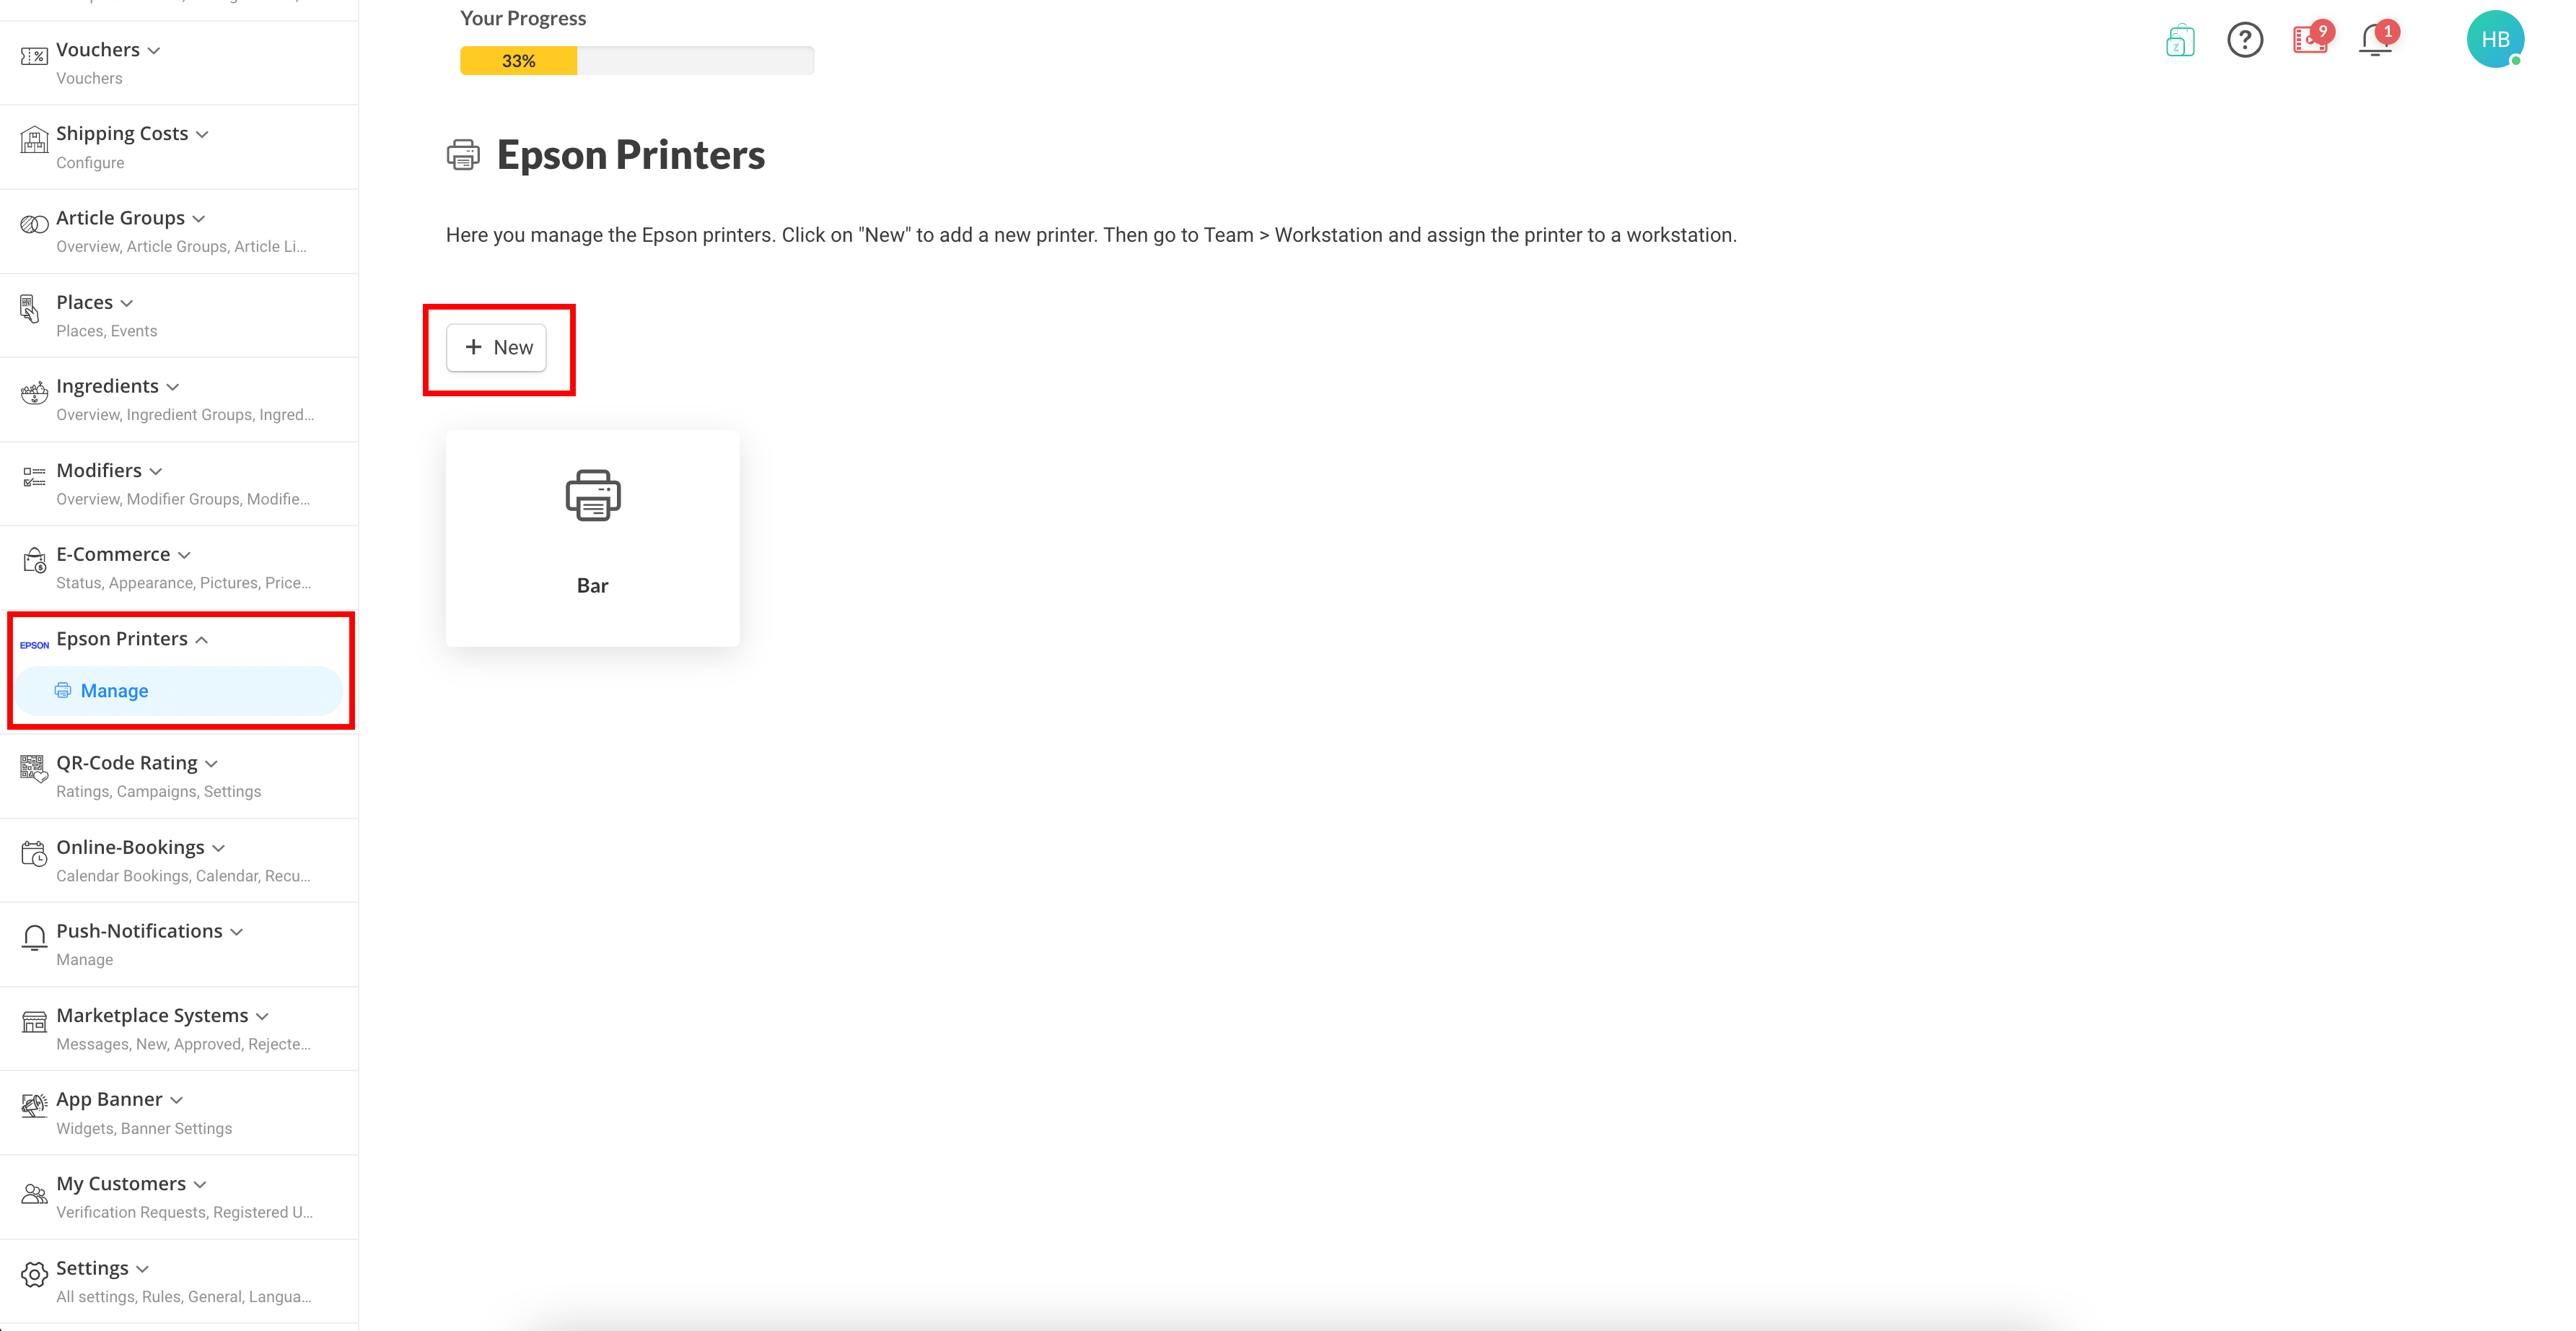
1. Open the admin and go to "Epson Printers > Manage". Click on "New" to create a new printer.
image.png396.07 KB
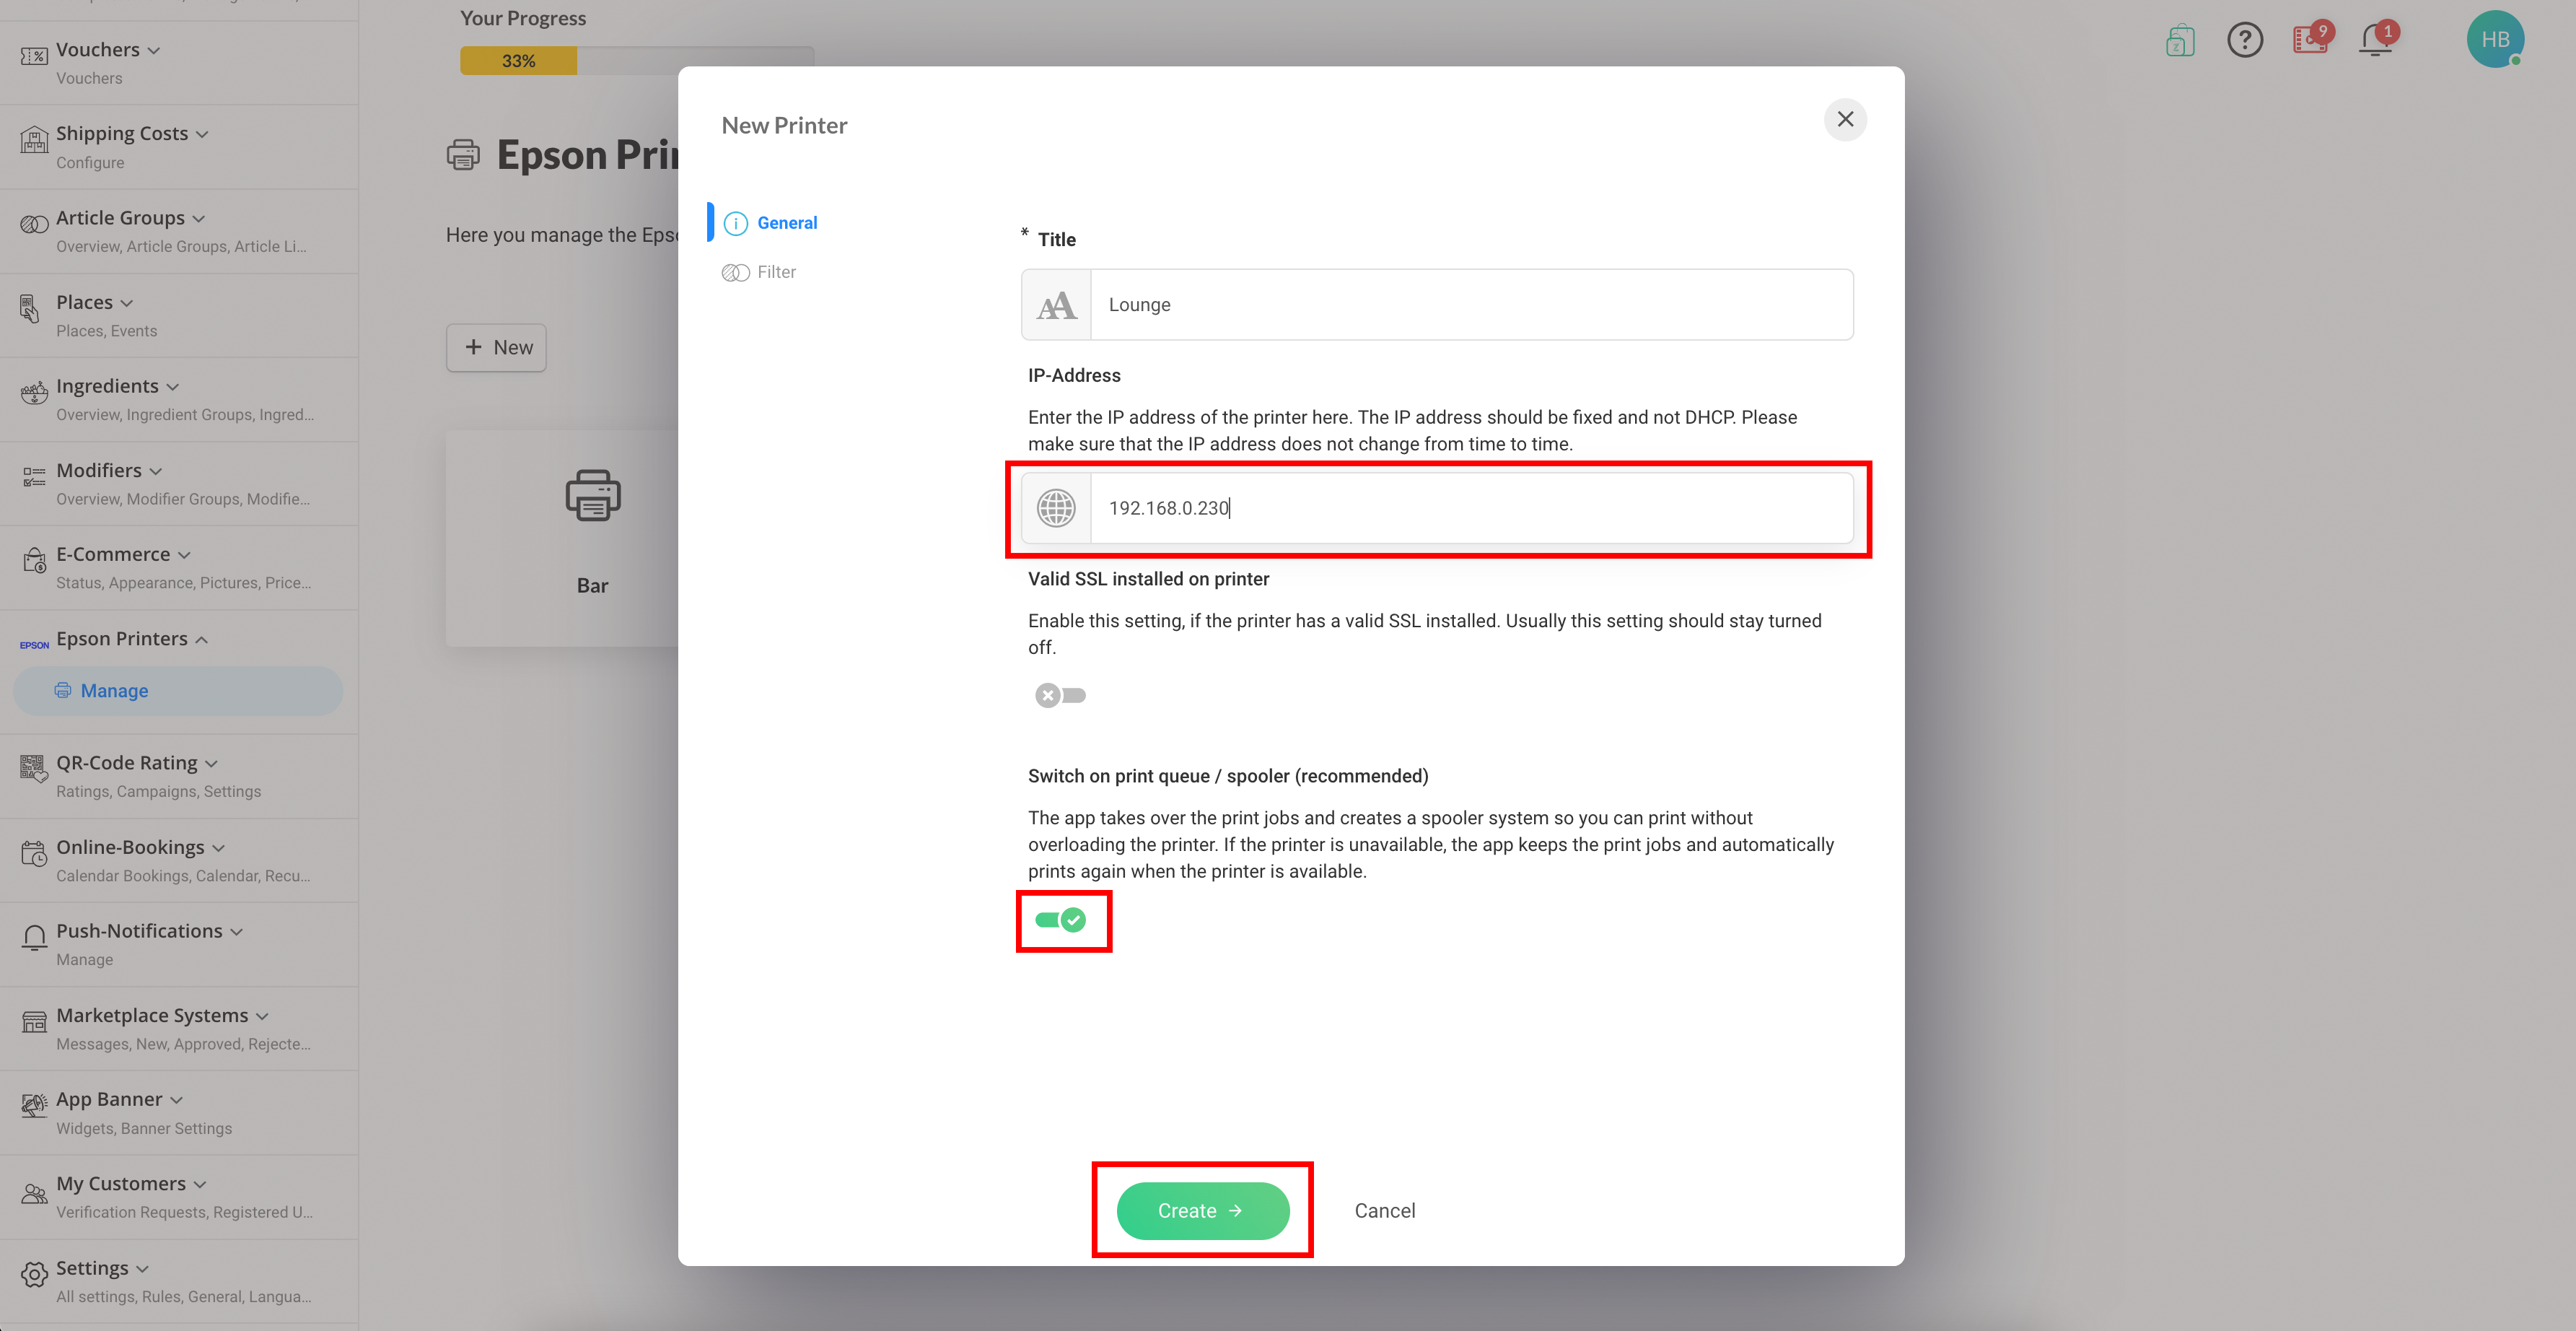
2. Enter a name and the ip-address. Enable the spooler setting to have an improved spooler system, managed by your app instead of the printer.
image.png3.55 MB
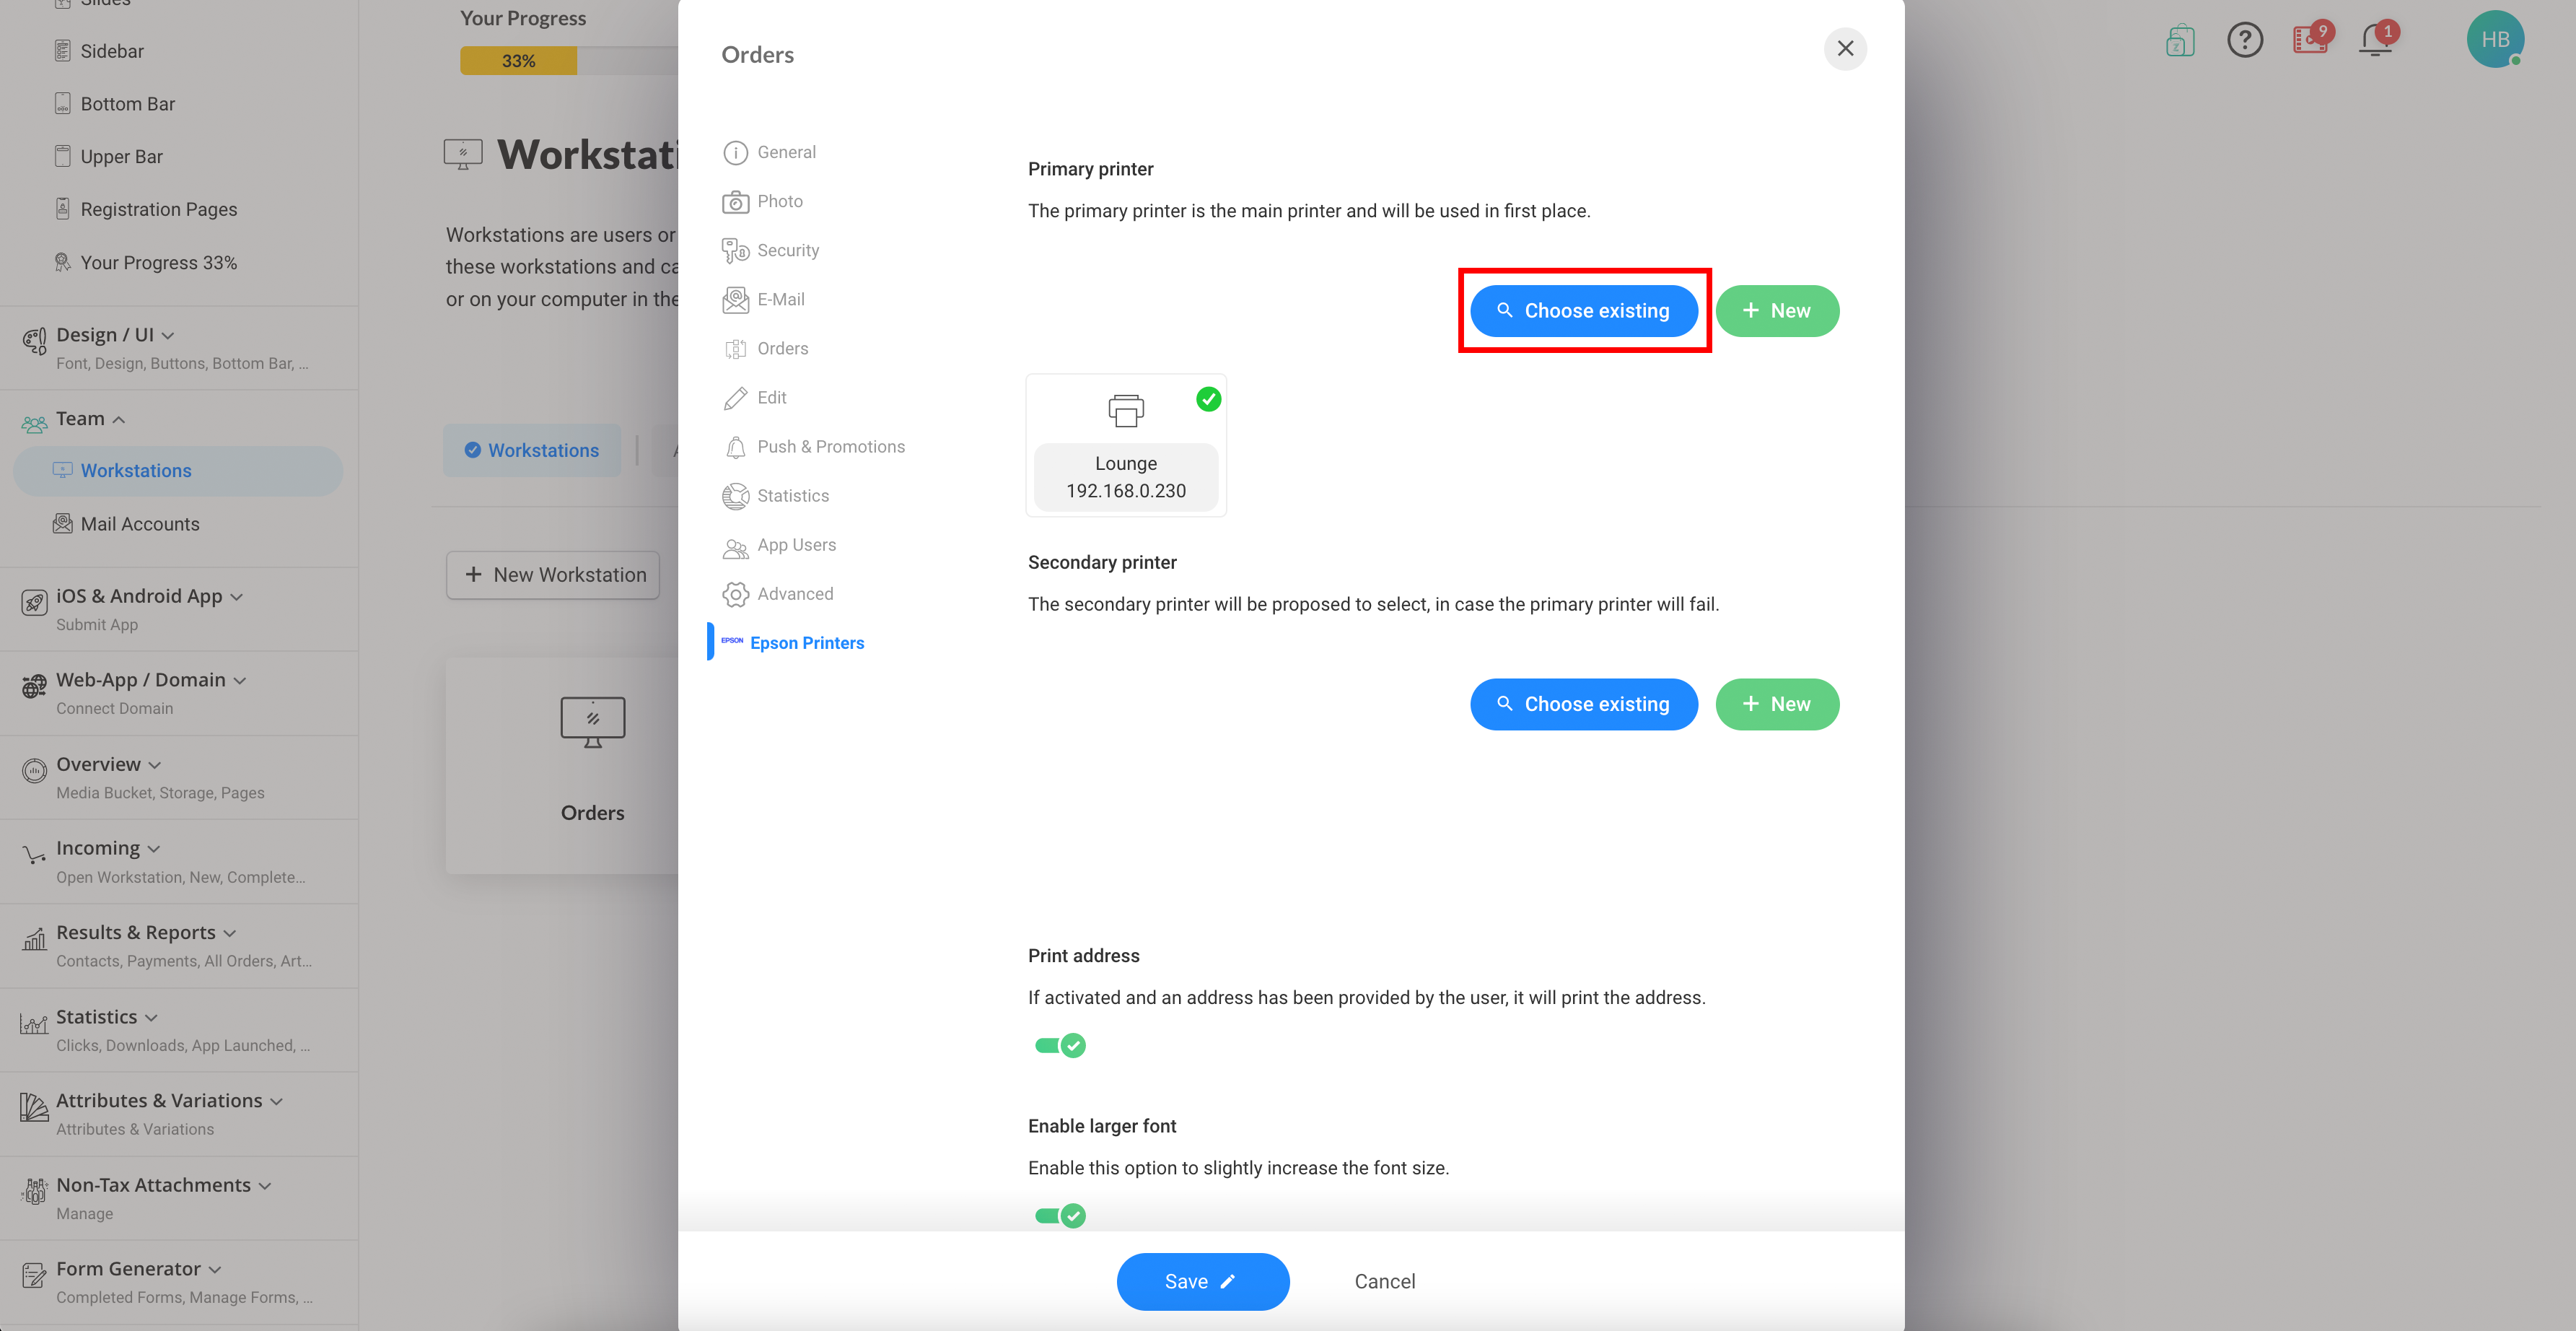
3. Repeat these steps for all your printers. Now let's go and assign the printers to a workstation. Open "Team > Workstations" and click on your workstation then on "Edit". A new section should have been added here "Epson Printers". Select the primary printer. You may customize several settings in that page.